Use This Gorgeous Free Crochet Top In Granny Stitch Pattern For Your Summer Days
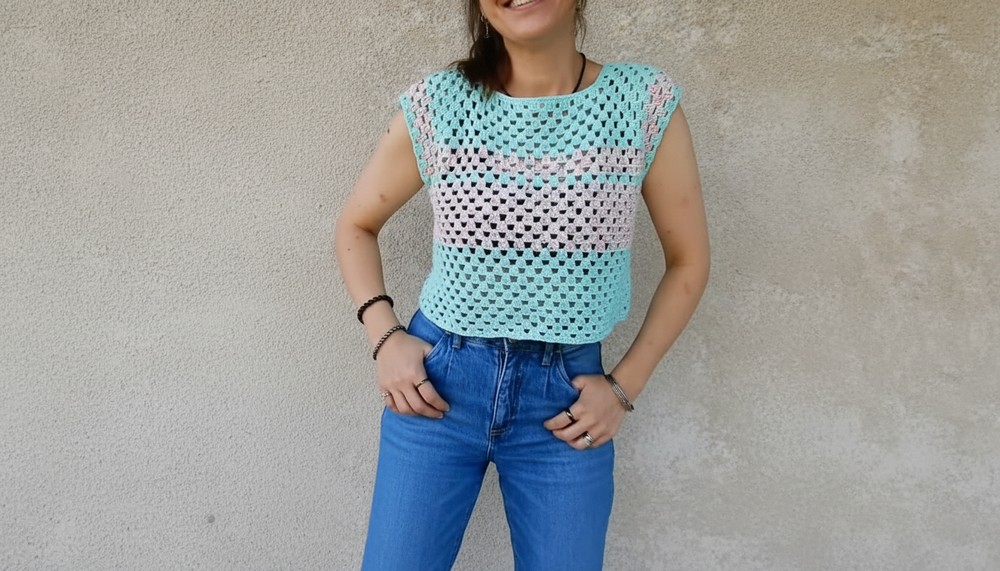
Style a trendy and lightweight top using this Free Crochet Top In Granny Stitch Pattern that is easy to customize and perfect for all occasions.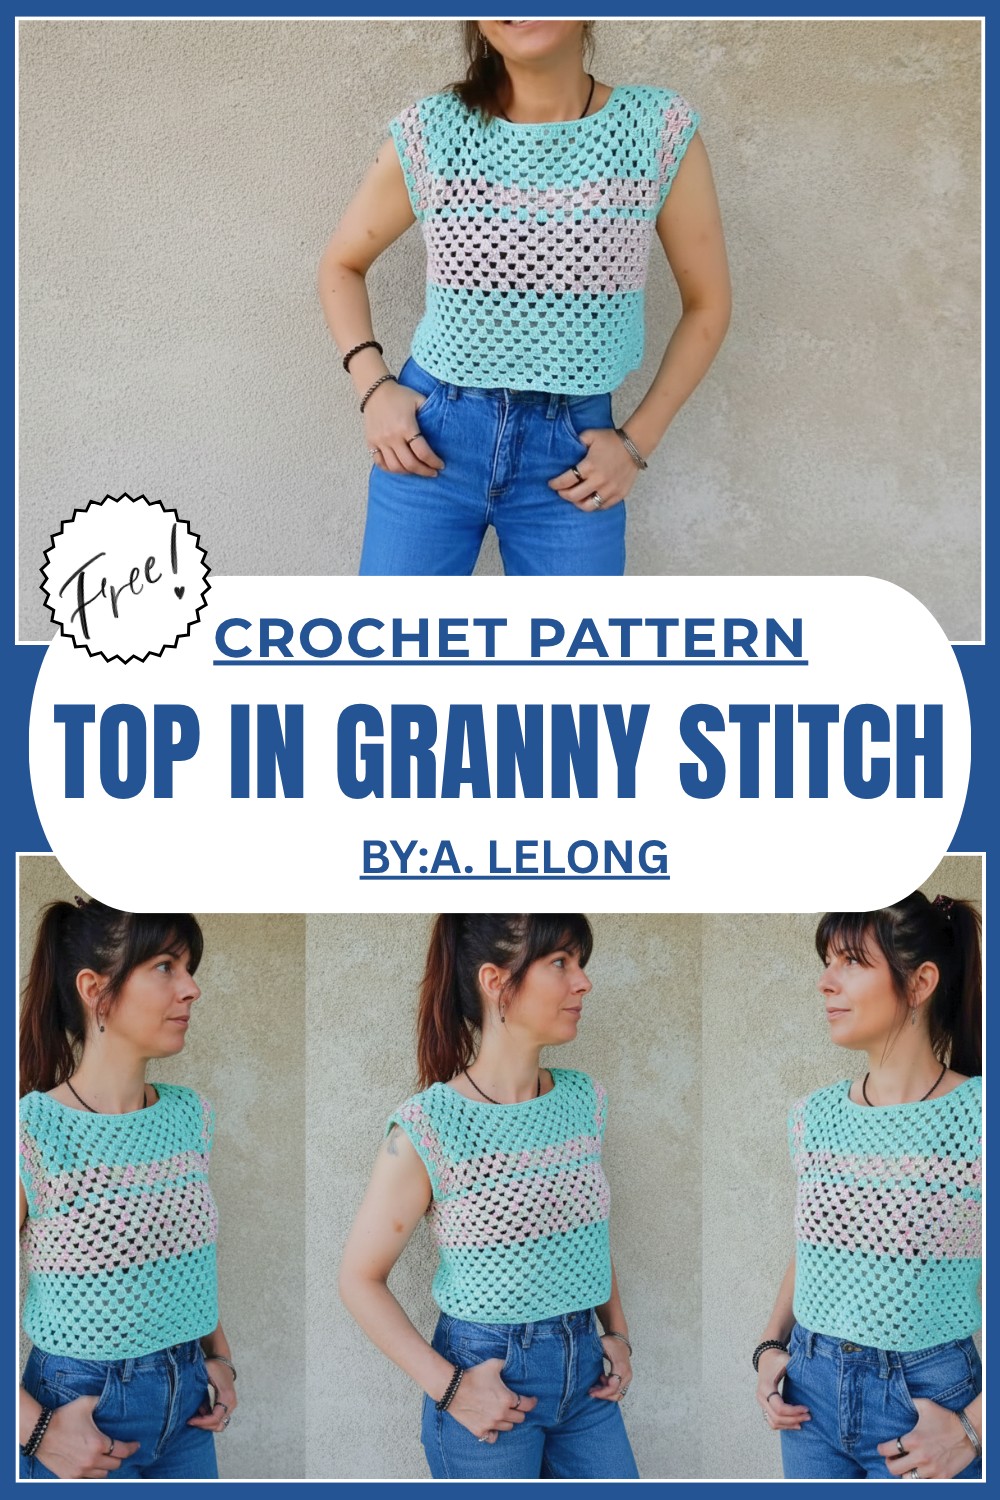
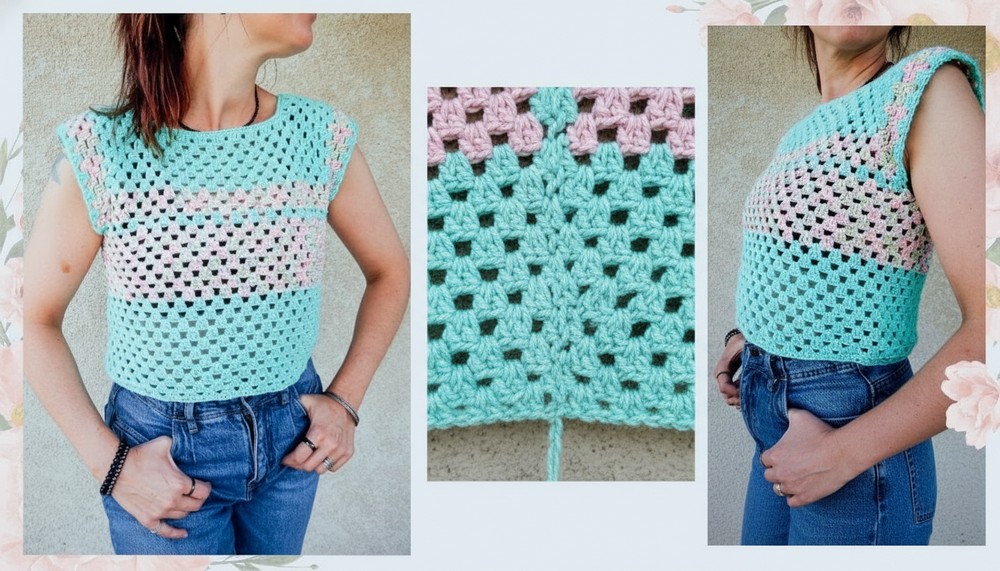
Stylish Free Crochet Top In Granny Stitch Pattern to use for any occasion
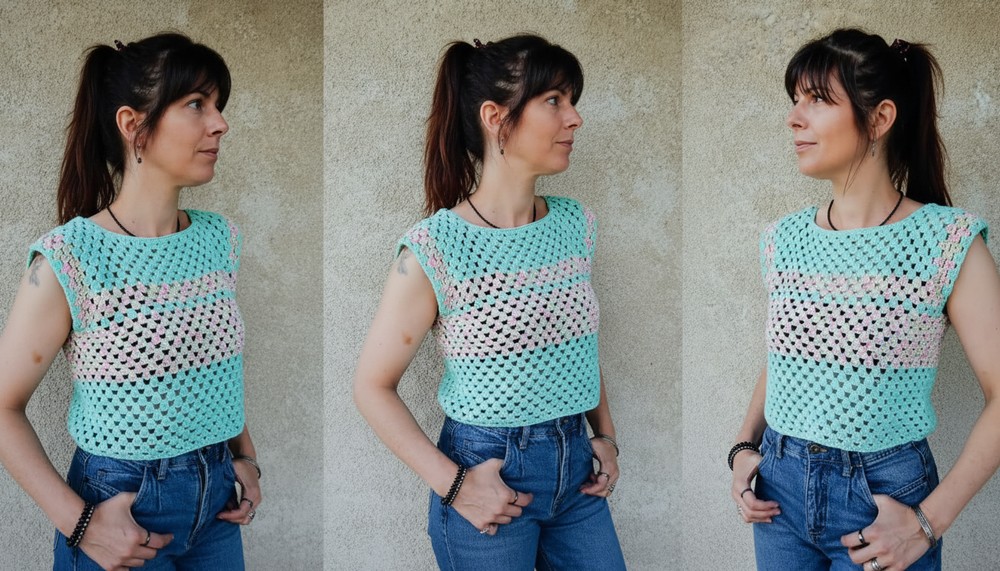
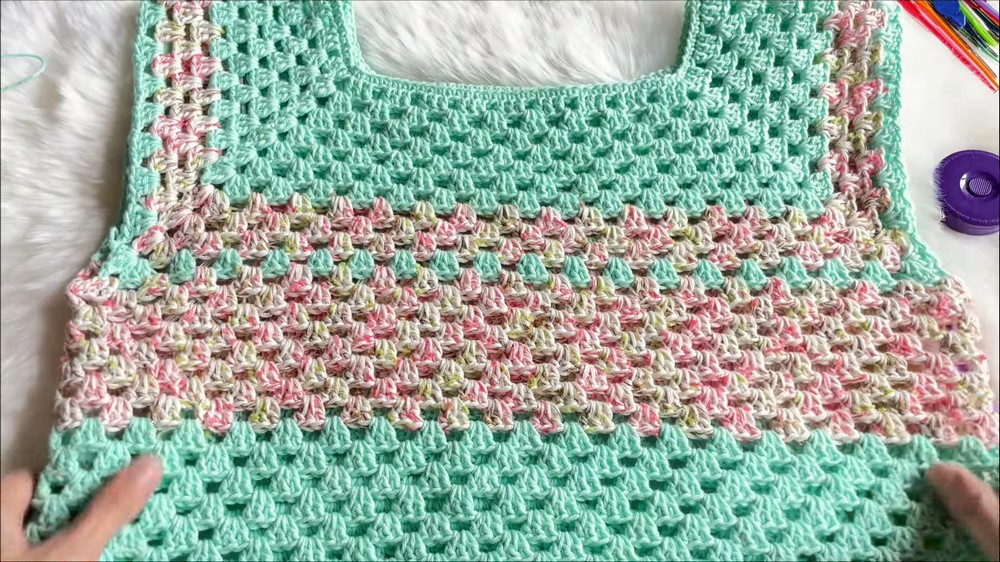
This guide shows you how to make a beautiful crochet top in granny stitch that’s simple, stylish, and perfect for all seasons. Even beginners can follow this free pattern to make a top with the neat and classic look of the granny stitch, a favorite for its timeless charm.
The top is worked in a "top down" way, meaning no uncomfortable seams—just a smooth and comfy finish. Lightweight and airy, this top is ideal for sunny outings or relaxing at the beach. You can mix two yarn colors to match your style and even adjust the length to suit your preference. The raglan style neckline adds a touch of elegance that fits every body type perfectly. 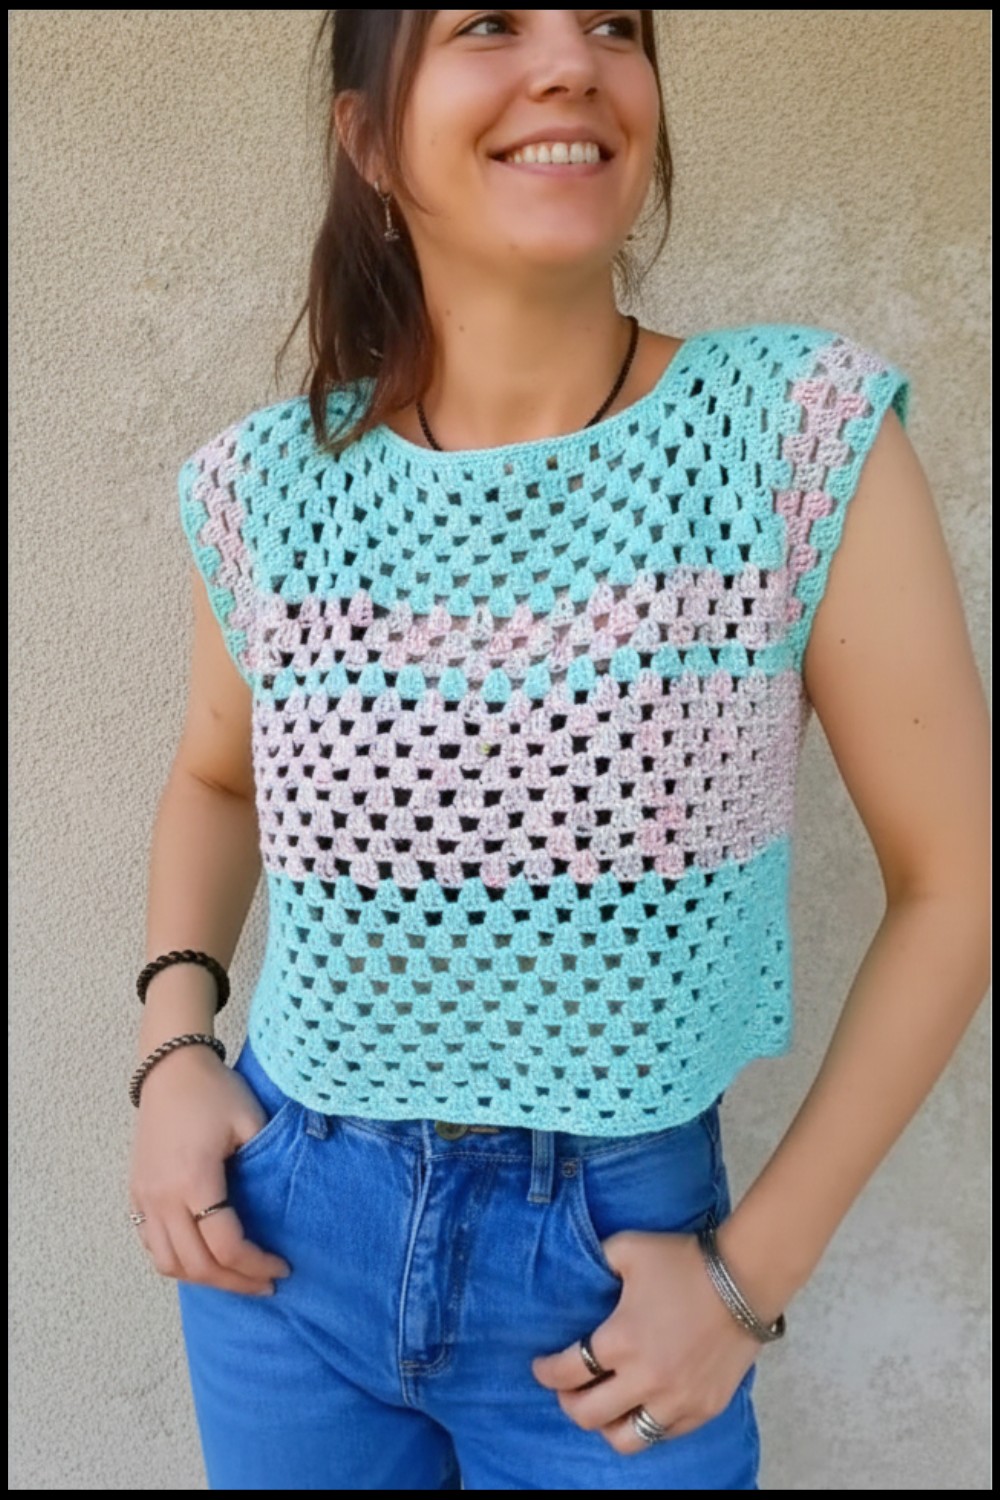 This project is fun, easy, and a wonderful way to wear something that reflects your personality. Try it out and enjoy the beauty of something made by your own hands.
Crochet Top In Granny Stitch Pattern
Materials Needed:
- Yarn:
- Speck Diarn yarn from Action (or a similar weight yarn, ideally DK or light worsted weight).
- Complementary cotton yarn in a matching or contrasting color.
- Ensure you have ample yarn for both the main and secondary colors.
- Hook:
- Crochet hook size: 4mm.
- Notions:
- Scissors.
- Tapestry needle (for weaving in ends).
- Stitch markers (at least 4 to mark corners).
About the Pattern:
- Skill Level: Beginner friendly.
- Special Stitches Used:
- Granite stitch (Granny stitch): Groups of 3 double crochet stitches separated by a chain.
- Faux Double Crochet (Faux DC): A stitch that mimics a double crochet and helps avoid large gaps at the start of each round.

Key Suggestions Before Starting:
- Adjust the Chain Count for Different Yarns:
- If using a thinner yarn, increase the starting chain to accommodate proper neckline fitting.
- If using thicker yarn, reduce the starting chain accordingly. The chain count must always be a multiple of 3.
- Ease of Customization:
- The size of the top is determined by the number of rounds worked before creating the armholes.
Pattern Instructions:
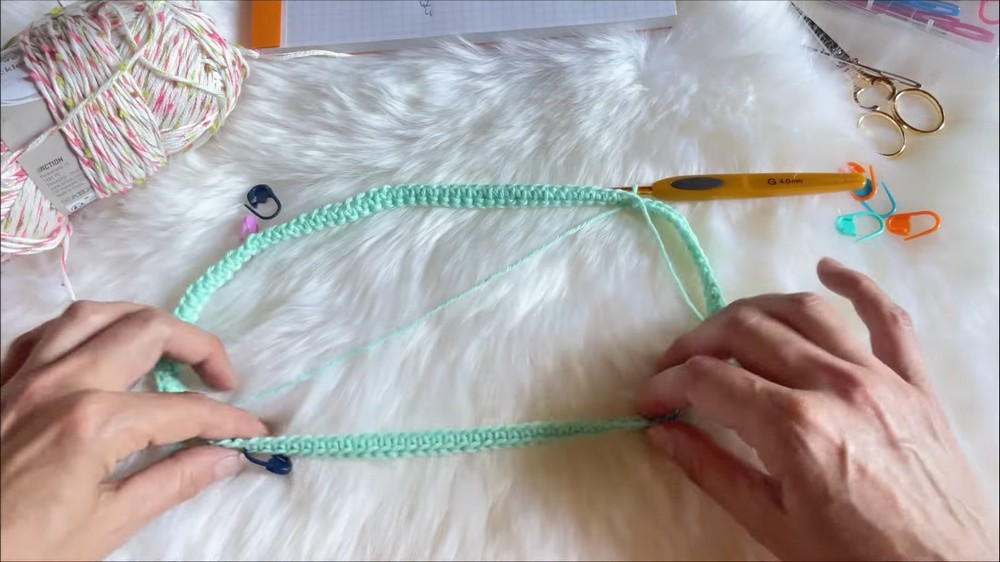
Step 1: Starting Chain
- Create a foundation chain of 112 chains. Join the chain into a circle with a slip stitch to form your neckline.
(Note: Ensure the chain is not twisted before connecting.)
Step 2: Raglan Neckline Setup
- Work 1 row of single crochet around the chain as a base. You should still have 112 stitches.
- Place markers to divide stitches into sections as follows:
- 33 stitches for the front.
- 33 stitches for the back.
- 21 stitches for each sleeve section.
- 4 corner stitches are used to make increases.
- Place stitch markers on the 1st, 35th, 57th, and 91st stitches. These are the starting points for raglan increases.
- Place markers to divide stitches into sections as follows:
Step 3: Raglan Increase with Granite Stitch
- Begin working in rounds using the granite stitch. Each round will feature increases at the corners to shape the top.
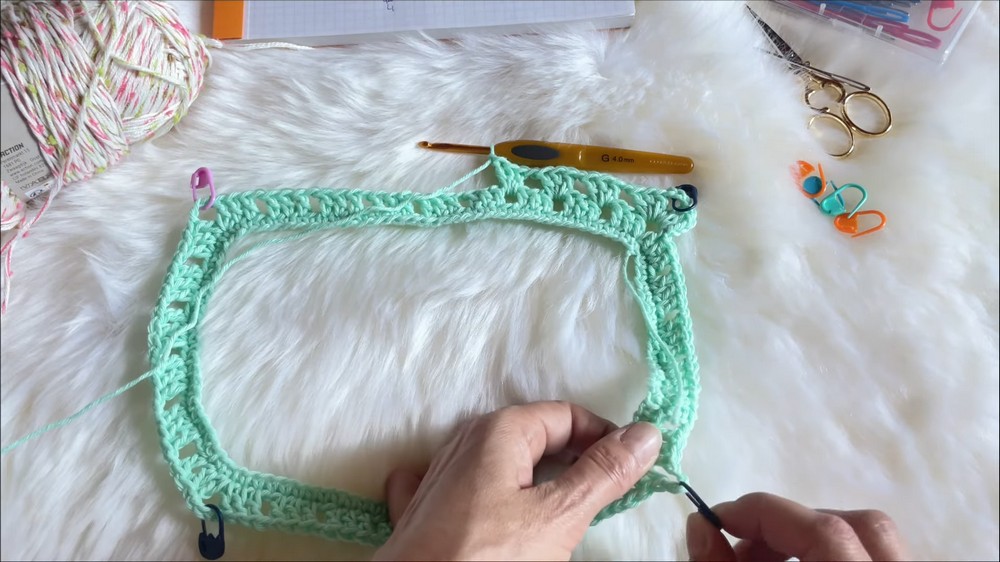
Round 1:
- At the first marked (corner) stitch:
- Work [1 DC, ch 3, 1 DC] into the stitch to create a "V" or corner increase. Replace the marker in the center of this “V”.
- Continue with the granite stitch pattern:
- Work 3 DC stitches into one space (grouped double crochets).
- Skip one stitch. Chain 1.
- Repeat until the next corner.
- Work 3 DC stitches into one space (grouped double crochets).
- At the next marker (corner stitch):
- Work [1 DC, ch 3, 1 DC]. Replace the marker.
- Repeat this pattern around the neckline. Once you complete the round, join to the first stitch using a slip stitch.
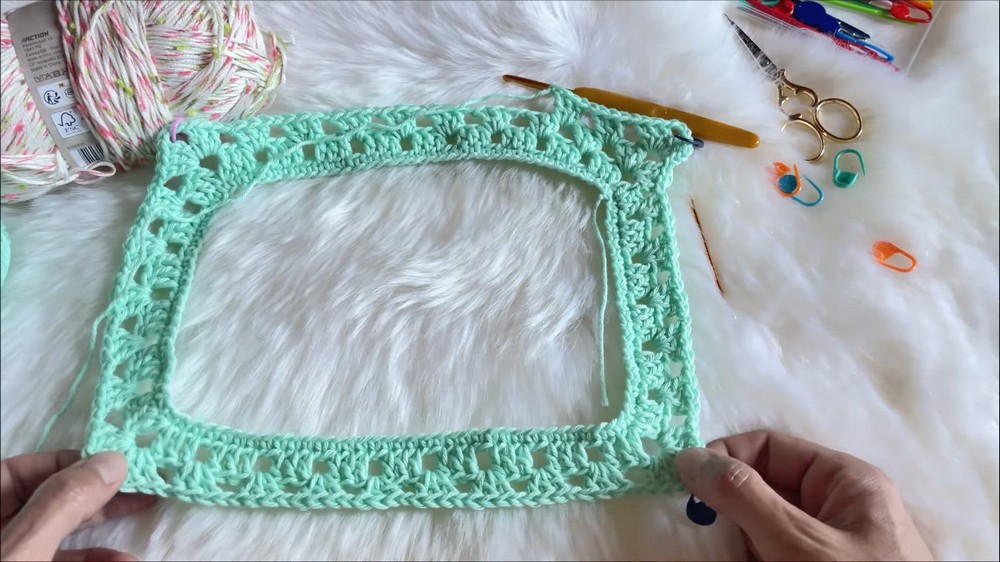
Step 4: Continuing the Raglan
- Continue working in the round, maintaining the granite stitch pattern. Each corner will always have the increase [1 DC, ch 3, 1 DC] in the same space.
- Add rounds until the piece measures your desired length from the neckline to the armpit. Try on the top as you go to determine the fit.
- For reference: The piece should measure approximately 11to12 cm (4.5 to 5 inches) from the neckline before moving onto the next step.
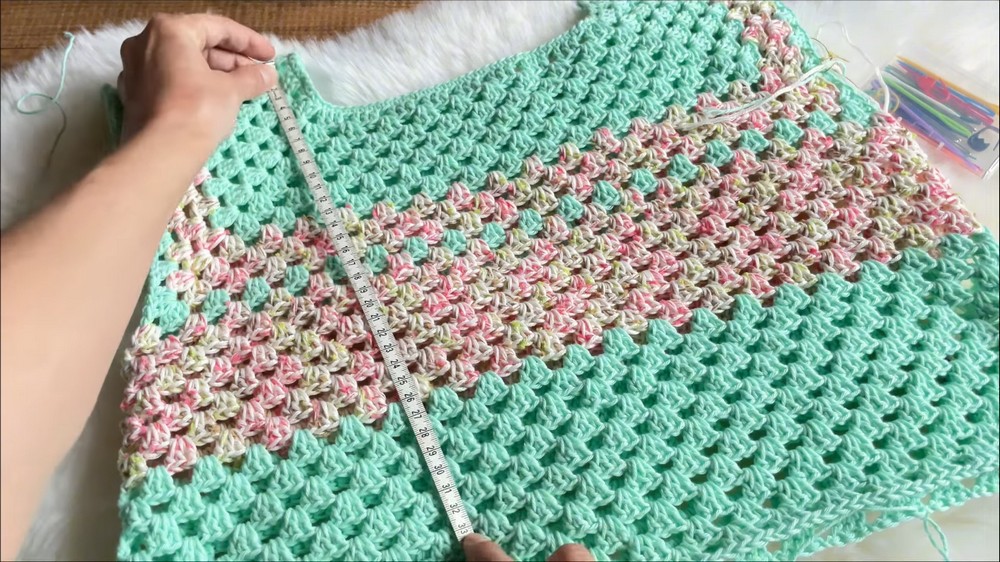
- For reference: The piece should measure approximately 11to12 cm (4.5 to 5 inches) from the neckline before moving onto the next step.
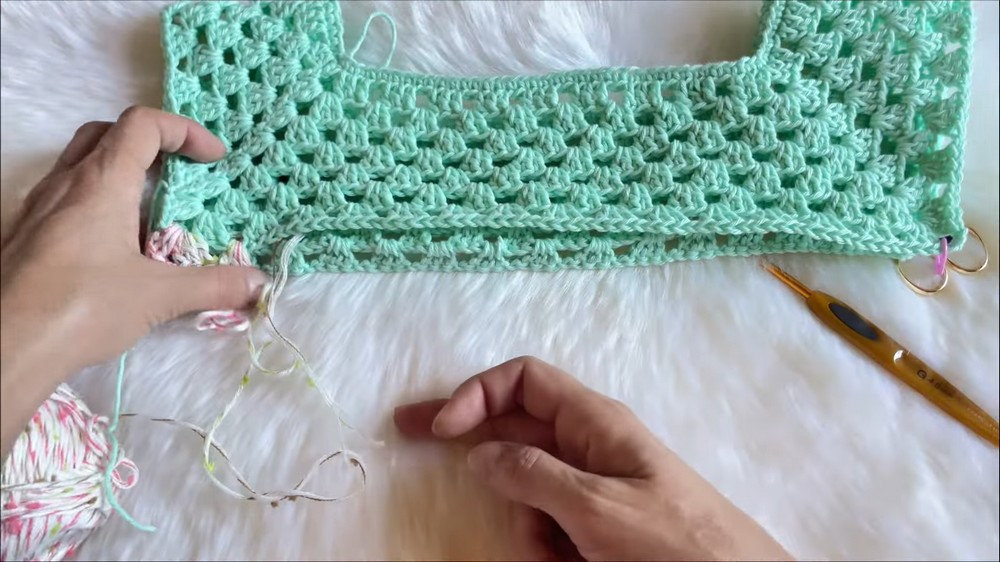
Step 5: Separating the Sleeves
- Once you reach the desired width and length of the bodice, it's time to separate the sleeves:
- Place the front corner and back corner markers together (on one side). Chain 1 to join them.
- Repeat for the other side to create the armholes.
- Work granite stitch in the remaining sections, skipping over the sleeves completely.
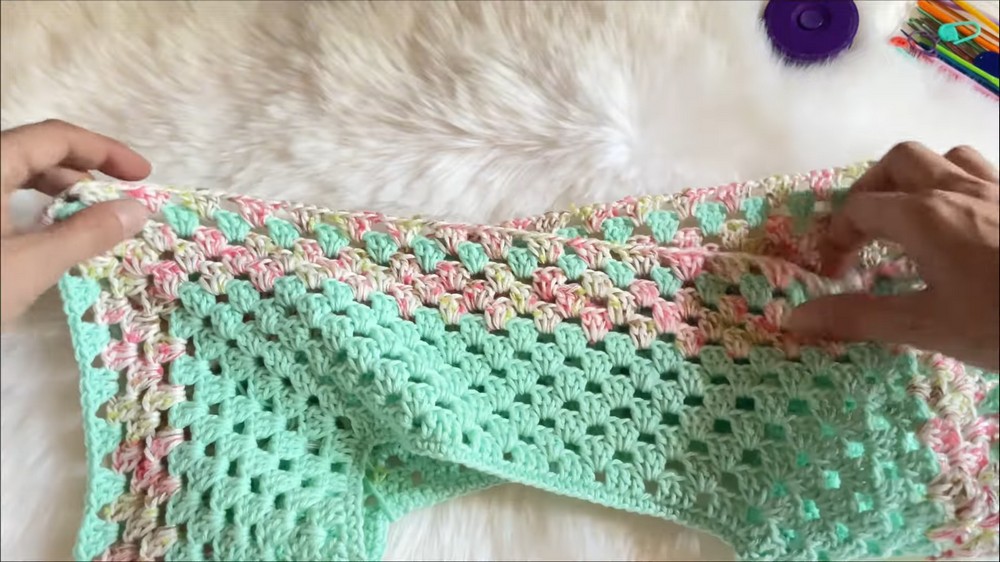
Step 6: Work the Body
- Continue the granite stitch in rounds for the body section:
- Maintain the pattern without further increases.
- You can switch colors for stripes if desired.
- Crochet until the body reaches your desired length. For reference, you may aim for a total length of 40 cm (16 inches) or adjust as needed to fit your preferences.
Step 7: Finishing the Edges
- Final Round (Bottom Edge):
- Work 1 row of single crochet all around the bottom edge to give the top a clean, neat finish.
- Optional: Add slight decreases (e.g., 1 decrease every 6 stitches) to ensure the bottom edge doesn't flare outward too much.
- Edges for Armholes (Optional):
- If desired, finish the edges of the armholes with a row of single crochet for uniformity.
Finishing Touches
- Weave in all yarn ends securely using a tapestry needle.
- Tug gently at each stitch to ensure all threads are snug and secure. Knot your yarn carefully to prevent unraveling.
Final Words & Tips
- Testing the Fit: Try on the top periodically while working to ensure the size and shape meet your needs.
- Blocking: Gently block the finished top to enhance the drape and smooth out stitches. Follow yarn specific blocking instructions.
- Care Instructions: Use a gentle washing method, such as handwashing or a delicate machine cycle, to maintain the top's appearance. Let it air dry flat.
This versatile and lightweight crochet top is ideal for warm summer days. Experiment with color combinations, customize the length, or add subtle embellishments to make it uniquely yours.