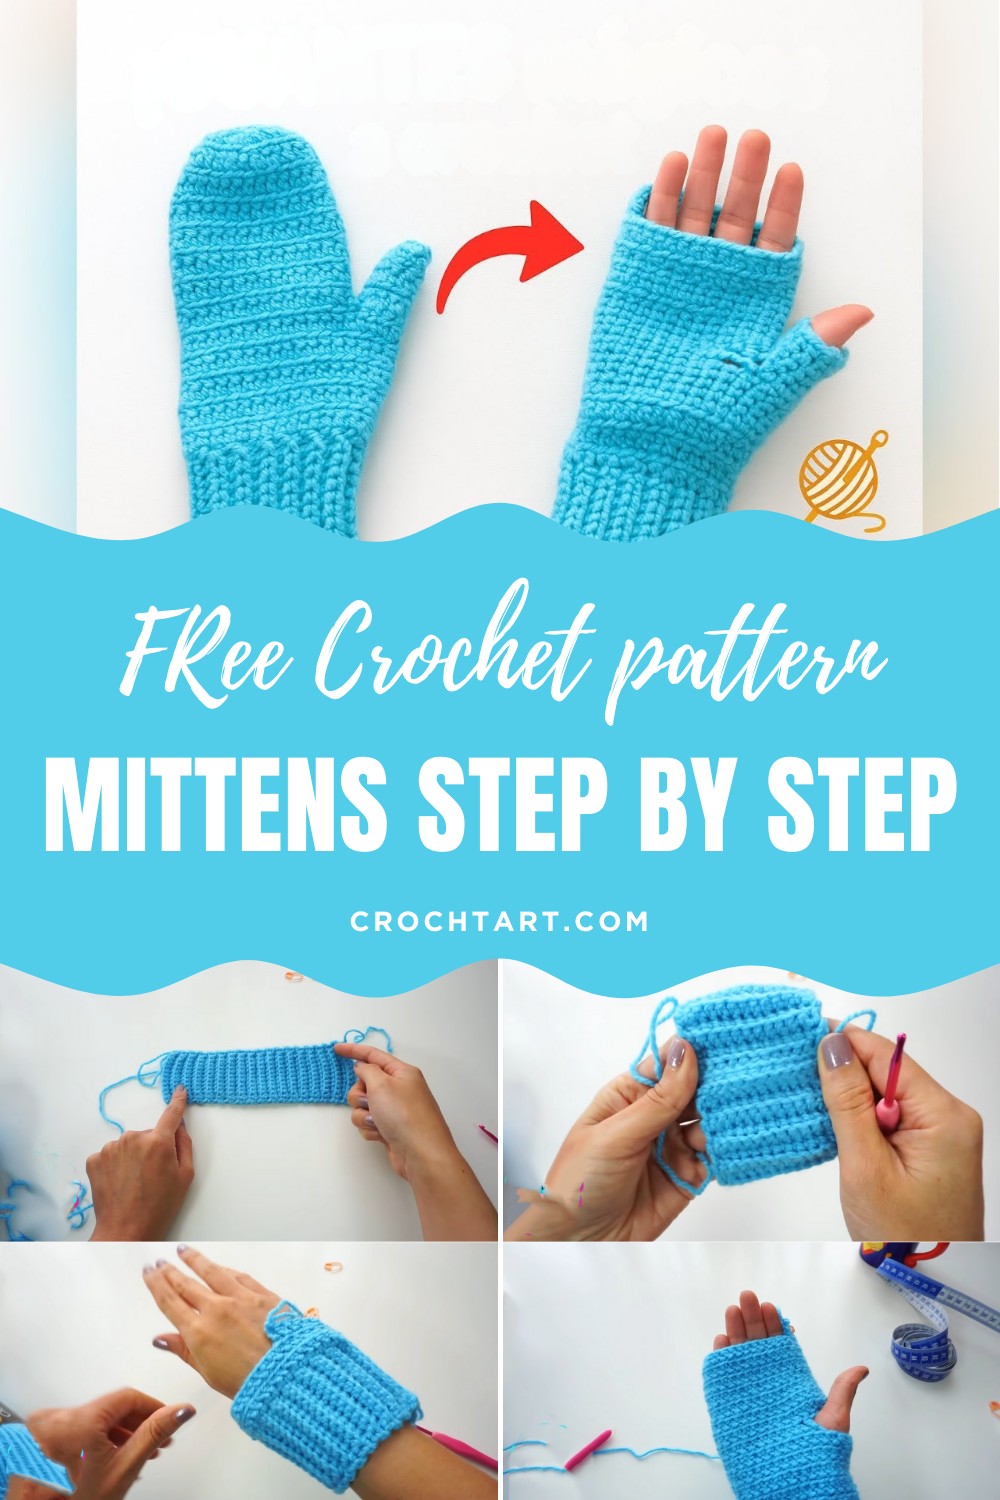
Cozy Crochet Mittens Pattern To Keep Hands Warm
Warm chilly days with this Free Crochet Mittens Pattern, giving a cozy handmade layer ideal for winter walks, outdoor fun, or thoughtful seasonal gifts.
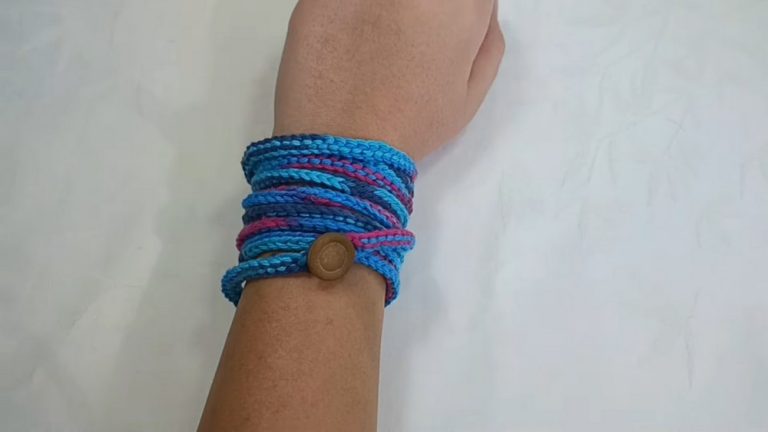
As temperatures dip and a chill fills the air, there’s something comforting about wrapping your hands in a pair of warm, snug mittens that allow for effortless movement. Fingerless mittens are a practical and stylish solution for anyone who values both coziness and freedom of motion. They enable everyday tasks like working on gadgets, writing, or driving without removing the barrier against the cold. What makes them even more special is the handmade artistry behind them, reflecting the effort put into crocheting each detail for a one-of-a-kind piece.
Soft Crochet Mittens Pattern that Feels Luxurious
These mittens are as beautiful as they are useful, complementing winter wardrobes with their minimalist charm and customizable design. Whether made for yourself or as a heartfelt gift, they demonstrate the perfect balance of practicality and personal expression.
Achieving a flawless finish involves consistent measurements, careful adjustments, and attention to detail in every step. The end result is not just a functional accessory but an impressive piece of handmade art, something that carries both warmth and the joy of creativity in every stitch.
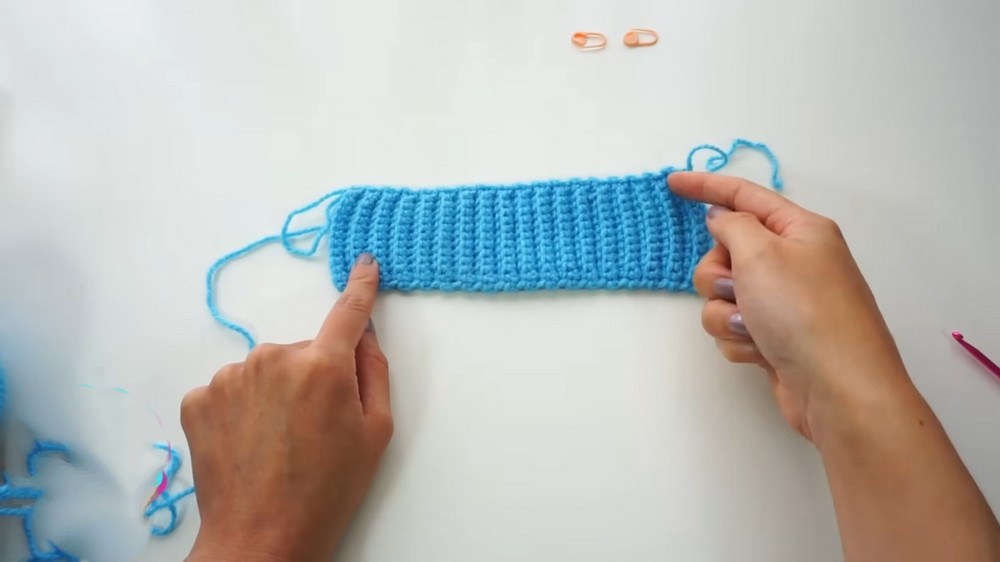
The creation process begins with the foundation of the piece: the cuff. Crocheted to fit snugly around the wrist, the cuff is worked in a textured ribbed stitch.
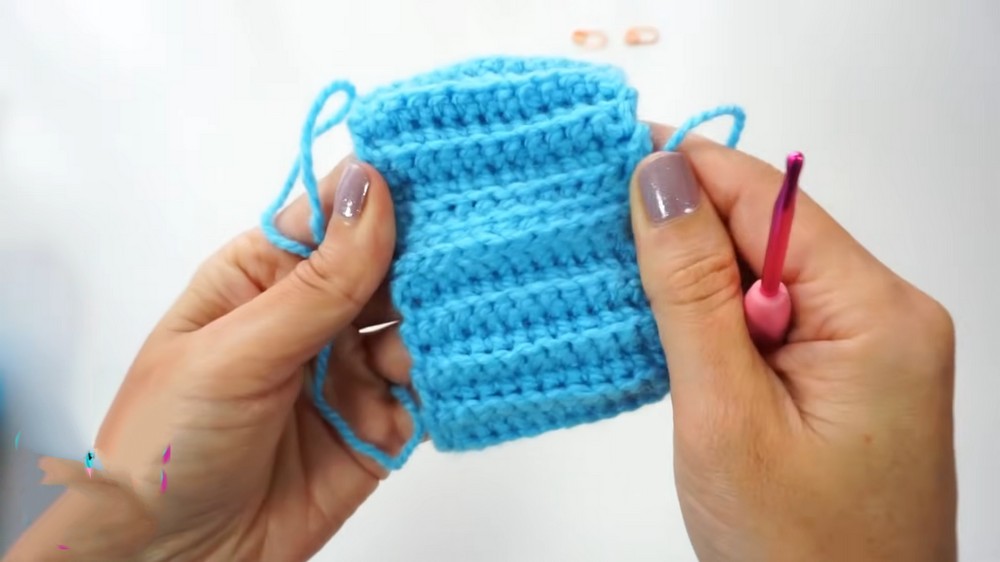
Using back loops of the crochet chains, the ribbing provides elasticity while maintaining a beautiful, clean look. The length can be adjusted depending on the desired fit for children, adults, or even infants.
Once completed, the ends of the cuff are seamlessly joined to create a circular base, setting the stage for the main body of the mitten.
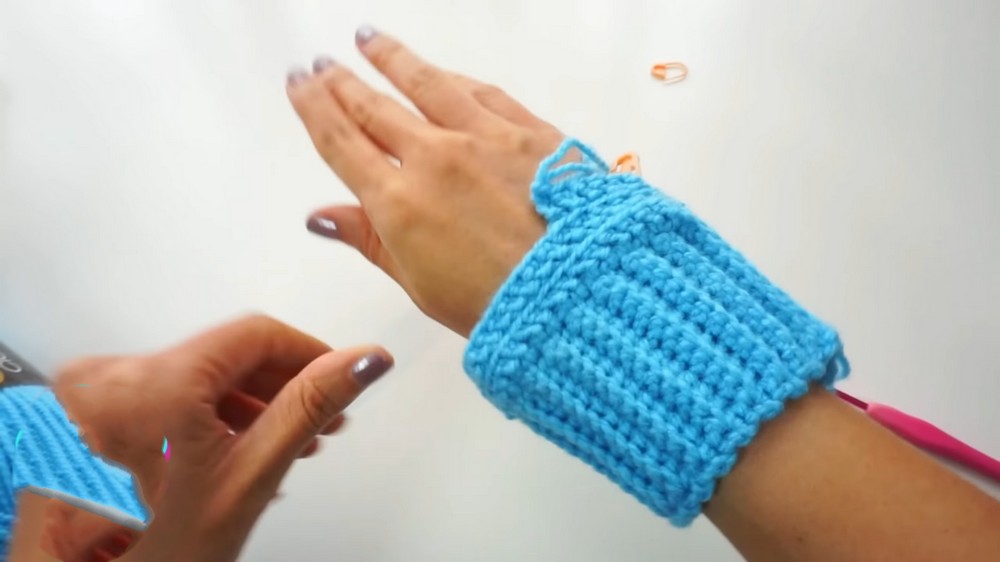
Moving from the cuff, a spiral stitching technique is used to form the body of the fingerless mitten. This spiral design not only ensures an elegant, continuous flow but also avoids any visible seams, giving the mitten a polished appearance.
The pattern allows for the creation of crucial functional components such as the thumb opening. This section requires extra attention, with precise stitch placement and skipping forming a neat, comfortable opening that accommodates free movement.
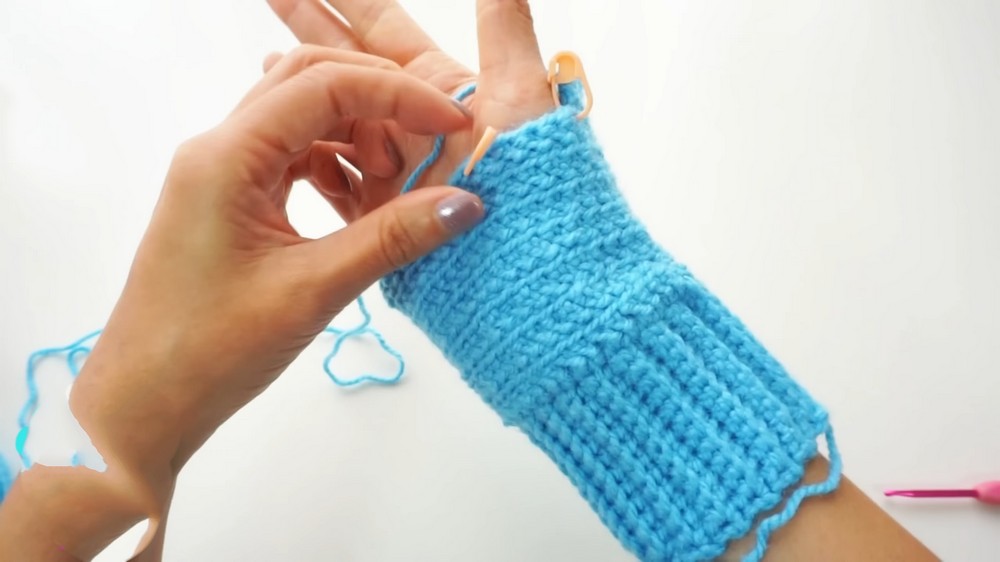
Finger openings are also crocheted thoughtfully, dividing the top portion of the mitten into tailored sections that allow ease of flexibility while keeping most of the hand warm.

Materials Needed
- Yarn: One ball of warm yarn (e.g., 100% acrylic or wool-like material). Mari used Silvia Classic yarn (100 g; 210 m).
- Crochet Hook: 3.75 mm recommended, or 3.5 mm if knitting loosely to ensure tight fabric for warmth.
- Other Tools: Wool needle, measuring tape, scissors.
Special Features
- Customizable Fit: The gloves can be sized for adults, children, or babies based on measurements (6 cm for adults, 4 cm for children, and 2–3 cm for babies).
- Finger Openings: Includes strategically placed holes for fingers, making them functional fingerless gloves.
- Spiral Stitching: The gloves are crocheted in a spiral to achieve seamless edges, giving the project a professional finish.
- Double Crochet Variation: A modified double crochet stitch is used to create unique texture and design.
- Adaptable Design: The project can be adjusted depending on your preference for yarn type, size, or styling.
Level of Difficulty
- Skill Level: Beginner to Intermediate. Beginners will appreciate the clear instructions for foundational techniques like slip knots and basic stitches, while intermediate crocheters will find value in the spiral stitching and custom measurements.
- Challenges:
- Keeping an even measurement throughout the project.
- Adjusting based on hand size and ensuring symmetry for both gloves.
Tutor’s Suggestions
- Tailoring the Measurements: Mari recommends crocheting based on individual wrist and finger sizes for a perfect fit. Measure each section frequently to ensure accuracy.
- Yarn Selection: Choose a warm material since the gloves are designed to provide warmth.
- Adjusting Hook Size: If you tend to crochet loosely, use a smaller hook size than the one recommended by the manufacturer for tighter fabric.
- Markers: Use stitch markers to identify row beginnings and endings for cleaner finishes.
- Skill Enhancement: Mari encourages viewers to explore Skillshare for creative classes such as crochet techniques or organizational tools like Notion.
Uses and Applications
- Purpose: These gloves are ideal for keeping warm while maintaining dexterity for outdoor activities or working in colder climates.
- Customization: The gloves can be styled for adults, kids, or babies and personalized by using textured yarns or colors.
Tip
To ensure the gloves fit perfectly, try them on frequently as you crochet each section. Adjust measurements or stitch counts based on personal comfort and hand size.
Step-by-Step Details
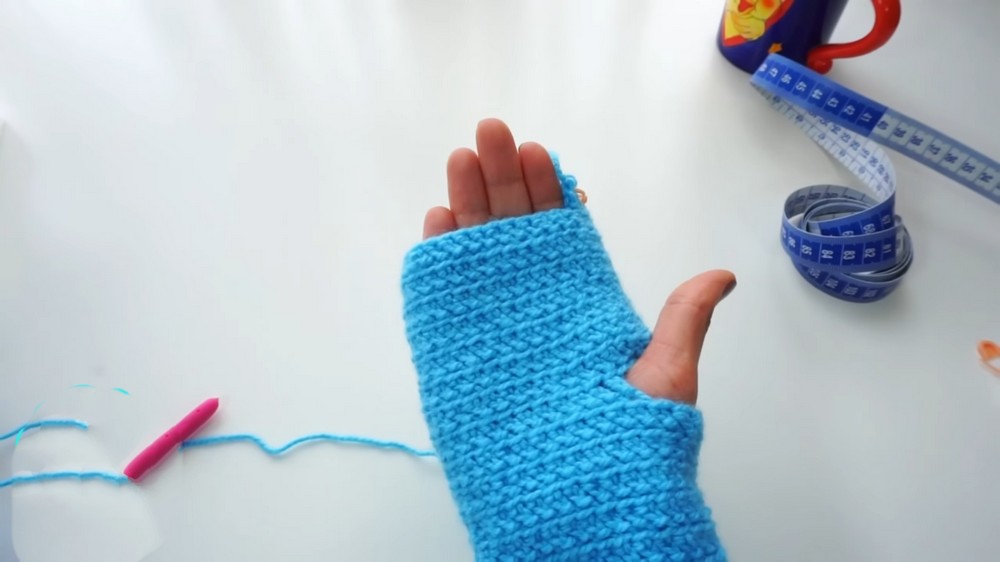
In this tutorial, Creator presents a practical project for crocheting fingerless gloves. The gloves are designed with openings for fingers, making them more comfortable and wearable while maintaining warmth. The tutorial emphasizes flexibility, adaptability, and the use of personal measurements to ensure the gloves fit perfectly.
Conclusion
Crochet glove tutorial is a well-rounded guide that combines practical functionality, warmth, and customization. The fingerless gloves are easier to wear and remove, making them a stylish and useful accessory for cooler seasons.