

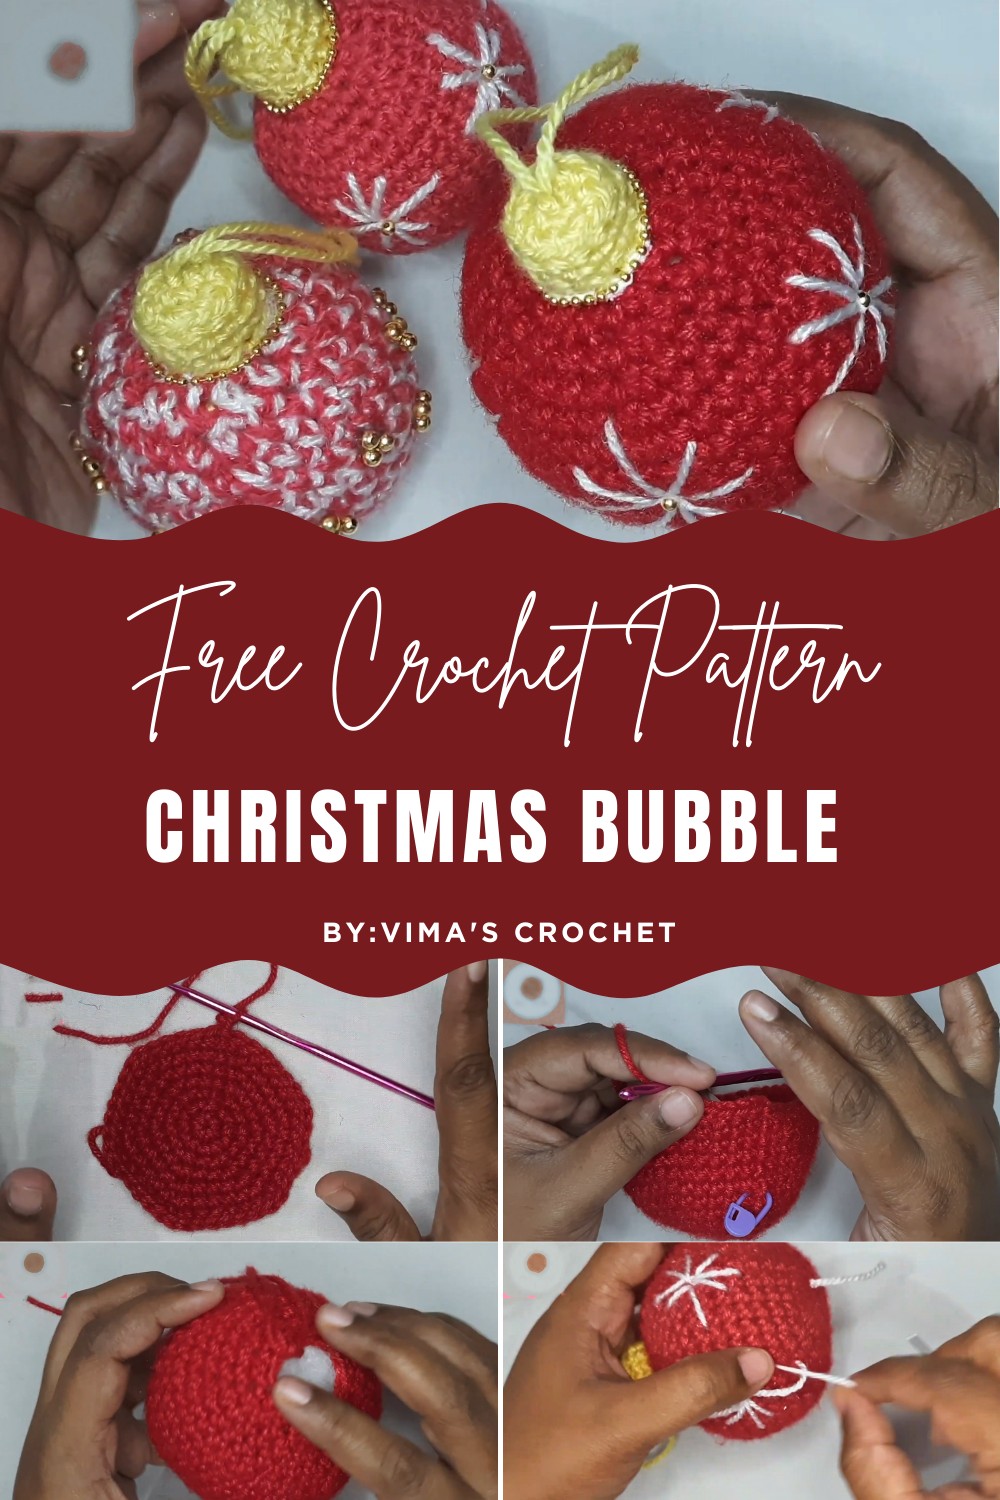
Free Crochet Christmas Bubble Pattern That Shines on Any Tree
Celebrate holiday cheer with the Free Crochet Christmas Bubble Pattern, a festive way to decorate trees, gifts, and spaces with handmade charm.
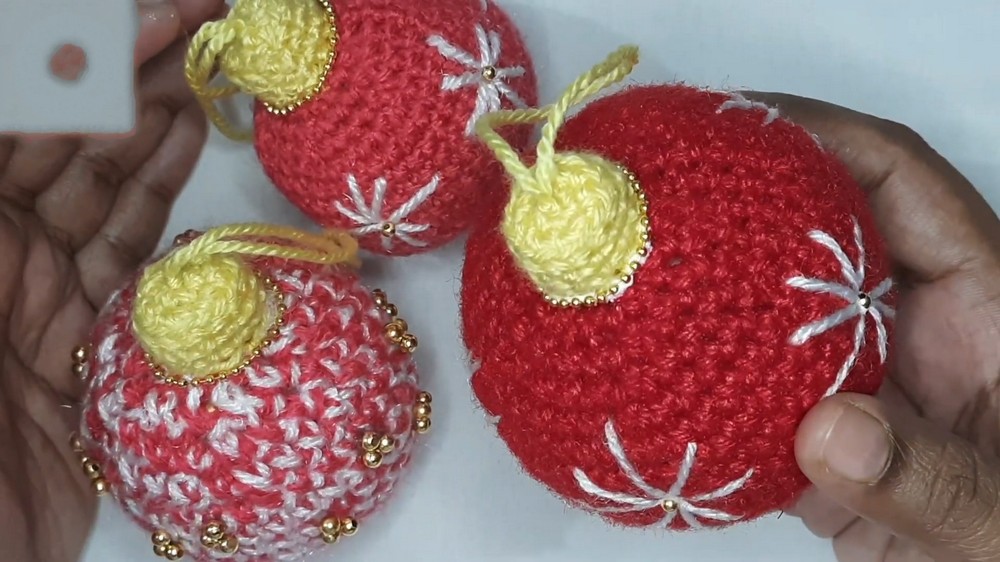
On frosty winter evenings, it’s often the little details that bring warmth and cheer to the season. Decorative accents have always played a key role in holiday traditions, filling homes with brightness and charm. The Free Crochet Christmas Bubble Pattern offers a delightful way to capture that festive spirit in a soft, handmade form. With its rounded structure and cheerful appeal, it makes an excellent ornament for the tree, a thoughtful handmade gift, or even a whimsical accent to holiday table settings.
Bright Crochet Christmas Bubble Pattern to Charm Your Holidays
The process involves forming a spherical shape that holds its structure beautifully, giving the finished piece both durability and charm. Each bubble takes shape through a sequence of rounds that gradually build up volume, resulting in a plump and eye-catching decoration. The simplicity of the technique makes it approachable for various skill levels while still offering a polished and festive result.
One of its greatest benefits lies in versatility whether styled in traditional holiday colors, sparkling metallic yarns, or soft neutrals, these bubbles adapt effortlessly to personal taste. Beyond seasonal décor, they can also serve as keepsakes to treasure or as playful elements in handmade garlands. The Free Crochet Christmas Bubble Pattern adds joy, color, and personal touch to any festive celebration.
Special Features of the Christmas Bubble Ornament
- Customizable Design: Choose your favorite yarn colors and weights to achieve varying sizes and styles.
- Versatile Decoration: The ornament can be embellished with beads, chains, or glitter to give it a festive and personalized touch.
- Lightweight and Durable: The design focuses on gentle stuffing to ensure the ornament hangs gracefully on your tree.
- Multi-Purpose: The ornament can be scaled up or down, making it suitable for decorating not only trees but also garlands and tables.
Materials Needed
- Yarn:
- A 4-medium-weight yarn for the bubble (e.g., red, or any color you prefer).
- A 3-ply or thinner yarn for the cap (e.g., yellow, gold, or a complementary color).
- A white yarn for the decorative star (preferably lighter than the medium weight).
- Crochet Hook:
- 4.5 mm hook for the bubble.
- 3.5 mm hook for the cap, if using a thinner yarn.
- Needles:
- A larger yarn needle for the thicker yarn.
- A smaller needle for thinner yarns.
- Stuffing: Lightweight stuffing material for shaping the bubble.
- Beads and Chain:
- Optional small beads for the center of the star.
- Beaded chain for wrapping around the bubble cap.
- Fabric Glue: For attaching beads or decorative elements.
- Miscellaneous Tools: Stitch markers and scissors.
Step-by-Step Instructions
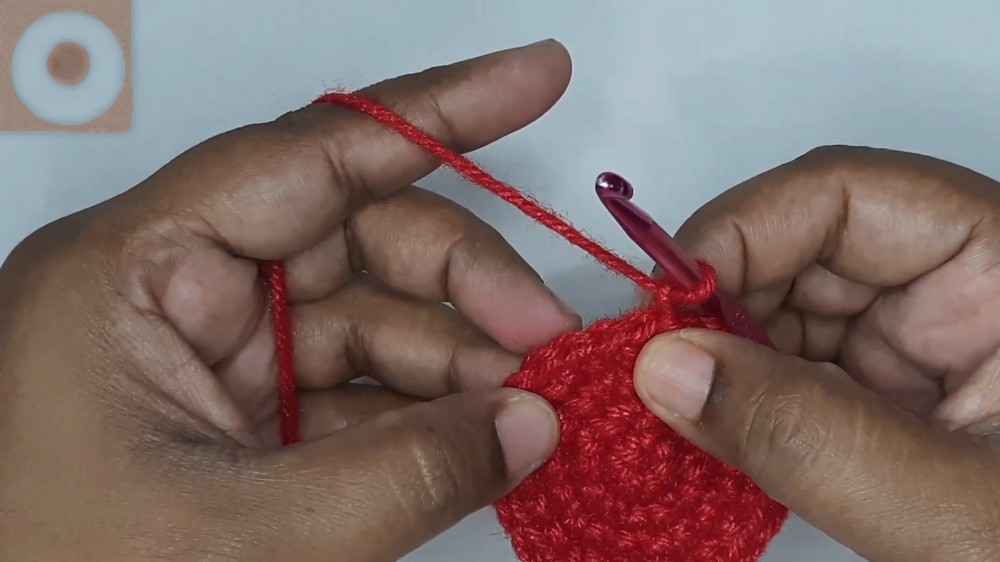
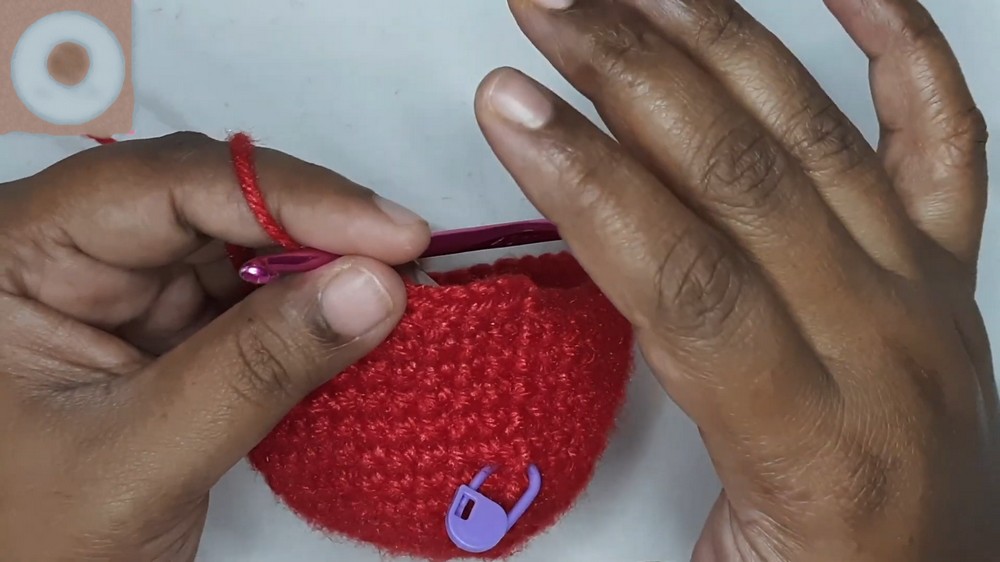
Step 1: Crochet the Bubble Base
- Create a magic circle, chain 1, and crochet 6 single crochets into the circle. Pull the tail to close the circle and slip stitch to join.
- Begin increasing by crocheting 2 single crochets into each stitch (12 stitches total). Slip stitch to join.
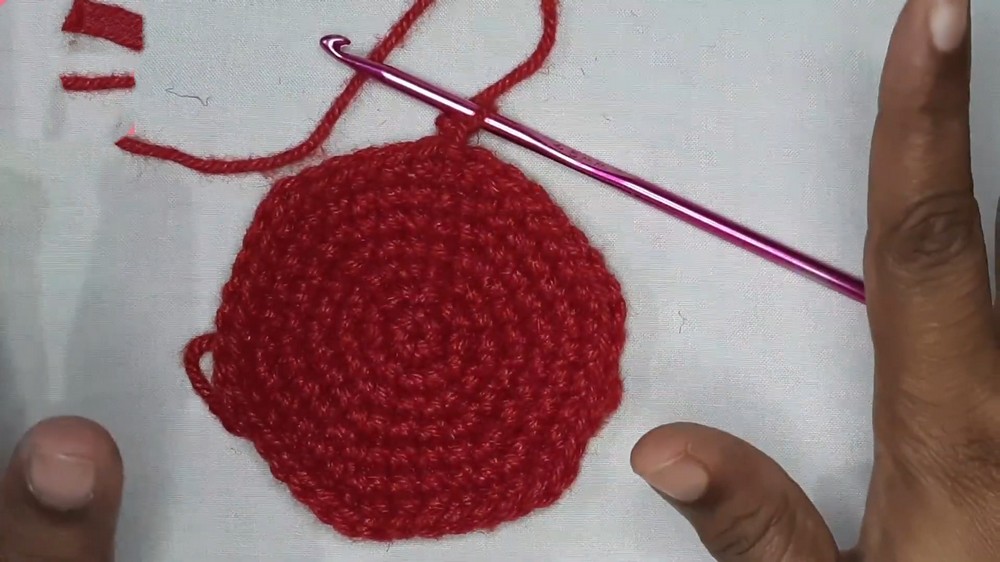
- Continue increasing for several rounds as follows:
- Round 2: Alternate 1 single crochet and 2 single crochets in the next stitch.
- Round 3: Alternate 2 single crochets and 2 single crochets in the next stitch.
- Continue increasing with 3, 4, and 5 single crochets before each 2-single-crochet increase.
- After completing these rounds, crochet single crochets for 5 consecutive rounds without increasing, using a stitch marker to track progress.
Step 2: Crochet the Bubble Decreases
- Begin decreasing by crocheting 5 single crochets followed by a decrease using the front loops of the next 2 stitches. Repeat for the entire round.
- Continue decreasing for the next rounds, reducing the number of single crochets before each decrease:
- Round 1: Decrease after 5 stitches.
- Round 2: Decrease after 4 stitches.
- Round 3: Decrease after 3, then 2, and finally 1 stitch until only a small circle remains.
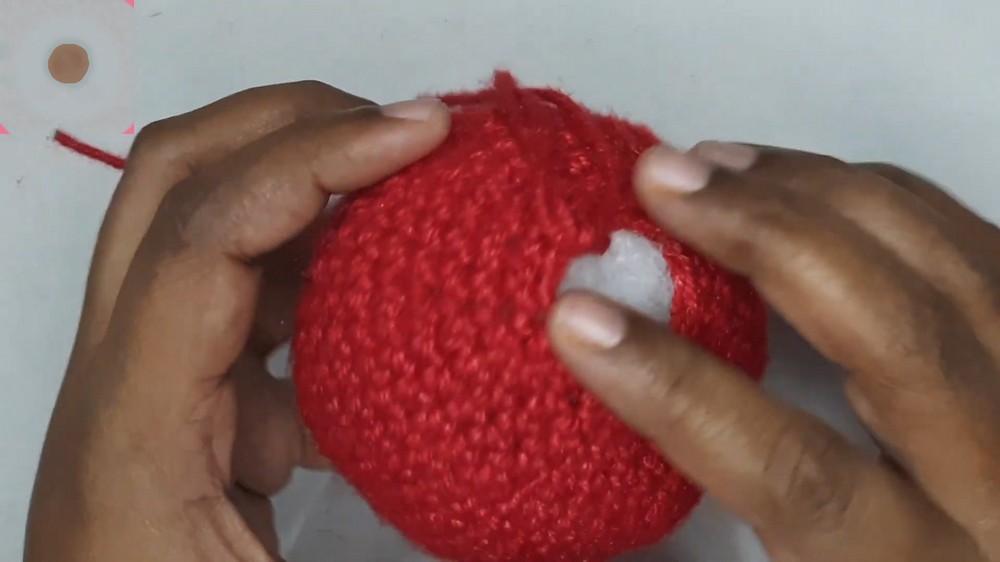
- Stuff the bubble lightly to make it round and ensure it hangs well.
Step 3: Close the Bubble
- Crochet 2 front loops for single crochets until there are 6 stitches left. Slip stitch to close.
- Use a yarn needle to cinch the remaining stitches tightly, securing the shape.
Step 4: Crochet and Attach the Cap
- Use a thinner yarn (or the same medium weight if preferred) to make a magic circle and chain 1. Crochet 6 single crochets into the circle. Pull the tail to close and slip stitch to join.
- Increase by crocheting 2 single crochets into each stitch (12 stitches total).
- Work 3 rounds of single crochet stitches in the back loop only (no increases). Add light stuffing for structure.
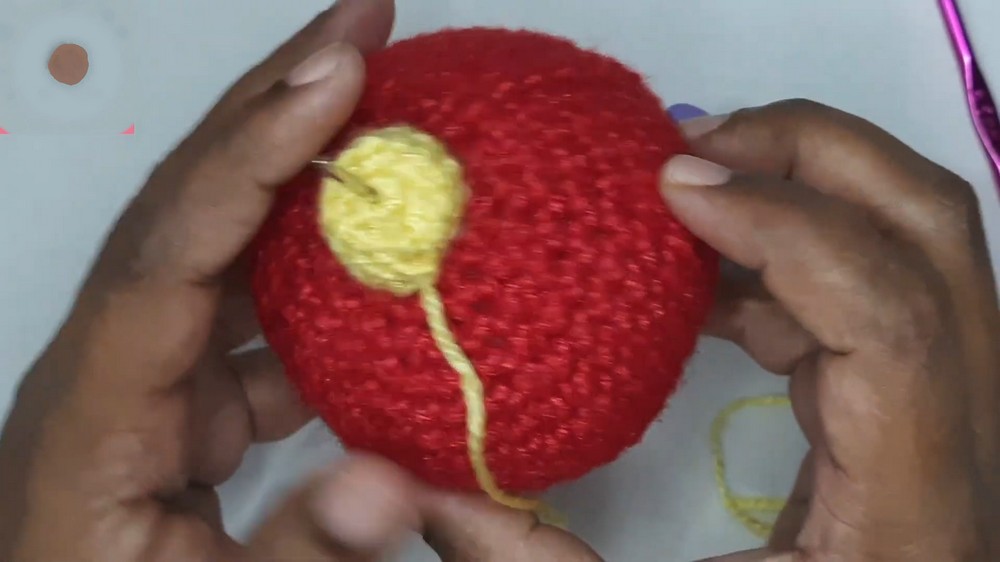
- Attach the cap to the bubble using a needle and stitch around securely.
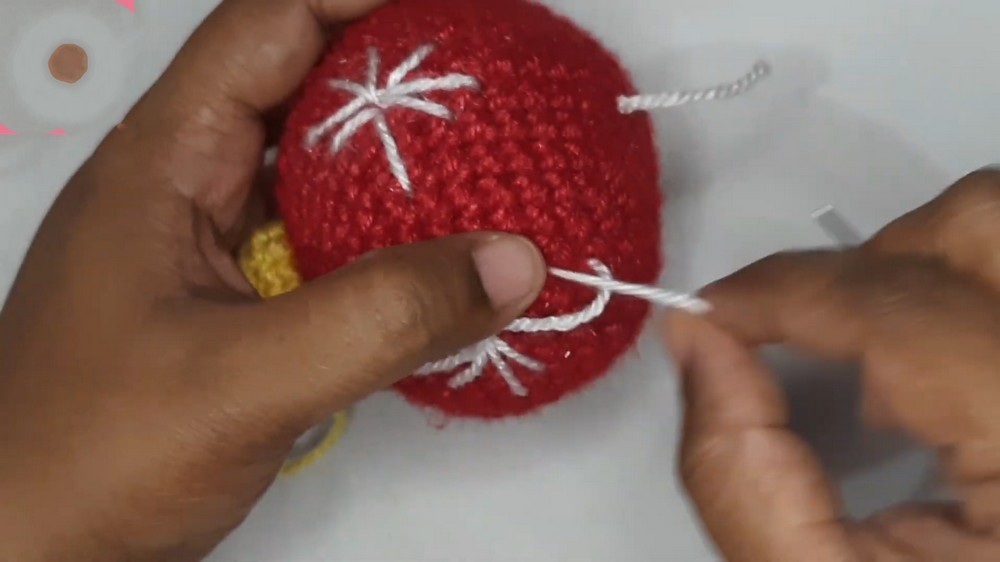
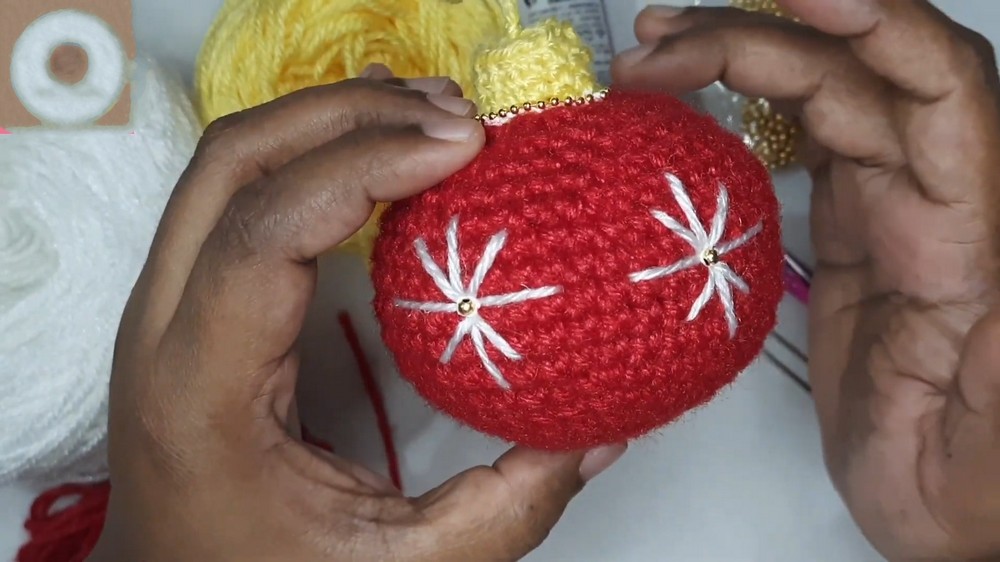
Step 5: Add the Star Design
- Use white yarn to create points of a star on the bubble. Work the yarn through strategic stitches in the bubble, skipping specific rounds and stitches to create a symmetrical design.
- Add a bead to the center of the star using fabric glue or glue gun for extra detail.
Step 6: Decorate the Cap
- Wrap a beaded chain around the cap to add sparkle, gluing it in place. Alternatively, stick beads directly to the cap.
Level of Difficulty
This project is beginner-friendly, though it may require some experience with crocheting increases, decreases, and working in specific loops. The embellishments and finishing touches can be tailored to fit your skill level.
Tutor’s Suggestions
- Use Versatile Materials: The tutor recommends exploring different yarn weights and colors to create ornaments in varying sizes.
- Keep the Bubble Lightweight: Only fill enough stuffing to give the bubble a round shape, ensuring it doesn’t sag on the tree.
- Experiment with Designs: Customize the star pattern and cap colors to match your holiday decor.
- Be Creative with Decorations: You can use larger beads, glitter, or other decorative elements to make your ornaments unique.
Uses of the Christmas Bubble Ornament
- Christmas Tree Decoration: A perfect addition to holiday decor.
- Gifts: Handmade ornaments make thoughtful and personalized presents.
- Holiday Craft Projects: Engage kids or crafting groups in making these festive ornaments.
Tip for Success
When working on decreases, use only the front loops to give the bubble a smoother finish. This technique ensures the shaping is subtle, preserving the ornament’s rounded look.
Conclusion
The Christmas bubble ornament is an enchanting and versatile project that combines creativity and practicality. With its customizable design, lightweight structure, and festive details, this ornament adds a personal touch to any holiday decor. Whether large or small, sparkly or simple, each bubble is unique and fun to make.


