Lovely Free Crochet Lace Blouse Pattern To Upgrade Your Wardrobe
Bring a fresh summer feel with this Free Crochet Lace Blouse Pattern that helps you enjoy a breezy blouse for daily wear and outdoor time.
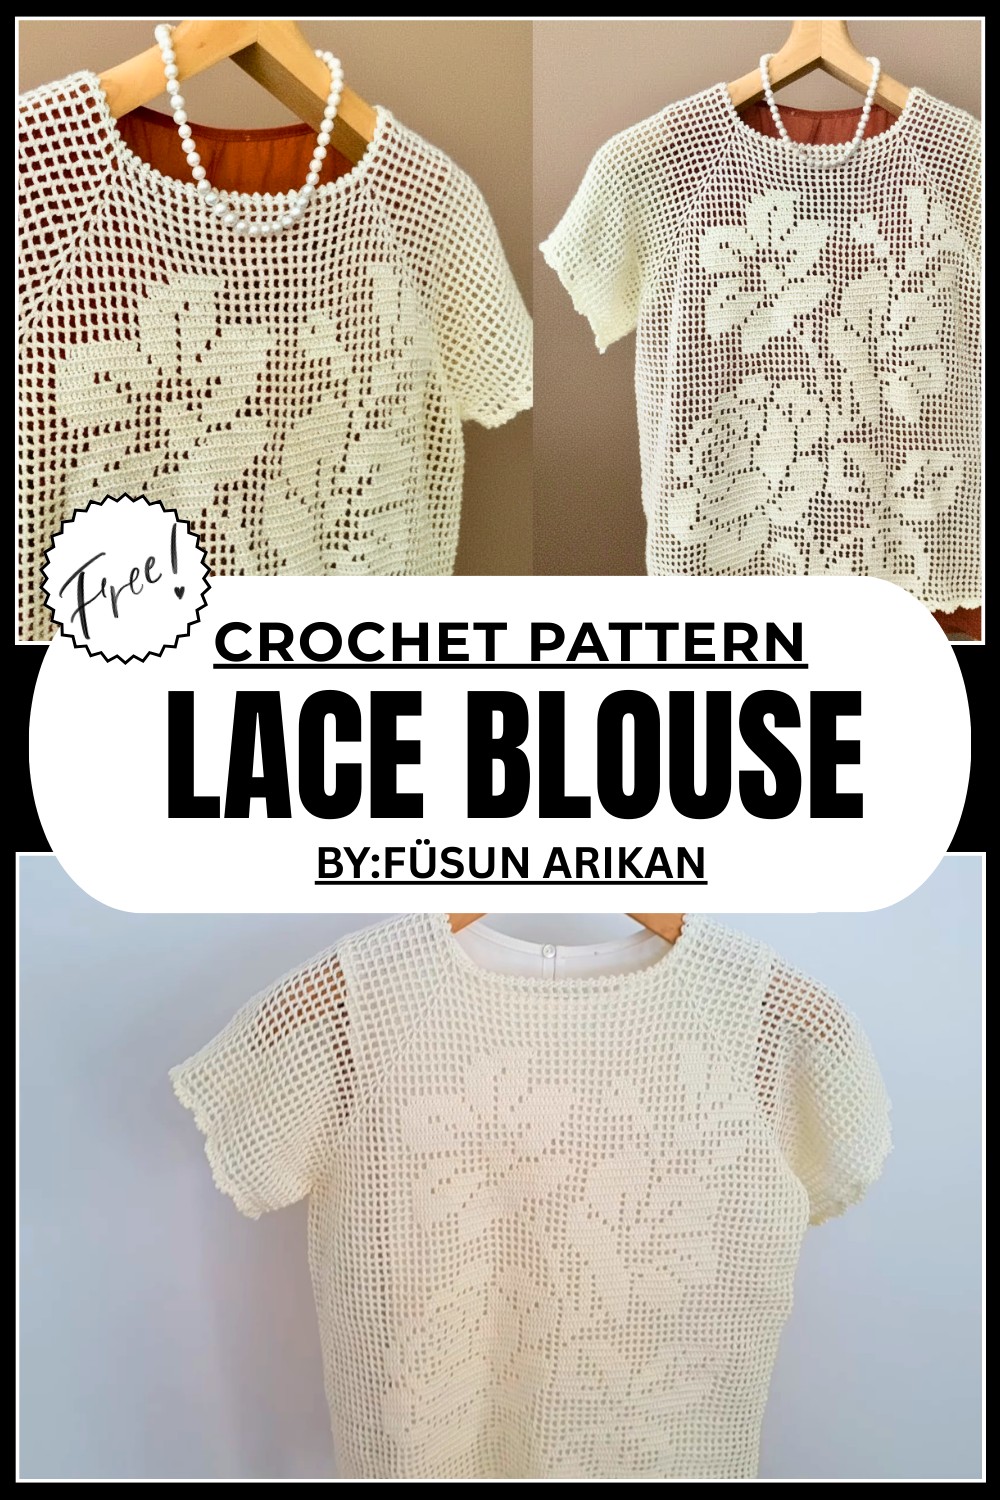 Free Crochet Lace Blouse Pattern for Stunning Summer Outfits
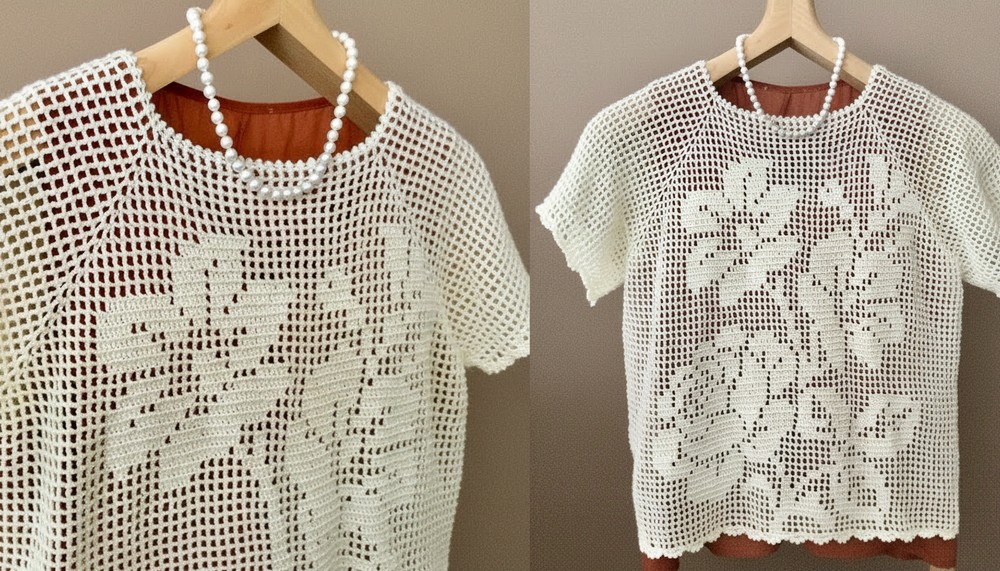
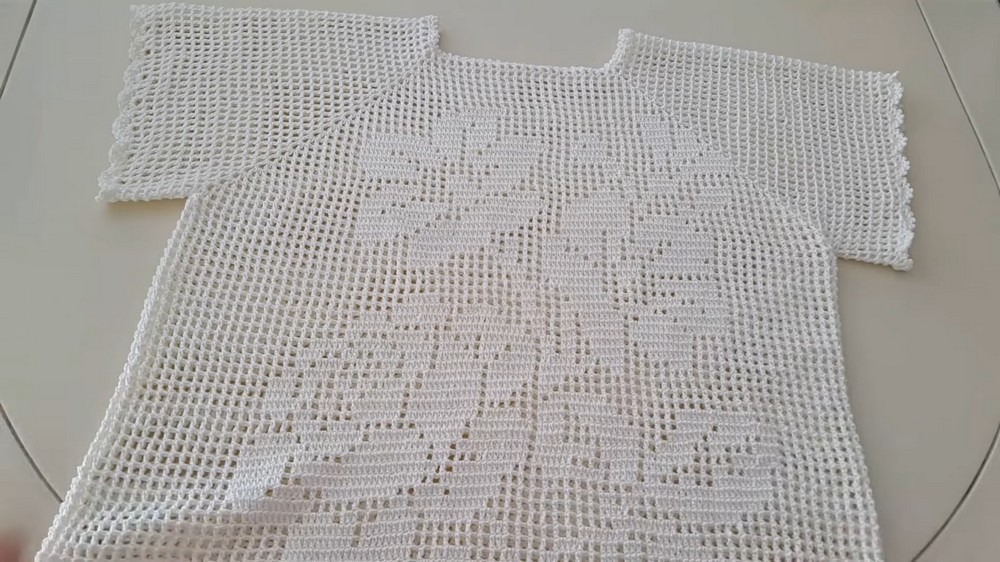
A free crochet lace blouse pattern is a beautiful and timeless design that is perfect for creating charming clothes. This blouse uses simple square chains, so it can be finished quickly without any hassle. Designed for sizes 38 to 42, it fits well and does not require changing the starting chain, making it ideal for beginner and experienced crocheters alike. You can customize its size by adding more rows and adjust the arms or body width if needed.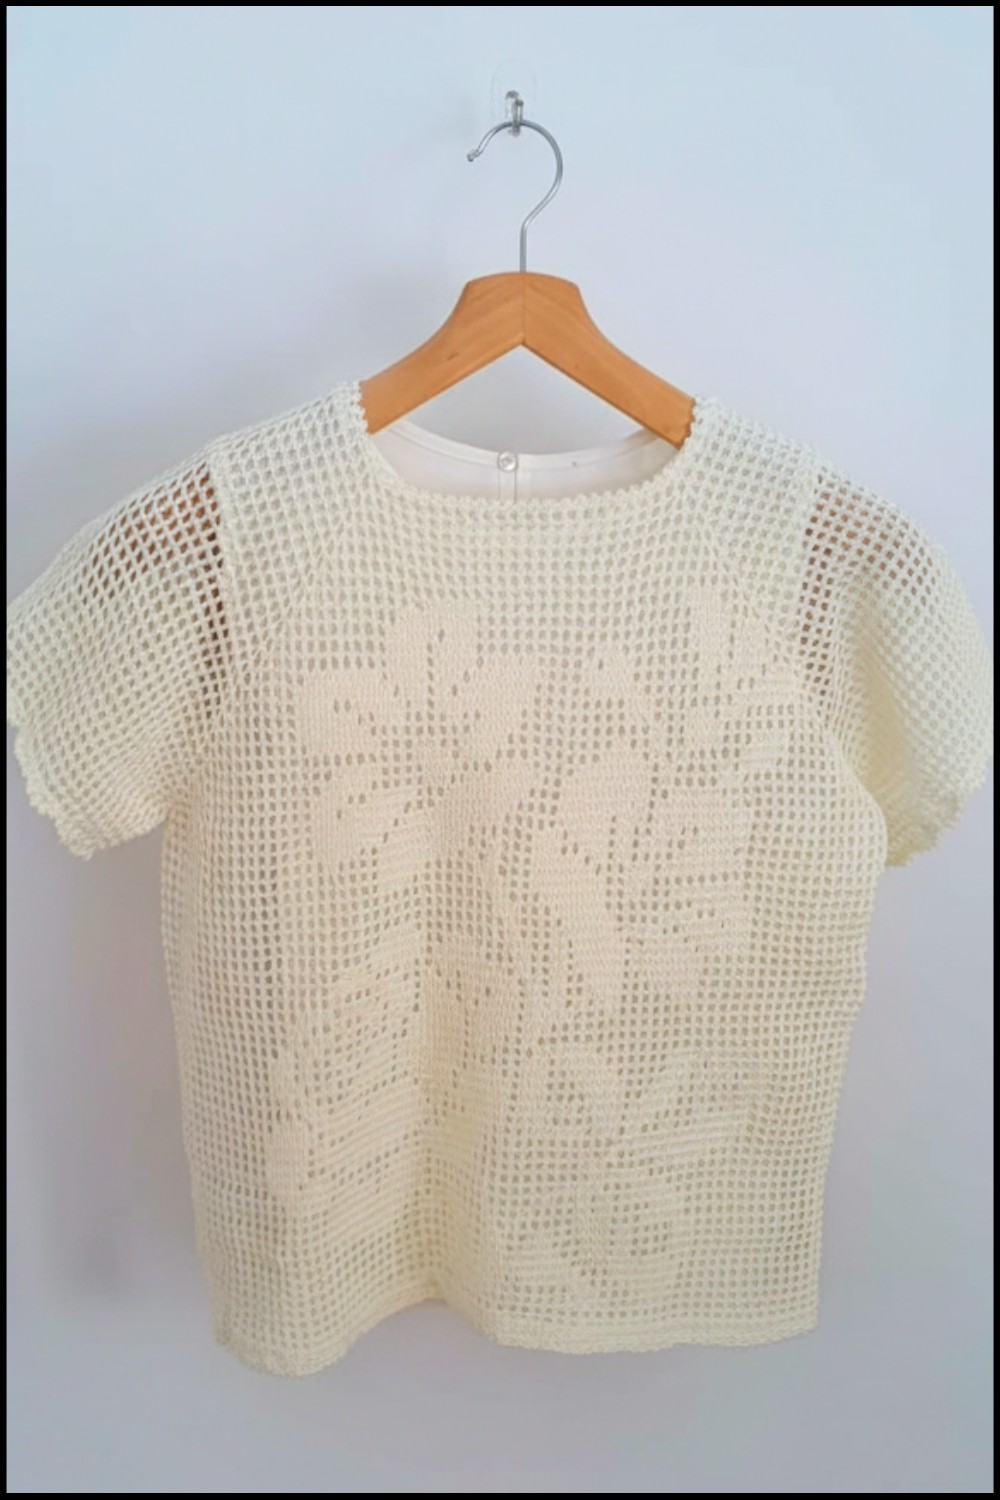
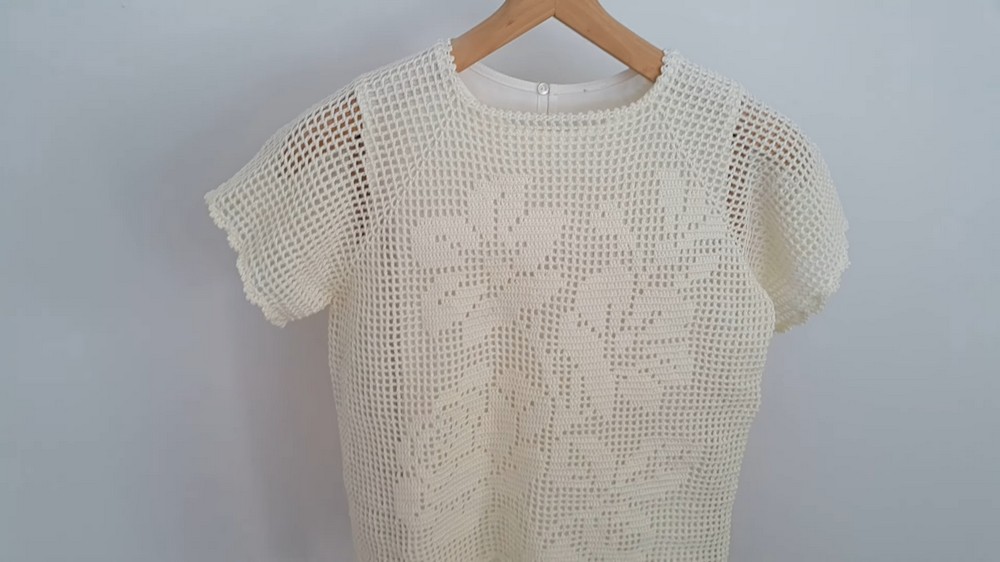
The blouse is very stylish and can be paired with skirts, pants, or a tank top to make the lace design stand out. Its fine stitchwork and lightweight yarn make it perfect for summer days. Using the Alize Diva yarn and a 2 mm crochet hook, this pattern creates an elegant and versatile look that can be worn for casual outings or more formal events.
Crochet Lace Blouse Pattern
Materials:
- Yarn: Alize Diva (Suggested Color: Cream, Code 62).
- Quantity: More than 300 grams (~3 balls of 100 g each).
- Crochet Hook: Size 2 mm.
- Additional Items:
- Tank top for inner layering (optional).
- Scissors.
- Wool needle for weaving ends.
- Steam Iron for Finishing: For light steaming.
Steps for Pattern Creation:
Step 1: Starting the Collar
- Pull 220 chains to start the collar. Ensure the chains are not twisted.
- Connect the beginning and end of the chain using a slip stitch to form a circle.
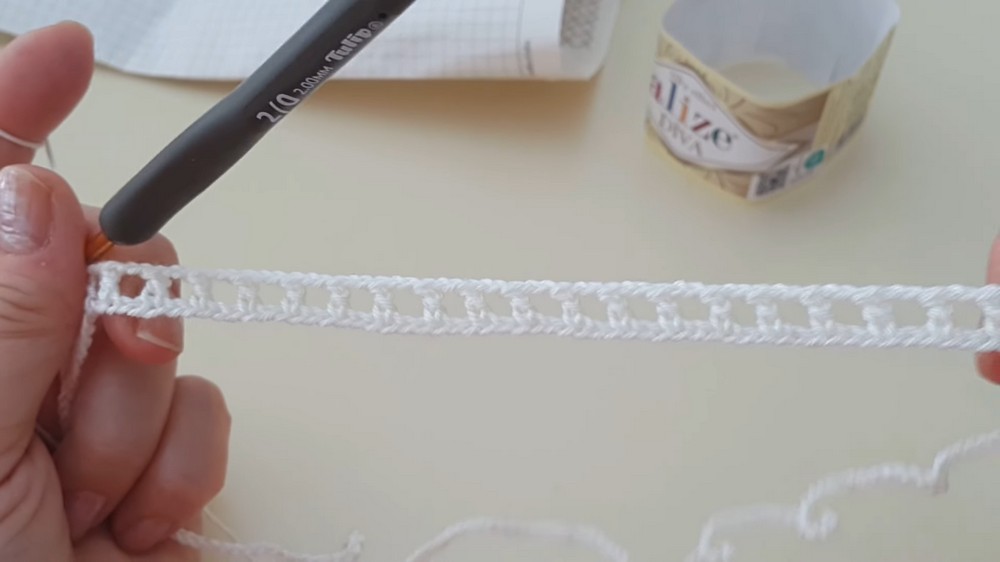
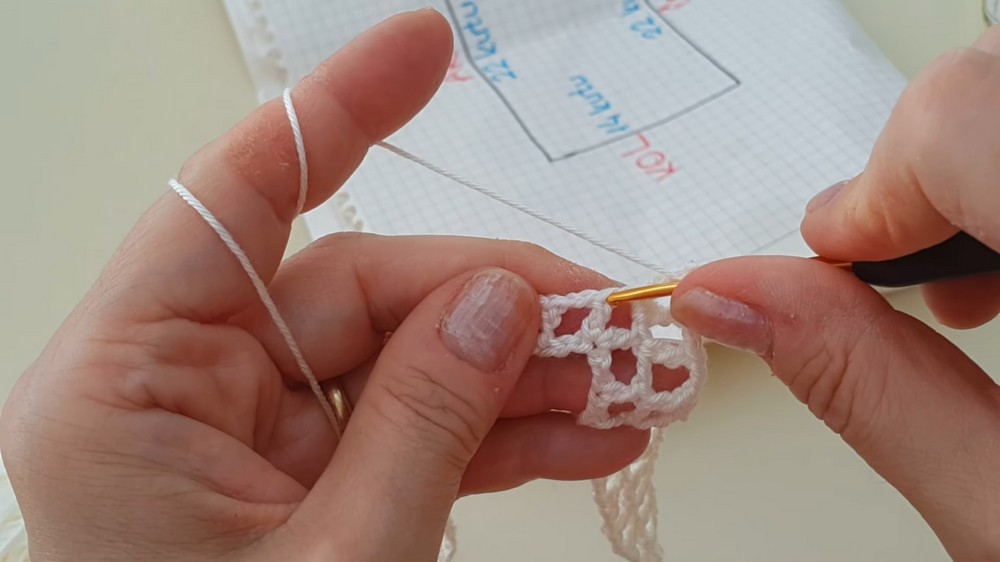
Step 2: First Row – Creating the Box Pattern
- Pull 5 chains and skip 2 chains, then sink into the 3rd chain. Make a triple crochet (treble stitch).
- Continue: After each triple crochet, pull 2 chains, skip 2 chains, and create the next triple crochet in the 3rd chain.
- This process will create rectangular "boxes" along the row.
- This process will create rectangular "boxes" along the row.
- Back Side: Create 22 boxes for the back collar.
- Front Side: Similarly, make 22 boxes for the front.
- Armholes: Form 14 boxes for each armhole area.
- At every corner: Pull 3 chains, make a triple crochet into the same chain to increase the corners slightly.
- At every corner: Pull 3 chains, make a triple crochet into the same chain to increase the corners slightly.
Step 3: Creating Straight Rows
- Continue knitting straight rows using the box technique for a total of 7 rows.
- At every corner, pull 3 chains to maintain regular increases.
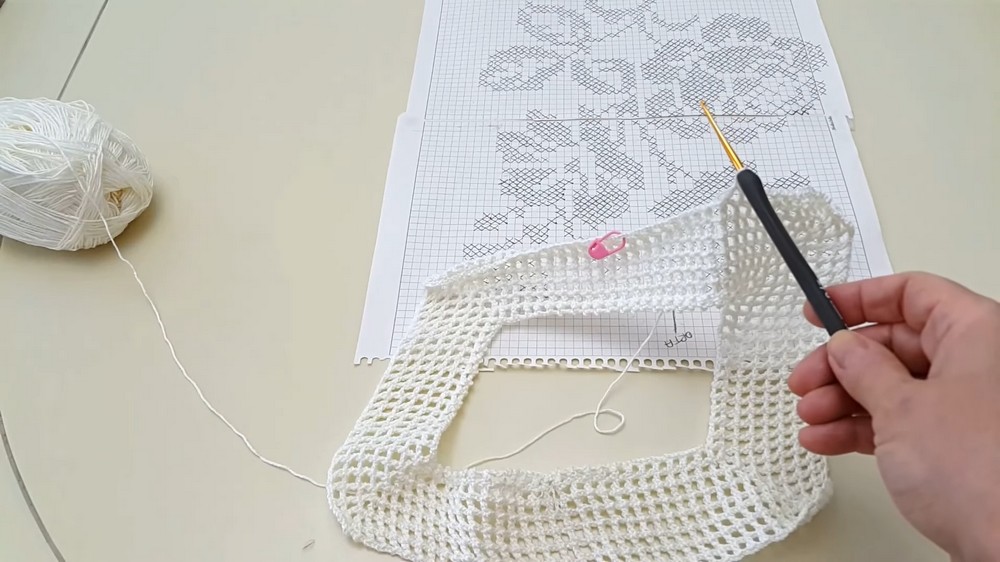
Step 4: Adding the Pattern
- After 7 rows, introduce the design in the collar area.
- Refer to the diagram: Mark 8 squares before the center point (this will serve as the starting position for the pattern).
- Switch between filled boxes (made by triple crochets entirely filling a square) and empty boxes across the design.
- Example: The first pattern row will include 5 filled boxes followed by 16 empty boxes, then 3 filled boxes at the end.
- Continue creating rows by following the filled and empty diagram for the blouse’s visual pattern.

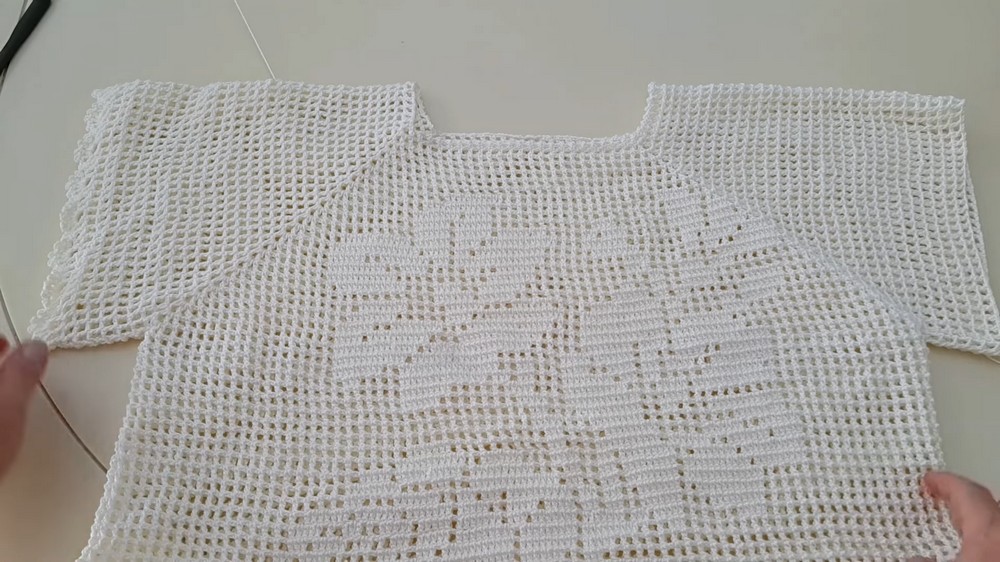
Step 5: Body and Arm Separation
- After completing 24 rows (around 17.5 to 18 cm from the collar):
- Separate the body and arms. Connect the arm sections directly by joining their corners with double dipping into them.
- If you’d like the body wider, pull chains to extend the connection between the arm sections.
- Finish the body by crocheting in rounds without altering the pattern. Continue until the desired body length is achieved.
- Recommended Body Length: ~33 cm from underarms (~47 cm from the collar).
- Recommended Body Length: ~33 cm from underarms (~47 cm from the collar).
Step 6: Extending the Sleeves
- Start crocheting normal box rows under the arm section without increasing or decreasing stitches.
- Crochet round and round for 7 rows (or as desired) to extend the arm sleeves.
- You can adjust this for short sleeves or long sleeves based on your preferences.
- You can adjust this for short sleeves or long sleeves based on your preferences.
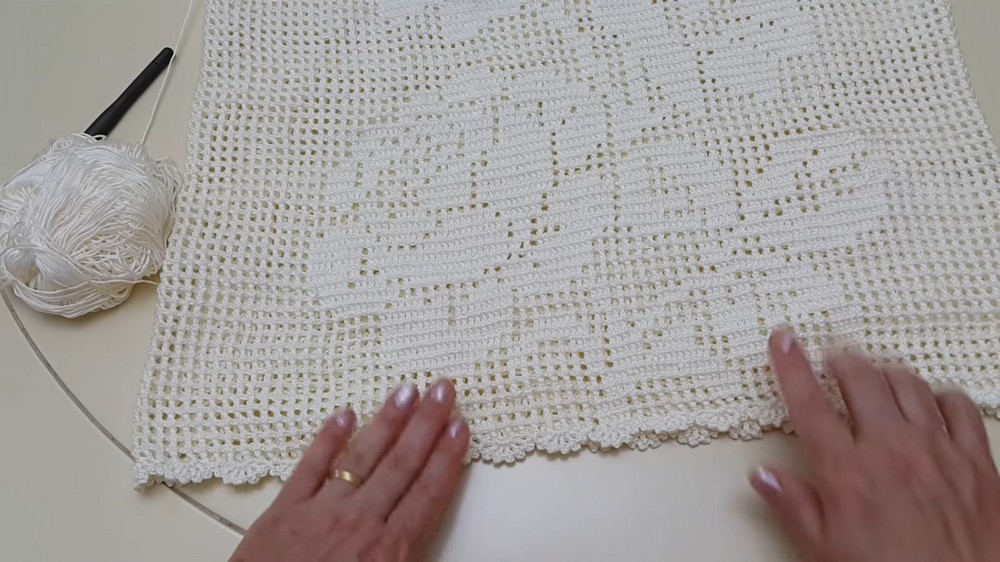
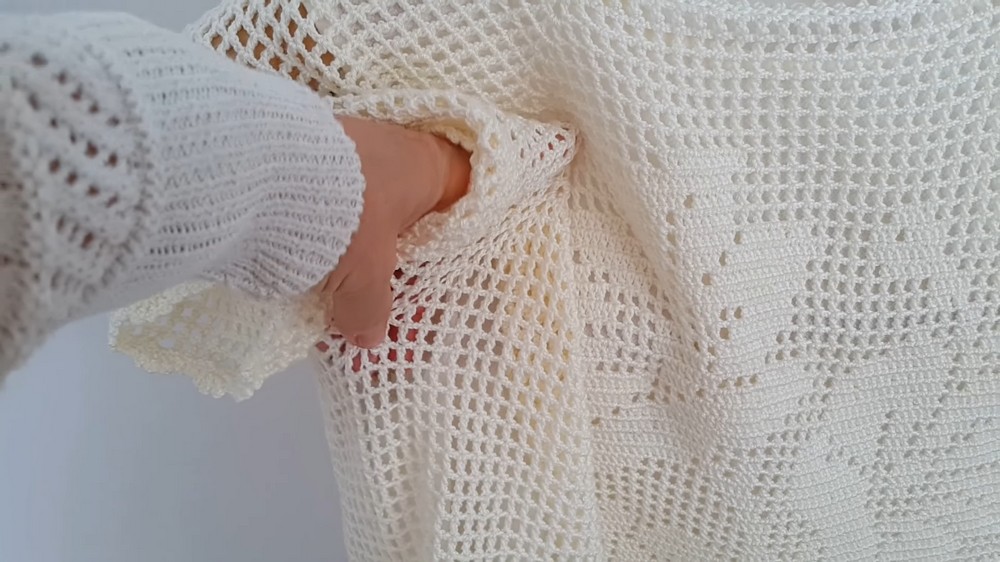
Step 7: Adding Decorative Edges
For Hem and Sleeves:
- Create ornamental edges using the following technique:
- Wrap the yarn, skip one box, and make triple crochet clusters within the next box.
- Pull 3 chains between each triple crochet cluster.
- Continue forming 5 triple crochet clusters per marked box.
- Skip one box and pinch the next one before repeating the process.
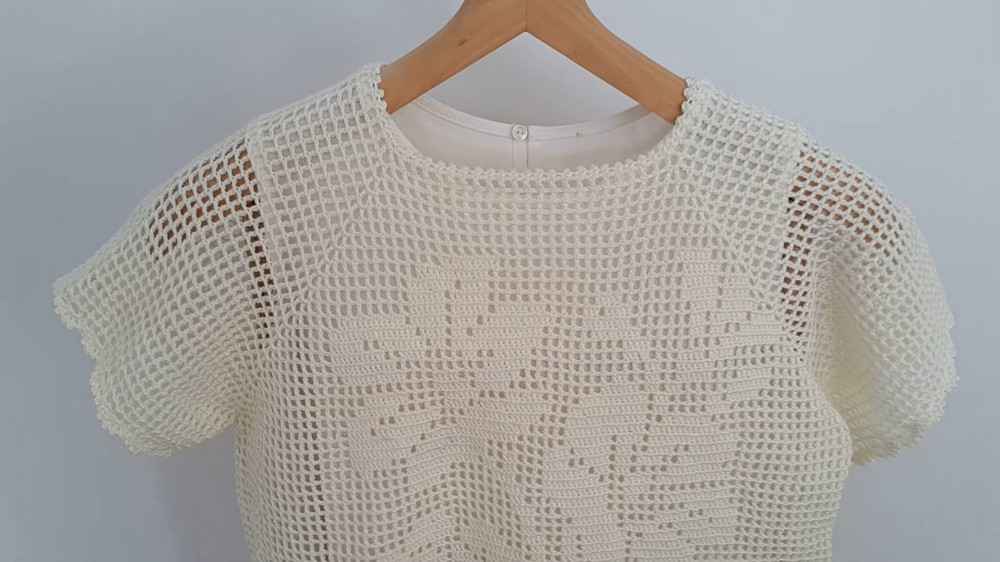
For Collar:
- Create a smaller ornamental edge around the collar as follows:
- Pull 3 chains, pinch the gap, and repeat for the next gap.
- Directly move to the next section without chaining in between.
Finishing the Pattern:
- Lightly steam the entire blouse after completing the work.
- Place the blouse flat and ensure no direct iron contact with the yarn (Alize Diva may stretch under heat).
- Steam the edges and body to relax the stitches and bring out the final texture.
- Pairing Options:
- Wear over tank tops or camisoles for better visibility of the pattern.
- Match with skirts, pants, soft pearl necklaces, or accessories to suit occasions.
Final Words:
This blouse is an ideal summer project that offers elegance, creativity, and versatility. Its airy design and adjustable sleeves make it comfortable for all day wear. The unique almond stitch pattern and box designs will make the blouse a timeless addition to your wardrobe. Moreover, with its quick construction using square chains, even beginners can enjoy building this piece.
Tips to Maintain the Pattern:
- Ironing Caution: Always steam instead of ironing the blouse directly to prevent damage or unnecessary stretching.
- Careful Washing: Wash the blouse gently with cool water by hand to preserve its texture.
- Customization: Change the yarn color, sleeve length, or box size to personalize your blouse for different seasons or occasions.
- Regular Blocking: If the blouse loses shape over time, re block it by lightly stretching and steaming.
Enjoy creating a stunning handmade blouse that is perfect for casual outings, events, or even as a thoughtful crochet gift.