
Free Crochet Tube Top Pattern for the Ultimate Summer Look
Enjoy a fun project with this Free Crochet Tube Top Pattern, designed to keep you cool, stylish, and comfy in the summer heat.
Charming Free Crochet Tube Top Pattern for Every Summer Wardrobe
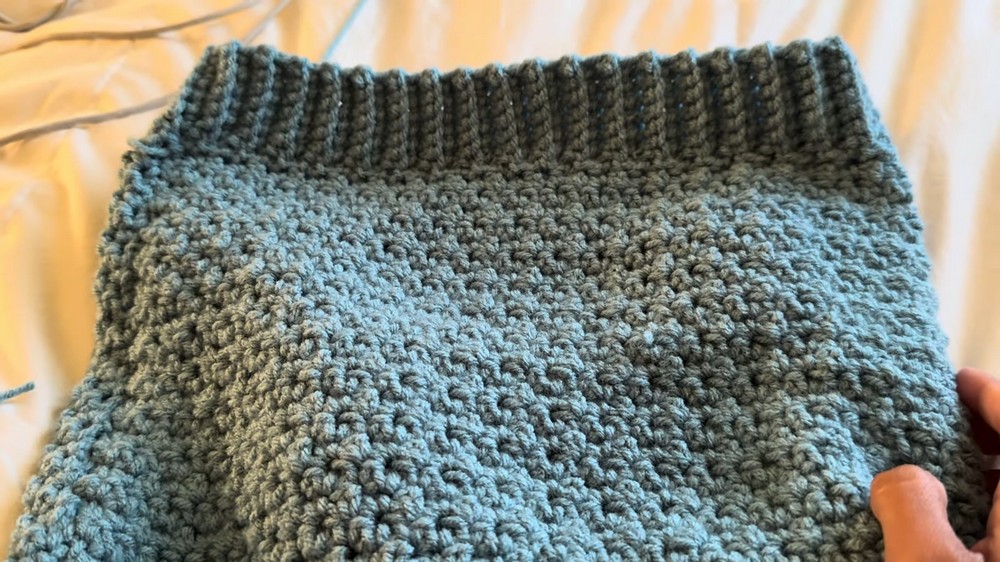
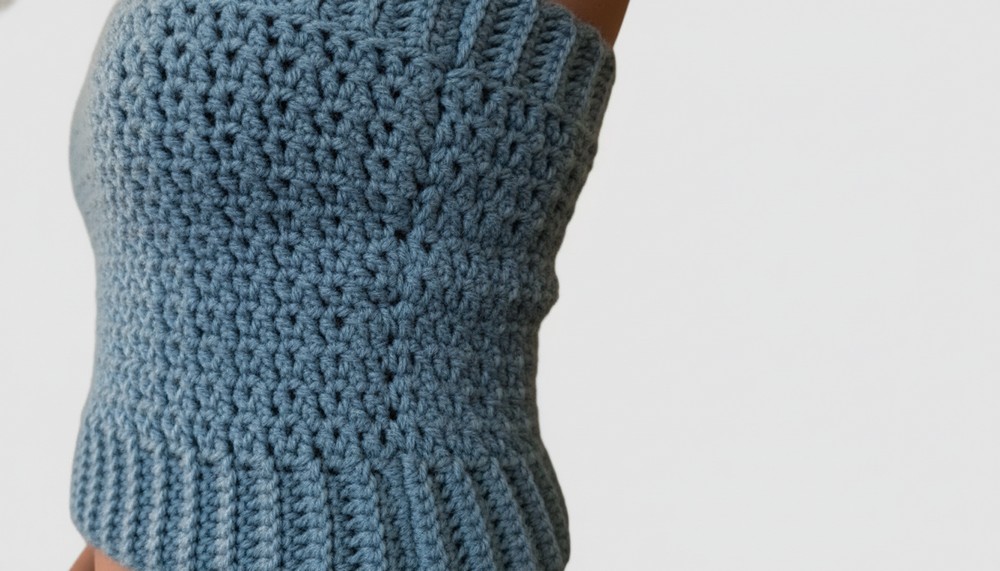
This free crochet summer tube top is the perfect way to add something unique and stylish to your summer wardrobe. With stretchy ribbed edges for a snug fit and the eye catching croissant stitch for added texture, this top is both beautiful and practical.
It’s easy to customize to your size, making it ideal for sunny days, casual hangouts, or beach outings. The lightweight and breathable feel keeps you comfortable while looking effortlessly trendy.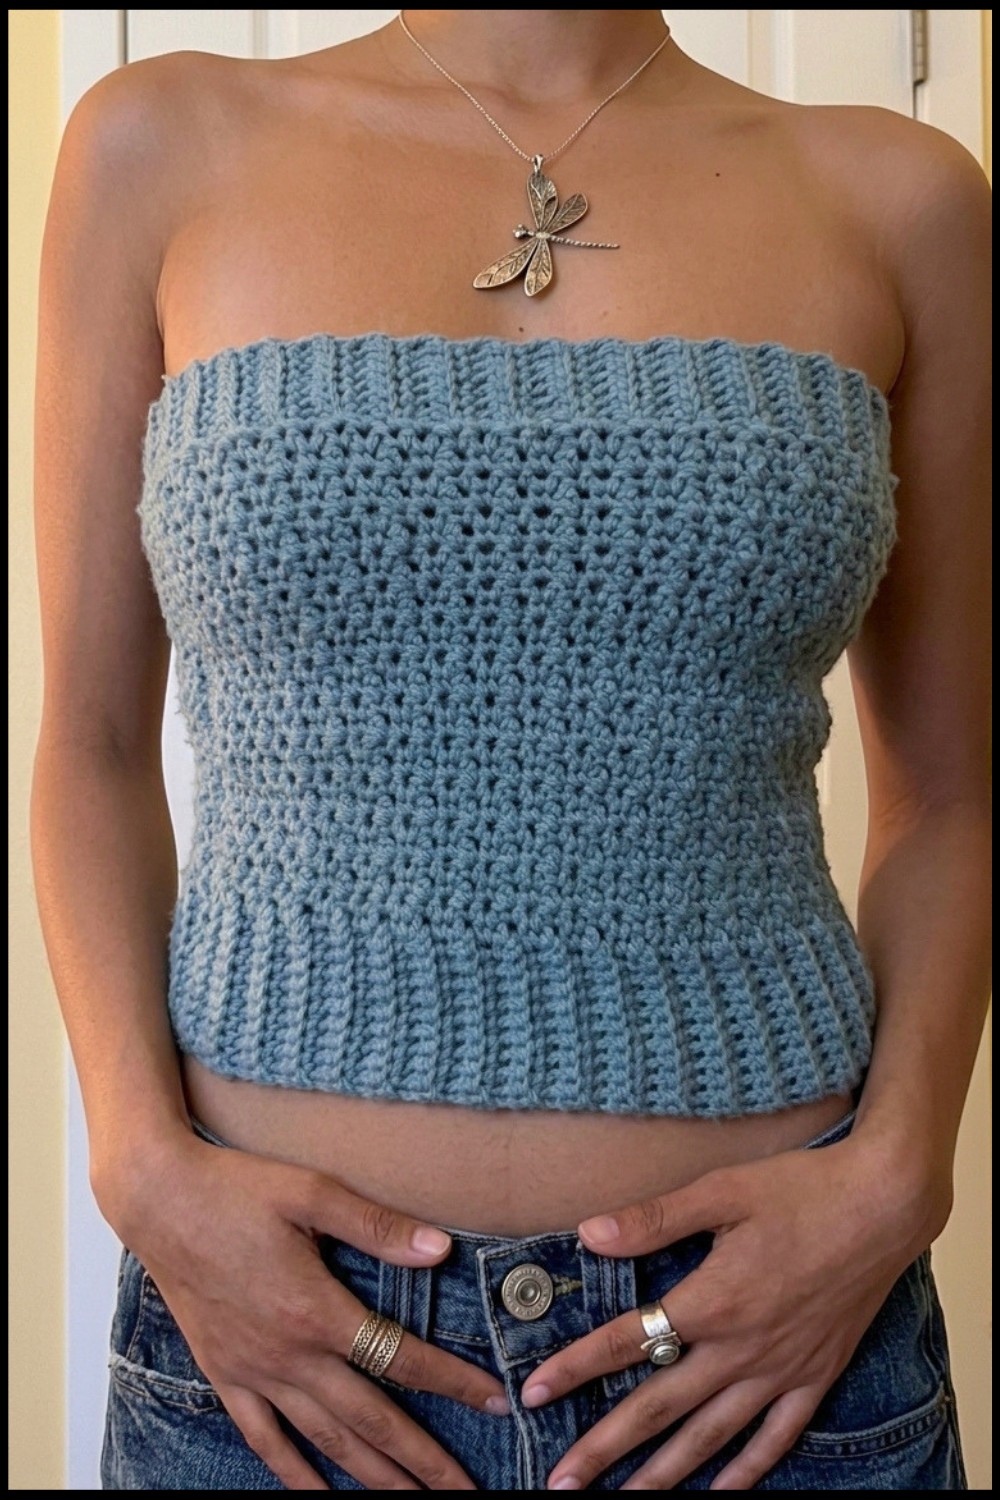 Even beginners can follow the simple instructions and enjoy making something they’ll love to wear. Brighten up your summer outfits with this fun to make, stand out tube top that’s perfect for any occasion.
Simple Crochet Tube Top Pattern
Materials Required
- Yarn: 100% acrylic yarn, weight category #4 (medium).
- Hook: 5 mm hook for ribbing and 4 mm hook for the body.
- Stitching Needle: For finishing and sewing parts together.
- Scissors: For cutting yarn.
- Measuring Tape: To measure your dimensions accurately.
Gauge
- Gauge Swatch: Measure how many stitches fit into a 2x2 inch square to ensure your top fits.
- Recommended gauge for single crochet: 4 stitches per inch and 4 rows per inch.
- Adjust hook size if needed to match the gauge.
Finished Size
This pattern is customizable to fit your measurements. Calculate the width of the ribbing based on the circumference of your waist or hips and adjust the body length to reach below your armpit for a snug fit.
Pattern Notes and Tips
- Sizing: Measure the largest part of your torso (waist or hips) to determine the width of the ribbing. Decrease by 2” to 3” to ensure a snug fit.
- Customization: Use stretchy yarn for a tighter fit or cotton yarn for less stretch. Adjust body length to your preference.
- Important Techniques Used:
- Back Loop Only: Create elasticity and texture for the ribbing.
- Croissant Stitch: Alternates single crochet and an elongated single crochet for added texture.
- Weaving Ends: Use a needle to weave yarn ends neatly to prevent unraveling.
- Pro Tip: Consider using markers to keep track of rows while crocheting.
Pattern Instructions
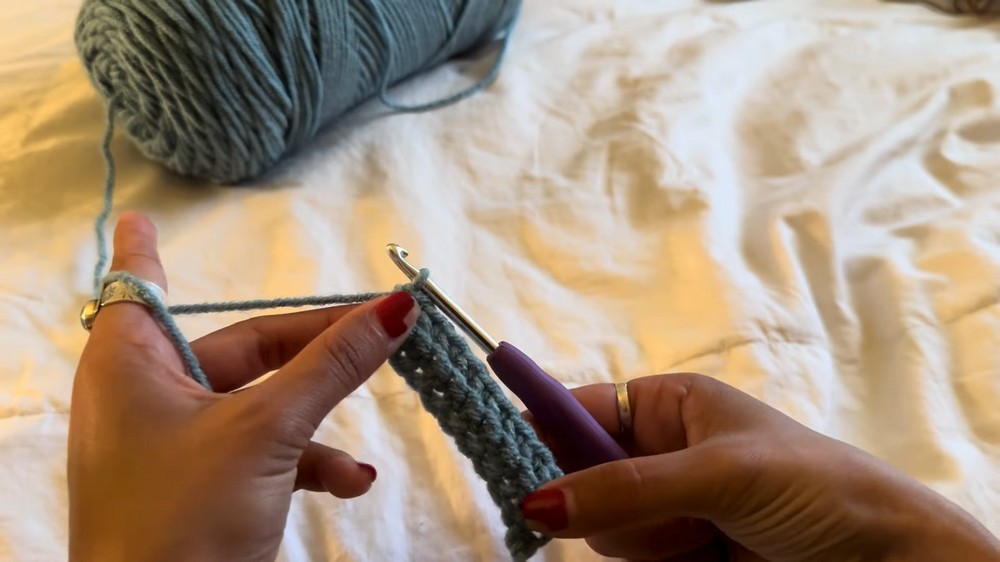
1. Bottom Ribbing
- Start with a slip knot: Create a slip knot on your 5 mm crochet hook.
- Chain 11: Chain 11 stitches to begin the ribbing.
- Row 1:
- Skip the first chain and work into the second chain.
- Single crochet (SC) across the row for 10 stitches. Chain 1 and turn your work.
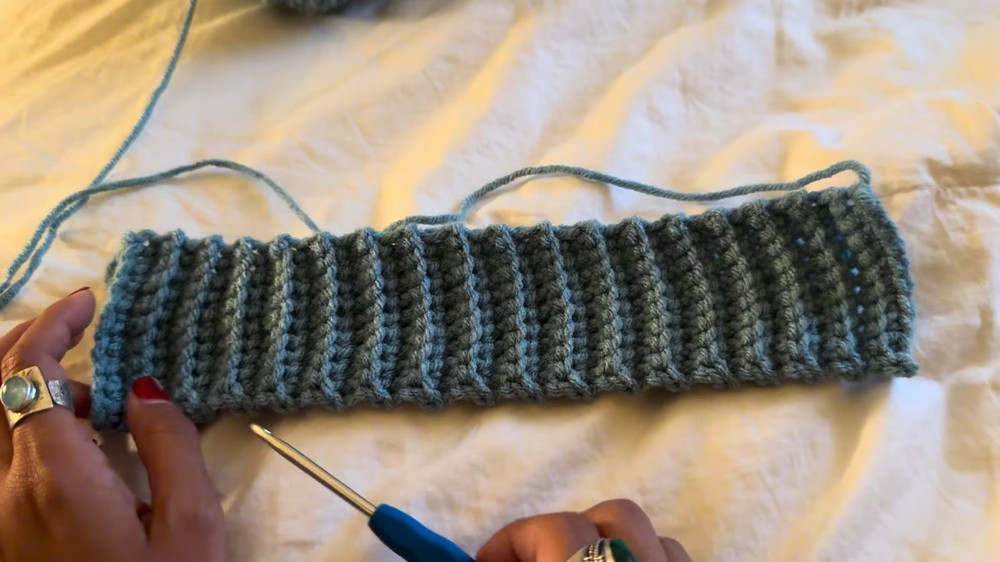
- Row 2 (Back Loop Only):
- Skip the turning chain and work into the back loop for each stitch across the row.
- SC into each back loop for a total of 10 stitches. Chain 1 and turn your work.
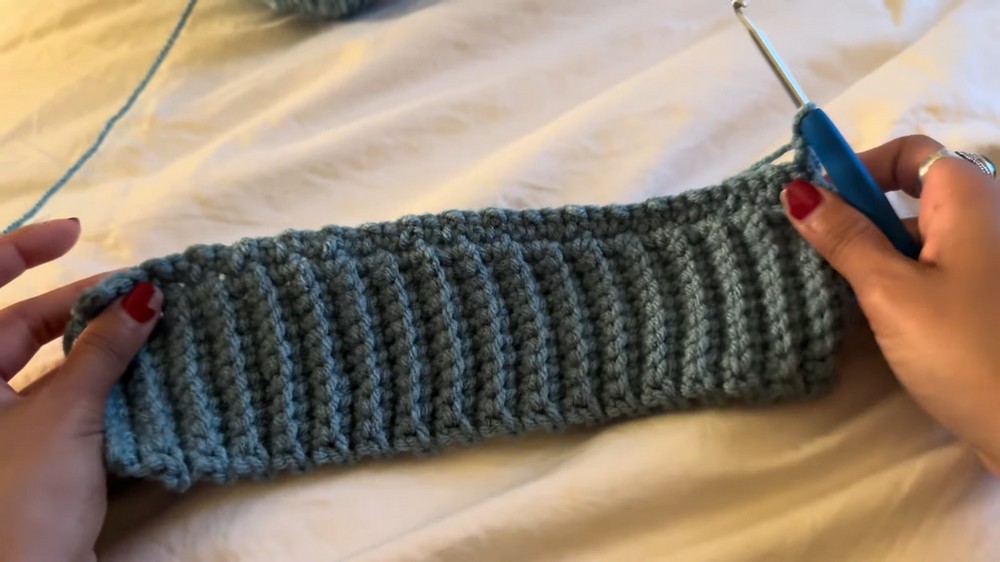
- Repeat Row 2:
- Continue repeating this row until the ribbing measures slightly smaller than the circumference of your torso (2” to 3” less for stretch).
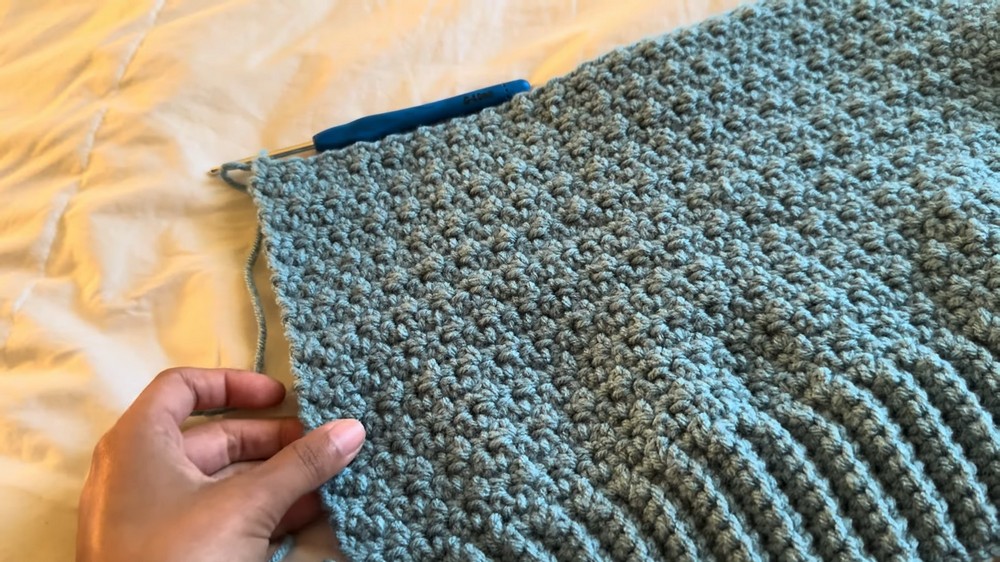
2. Body with Croissant Stitch
Switch to the smaller hook (4 mm) for tighter stitches and texture in the body.
- Foundation Row:
- Chain 1 at the edge of your ribbing and begin working single crochets evenly across the ribbing width.
- Single crochet across for the foundation row.
- Chain 1 at the edge of your ribbing and begin working single crochets evenly across the ribbing width.
- Croissant Stitch: Alternate two stitches in each row:
- Single Crochet: Work a regular SC into the first stitch.
- Elongated Single Crochet: In the next stitch, pull up a long loop, yarn over, pull through one loop, yarn over again, and pull through the remaining loops.
- Repeat for Rows:
- At the end of every row, chain 1, turn your work, and alternate between single crochet and elongated single crochet for a textured pattern.
- Continue working until the body length is a few inches below your armpit.
- At the end of every row, chain 1, turn your work, and alternate between single crochet and elongated single crochet for a textured pattern.
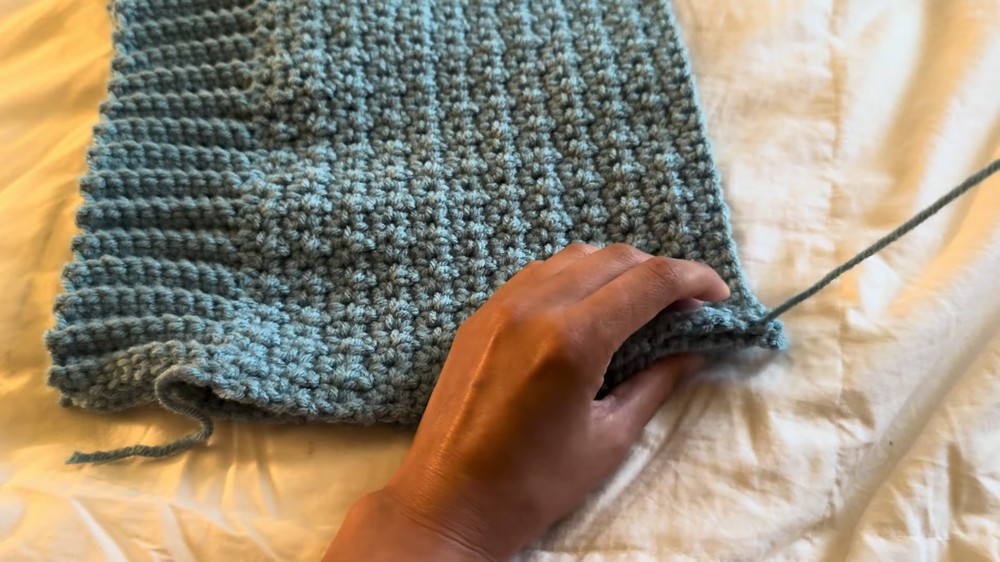
3. Stitching the Panels Together
Once the body is complete:
- Create Two Panels: Repeat the above steps to make an identical second panel.
- Sew Panels:
- Use a stitching needle to stitch the sides of both panels together. Align the edges and work through corresponding stitches on both panels for a seamless finish.

- Use a stitching needle to stitch the sides of both panels together. Align the edges and work through corresponding stitches on both panels for a seamless finish.
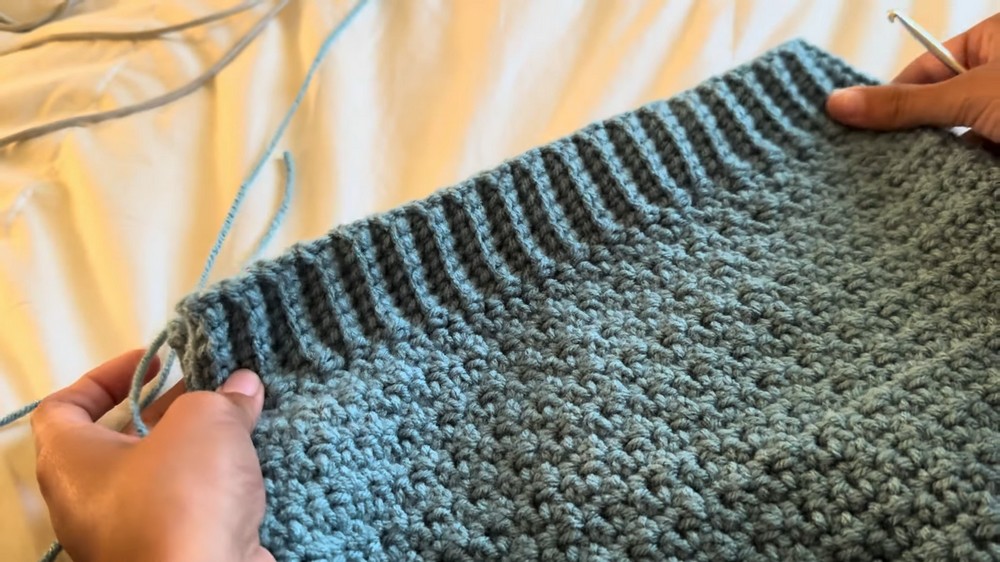
4. Top Ribbing
Using the 5 mm hook:
- Attach Yarn: Insert your hook into one side of the top edge and attach new yarn. Tie it securely.
- Chain 8: Begin with a chain of 8 stitches for the ribbing width.
- Work Into Back Loops:
- Skip the first chain and work SC into the back loops for a total of 7 stitches.
- Skip the first chain and work SC into the back loops for a total of 7 stitches.
- Slip Stitch:
- Slip stitch into the next two stitches on the top edge to secure the ribbing.
- Turn Work:
- Turn your work and work SC into the back loops again for 7 stitches.
- Repeat:
- Continue alternating rows of back-loop SC and slip stitches across the top edge.
- Once you’ve circled around the entire top, connect the ribbing ends with slip stitches or sewing.
Special Techniques
Back Loop Only Technique
- Locate the “V” of a stitch and insert your hook into the back loop rather than the full stitch.
Elongated Single Crochet
- Insert hook, yarn over, pull through, yarn over again, pull only through one loop, yarn over one last time, and pull through remaining loops.
Customization Ideas
- Straps: Add straps for additional security or as a style variation.
- Colorwork: Use different colors for ribbing, body, and top ribbing for a creative look.
- Embroidery: Embroider patterns onto the finished top for flair.
- Length Variations: Adjust the body length to create a crop top or full length top.
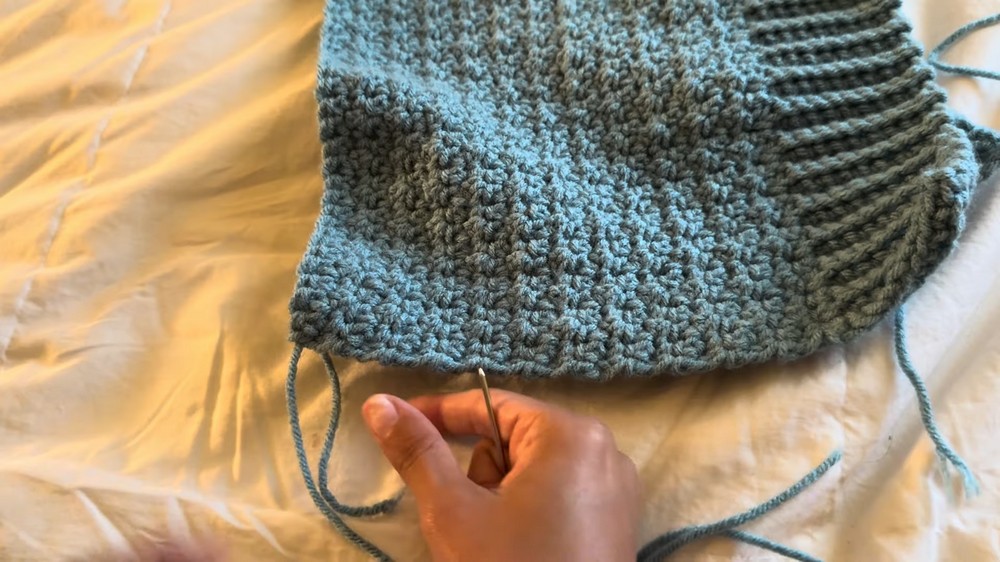
Finishing the Top
- Secure Ends: Use stitching needles to weave in all ends neatly to prevent unraveling.
- Flip Inside Out: Turn your finished project inside out for a cleaner look.
- Stretch and Block: Stretch the top gently to its intended size and shape or block it if needed for a polished finish.
Conclusion
The ribbed tube top with croissant stitch combines simplicity with style. The textured body and elastic ribbing result in a versatile crochet top perfect for pairing with your favorite outfits. Be sure to measure accurately, adjust fit and tension, and enjoy experimenting with colors and designs to make it uniquely yours.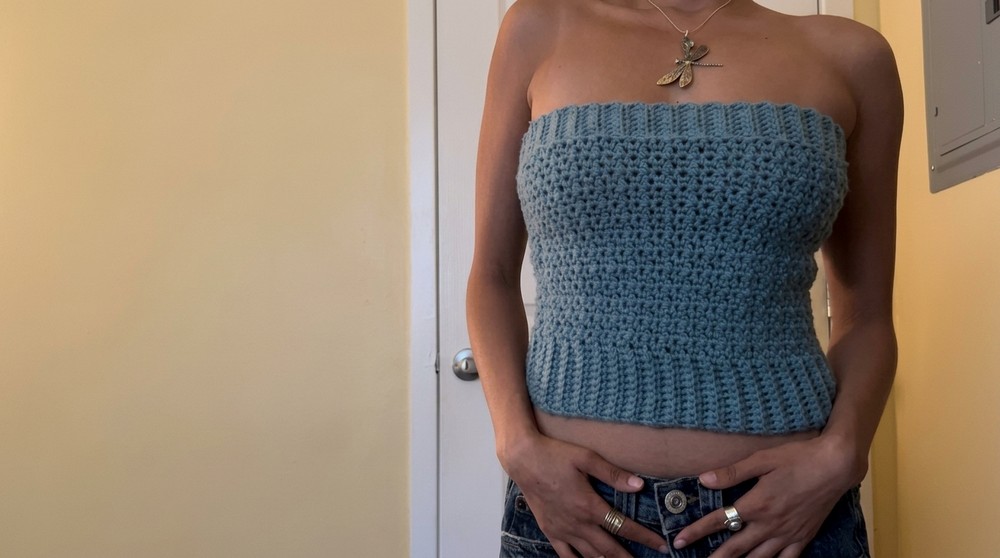
Important Remarks
- Care Instructions: Hand wash in cold water and lay flat to dry for longevity.
- Final Look: Expect a textured, fitted tube top with a stretchy ribbed finish at the bottom and one at the top for a snug yet comfortable fit.