
Stylish Free Crochet Turtleneck Asymmetrical Top Pattern For casual brunch looks
Stay warm in style with this free crochet asymmetrical top pattern, featuring a chic turtleneck and a unique design that’s simple and beginner friendly.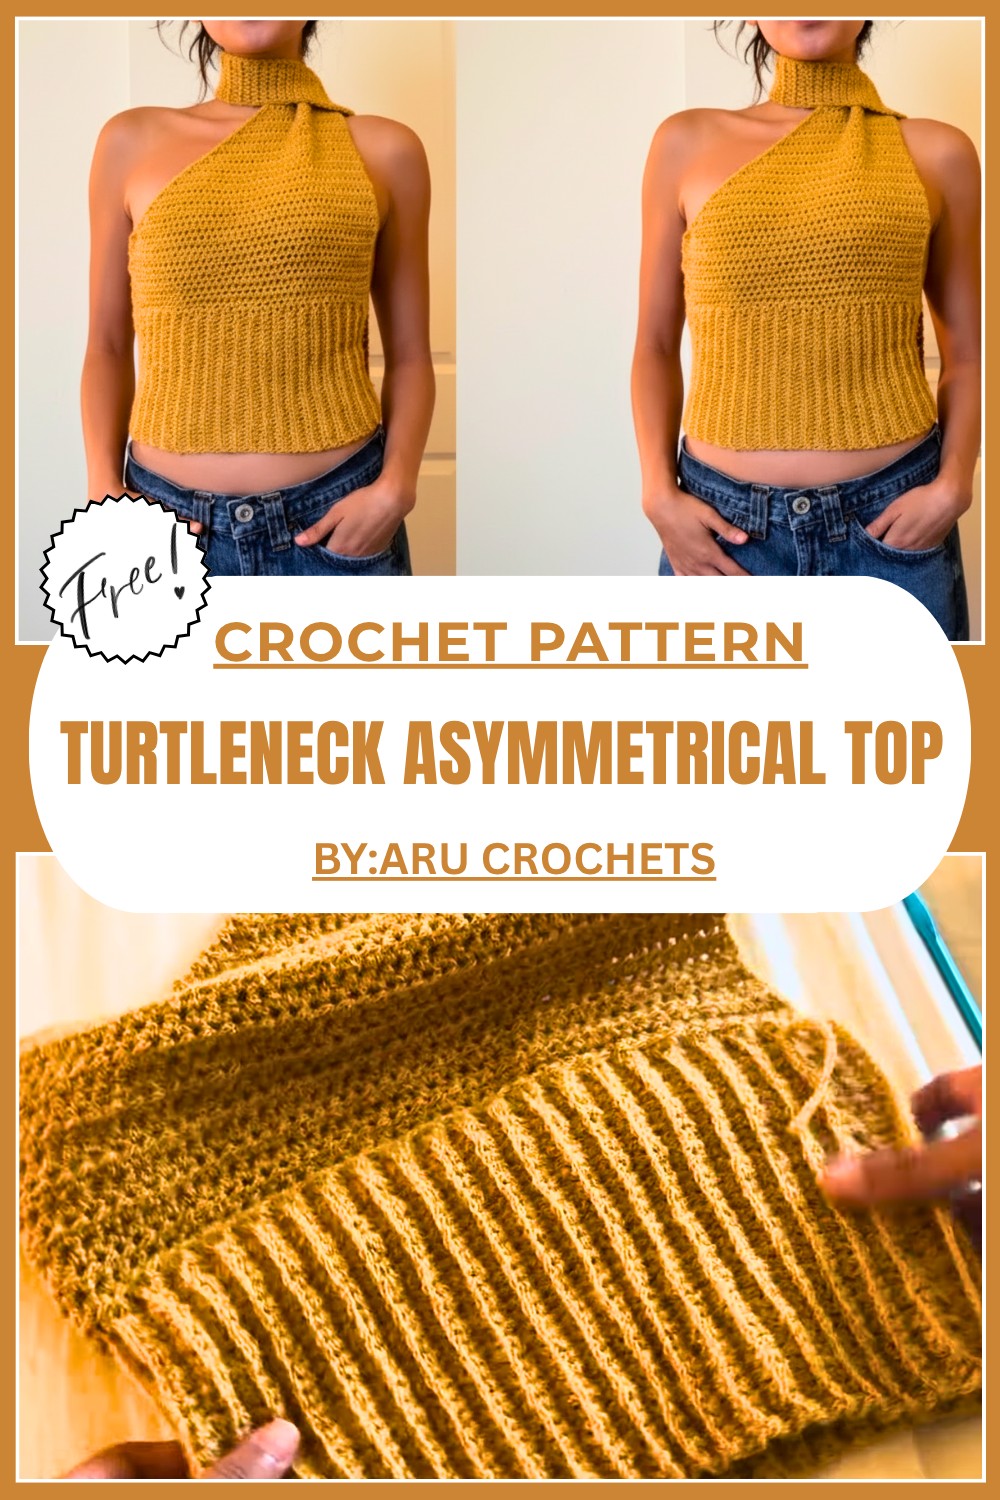
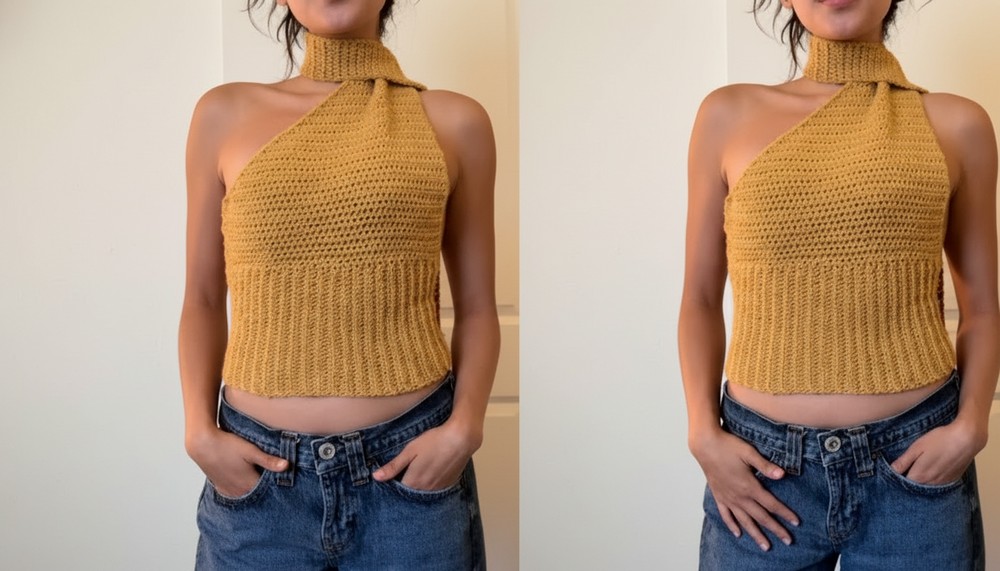
Stay on trend with this Free Crochet Turtleneck Asymmetrical Top Pattern
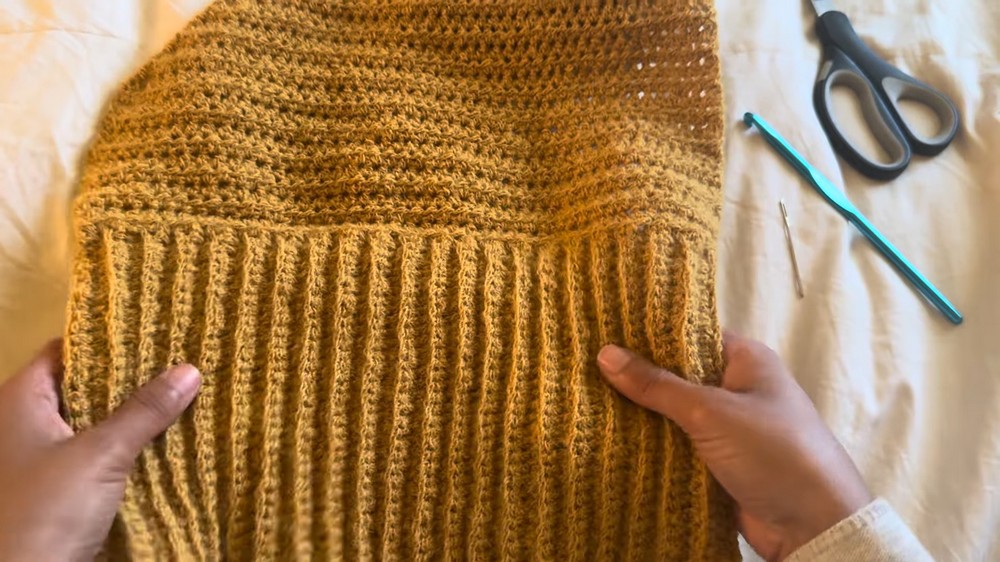
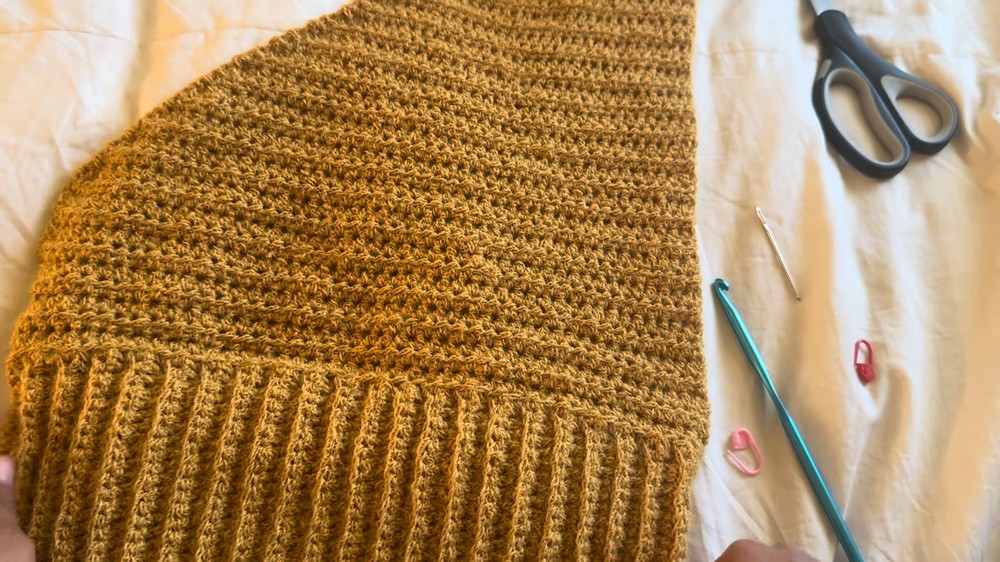
This free crochet pattern guides you to create a unique asymmetrical turtleneck top that wraps beautifully around your neck, adding comfort and elegance to any outfit. The design is simple and modern, featuring a ribbed texture for the torso and a snug neckline strap.
You’ll use basic stitches like single crochet and half double crochet, making it beginner friendly. This top is perfect for layering on chilly days or dressing up for special occasions. The stretchy yarn ensures a great fit and easy wear. 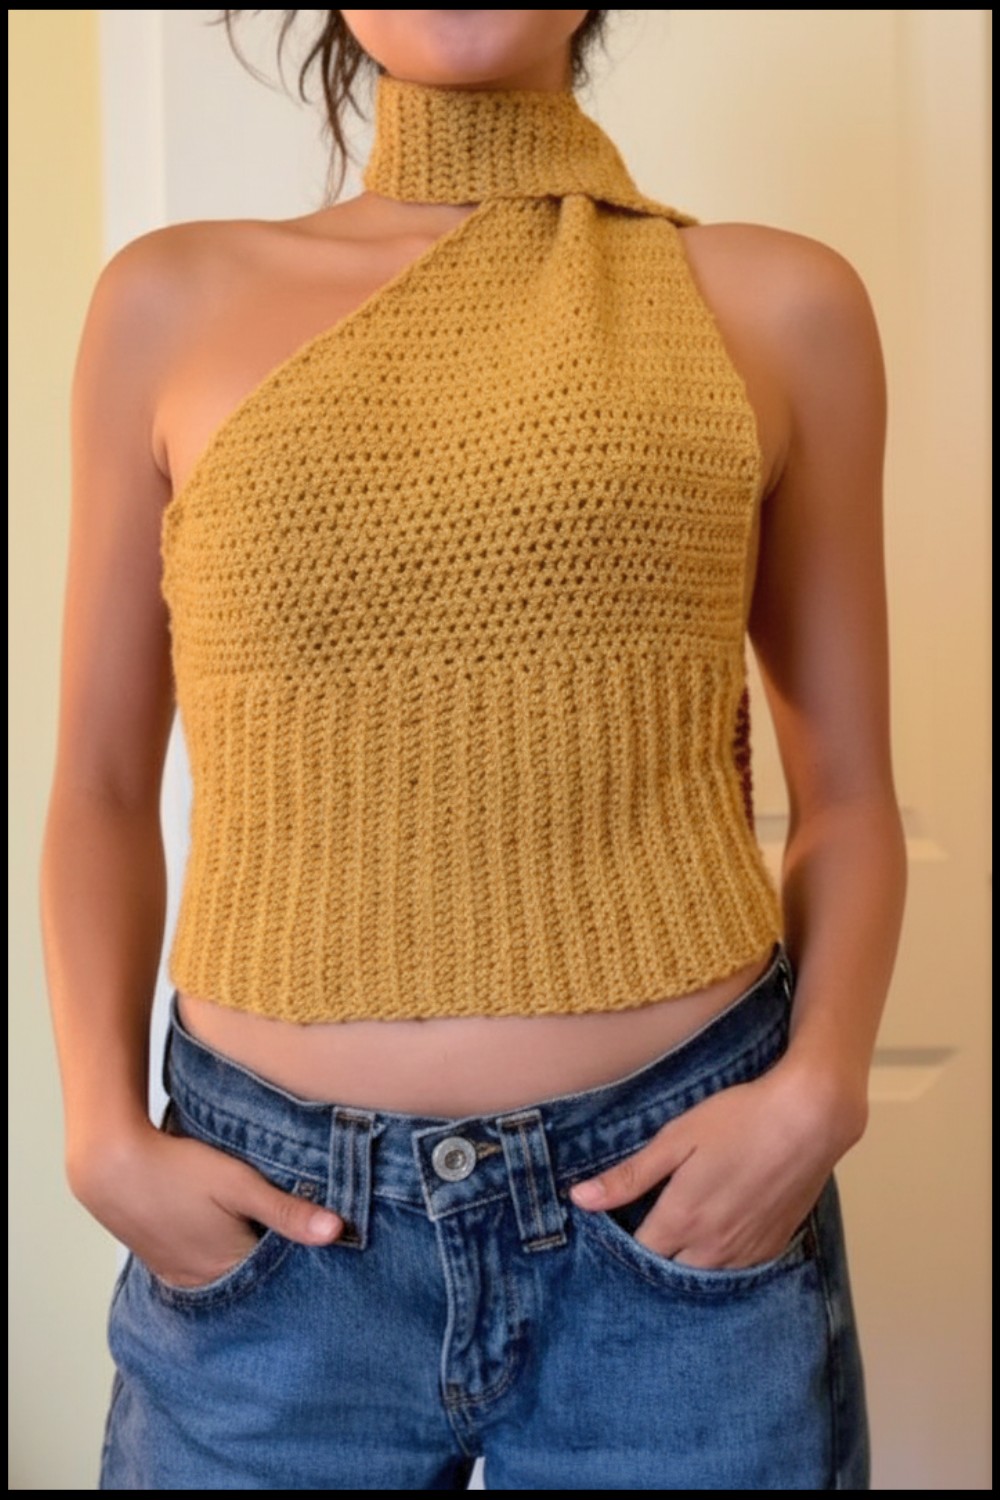
Whether you want to boost your wardrobe or try something new, this pattern lets you crochet a fashionable piece while learning new crochet techniques. Try it, and enjoy the beauty of handmade fashion with every stitch.
Adorable Crochet Turtleneck Asymmetrical Top Pattern
Materials
- Yarn:
- Weight: Medium (Category 4 / Worsted Weight)
- Fiber: Stretchy yarn is preferred for a snug fit. Cotton yarn may require more rows due to less elasticity.
- Color: Choose a solid or vibrant yarn for a visually striking result.
- Hook:
- Size: 5.5 mm crochet hook (US I to 9)
- Additional Tools:
- Stitch markers (2)
- Yarn needle (for weaving in ends and seaming)
- Scissors
Gauge
- Gauge will vary based on yarn type and tension, but the torso band is approximately:
- 30 back loop only single crochet stitches x 45 rows wraps snugly around the maker’s torso.
- Optional approximation:
- Chain 31 and work 10 rows of back loop only single crochet (see technique below).
- Measure the dimensions. Adjust your tension or row count accordingly when wrapping the band around your body.
Special Techniques
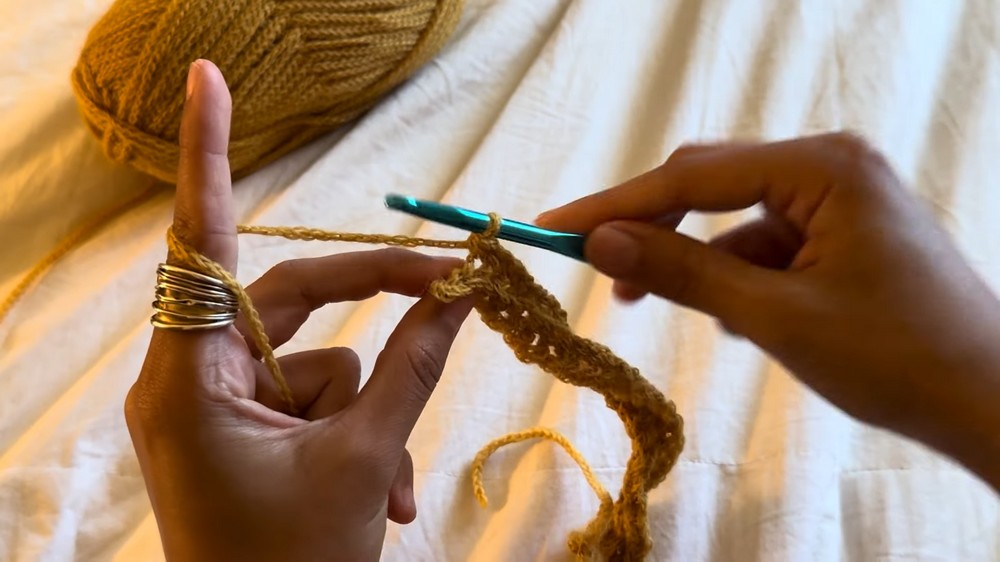
Back Loop Only (BLO) Single Crochet
In this project, the ribs on the torso panel are created by working single crochet stitches into the back loop only of each stitch.
- Instructions:
- Insert your hook into the back loop (the loop furthest from you).
- Yarn over and pull through.
- Yarn over again and pull through both loops on the hook.
Half Double Crochet (hdc)
Half double crochet stitches are used for the bust area and neckline.
- Instructions:
- Yarn over.
- Insert your hook into the specified stitch.
- Yarn over and pull through (you will have 3 loops on your hook).
- Yarn over again and pull through all 3 loops.
Half Double Crochet Decrease (hdc2tog)
When shaping the neckline strap, hdc decreases (hdc2tog) are used to reduce stitches on one side.
- Instructions:
- Yarn over; insert hook into the second to last stitch, yarn over and pull through (3 loops remain).
- Yarn over and pull through two loops only (2 loops remain).
- Insert the hook into the last stitch, yarn over and pull through (3 loops remain).
- Yarn over and pull through all three loops.
Pattern Instructions
Torso Band
- Foundation Chain:
- Create a slipknot and chain 31 stitches.
- Row 1 (Single Crochet):
- Skip the last chain closest to the hook.
- Work 1 single crochet (sc) in the second chain from the hook, and in each chain across (30 stitches total).
- Chain 1, turn.
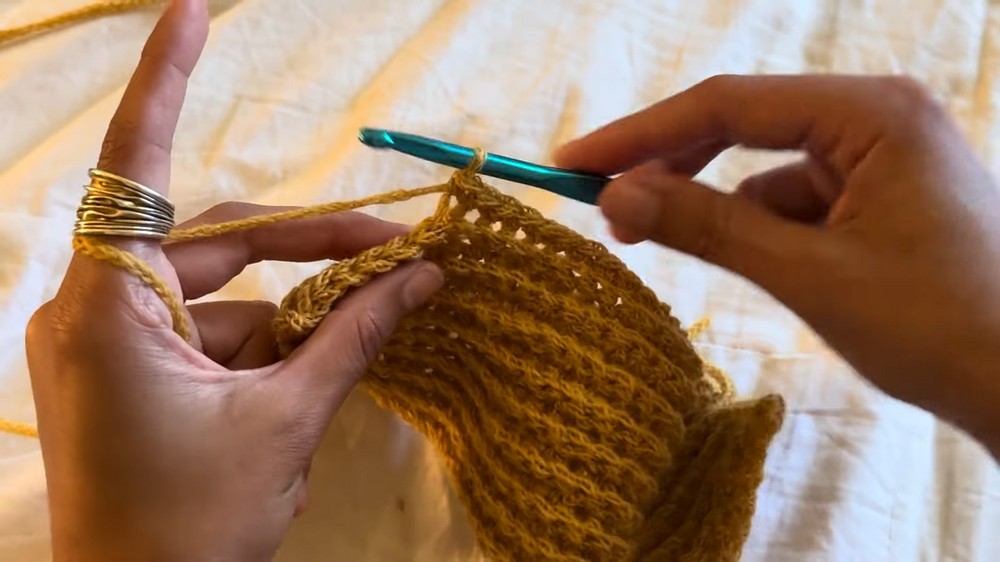
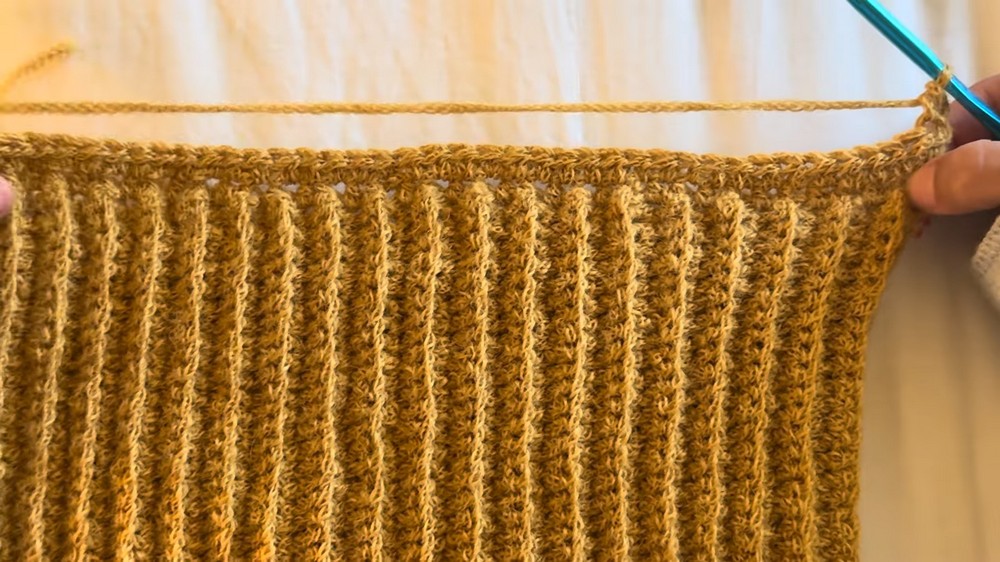
- Row 2 and Forward (Back Loop Only):
- Skip the turning chain.
- Work 30 single crochets into the back loop only (BLO) of each stitch across.
- Chain 1, turn.
- Repeat Row 2:
- Work 30 BLO sc stitches with a chain 1 turning chain for a total of 45 rows (or until the piece comfortably wraps around your torso with slight stretch).
- Work 30 BLO sc stitches with a chain 1 turning chain for a total of 45 rows (or until the piece comfortably wraps around your torso with slight stretch).
- Finishing the Band:
- Fasten off, leaving a tail for sewing.
Seaming the Band
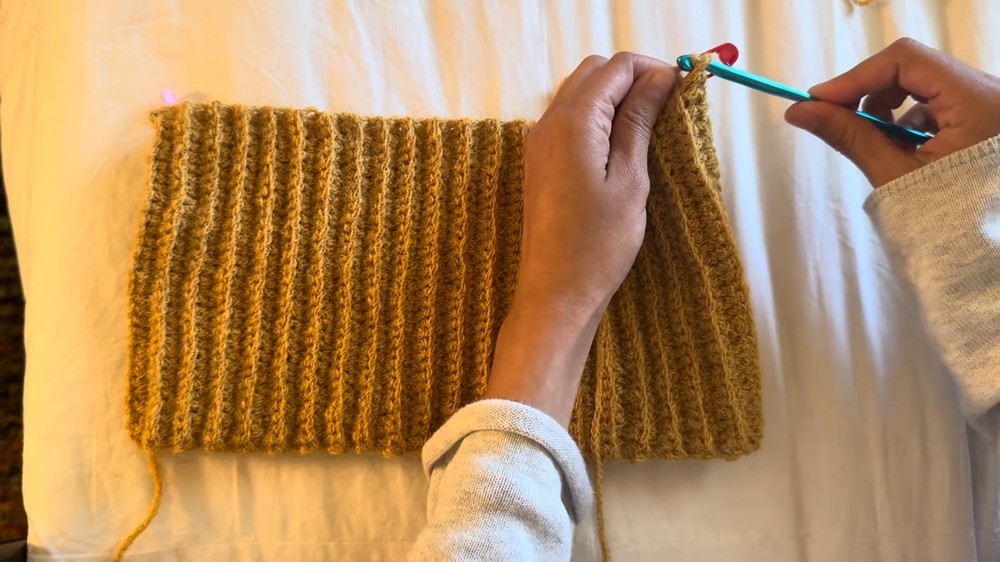
- Fold:
- Fold the band in half so that the short edges meet.
- Align:
- Match the rows and corner stitches carefully.
- Match the rows and corner stitches carefully.
- Sew the Seam:
- Thread the yarn tail onto a yarn needle. Use a whip stitch or mattress stitch to sew through both edges.
- Secure the seam with small, tight stitches.
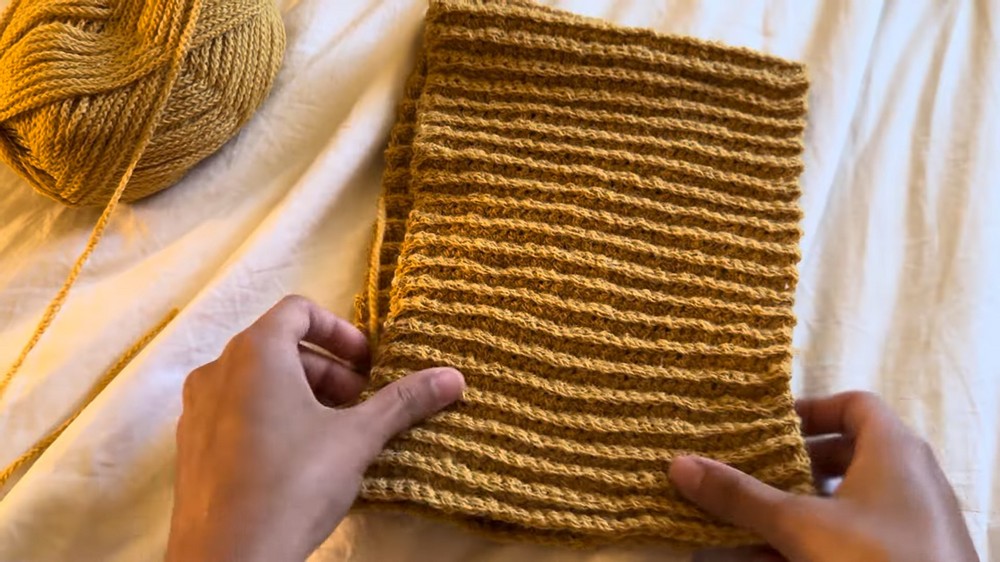
- Turn:
- Turn the band right side out; the seam will be hidden inside.
- Turn the band right side out; the seam will be hidden inside.
Marking Underarm Points
- Try On:
- Place the torso band on your body and locate the positions directly below your armpits.
- Mark:
- Place stitch markers at these two points along the top edge of the band. These will separate the front panel from the sides.
- Place stitch markers at these two points along the top edge of the band. These will separate the front panel from the sides.
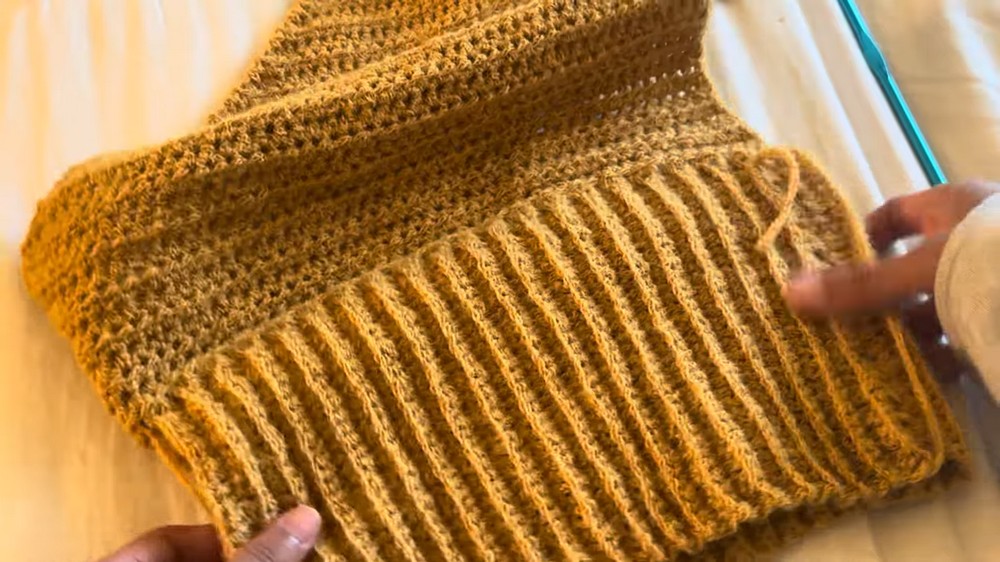
Bust Area Panel
- Join Yarn:
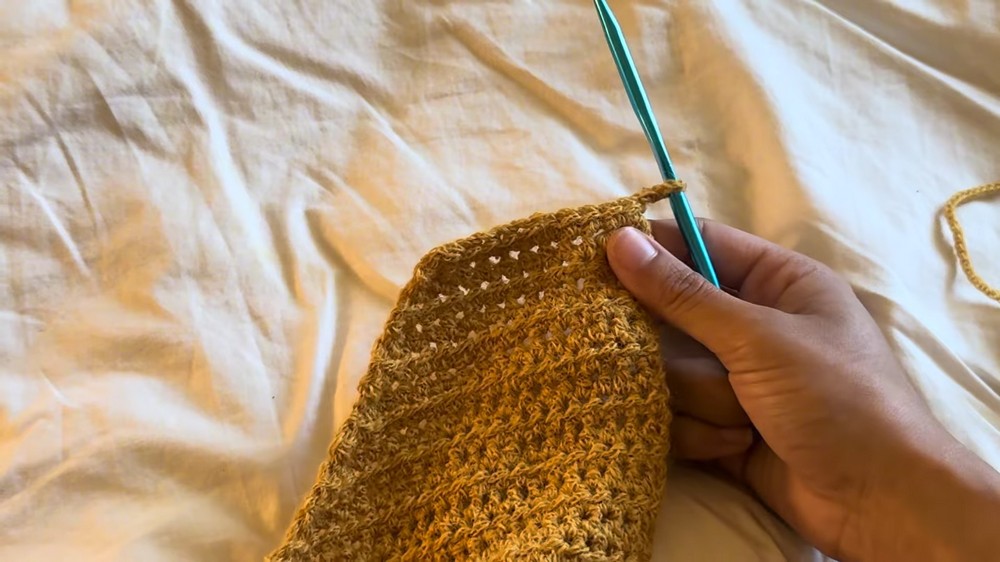
- Attach the yarn to the first stitch marker. Pull up a loop and chain 2 (does not count as a stitch).
- Row 1 (Half Double Crochet Foundation):
- Starting from the stitch after the marker and working toward the second marker, work 1 half double crochet (hdc) into each stitch.
- Be cautious in this first row as loose edge strands ("fake stitches") are present. Skip these, and only work into normal “V” stitches.
- Starting from the stitch after the marker and working toward the second marker, work 1 half double crochet (hdc) into each stitch.
- Row 2 and Onward:
- Chain 2, turn. Skip the turning chain.
- Work 1 hdc in each stitch across (under both loops of the stitch).
- Repeat:
- Work approximately 10–15 rows of hdc across (or until the panel fully covers the bust area).
- Work approximately 10–15 rows of hdc across (or until the panel fully covers the bust area).
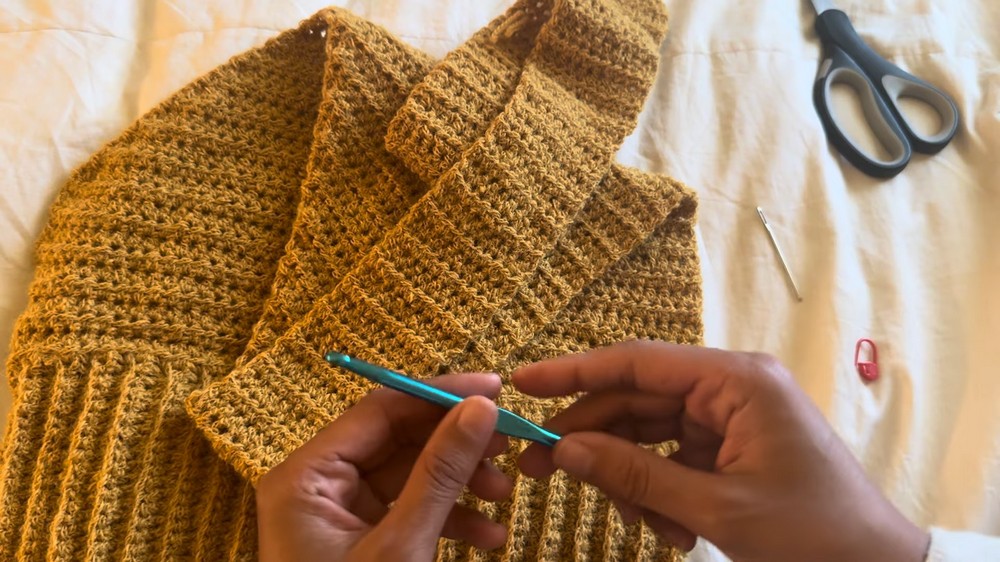
Shaping the Neckline (Decreasing)
- Start Decreasing:
- On the decreasing side (where the neckline strap will begin):
- Hdc in each stitch until 2 stitches remain, then work hdc2tog across the last 2 stitches.
- On the return row, skip the first stitch and start hdc into the second stitch.
- On the decreasing side (where the neckline strap will begin):
- Continue Shaping:
- Continue decreasing on one side only, while keeping the opposite side straight.
- Repeat until your rows reduce to 10 stitches total.
Neck Strap
- Continue Straight Rows:
- Once you reach 10 stitches, stop decreasing.
- Work straight rows of 10 hdc stitches, chaining 2 and turning at the end of each row.
- Determine Strap Length:
- For the sample: 85 rows of 10 hdc were worked.
- Adjust the length according to your preference until the strap wraps snugly around your neck.
- Finish Strap:
- Fasten off, leaving a tail for weaving.
- Fasten off, leaving a tail for weaving.
Finishing
- Weave in Ends:
- Use the yarn needle to weave all loose tails into the wrong side of the fabric.
- Block (Optional):
- Block the finished piece lightly to smooth out the stitches and even out the neckline shaping.
- Strap Attachment:
- Optionally, you can sew the end of the strap to the back of the torso band to create a fixed wrap-around design.
- Optionally, you can sew the end of the strap to the back of the torso band to create a fixed wrap-around design.
Final Words
Congratulations on completing this elegant crochet top, Its ribbed texture, snug fit, and modern neckline are perfect for both casual and dressy occasions. This pattern allows for customization with yarn types, colors, and sizing—letting you tailor the design to your personal preferences.
Tips for Maintaining the Pattern
- Care Instructions:
- Follow yarn care guidelines (e.g., machine washable or hand wash).
- Lay flat to dry to maintain the texture and elasticity.
- Stretch Control:
- Stretchy yarns like acrylic may relax over time, so avoid over stretching during wear.
- Customizations:
- Experiment by adding decorative edging, a pop of color for stripes, or embellishments like buttons on the strap for added flair.
- Try Before Committing:
- Periodically try on the piece during construction to ensure a proper fit.