
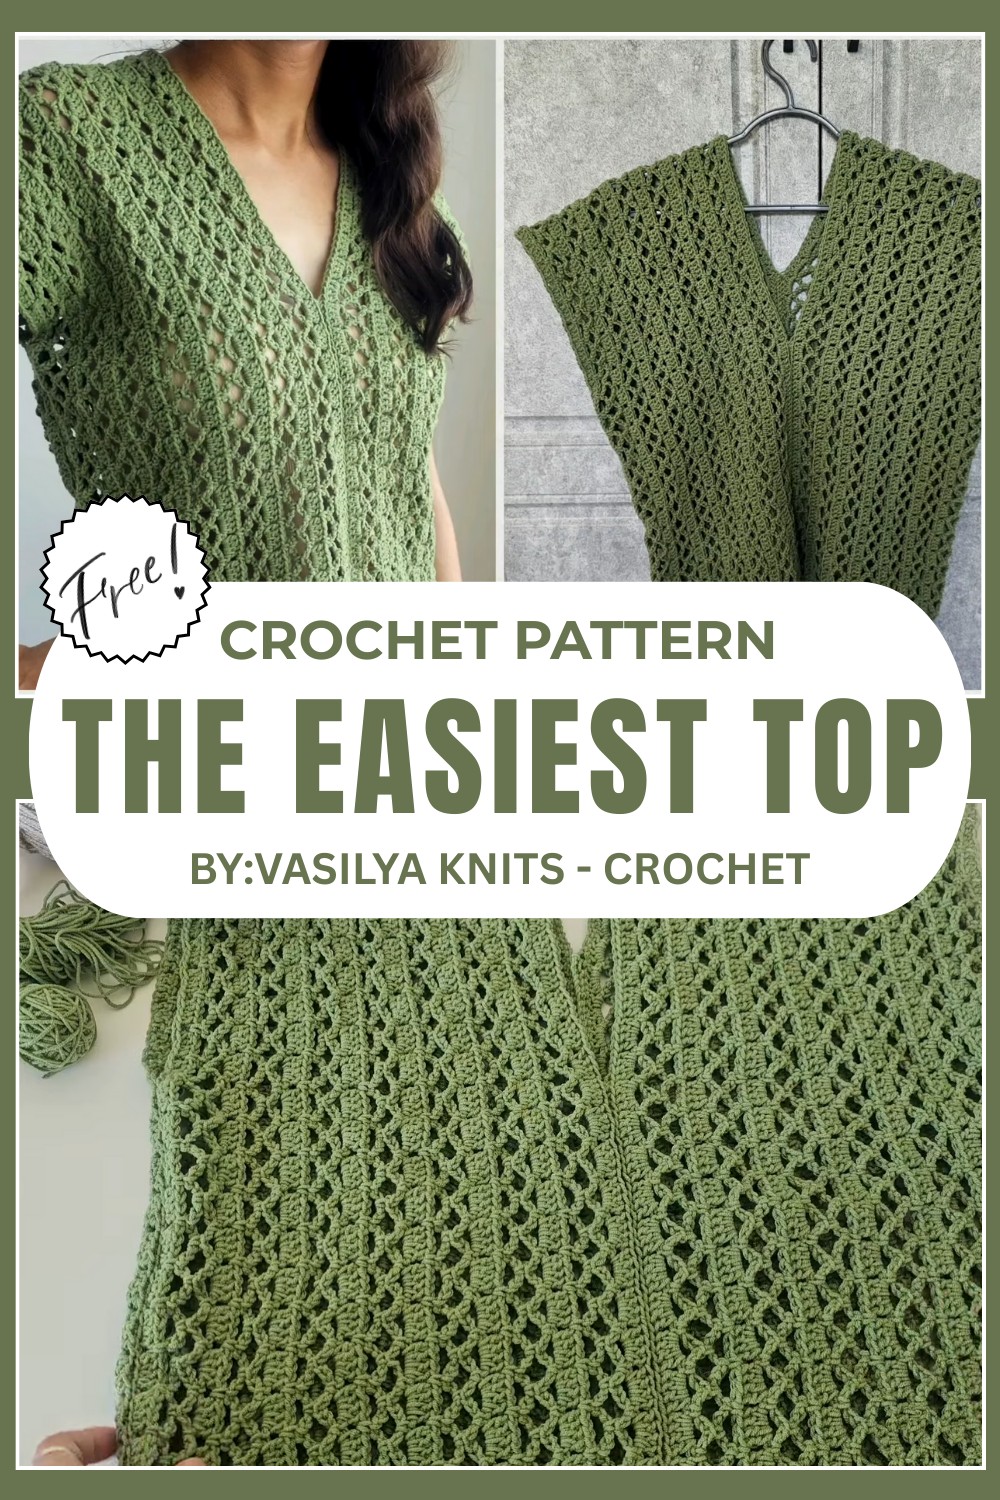
Adorable Crochet Top Pattern That Brightens Any Wardrobe
Refresh your wardrobe with the Crochet Top Pattern for a lightweight stylish top that feels comfortable for sunny days casual outings or playful summer looks
Perfect for any season, this free crochet top pattern is your go-to for creating a stylish yet comfortable wardrobe staple. Whether you’re looking for a breezy summer piece or a chic layering option for cooler weather, this top offers versatility and charm.
Inspiring Crochet Top Pattern Perfect for Summer Outfits
With its flattering fit and customizable design, you can tailor it to suit your favorite colors, lengths, or intricate textures. Ideal for casual outings, beach days, or even a handmade gift, this project allows you to marry creativity with practicality.
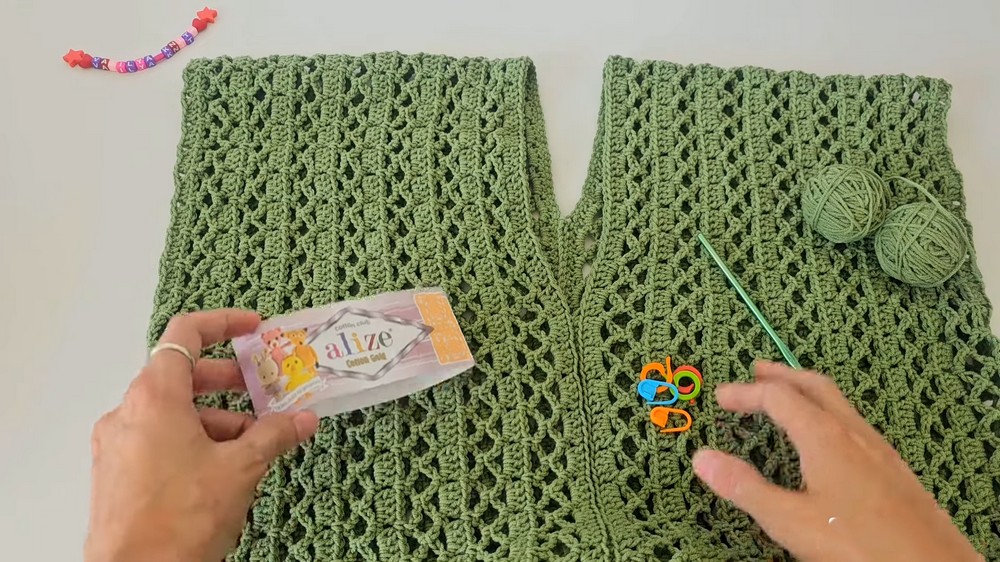
Materials Required
- Yarn
- Alize Cotton Gold yarn (100 g/330 m per skein; 55% cotton, 45% acrylic).
- Color used: 485.
- You will need 2 skeins (with some leftover yarn).
- Alternatively, use similar yarn with comparable yardage and weight.
- Alize Cotton Gold yarn (100 g/330 m per skein; 55% cotton, 45% acrylic).
- Hook Size
- 4 mm crochet hook.
- Adjust hook size for gauge if using a different yarn.
- Additional Supplies
- Stitch markers (or safety pins).
- Scissors.
- Measuring tape.
- Yarn needle.
Skill Level
Intermediate. Knowledge of basic stitches, working in rows, and seaming is required.
Abbreviations (US Terms)
- ch: Chain
- sl st: Slip Stitch
- sc: Single Crochet
- dc: Double Crochet
- yo: Yarn Over
- st(s): Stitch(es)
- sp: Space
Special Notes
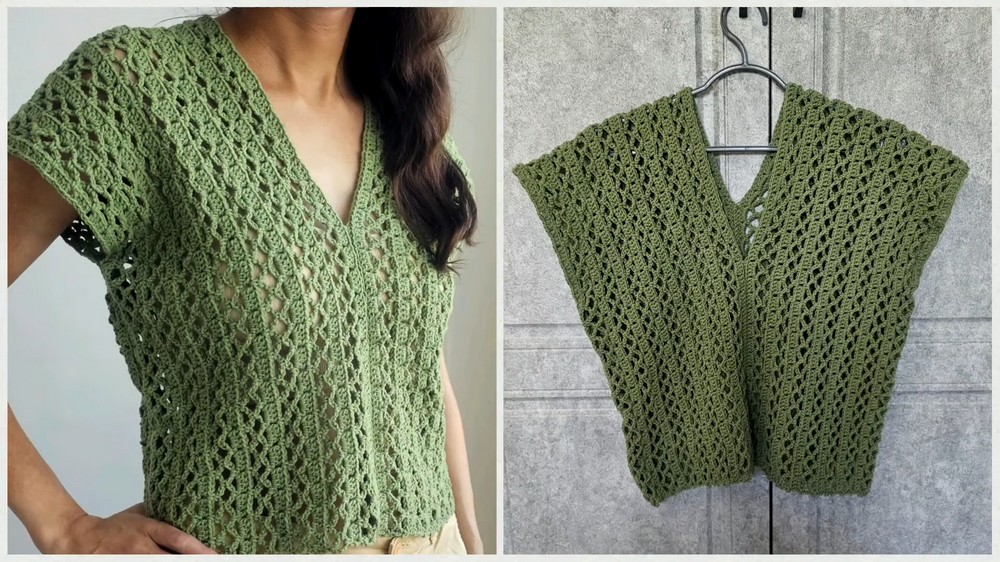
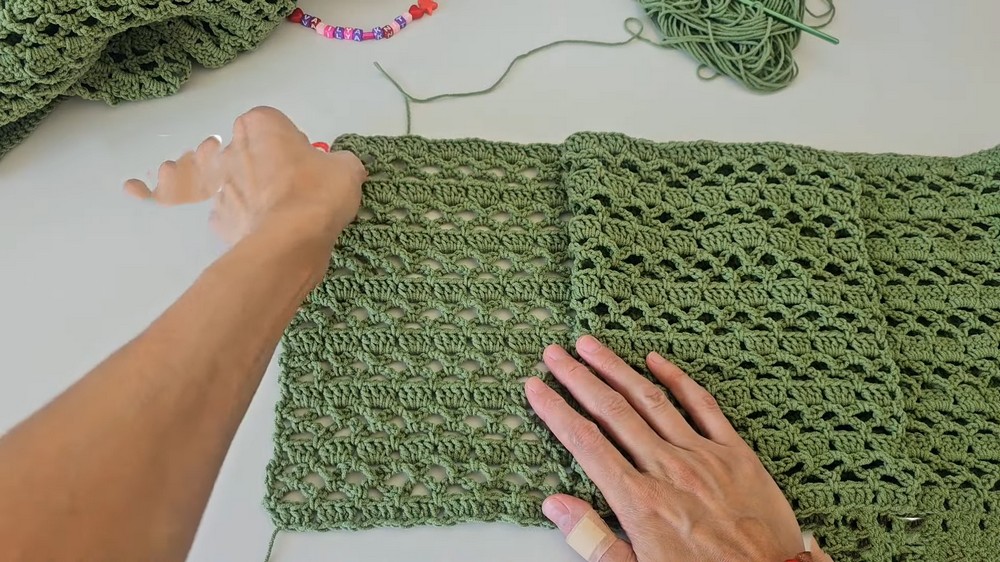
- This top consists of two identical rectangular panels, which are later seamed together.
- The neckline can be customized by adjusting the sewing length.
- Suitable for customization in both size and yarn type.
Gauge
Gauge is based on worsted-weight yarn using a 4 mm hook.
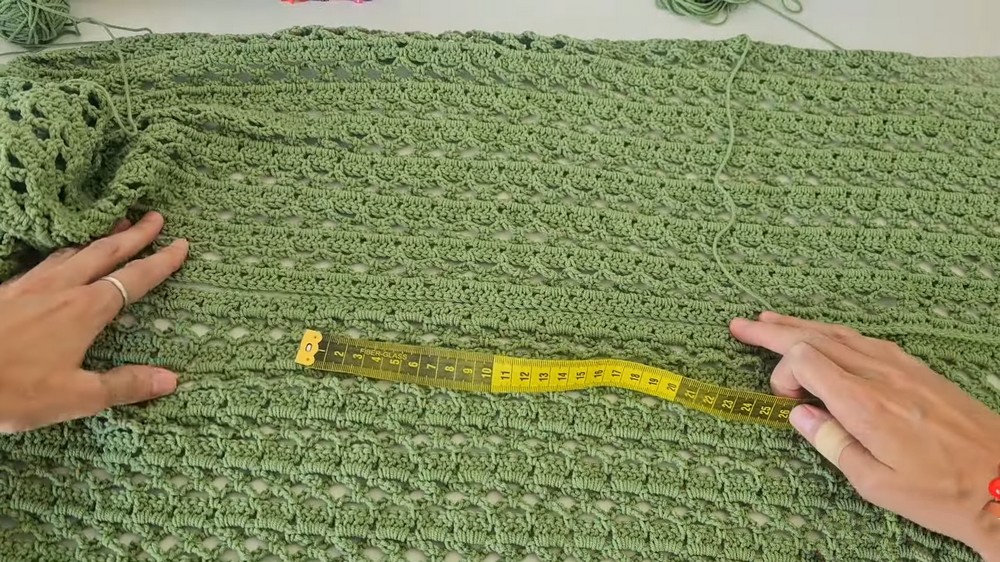
Finished chain length for each panel: 99 cm (unstretched).
Use stitch and row markers to maintain symmetry during construction.
Finished Measurements
- Width: 48 cm (each panel).
- Length: 46 cm (each panel).
- Total length across both panels (combined stitching): 92 cm.
Pattern Instructions
Step 1: Cast On Chain
- Begin with a slip knot.
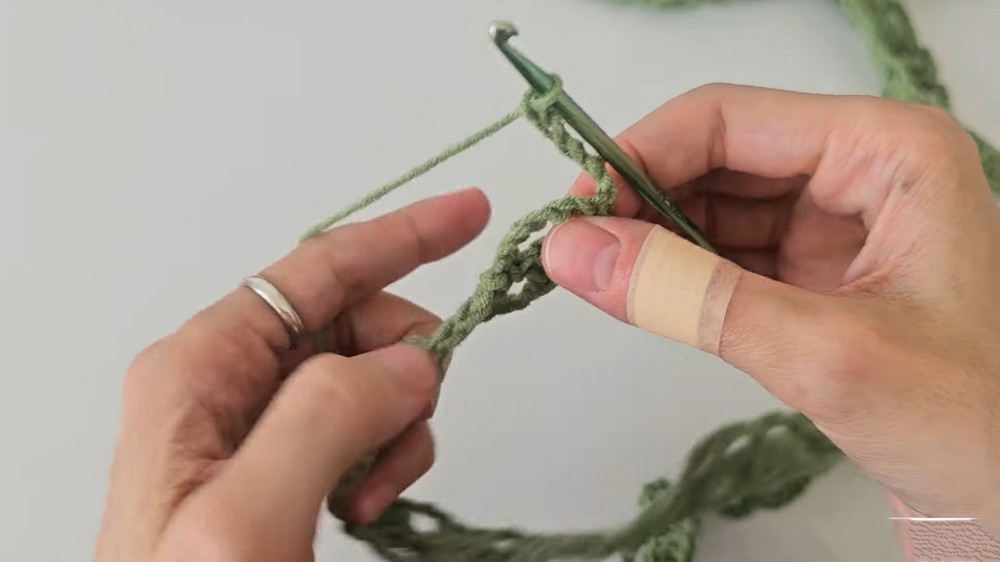
- Ch 193 stitches loosely. If you want a longer or shorter top, adjust by ±4 ch. (Approx. chain length: 99 cm unstretched).
Step 2: Row 1 – Double Crochet Foundation Row
- Yo, insert hook into the 4th ch from the hook.
- Work 1 dc (double crochet) into the same ch.
- In the next ch, work another dc.
- Skip 1 ch, then repeat:
- 1 dc in next ch, 2 dc in the following ch, skip 1 ch.
- Continue this sequence across the row.
- At the end of the row, work:
- 1 dc, 2 dc into the next ch, 1 dc into the final ch.
- 1 dc, 2 dc into the next ch, 1 dc into the final ch.
Tip! Use a stitch marker to mark the first stitch for reference in the next row.
Turn work. (Finish Row 1).
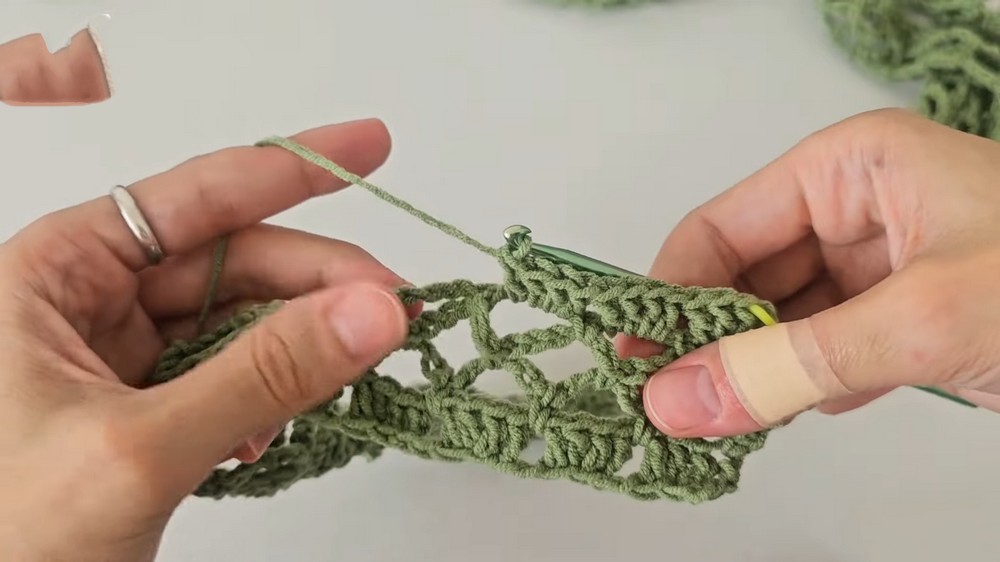
Step 3: Row 2 – Chain/Arches Row
- Ch 1, turn work.
- Work 1 sc into the 2nd loop from the hook.
- Use a stitch marker to mark the outer edge loop of this row.
- Ch 5.
- Insert hook into the next space (between two dc stitches) and work 1 sc.
- Repeat: Ch 5, sc into the next space across the row.
Turn work. (Finish Row 2).
Step 4: Row 3 – Chain/Arches Row
- Ch 5, turn work.
- Sc into the first arch from Row 2.
- Do not mark this stitch; the connection point will be at this arch.
- Ch 5, work sc into the next arch.
- Repeat: Ch 5, sc into the next arch across the row.
- At the end of the row, work:
- Ch 2, yo, dc into the marked stitch at the end of the row.
Turn work. (Finish Row 3).
Step 5: Row 4 – Short Chain Rows
- Ch 1, turn work.
- Work 1 sc into the 2nd loop from the hook.
- Again, mark the outer edge loop with a stitch marker.
- Ch 3, work sc into the next arch from the previous row.
- Repeat: Ch 3, sc into the next arch across the row.
Turn work. (Finish Row 4).
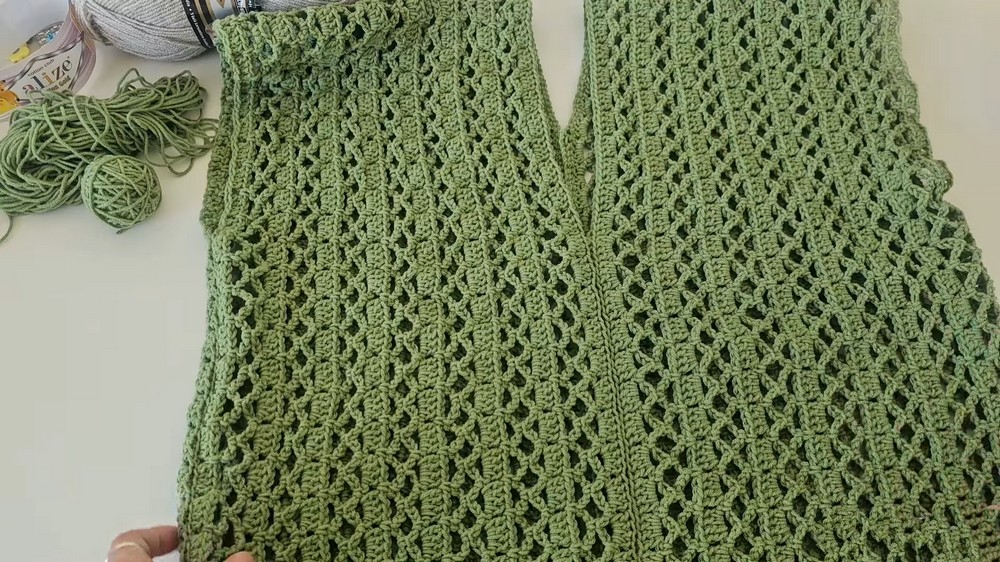
Step 6: Row 5 – Double Crochet in Arches
- Ch 1, turn work.
- Work 3 dc into the first arch, using a marker on the outer loop of the first dc.
- Into each subsequent arch:
- Work 4 dc into the space.
- At the end of the row:
- Work 3 dc into the final arch, and dc into the marked loop.
Turn work. (Finish Row 5).
Step 7: Repeat Rows 2–5
Repeat Rows 2–5 for a total of 29 rows, or until desired length is achieved.
The last row should end with the Row 5 double crochet sequence.
Assembly Instructions
Step 1: Seaming Panels
- Lay the two rectangular panels flat, ensuring both are positioned with the last row of dc stitches facing outward.
- Fold each panel in half width-wise.
- Place the panels together, aligning the edges and ensuring the front sides match.
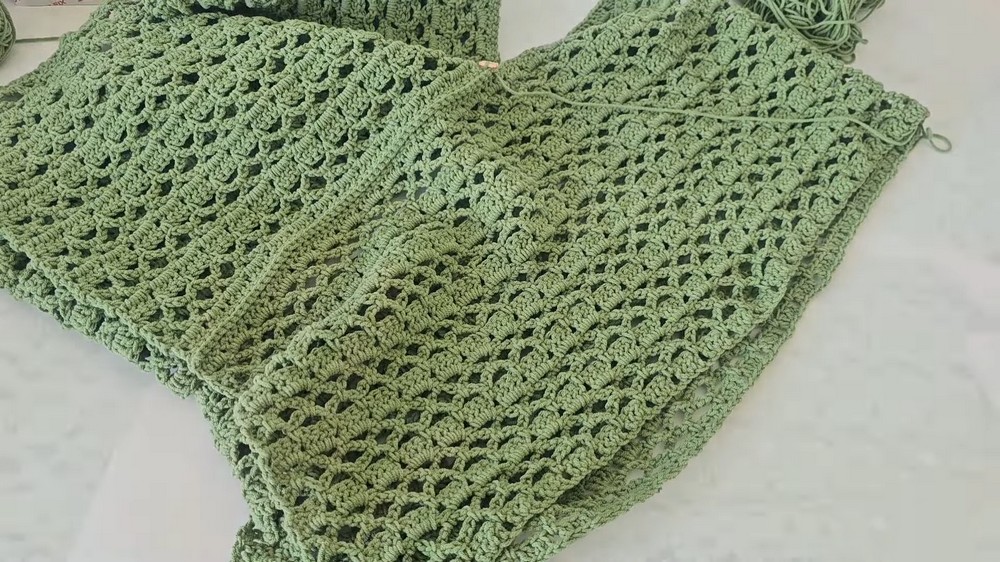
Step 2: Sewing Neckline
- Using a yarn needle or crochet hook, seam the center top edge of both panels.
- Use sl sts: Insert hook through the front wall on one side and the back wall on the opposite side. Pull through and repeat for a clean, flat seam.
- Use sl sts: Insert hook through the front wall on one side and the back wall on the opposite side. Pull through and repeat for a clean, flat seam.
- Leave 34 cm unseamed at the center for the neckline. Adjust this gap if you want a wider or narrower neckline (larger front, smaller back neckline).
Step 3: Sewing Sides
- Fold the assembled panels length-wise (front and back together).
- Leave sufficient space for the armholes: Measure to ensure equal spacing on both sides.
- Armholes typically range between 10–20 cm, depending on fit preference.
- Seam the remaining side edges using the same sl st method.
Customization
- Sizing: Adjust the length (number of chains) or width (more rows) to suit individual body types.
- Yarn Choice: Use finer yarn for a delicate summer top or thicker yarn for a cozy winter piece.
- Colors: Use self-striping yarn or alternate colors between rows for a vibrant effect.
Tips for Success
- Loose Chains: Keep tension loose while chaining to prevent tight edges.
- Markers: Use stitch markers liberally to track rows and ensure symmetry during sewing.
- Blocking: Block the finished top to smooth any irregularities before assembly.
Conclusion
Your Crochet Rectangular Top is complete! With its simplistic yet chic design, this versatile top can be dressed up or down for any occasion. Its seamless construction and easy-to-follow pattern make it a fantastic garment to create for yourself or as a thoughtful handmade gift.
Pattern Correction
- Ensure stitch and row counts match on both panels to avoid misalignments during assembly.
- If using yarn of a different weight, perform a swatch test and adjust the number of chains accordingly.