
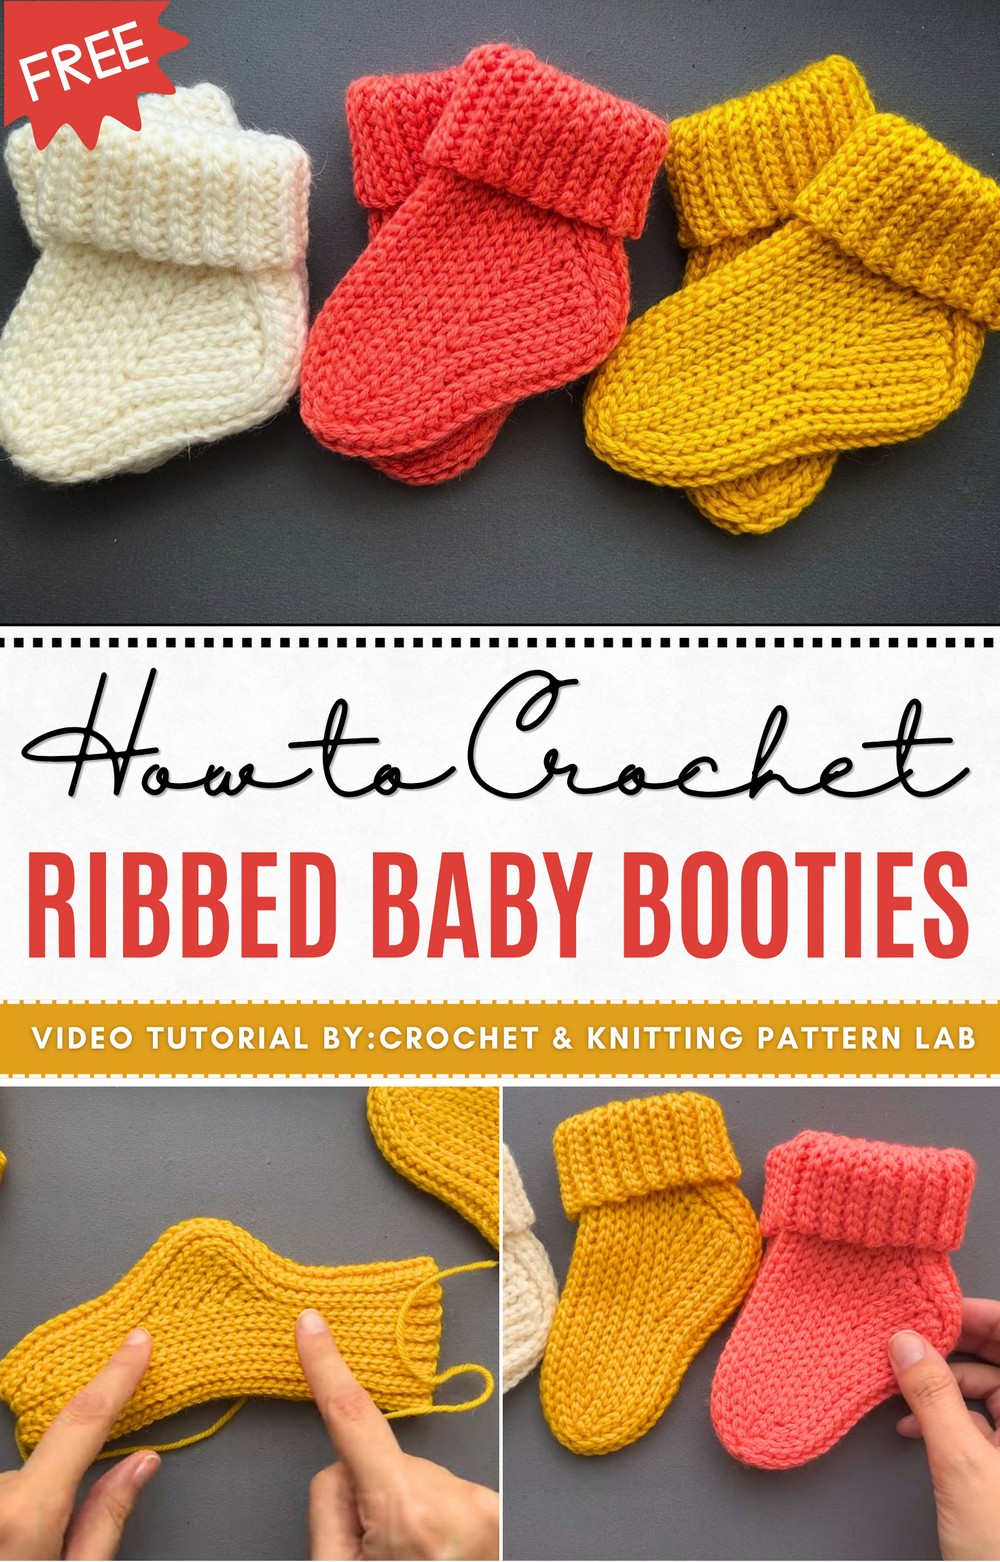
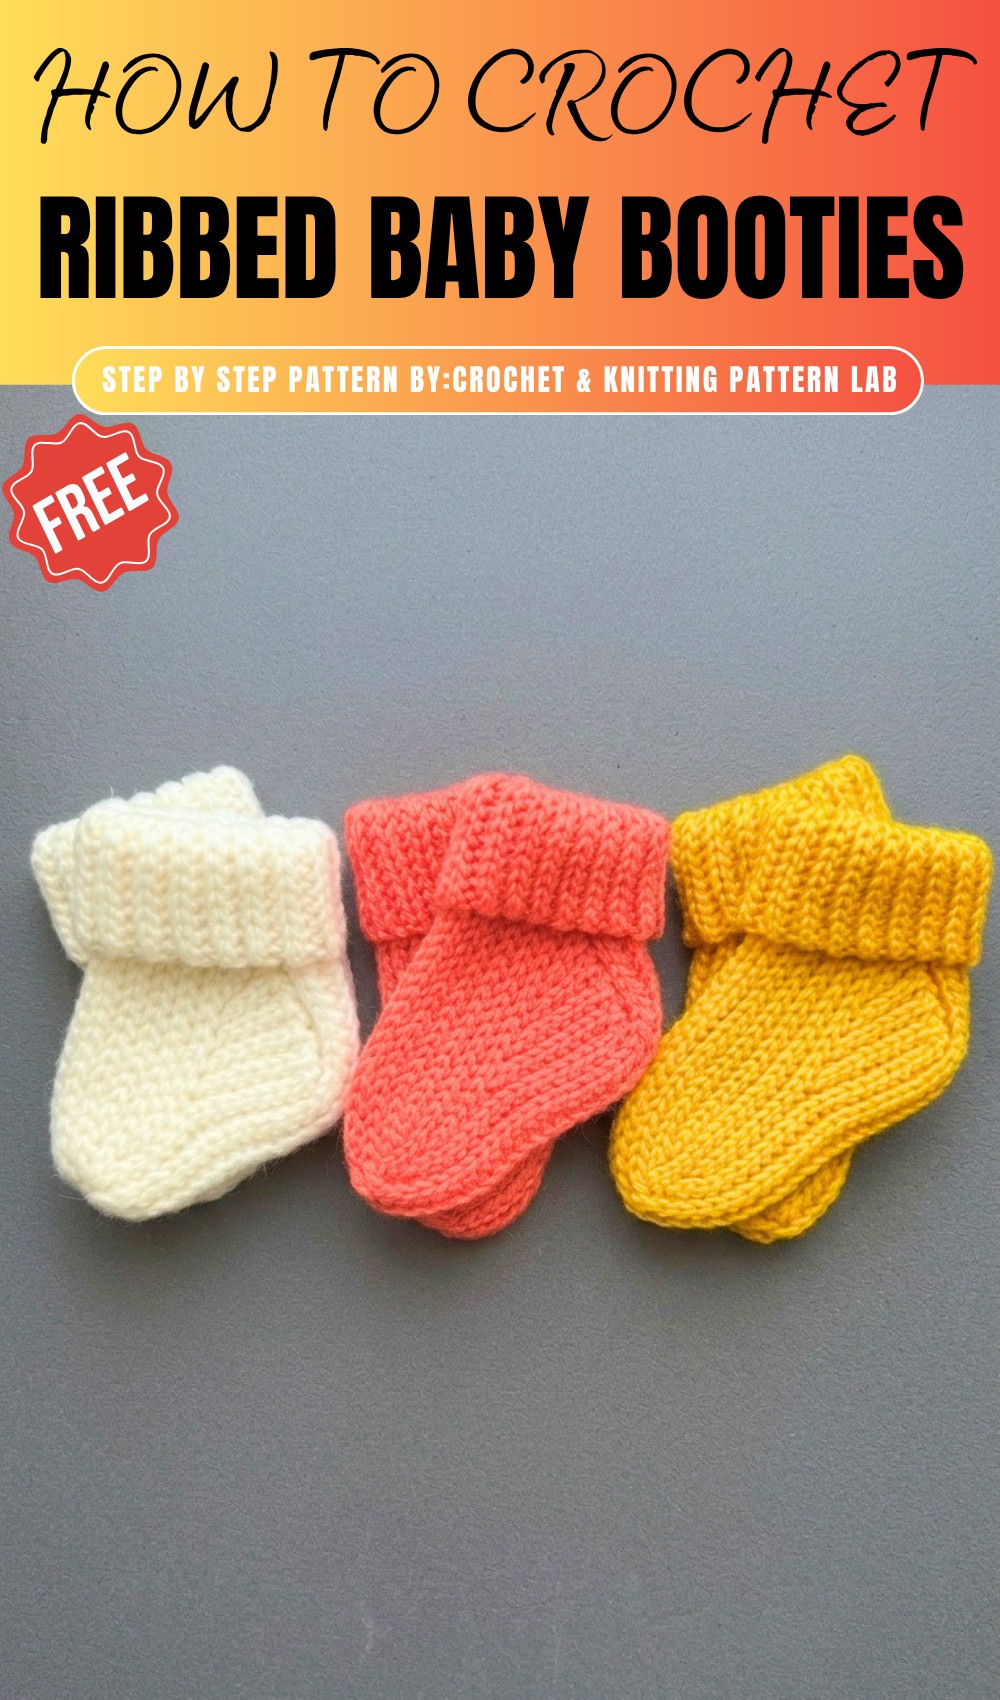
Catch Crochet Ribbed Baby Booties To Keep Toes Warm
Graceful softness defines this Free Crochet Ribbed Baby Booties Pattern, offering a snug and stylish touch for newborn gifts and everyday tiny-foot comfort.
Gentle footsteps begin long before a baby takes that first wobbly stride, and every tiny movement deserves warmth and care. Drawing on that thought, the Crochet Ribbed Baby Booties offers a thoughtful way to keep little feet snug while adding a touch of timeless charm to a nursery. The instructions guide you through forming soft ribbed sections that stretch lightly yet hold their shape, resulting in a pair that stays secure without restricting movement. Each bootie features a classic cuff and structured sole, combining comfort with a neat finish that suits everyday wear or special occasions alike.
Elegant Crochet Ribbed Baby Booties Pattern to Finish Baby Sets
Lightweight and breathable, the final pair keeps toes cozy through cool evenings and early morning strolls, making them an ideal companion for year-round use. Their gentle texture sits softly against delicate skin, while the ribbed effect lends a stylish detail that pairs well with any outfit.
Whether given as a thoughtful handmade gift or kept as a cherished keepsake, these booties offer lasting value and sentimental appeal. They serve not only as a practical layer of warmth but also as a quiet celebration of new beginnings, capturing the tenderness of early life in every carefully shaped ridge and fold.
Special Features
- Multiple Sizes Explained: The tutorial provides instructions for two baby sizes (10 cm and 12 cm foot length) and highlights the availability of an adult version of the pattern.
- Seamless Design: The booties feature an innovative, invisible seam method unique to the instructor’s channel.
- Stretchy Ribbed Effect: Using slip stitches crocheted in the back loop only, the booties achieve a soft, stretchy texture.
- Customizable: The pattern allows for easy modifications in length, width, and even yarn type to suit different foot sizes.
- Detailed and Beginners-Friendly: The instructor meticulously explains every step, making it suitable even for those unfamiliar with seaming techniques.
Level of Difficulty
This project is suitable for intermediate-level crocheters. While the slip stitch technique is relatively simple, the shaping, short rows for the heel, and invisible seaming require close attention and some experience with finishing techniques. Beginners can attempt it, but they should take their time understanding the shaping and seaming processes.
Materials Needed
- Yarn:
- The instructor uses Porca Detsky Capri Templey yarn (50% wool, 50% fiber). Each 50 g skein (125 m) is enough to create two booties.
- Optional: Proper sock yarn for adult versions (420 m per 100 g, with nylon for durability).
- Crochet Hook: 5 mm (or appropriate for your chosen yarn).
- Scissors: For trimming yarn.
- Tapestry Needle: For seaming and weaving in ends.
- Scrap Yarn (Contrasting Color): Used for the foundation chain to simplify seaming.
- Stitch Marker: Optional, for marking rows and stitch count.
Step-by-Step Instructions
Step 1: Create the Foundation Chain
- Using a contrasting scrap yarn, make a foundation chain of 46 chains (or as instructed, depending on size).
- This chain determines the length of the bootie, so ensure accuracy.
- Note: The foundation chain may appear longer than the finished piece, as the fabric cinches during crocheting.

Step 2: Ribbing Rows
- Row 1:
- Switch to the main yarn and chain 1.
- Turn the foundation chain so that the back bumps of the chain are facing up. This ensures a neat edge.
- Work slip stitches into the back bump of every chain, resulting in 46 stitches.
- Rows 2-5:
- Chain 1 and turn. Work slip stitches in the back loop only for each row (46 stitches).

- This technique creates the stretchy, ribbed pattern essential for the bootie’s design.
- Chain 1 and turn. Work slip stitches in the back loop only for each row (46 stitches).
Step 3: Shaping the Heel (Short Rows)
- Row 6:
- Decrease row length by two stitches. Work only 44 slip stitches in the back loop, leaving 2 unworked stitches at the end.
- Row 7:
- Begin the instep and heel wedge. Place a stitch marker at the center of the heel (22nd stitch for 12 cm size; 20th for 10 cm size).

- Work up to the marker, then start shaping short rows to form the heel. Reduce the stitch count in subsequent rows as you move back and forth in short rows.
- Use a turning technique without chaining on the body side and create a peak for the heel at the marked spot.
- Begin the instep and heel wedge. Place a stitch marker at the center of the heel (22nd stitch for 12 cm size; 20th for 10 cm size).
Step 4: Shaping the Toe
- Once the heel section is complete, work across the remaining stitches to smooth out the rows.
- Work short rows for the toe section, similar to the heel shaping but mirrored. Increase stitches row-by-row until they align with the rest of the bootie length.
- Transition to full rows and work 38 slip stitches across the top of the foot for rows 17–23.

Step 5: Complete the Foot Section
- After shaping the toe, mirror the shaping for the second half of the foot.
- Gradually decrease stitch counts in even rows, creating symmetry with the first half.

Step 6: Invisible Seaming
- Unravel Row 36: Unravel the last row after cutting a long yarn tail (about 30 cm). This tail will be used for seaming.
- Position and Seam: Fold the bootie in half, leaving the contrasting yarn visible. Use the tapestry needle to follow the visual path of the contrasting yarn, ensuring the seam is invisible.
- Closure: Tie a secure knot at the end of the seam and remove the contrasting scrap yarn, which will come out easily.
Step 7: Close the Toe Opening
- Fold the toe section and sew it shut using the same yarn tail. Use a whipstitch or a zig-zag method for secure closure.
- Reinforce the stitching by sewing back in the opposite direction.
- Tie a knot and weave in any loose ends using the tapestry needle.
Step 8: Final Touches
- Block the Booties: Steam block the booties to soften the fabric and achieve the desired shape.
- Optionally, decorate or add small embellishments like buttons or bows.

Tutor’s Suggestions
- Count Your Stitches: Count stitches after every row to ensure accuracy and symmetry, particularly during the shaping rows.
- Use Stitch Markers: Mark key points, such as the heel peak, to guide shaping.
- Tension Control: Maintain even tension when crocheting slip stitches to avoid stiffness.
- Seaming Technique: Use the instructor’s unique and invisible seaming method for a professional finish.
- Yarn Substitution: If you substitute yarns, ensure they have similar stretch and thickness (e.g., blends with wool for warmth).
Uses of the Baby Booties
- Gifts: Perfect handmade gift for baby showers or newborns.
- Winter Wear: The wool-blend material makes them warm and cozy for colder months.
- Matching Sets: The adult version allows you to create matching family sets.
- Photography Prop: Adorable for baby photoshoots and keepsakes.
Conclusion
This tutorial provides a detailed guide to crocheting soft, stretchy, and warm baby booties, highlighting techniques for creating ribbed textures, short-row shaping, and invisible seams. While the pattern is designed for two baby sizes, the instructor’s explanations make it easy to adapt for adult sizes or specific foot measurements. These handmade booties are perfect for gifting, fashion, or cozy wear, and the meticulous step-by-step approach ensures a polished finished product.
Bonus Tip
Keep Scrap Yarn Handy: Using scrap yarn for the foundation chain not only aids in seaming but also ensures the booties remain symmetrical when folded.