
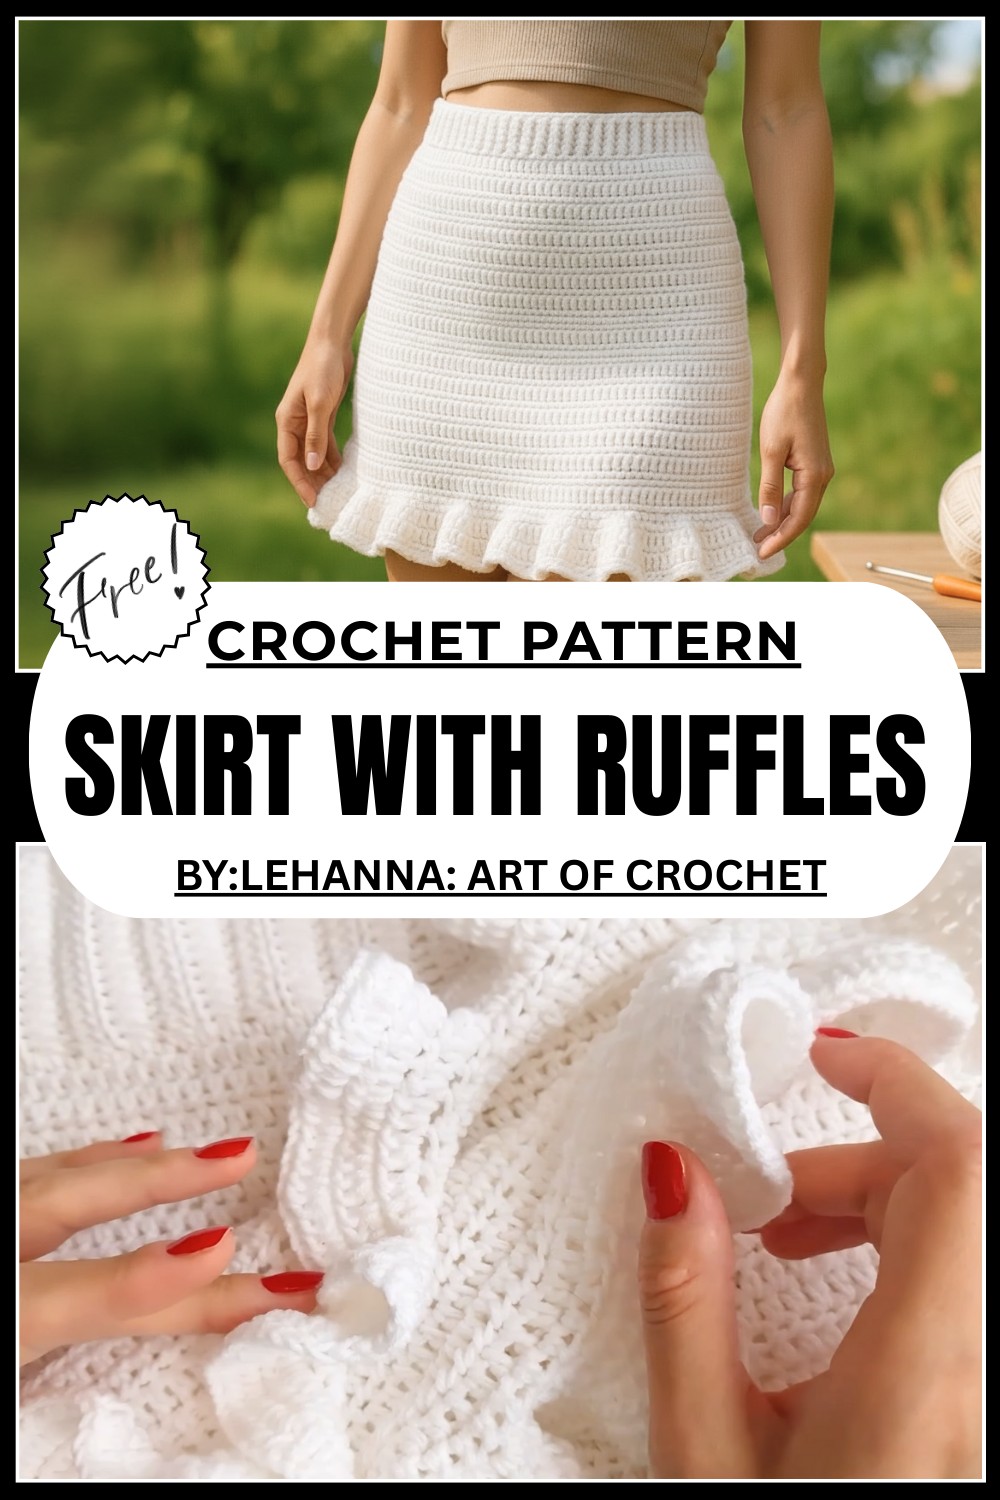
Charming Crochet Skirt With Ruffles Pattern To Spark Joy & Style
Twirl into style with this charming crochet skirt with ruffles pattern that brings playful elegance and comfortable beauty to your everyday wardrobe!
This skirt is a wonderful mix of softness and style, flowing gently with pretty ruffles that add a playful touch to every step you take. Its layers move gracefully, catching the breeze and making you feel light and free. Perfect for warm days or special occasions, it pairs beautifully with simple tops or dressier shirts, giving you many options to look your best.
Handmade Crochet Skirt With Ruffles for a Feminine Look
The texture is smooth and comfy, making it easy to wear all day long without any fuss. Whether you are going to a casual outing or a festive event, this skirt’s charming ruffles create a joyful, lively look that makes you stand out. Its handmade feel adds warmth and personality, turning a simple outfit into something special. Soft, fun, and easy to love, this skirt is designed to bring happiness and a touch of elegance to your wardrobe.
Summer Ruffled Crochet Skirt Pattern
Introduction
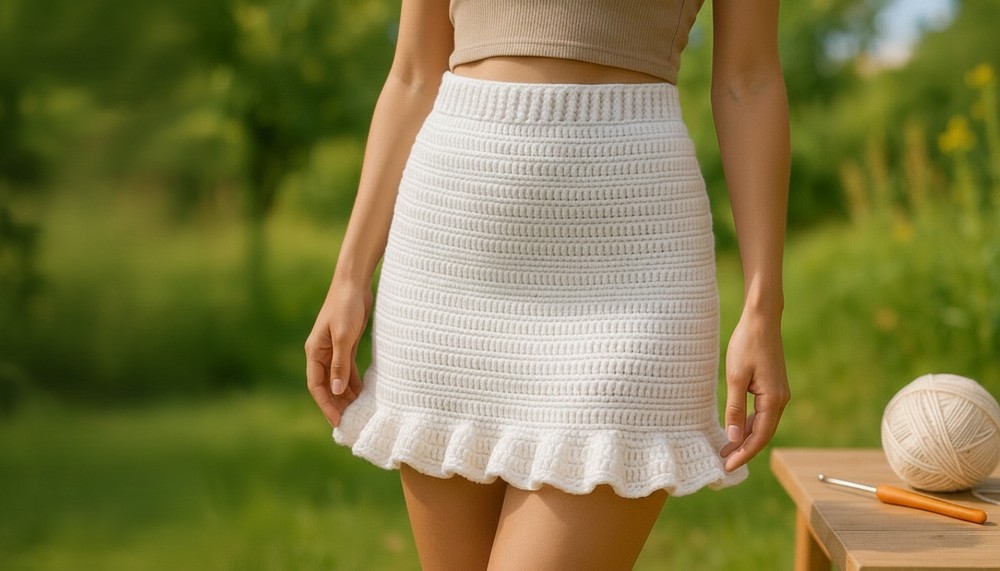
This tutorial guides you through making a beautiful summer skirt featuring ruffles at the bottom. The skirt is worked from the waistband downward with comfortable shaping and increases to fit your waist and hips. Made with a cotton-acrylic blend yarn and a 2.5 mm hook, this lightweight skirt is perfect for your warm weather wardrobe and can be paired with any top.
Special Features
- Soft, breathable acrylic-cotton yarn blend for summer comfort
- Waistband worked with half double crochet (hdc) in back loops for stretch and texture
- Shaping with strategic increases for a flattering skirt flare
- Decorative ruffled hem created with layered half double crochets
- Handmade, adjustable to fit various waist and hip sizes
Level of Difficulty
Intermediate – Requires:
- Mastery of chain (ch), slip stitch (sl st), single crochet (sc), half double crochet (hdc), and double crochet (dc) stitches
- Understanding how to work into back loops
- Working increases and shaping evenly
- Basic measurement adjustments to customize fit
Materials Needed
- Acrylic-cotton yarn (approx. 50g per skein; total 200g or adjusted to size)
- 2.5 mm crochet hook
- Scissors
- Tape measure
- Stitch markers (optional)
Step-by-Step Crochet Pattern
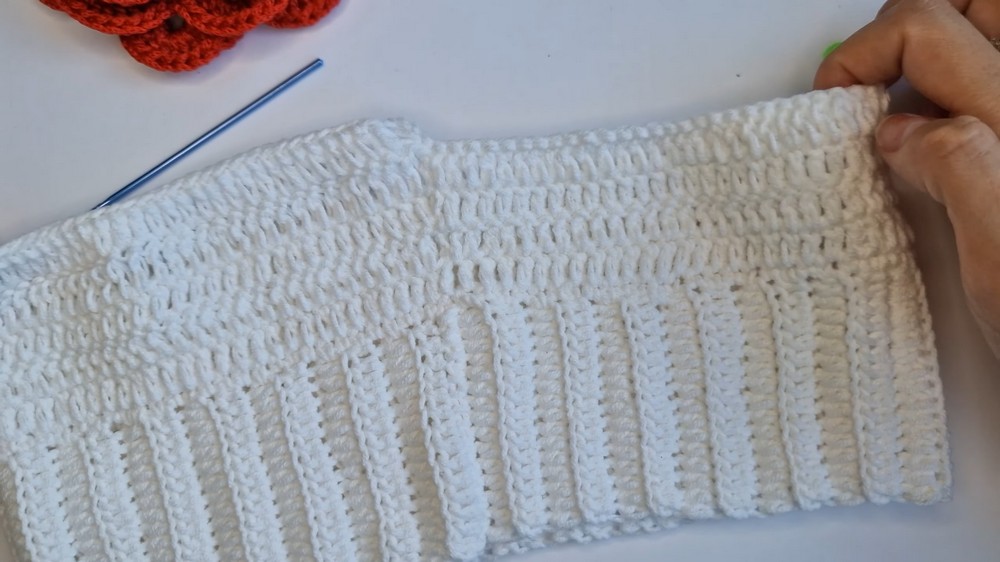
Step 1: Crochet Waistband Foundation
- Begin with a slip stitch.
- Chain 16 stitches (adjust chain count to your waist measurement as needed).
Step 2: Row 1 – Half Double Crochet (hdc) Across
- Insert hook into the third chain from the hook.
- Yarn over, pull through, yarn over, pull through all 3 loops – half double crochet (hdc).
- Work hdc in each chain to end of row.
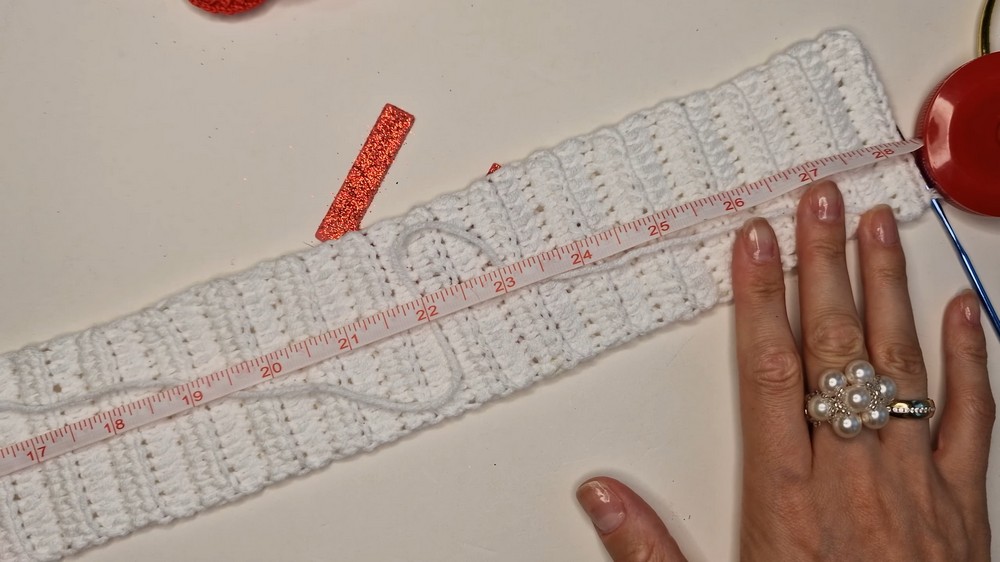
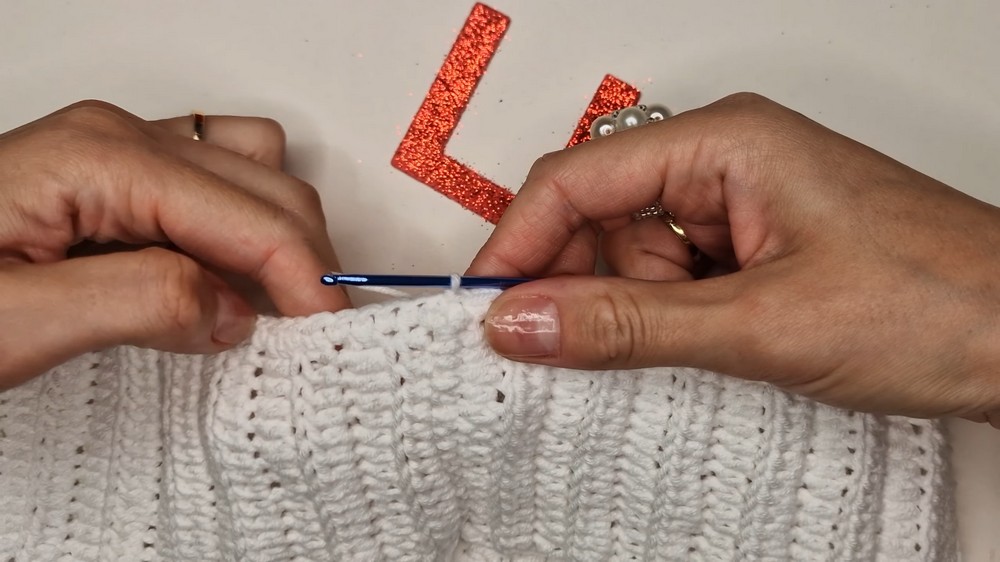
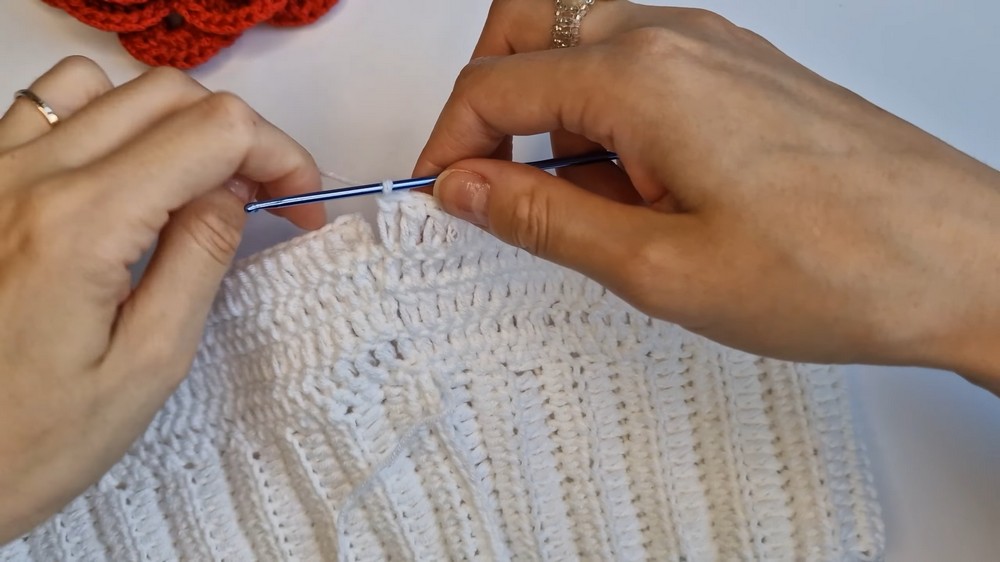
Step 3: Row 2 and Onward – Back Loop Hdc Ribbing
- Chain 2 (turn chain).
- Turn work.
- Work hdc only in the back loops across row.
- Repeat this row until when stretched, the length equals your waist circumference.
- In the example, 56 rows resulted in 27.5 inches circumference.
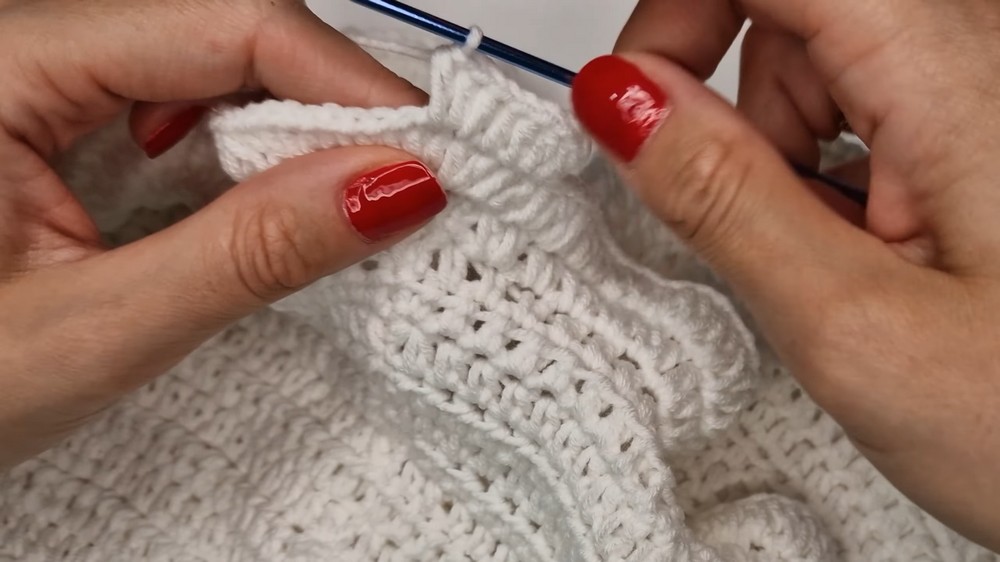
Step 4: Join Waistband into a Circle
- Join the end of the waistband to the start using single crochet (sc) stitches all along the seam.
- Work sc evenly through both edges until fully closed in a circle.
Step 5: Begin Skirt Body – Single Crochet Round
- Turn waistband inside out.
- Chain 1, then single crochet (sc) around the entire waistband edge.
- Increase stitches gradually by adding 2 sc in every side round (e.g., 1 in regular stitches, 2 in one stitch) spaced evenly to start shaping the skirt.
- Join each round with slip stitch; continue increasing evenly for comfortable hip measurements.
Step 6: Crochet Double Crochet (dc) Rows for Skirt
- Chain 3 (counts as first dc).
- Work dc in each stitch around. Join with slip stitch.
- Turn work and chain 3; repeat dc in every stitch for 2 more rows (for a total of 3 dc rows).
Step 7: Begin Increases
- Place stitch markers equally spaced around the circle to mark increase points.
- On increases rows (Row 4, Row 6, Row 8), increase by making 2 double crochets in one stitch before each marker, then one dc in marker stitch, then again 2 dc in next stitch.
- Between markers, continue regular dc in each stitch.
- On alternate rows (Row 5, 7, 9), work dc evenly without increases.
- Repeat increase pattern as needed to comfortably fit hips; use try-on method.
Step 8: Continue Crocheting Skirt Length
- Continue working rows of dc, alternating increased rows and regular rows until desired skirt length is reached (e.g., 15 inches).
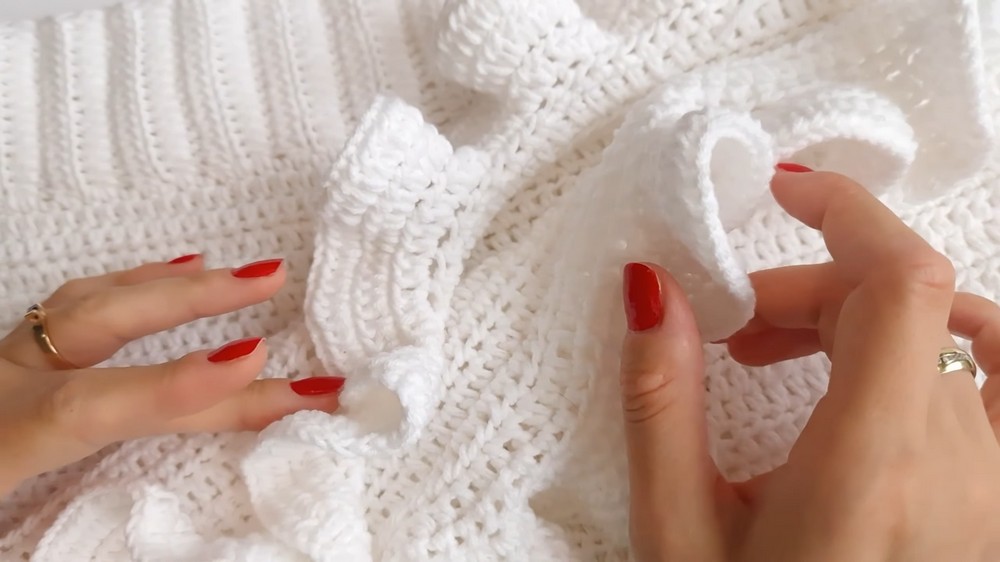
Step 9: Start Ruffled Hem – Row 1
- Chain 2 to begin.
- Work 2 half double crochets (hdc) in the same stitch around.
- Join with slip stitch to the beginning chain 2.
Step 10: Ruffle Row 2
- Chain 2.
- Work 1 hdc in next stitch, 2 hdc in next stitch; repeat around.
- Join with slip stitch.
Step 11: Ruffle Row 3
- Chain 2.
- Work 1 hdc in next stitch, 2 hdc in next stitch, then 1 hdc in next stitch, 2 hdc in next stitch in alternating pattern around.
- Join with slip stitch.
Step 12: Finish and Weave Ends
- Fasten off the yarn.
- Weave in all loose ends securely with a yarn needle.
- Optionally block your skirt to open up ruffles and even the shape.
Conclusion
You now have a beautifully ruffled summer skirt designed for comfort and style. This project features a fitted waistband with textured ribbing, gradual hip increases, and a charming ruffled hem that adds flair. Fully customizable in length and width, it’s a perfect addition to your handmade wardrobe or a thoughtful gift.
Tutor’s Suggestions
- Measure your waistband stretch often for a perfect fit before joining into a circle.
- Use stitch markers to evenly space increases and maintain a balanced shape.
- Try on the skirt as you work to adjust length and fullness.
- Incorporate blocking after finishing for best presentation, especially for ruffles.
Tip
When working back loop stitches on the waistband, keep tension slightly looser for better elasticity. This will ensure your waistband comfortably hugs your waist without being too tight.