Fabulous Free Crochet Mini Skirt Pattern For Everyday Style
Learn an easy Free Crochet Mini Skirt Pattern that is perfect for anyone, helping you make a pretty handmade skirt that’s both unique and comfortable to wear.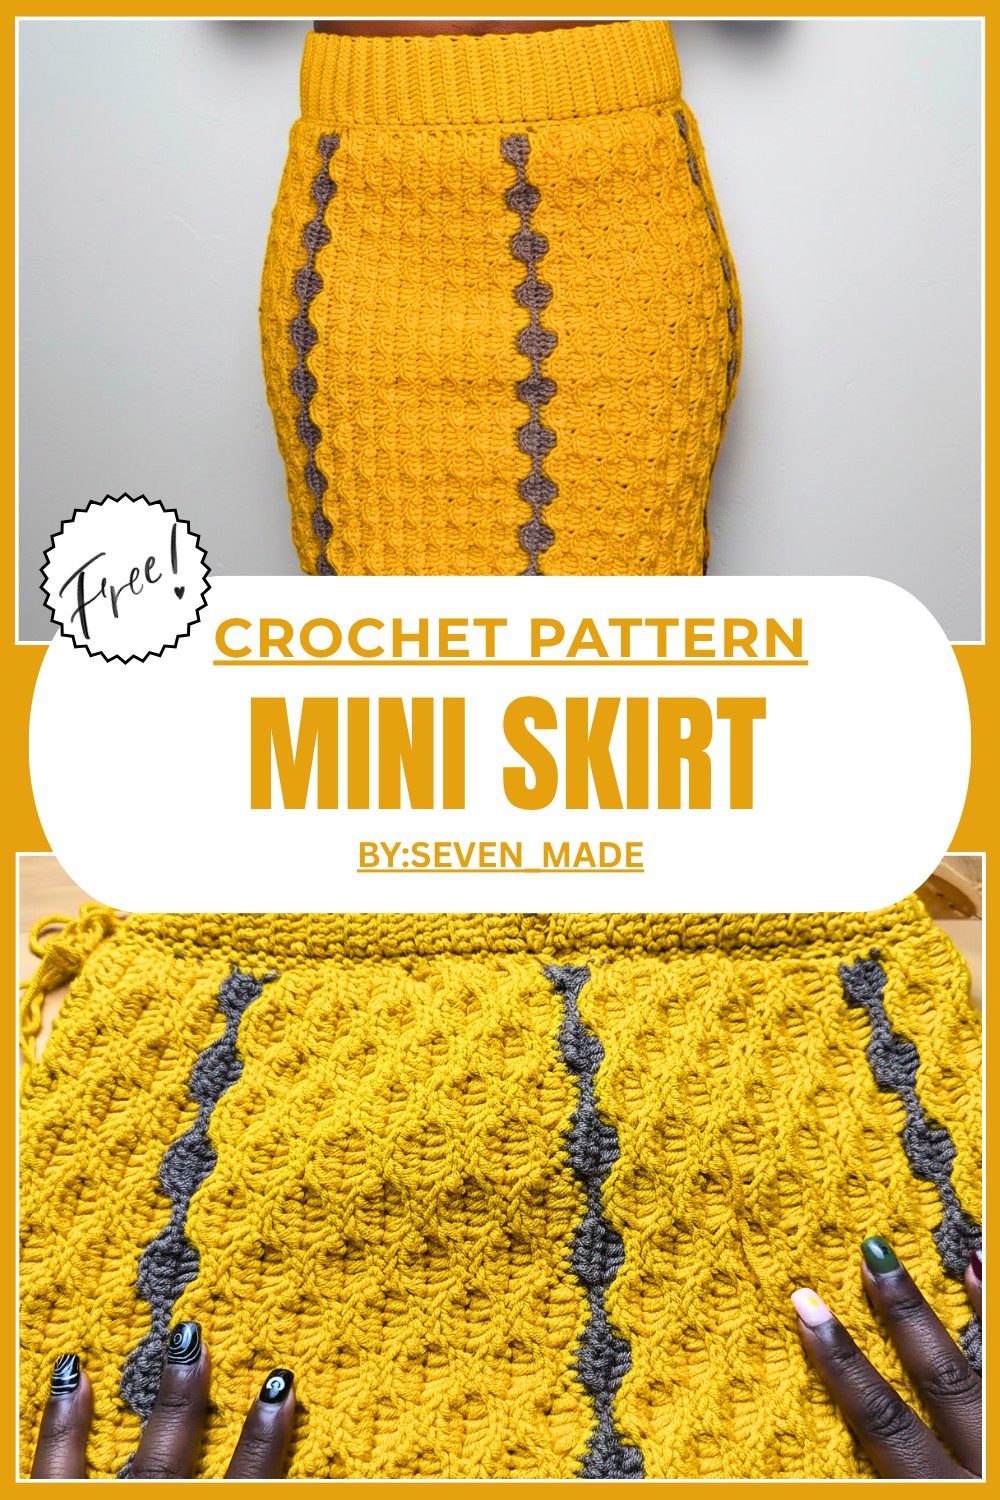
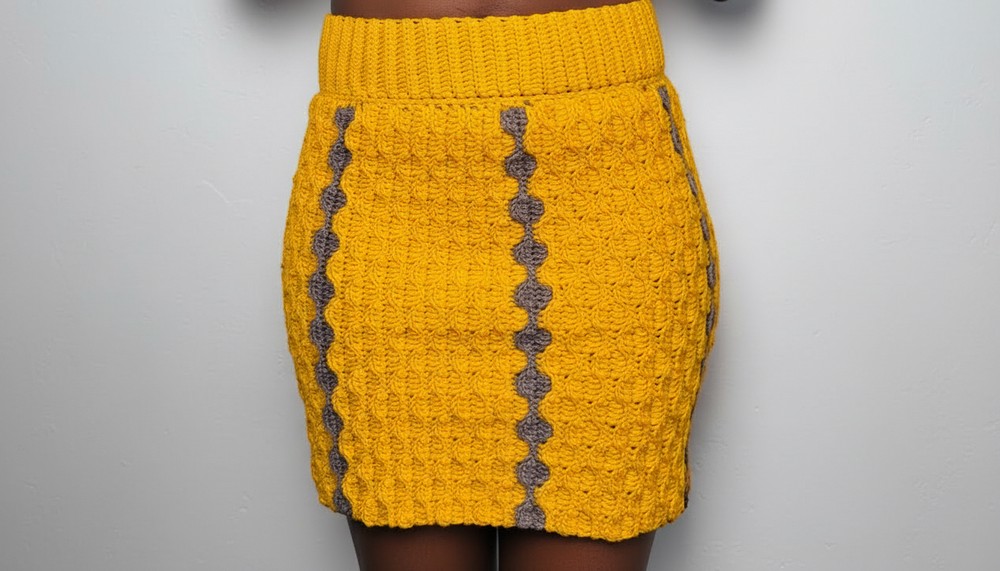
Bright Free Crochet Mini Skirt Design For Perfect Outfits
Overview of Free Crochet Mini Skirt Pattern
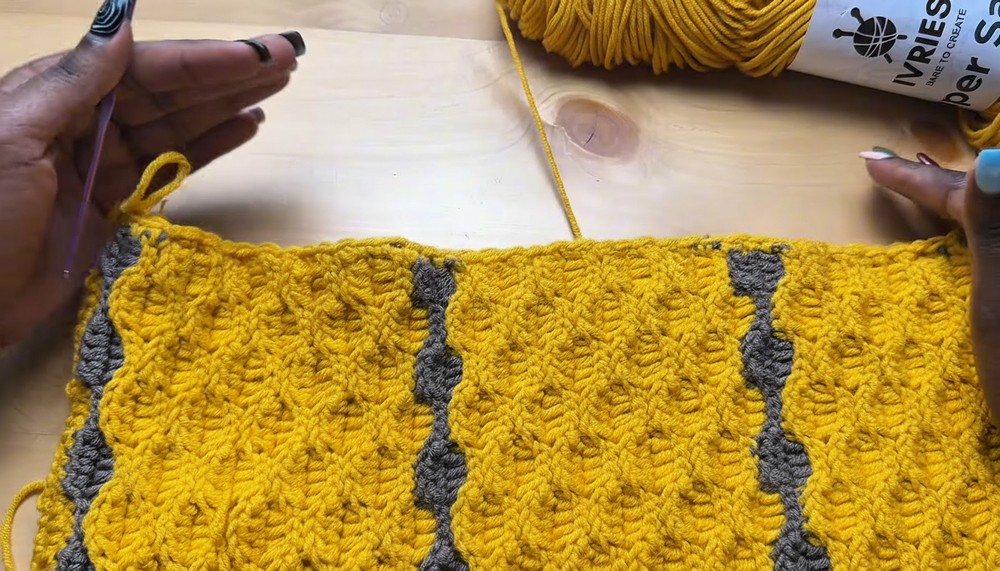
Whether it’s sunny outside or a chilly day, the Free Crochet Mini Skirt Pattern is the perfect project to add a touch of style to your wardrobe. This skirt is easy to make and uses simple crochet techniques, making it great for beginners. The design features a neat ribbed waistband for a snug fit and an eye catching pattern that stands out beautifully.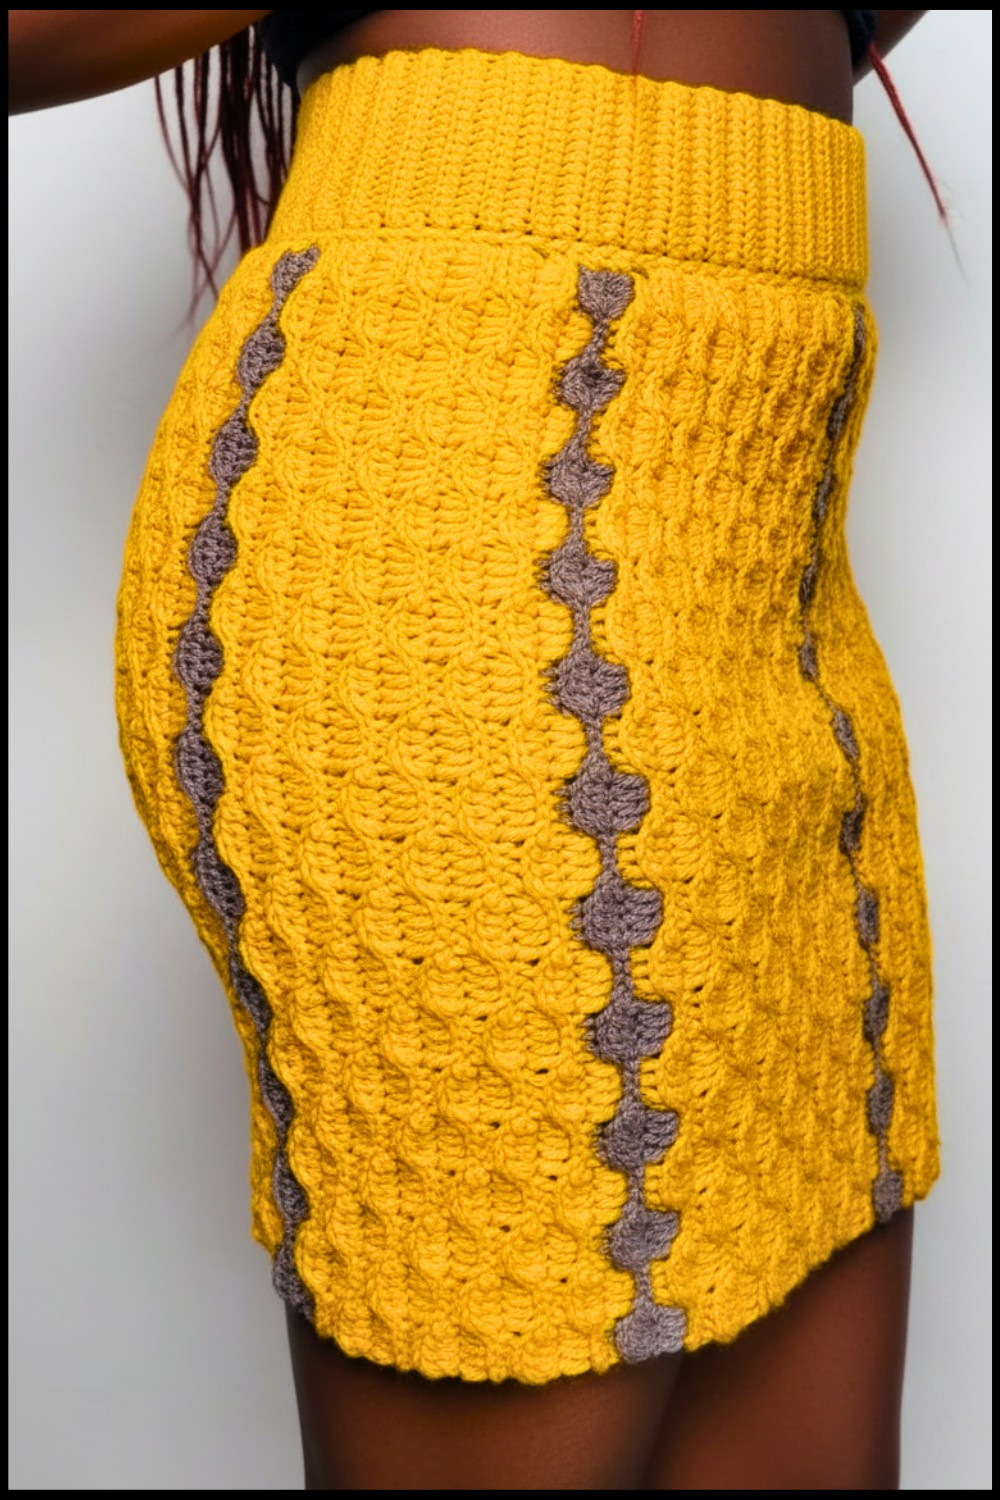
You can wear it casually or dress it up for special events, and its stretchy material ensures it fits comfortably. With this pattern, you can choose your favorite colors and length, making it unique and personalized.
Its gorgeous handmade look and practical design make it perfect for gifting or just treating yourself. This project is fun, creative, and lets you crochet something stylish for any occasion.
Crochet Mini Skirt Pattern
Materials Required:
- Yarn:
- Yarn Brand: Ivy’s Super Saver (200 g and 400 m per skein).
- Quantity: At least two skeins for size medium.
- Color Suggestions: Use either a single color or alternate between two complementary colors to add variation, as shown in the video.
- Hook:
- 3 mm crochet hook for the main work.
- 2.5 mm crochet hook for the waist ribbing.
- Additional Tools:
- Pair of scissors.
- Measuring tape.
- Yarn needle for sewing in ends.
Pattern Instructions
Step 1: Take Measurements
- Measure the length from your waist down to where you want your skirt to rest.
- Example: The length used in the video is 15.5 inches.
- Also, keep in mind that the waist ribbing will later be added to the design, which may slightly affect the overall length.
Step 2: Start the Base Chain
- You will start the foundation chain by calculating multiples of 6 + 5. This is crucial as it determines the length of the skirt.
- For size medium: Chain 77 stitches.
- Adjust the count if you need a longer skirt; however, ensure the multiple of 6 calculation remains valid.
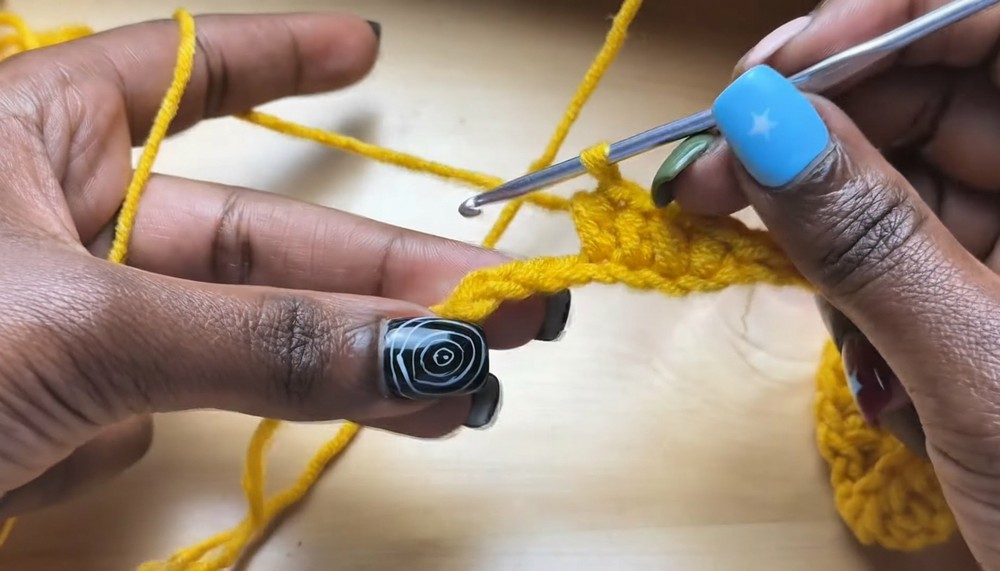
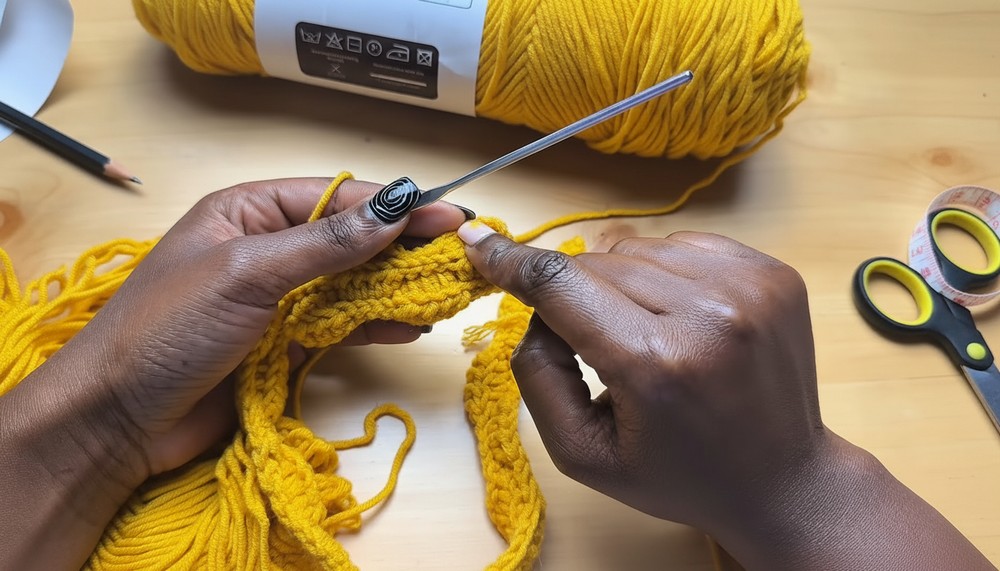
Step 3: Row 1 Create the Textured Base
- Skip the first stitch from the hook.
- Alternate between:
- 4 Slip Stitches: Insert the hook into the next stitch, yarn over, pull through the stitch and loop. Repeat for four stitches.
- 4 Half Double Crochets (HDC): Yarn over, insert the hook into the next stitch, yarn over, pull up a loop, yarn over, and pull through all three loops. Repeat for four stitches.
- Continue alternating 4 Slip Stitches and 4 Half Double Crochets along the row.
- Once only 4 stitches remain, end the row with 4 Slip Stitches.
Step 4: Row 2 Back Loop Work
- Chain 1. Turn the work to start the next row.

- Work into Back Loops Only:
- For stitches already made as Slip Stitches in Row 1, continue with Slip Stitches using the back loops.
- For stitches made as Half Double Crochets, make back loop Half Double Crochets.
- Repeat this process across the row.
Step 5: Row 3 Alternate the Stitches
- Chain 2 and turn your work.
- Reverse the order from the previous rows:
- Start with back loop Half Double Crochets for the first four stitches.
- Follow with back loop Slip Stitches for the next four stitches.
- Alternate stitch types, ensuring alignment with the previous row’s pattern.
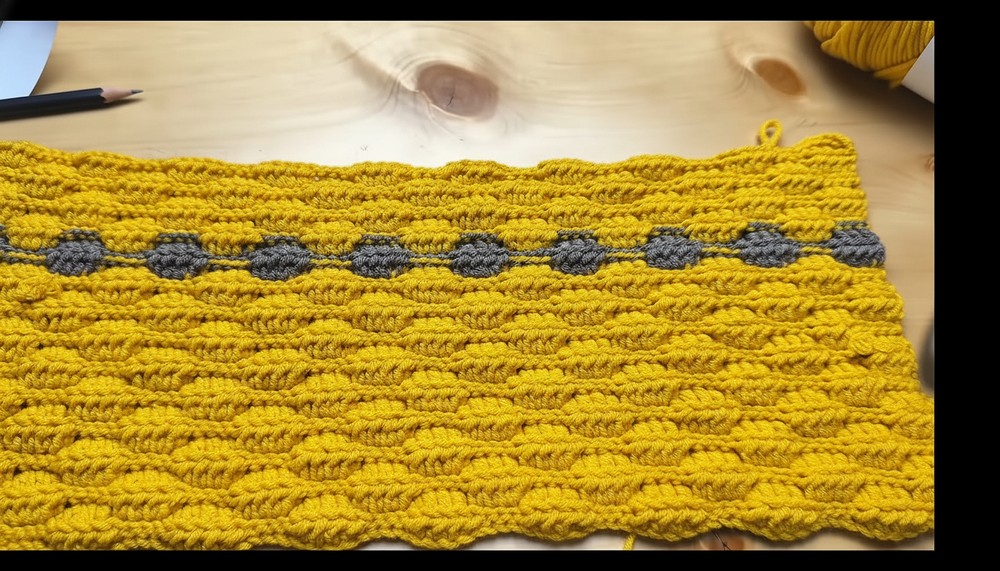
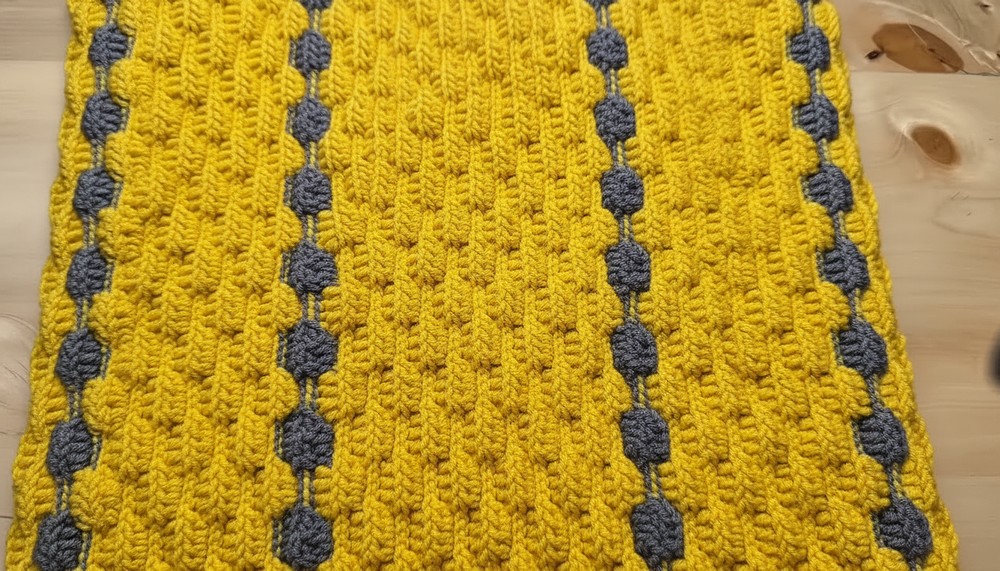
Step 6: Continue Repeating Row Combinations
- Alternate between Row 2 and Row 3 until you achieve the required number of rows to fit around your hips.
- Example from the video: 120 rows were made for a hip circumference of 40 inches.
- Optional: Add a second color for variation or to match another clothing piece (e.g., cardigan).
- Example: Change colors every 18 rows for size medium.
- Example: Change colors every 18 rows for size medium.
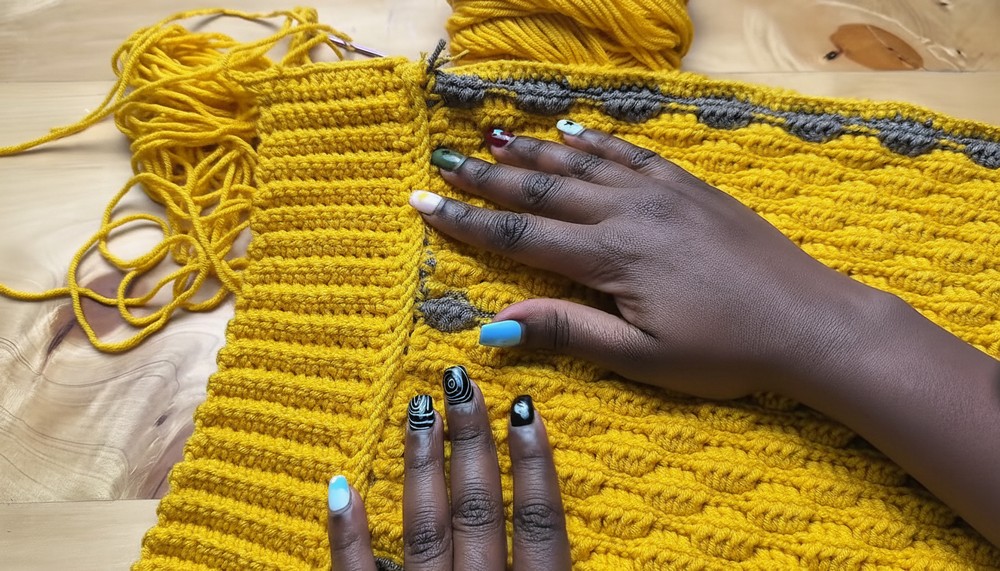
Step 7: Join the Skirt Panels
- Place the skirt’s two ends together, ensuring the wrong side is facing outward.
- Use the main yarn to single crochet both ends together:
- Insert the hook through one loop of each end panel.
- Yarn over, pull through both loops, and complete the stitch.
- Continue this process until the skirt is fully joined.
Step 8: Add Waist Ribbing
- Use a smaller hook (2.5 mm) for a tighter, cinched waist ribbing.
- Start by making a chain of 12 stitches.

- Turn work and single crochet into the second chain from the hook and continue single crocheting into each chain.
- Work back loop single crochets for each row of ribbing to create texture.
- Repeat until ribbing measures 92 rows (matching the number of skirt rows).
- Repeat until ribbing measures 92 rows (matching the number of skirt rows).
- Attach the ribbing to the skirt’s top edge using single crochet stitches, ensuring alignment.
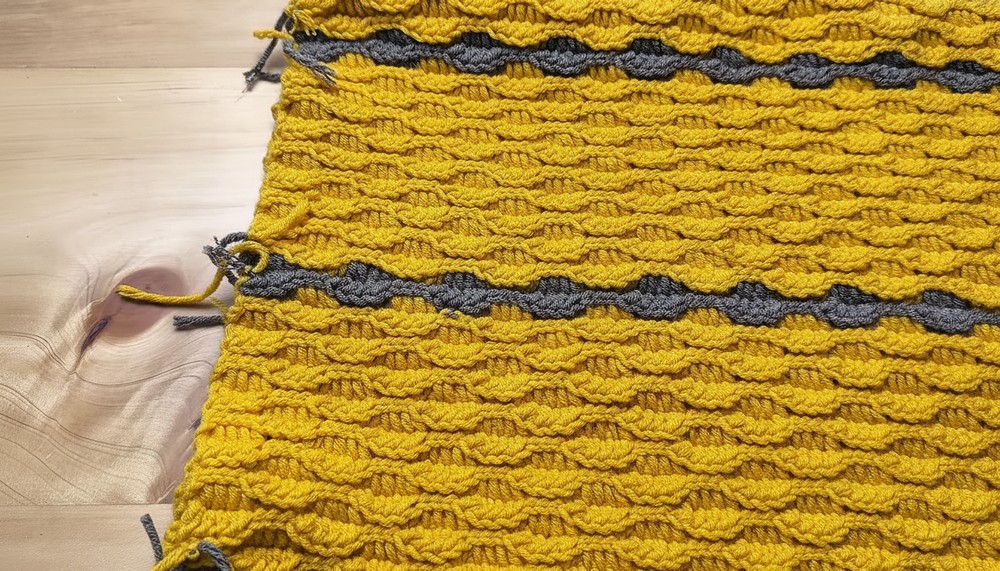
Step 9: Finishing the Skirt
- Turn the skirt to its right side.
- Sew in all yarn ends using a yarn needle for clean finishing.
- Ensure the skirt fits snugly before tying off the final stitches. If adjustments are needed, add or subtract ribbing rows.

Final Words
Congratulations on completing your beautiful textured mini skirt! This project is perfect for pairing with other handmade items, like a matching cardigan, or styling it with store-bought accessories.
Tips for Maintaining the Pattern
- Stretch Factor: Remember that the fabric naturally stretches. Avoid overworking rows if you prefer a more fitted look.
- Color Choices: Feel free to experiment with colors to reflect your personality or coordinate with other handmade pieces.
- Care Instructions: Hand wash your skirt in cold water to preserve yarn texture and color. Lay flat to dry.
- Customization: Modify the pattern length or width as needed by adjusting stitch counts and row numbers.
This skirt pattern offers a wonderful opportunity to learn textured crochet techniques while creating a stylish wardrobe staple.