
Convenient Free Crochet Lemon Purse Pattern For Summer Style
Make a bright lemon shaped purse with this Free Crochet Lemon Purse Pattern, perfect for small items, or gifting, and enjoy creating a fun handmade accessory.

Free Crochet Lemon Purse Pattern for Small Essentials
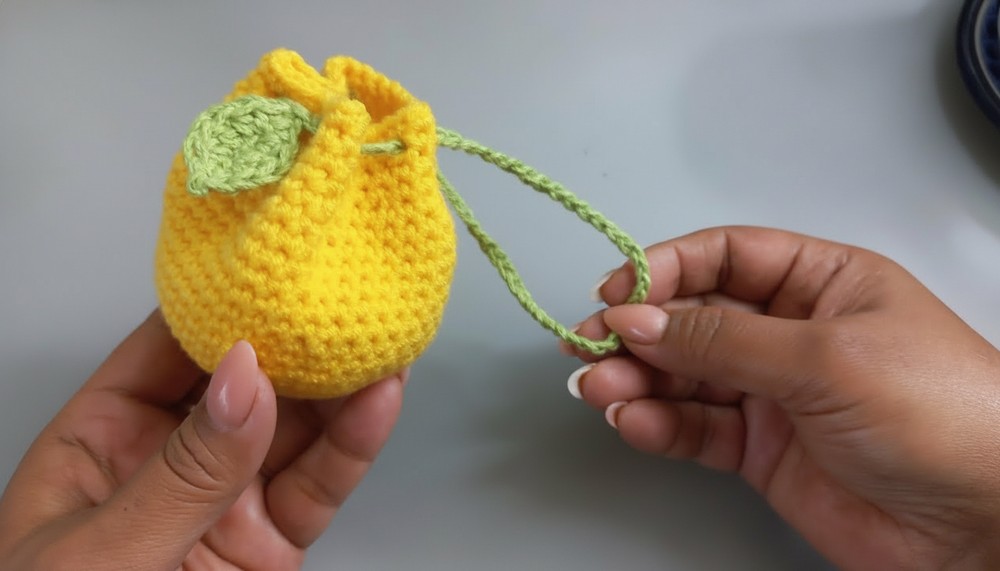
Carry a bright and zesty fruit in your hand that’s actually a clever little bag made from soft yellow yarn. This delightful creation looks just like a fresh lemon picked from a sunny tree, complete with a round, puffy shape and a cute green leaf on top. The Free Crochet Lemon Purse Pattern is your guide to making this cheerful accessory with ease. Its bright colors and soft texture make it look like an elegant piece straight from a fancy boutique.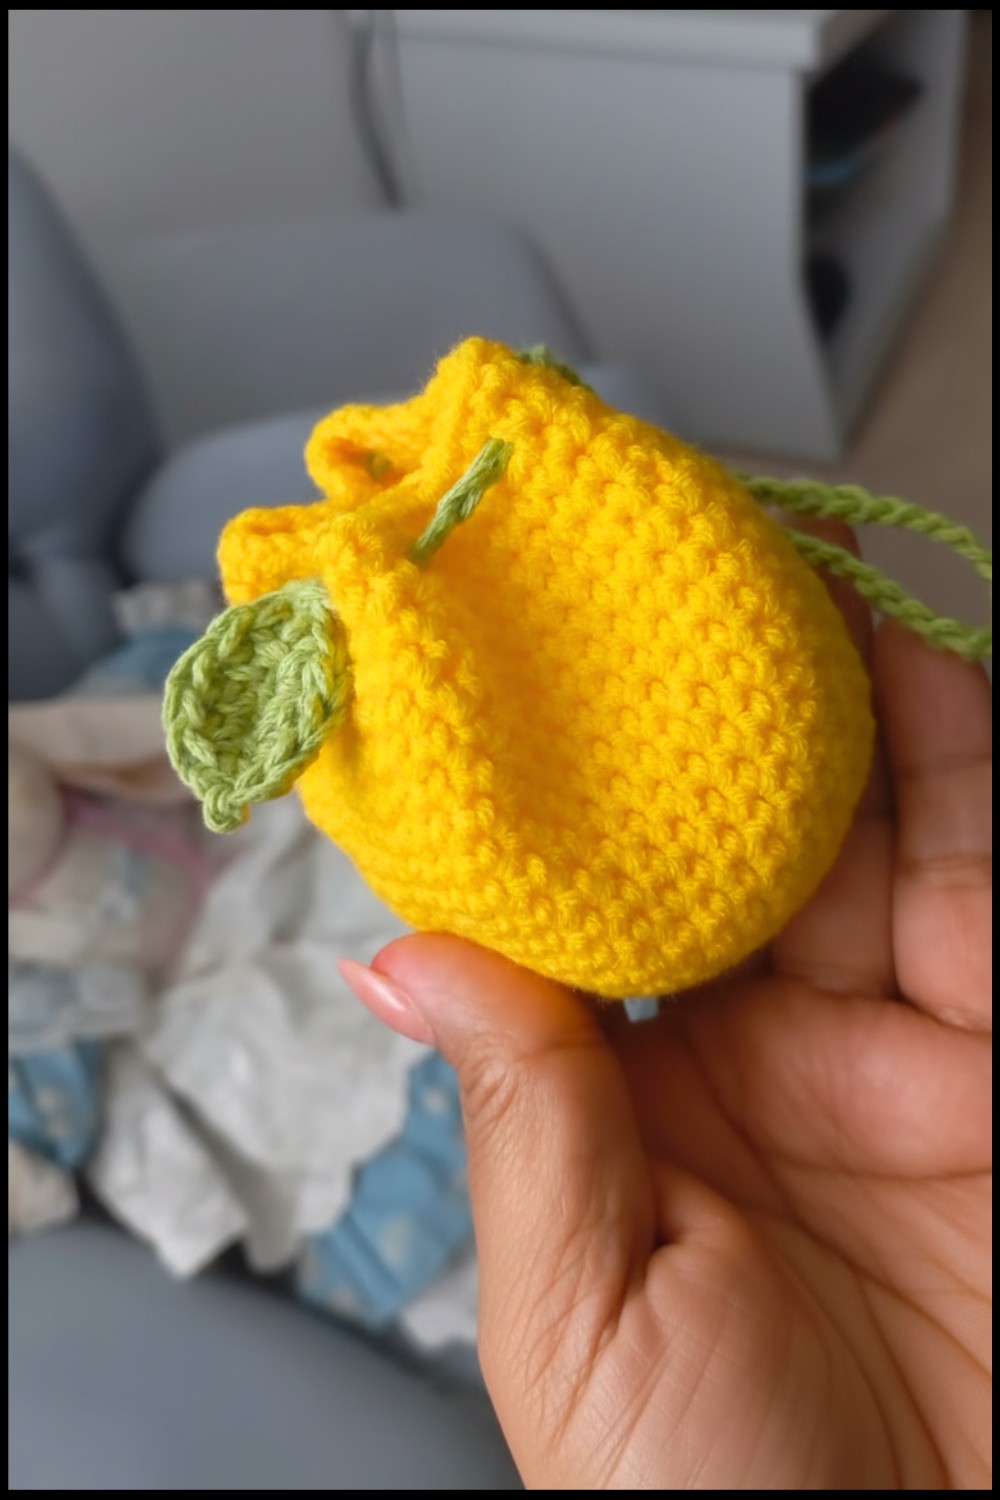 This adorable lemon hides a secret—an opening that reveals a hollow inside, perfect for keeping coins, lip balm, or tiny treasures while you’re out with friends. You can wear it as a playful lucky charm or gift it to someone who loves summer vibes.
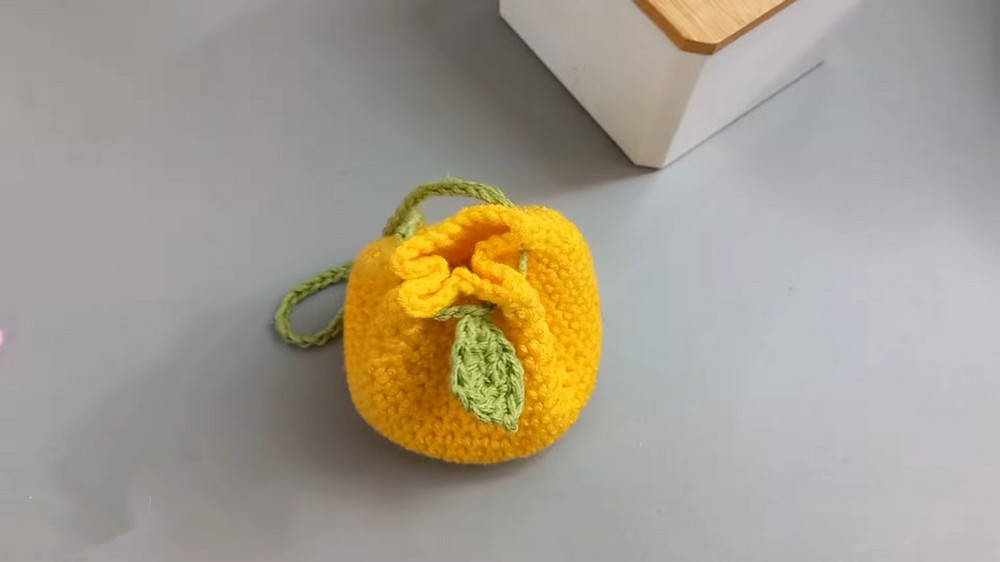
This clever design transforms simple stitches into a professional, fruit like masterpiece that’s sure to wow everyone. Creating this purse is a fun and creative way to show off your skills while making a durable, happy accessory you’ll love every day.
Crochet Lemon Purse Pattern
Materials Needed:
- Yarn: Cotton yarn in two colors: green (for the leaf) and yellow/orange (for the pouch). You can substitute colors as preferred, like mustard or light orange.
- Hook Size: Use a crochet hook size 2.5 mm or 3 mm, depending on your yarn weight and tension.
- Optional Second Hook (smaller): To assist with working tight spots.
- Markers: Stitch markers to keep track of spiral rounds.
- Scissors: For cutting yarn.
- Tapestry needle: To weave in ends and tidy the project.
- Extra Accessories (Optional): A small drawstring or decorative bead for closure.
Special Techniques:
- Magic Ring (or Aro Mágico): Used to start the circular base to ensure a neat, closed center.
- Invisible Spiral Work: The spiral method avoids slipping stitches to join rounds, keeping the shape seamless.
- Invisible Decreases: Used to reduce stitches neatly when shaping the pouch’s closure.
- Custom Drawstring: A crocheted chain that serves as the pouch’s drawstring.
Pattern Instructions:
1. Creating the Base
- Start with a magic ring and leave a small tail for securing later.
- Round 1:
- Place 6 single crochet (sc) into the magic ring. Use a marker to identify the first stitch of the round.
- (6 sts total)

- Round 2:
- Make 2 single crochet (sc) in each stitch around.
- Replace the marker at the beginning of each round.
- (12 sts total)
- Round 3:
- Work 1 sc in the first stitch, 2 sc in the next. Repeat around.
- (18 sts total)
- Round 4:
- Work 2 sc in the next two sts, 1 sc in the next. Repeat around.
- (24 sts total)

- Round 5:
- Work 3 sc, then 1 increase (2 sc in one stitch). Repeat around.
- (30 sts total)
- Round 6:
- Increase gaps by adding one additional regular stitch between increases.
- (36 sts)

- Repeat this increase pattern until you achieve the desired size for your base. The increases should follow the formula: Work X single crochets, then increase.
2. Building the Wall of the Pouch
- After completing the calculations for your circular base, continue working single crochets around with no increases.

- Repeat for approximately 17 to 20 rounds, depending on your desired pouch height. Keep track of rounds with a stitch marker.
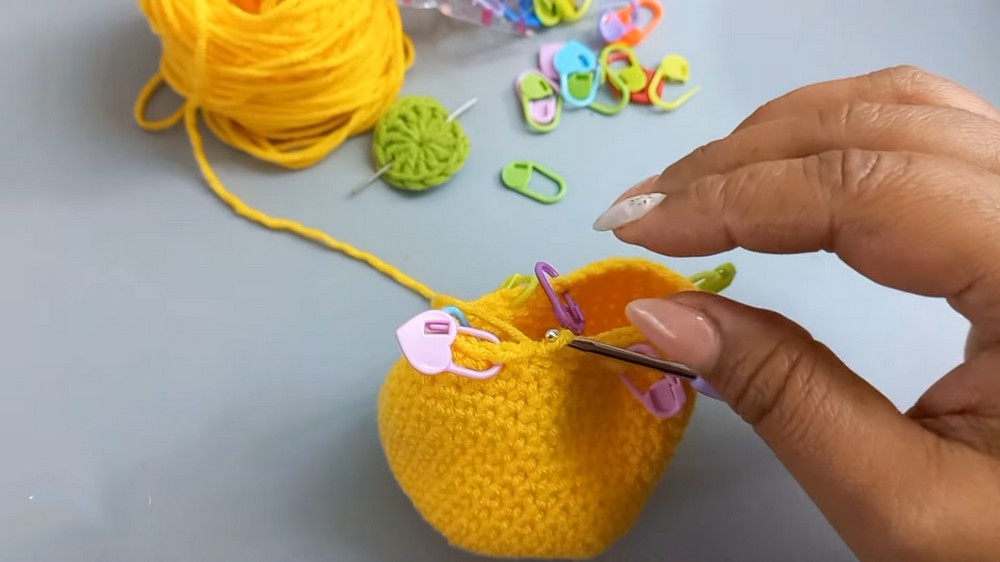
3. Shaping the Drawstring Section
- Add holes for the drawstring:
- Work 2 single crochet stitches, then chain 1. Skip 1 stitch, and continue around.

- Ensure the chain spaces are equally distributed (e.g., spaced at intervals of 7).
- The skipped stitches create the holes for threading the cord.

- Work 2 single crochet stitches, then chain 1. Skip 1 stitch, and continue around.
- Next round:
- Work single crochets across all stitches, including into the chain spaces created in the previous round. Use a stitch marker to maintain continuity.
- Work single crochets across all stitches, including into the chain spaces created in the previous round. Use a stitch marker to maintain continuity.
4. Creating the Leaf (Optional)
- Use the green yarn to make the leaf. Begin with a chain of 6.
- Work back along the chain:
- Slip stitch in the first chain, followed by a single crochet.
- Work 1 half double crochet (hdc) in the next chain, a double crochet in the next, and an hdc in the last.
- Work a slip stitch to mirror on the other side of the chain, forming a leaf shape.
5. Creating and Attaching the Drawstring
- Chain approximately 80-100 stitches, depending on how much length you need for your drawstring. Opt for extra length to accommodate ease of use.
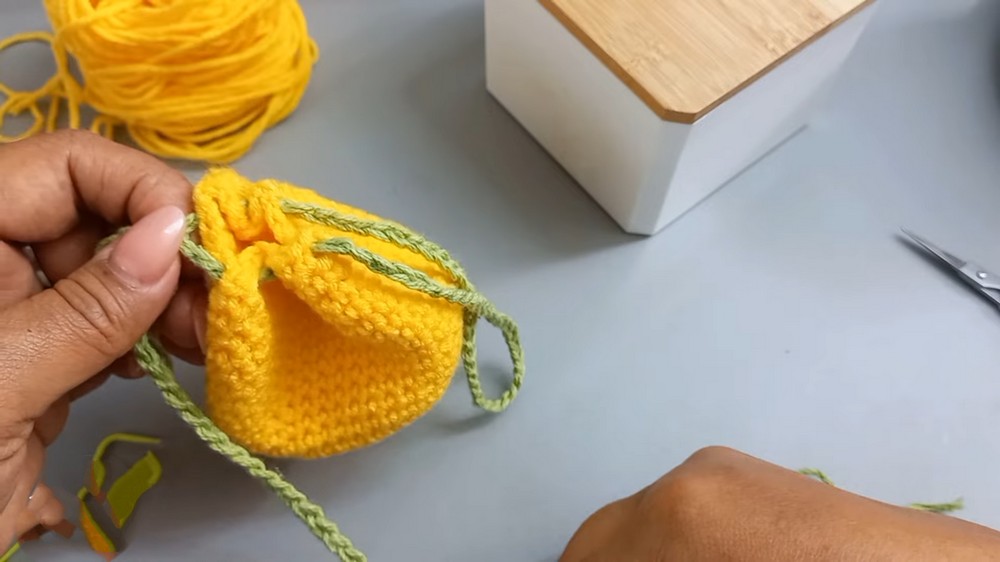
- Weave the cord through the holes created in the pouch's upper edge. Avoid catching stray fibers for smooth functionality.
- Secure the ends of the cord by attaching them to the crochet leaf. Use a tapestry needle to sew the ends securely.
Finishing the Pattern
- Securely weave all loose ends into the back of the work using the tapestry needle. Reinforce areas prone to manipulation, such as the drawstring holes, to ensure durability.
- Optional: Add decorative details like a bead to the cord or a second leaf.
Final Words
This citrus inspired crochet pouch is a versatile and creative project perfect for beginners and advanced crocheters alike. Use it as a coin holder, a cute storage pouch, or even as a gift bag for small knick knacks. The spiral technique makes it seamless, and the drawstring closure adds a charming and functional touch.
Tips to Maintain the Pattern
- Care for the Yarn: Use cotton or similarly durable yarn for a tidy and long lasting finish.
- Keep Stitches Consistent: Adjust your hook size if your tension is too loose or too tight.
- Avoid Mistakes in Spiral Work: Use stitch markers diligently to track the start and end of each round.
- Personalize It: Experiment with colors, add more rows for size variation, or crochet multiple leaves for decoration.
- Proper Washing: If needed, gently hand wash to maintain its shape and avoid stretching.
