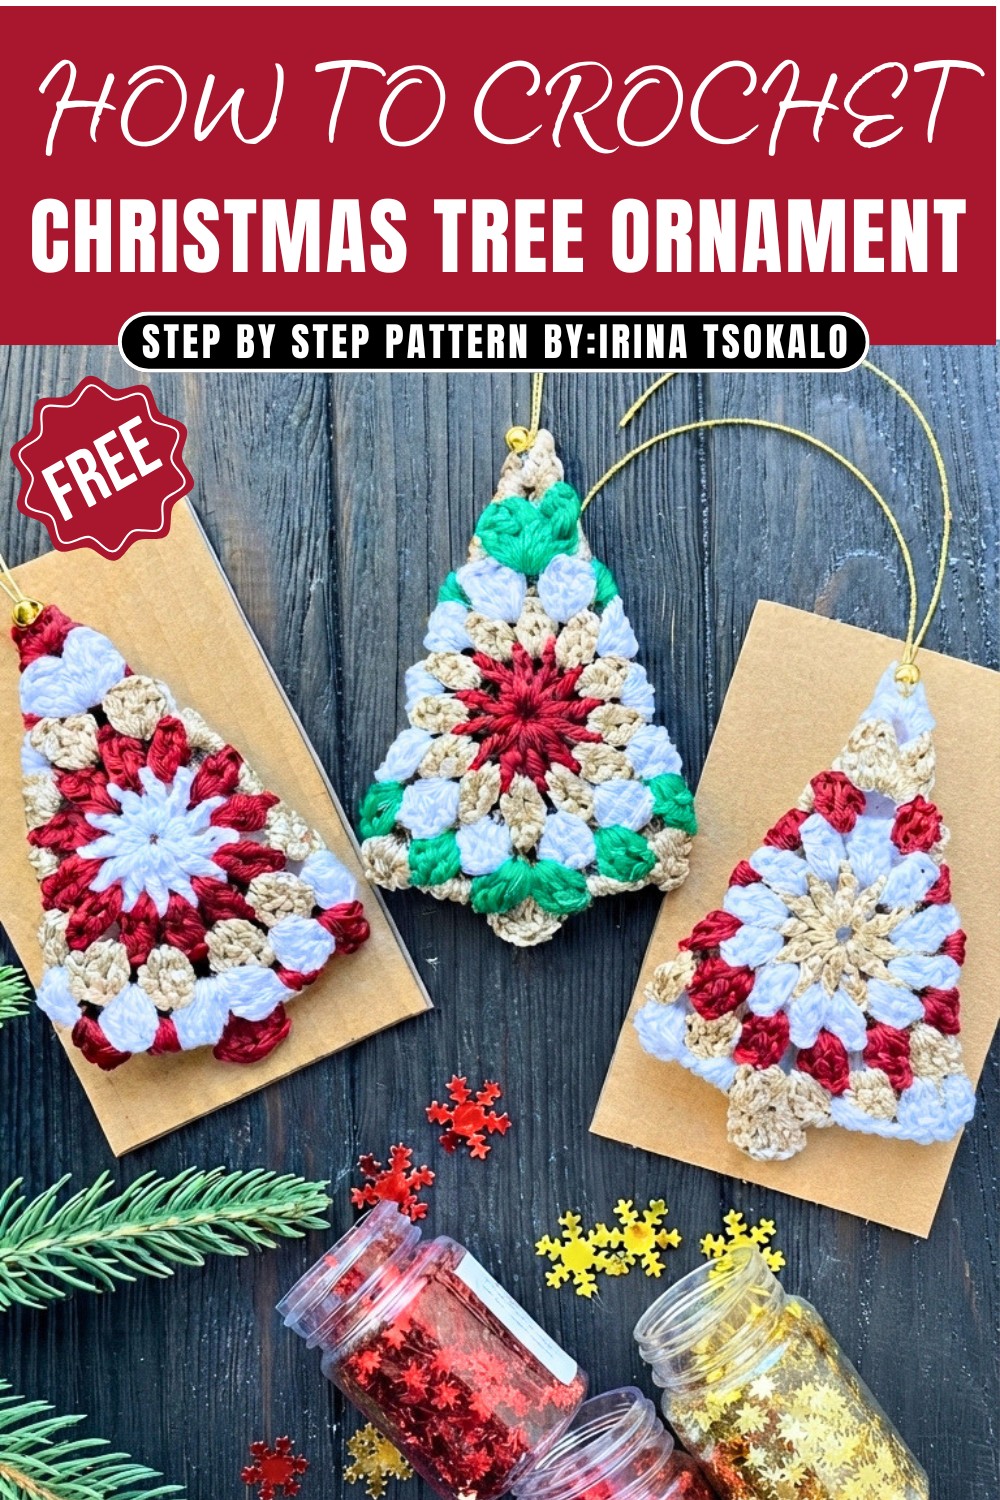
Mini Crochet Christmas Tree Ornament Free Pattern For Holiday Decor
Fill your Christmas tree with charm using this Crochet Christmas Tree Ornament Pattern featuring a delightful ornament for holiday decorating.
As the holidays draw near, I always look for simple ways to add a warm and festive feel to my home. One charming project I found adds a special touch to holiday decorations. These small, tree-shaped ornaments are easy to work on and make thoughtful gifts that show you care. The Crochet Christmas Tree Ornament Pattern brings a cozy and cheerful vibe to any Christmas tree with its lovely shape and personal feel.
Free Crochet Christmas Tree Ornament Pattern To Add Festive Charm
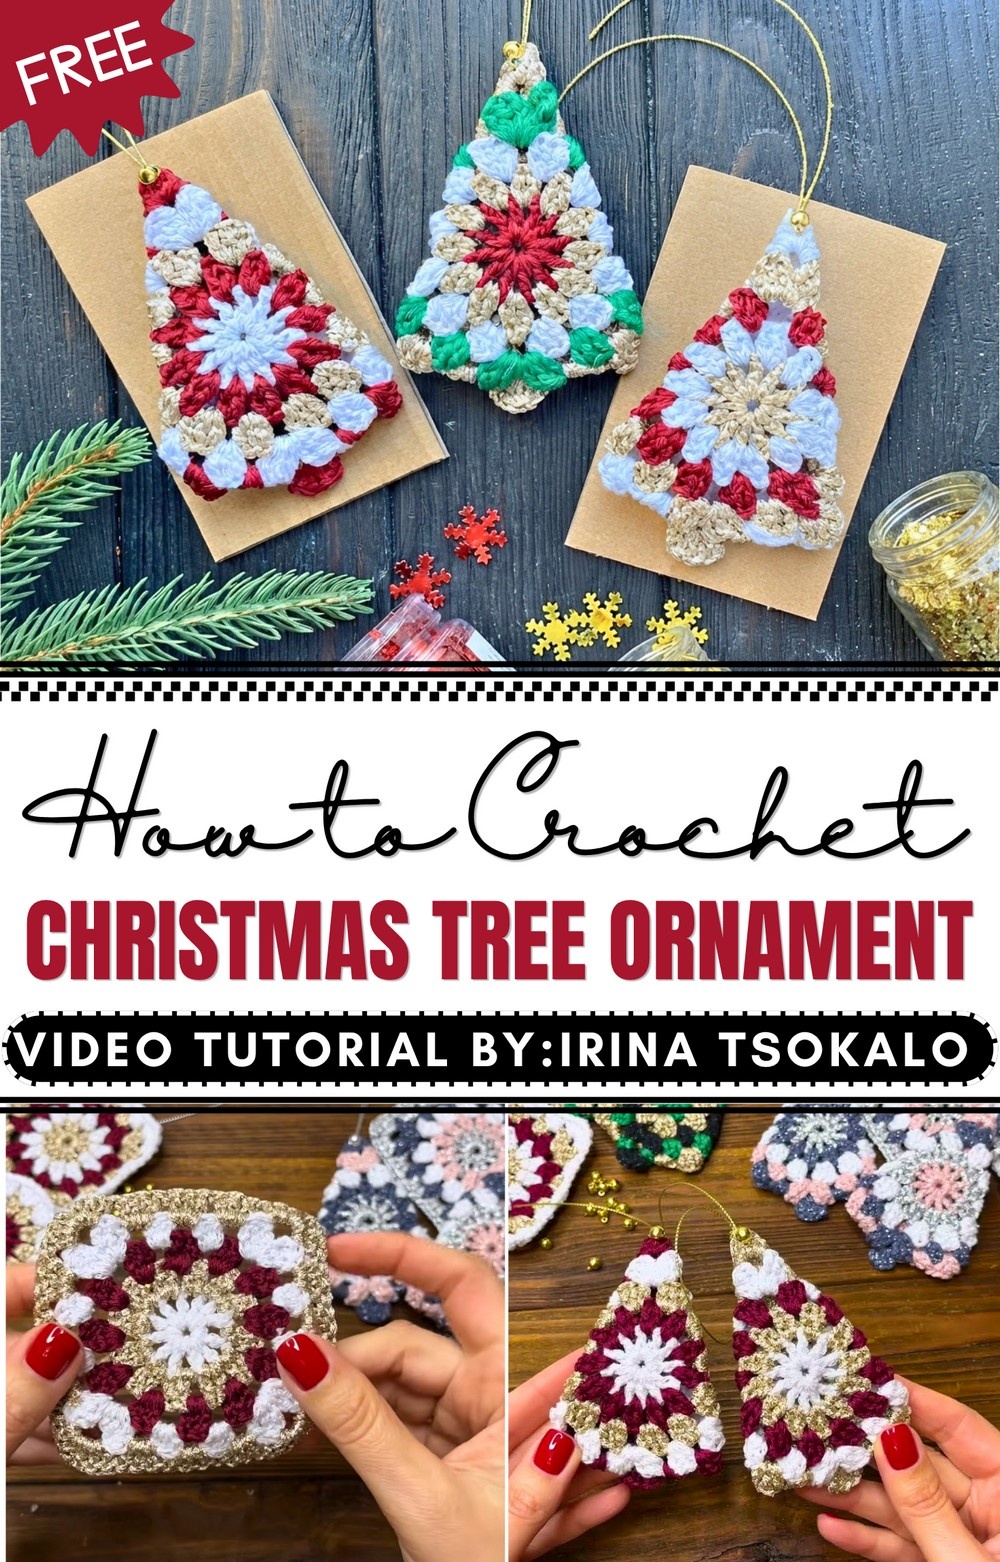
The video from Iryna Tsokalo Crochet explains every part clearly, making the process straightforward even for those new to crocheting. Her guidance highlights how small stitches can form inviting textures and shapes in each ornament. Watching her clip helped me see how a little yarn and patience can brighten up the holiday season.
This crochet ornament has a timeless Christmas tree form with clean, textured stitches that feel soft and slightly bumpy. The yarn’s gentle touch adds interest while giving the piece a strong yet flexible build. Cute details in the design make the ornament special, giving it a keepsake quality beyond a simple holiday decoration. It suits anyone — hang it on your tree, offer it as a warm gift, or attach it to presents to add extra holiday charm.

In short, the Crochet Christmas Tree Ornament Pattern offers an easy and charming way to celebrate Christmas. Its attractive style, simple process, and usefulness bring pleasure to those who make it and to everyone who sees it decorating festive spaces.
Festive Granny Square Christmas Tree
This easy guide shows how to follow each step for a fun Christmas tree crochet ornament made from a granny square. This project helps you turn any simple square into a pretty 3D tree. In this pattern, you will use a granny square with a star or snowflake shape in the middle. You can pick any yarn colors you like, but mixing burgundy, white, and gold yarn gives a classic holiday look. The steps here let you work slowly, color by color, and build a tree that is perfect for gifts or decorating your home at Christmas time.
Quick Overview Of Pattern
- Round 1: Form a chain ring and work double crochets with chain-1 spaces into the center.
- Round 2: Change color; work two double crochets in each space, separated by chain-1.
- Round 3: Change color again; work three double crochets in every space, with chain-1 between.
- Round 4: Make the shape into a square using treble crochets and double crochets for the corners.
- Round 5: Add a border with granny clusters and leave a long yarn tail for sewing.
- Assembly: Fold and sew the square along the sides, keeping the top open to make a 3D tree.
- Stem: Make a half double crochet block for the tree’s base.
- Extras: Add bells, bows, beads, or ribbons if you want.
Notes
- Color Choices: Use any combination of colors you want.
- Loose Ends: Tuck extra yarn ends inside for a tidy finish.
- Don’t sew the top: Leave the tree’s top point open for a natural tree shape.
- Yarn Tail: Leave 30–40 cm of yarn after round 5 for joining and making the stem.
- Skill Level: Easy/Advanced Beginner
Materials
- Medium or light weight yarn in 3 or 4 different colors
- Crochet hook that matches your yarn
- Tapestry needle
- Scissors
- Optional: bells, beads, bows, sparkles, buttons, ribbons
Finished Size
Ornament will be about 4–5 inches tall, depending on your yarn and hook size.
Gauge
Gauge is not important for this pattern. Just try to keep your stitches even.
Stitch Abbreviations
- ch: chain
- sl st: slip stitch
- dc: double crochet
- tr: treble crochet
- hdc: half double crochet
- st(s): stitch(es)
- sp: space
Special Stitches
- Treble Crochet (tr): Yarn over two times, put your hook into the space, yarn over and pull up a loop. [Yarn over, pull through 2 loops] repeat 3 times.
- Granny Cluster: 3 double crochets worked into the same space.
The Crochet Pattern
Foundation Ring
- Ch 5
- Insert hook into the first chain and make a sl st to form a ring.
Round 1
- Ch 2 (acts as height) then ch 1 (makes a space), both into the ring.
- 1 dc into the ring, ch 1.
- Repeat (1 dc, ch 1) until you have 12 double crochets total, each with a ch 1 in between.
- Join the round with a sl st in the second loop of the starting chain.

- Ch 1, then cut yarn.
Round 2
- Attach the next color to any chain space.
- 2 dc into that space, ch 1.
- Repeat (2 dc, ch 1) in every chain space around the circle.
- Join with a sl st in the top of the first dc.
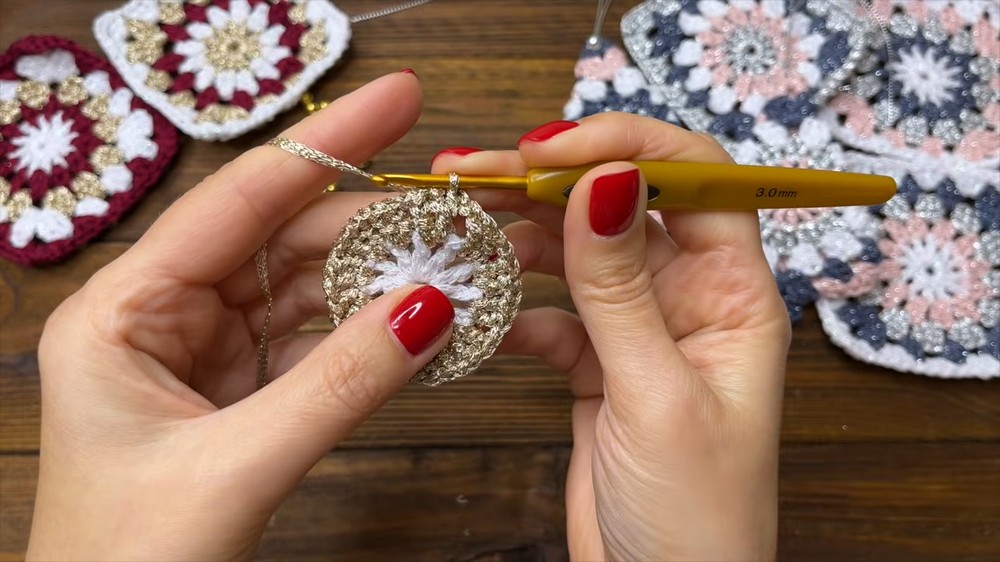
- Ch 1, cut yarn, and fasten off.
Round 3
- Change to a third color, attach to any chain space.
- 3 dc in the same space, ch 1.
- Repeat (3 dc, ch 1) around every space until the end.
- Join with a sl st. Ch 1 and cut yarn.
Round 4 (Turning Circle into a Square)
- Attach your next yarn color.

- In any edge space, 3 dc.
- Next space (making a corner): 1 dc, 2 tr, ch 2, 2 tr, 1 dc all in the same space.
- Next 2 spaces: 3 dc in each.
- Next space (corner): 1 dc, 2 tr, ch 2, 2 tr, 1 dc.
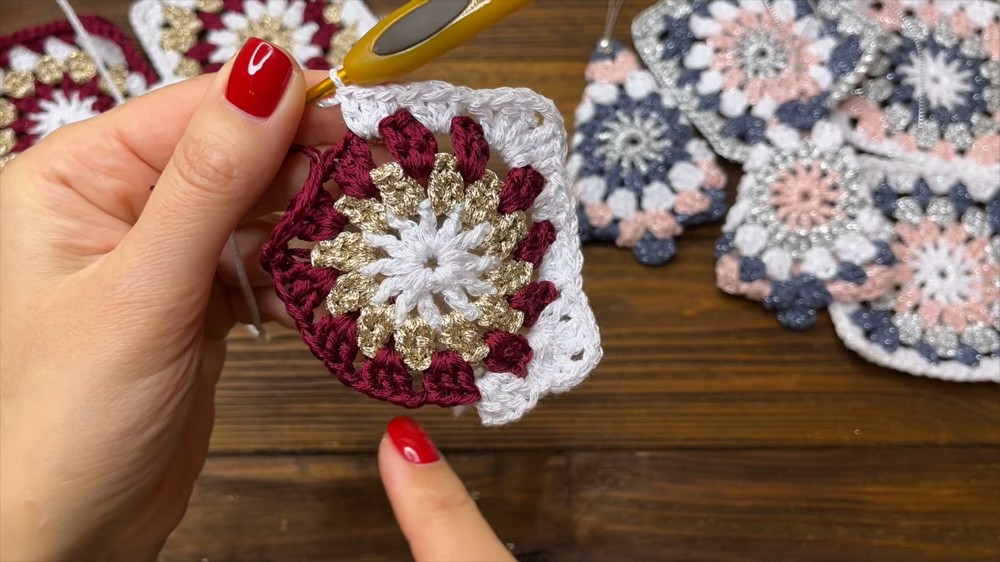
- Repeat this around, so there are two groups of 3 dc between each corner.
- Join with a sl st, ch 1, and cut yarn.
Round 5 (Border)
- Begin at a side position for easy seaming later.
- 3 dc in the starting edge space.
- 3 dc in next space.
- 3 dc in next space.
- At each corner: (3 dc, ch 2, 3 dc).
- Repeat this border around all four sides and corners.
- Join by sl st, ch 1.
- Leave a long yarn tail (about 30–40 cm) for sewing and making the trunk, then cut yarn.
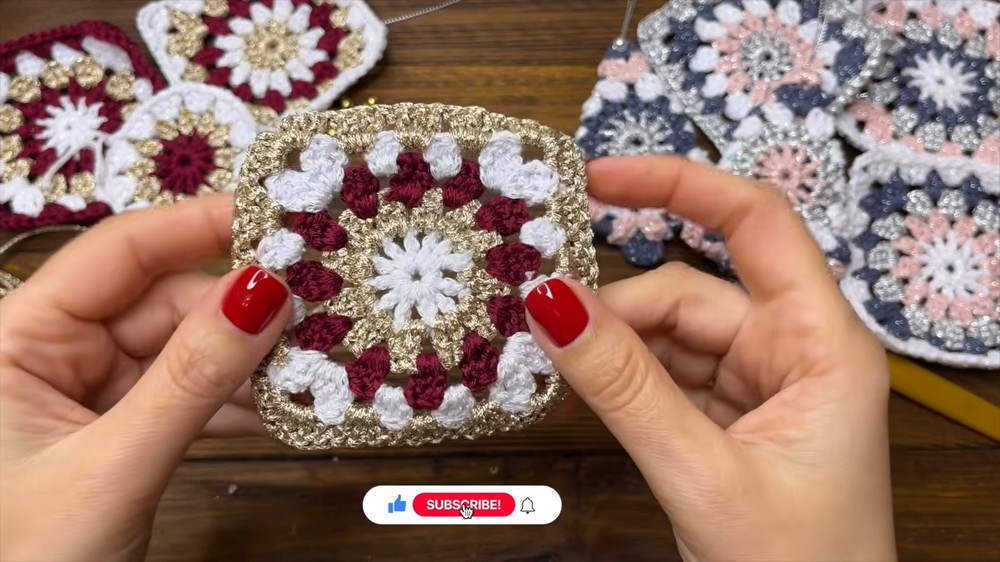
Assembly & Finished Size
Sewing the Tree
- Fold the square so a point is at the top (this will be your tree's top).
- Thread the long yarn tail onto the tapestry needle.
- To sew, pick up the outer half-loop of the first stitch on one side and match it with the first stitch on the other side.
- Sew the second stitches together the same way.

- Keep sewing down the sides until you reach the next corner (ch-2 space).
- Sew the first chain loop of one side to the first chain loop of the other.
- Fold up the bottom part, sew the second chain loop with the other second chain loop.
- Sew all the way across the base to close up your tree.
Crochet Stem
- At the very center of the bottom, ch 2.
- Work 4 hdc in a row along the base for the trunk.
- Ch 1 and fasten off, weave in ends to stay neat.
Finishing Touches
- You can now decorate your tree! Add single bells, tiny bows, buttons, beads, or ribbons if you wish, by sewing or gluing them onto your finished tree.

Conclusion
Making festive decorations by hand can fill your holiday season with happiness and pride. This simple granny square Christmas tree is a quick and fun project, whether you use it for gifts or hang it on your tree at home. Trying different color mixes and yarn textures lets you see which combinations you like best. Each round brings the tree shape to life, and adding special decorations at the end makes it your own. Thank you for following along with this crochet guide, and you can use these steps again to fill your holidays with more homemade ornaments.