
Tiny Crochet Bunny Keychain Free Pattern To Gift Friends
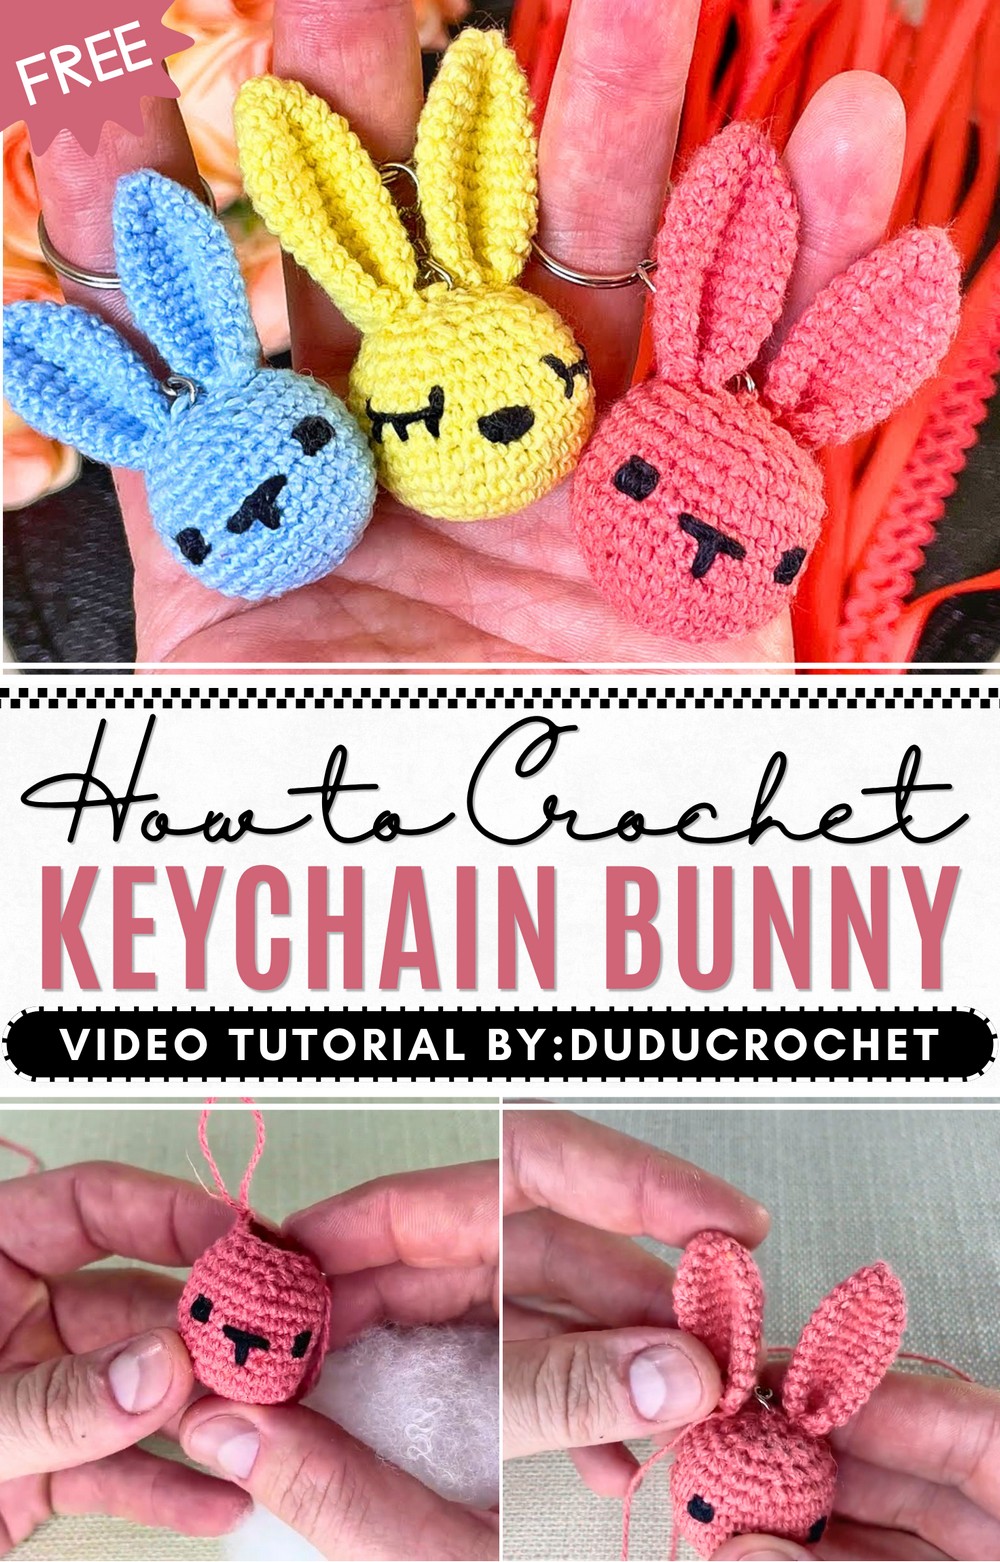
Add a playful touch to everyday accessories with Quick Crochet Bunny Keychain Pattern that is simple fun plus easy to enjoy.
A small, soft bunny keychain adds a delightful touch to everyday items, catching attention with its gentle and charming appearance. Its simple shape and careful design create a sense of warmth and friendliness. At the heart of this project lies endless opportunity to incorporate creativity through the use of various colors, yarn types, and tiny accessories. These elements allow each bunny to develop a distinctive personality and unique flair. Through meticulous stitching, the finished piece conveys thoughtfulness and a personal touch that elevates its charm.
Quick Crochet Bunny Keychain Free Pattern with Simple Steps
Whether used to personalize keys, bags, or zippers, this little bunny brings a sense of comfort and individuality to daily belongings. Its size and style also make it suitable for a variety of occasions, turning a simple project into a meaningful treasure. For those who appreciate thoughtful details and personal expression, this bunny provides ample room to experiment and create something truly special.
Construction wise it is mostly single crochet in continuous rounds which keeps the fabric dense and sturdy ideal for something meant to endure daily use. Stuffing the bunny lightly helps it keep a soft squeezable feel. A handy tip is to use a stitch marker so you do not lose track of rounds and choose a smooth durable yarn that complements the dense crochet stitches well. Soft acrylic or cotton blends work wonderfully offering both a nice stitch definition and durability.
Uses
This quick crochet bunny is incredibly versatile and useful. It makes a charming keychain that adds a personal touch to your keys or bags. It can also be a cute zipper pull for backpacks, coin purses, or pencil cases adding a bit of fun and personality to everyday items. Because of its small size it is an ideal last-minute gift or party favor. It also works well as a sweet little token for Easter baskets birthday gifts or baby showers where handmade gifts are treasured. For crocheters looking to express creativity this pattern offers plenty of room for customization through colors and accessories making each bunny uniquely special and meaningful.
Crochet Bunny Keychain Pattern
If you want a fun and quick project to make your accessories more lively, this crochet bow keychain is just right. It’s really satisfying to take a simple piece of yarn and turn it into a cute, stylish bow that adds some charm to your day. You can clip it onto your keys or use it to brighten up a plain handbag.This little bow gives a splash of personality wherever you put it. Making it is just as fun as using it, and because it’s quick to crochet, you can make several in different colors to match all your outfits.If you’ve been hoping to start a new project without feeling overwhelmed, this bow keychain is the perfect place to begin. It’s simple, fast, and leaves you with a handmade piece you’ll love to carry with you every day.
Quick Overview of Pattern
-
Main Body: A rectangle crocheted in four rows using a combination of Half Double Crochet (HDC) and Slip Stitch (SL ST) to create a textured, ribbed effect.
-
Center Strap: A short, narrow strip created in one row of HDC.
-
Assembly: Folding the rectangular body and cinching it at the center with the strap to achieve the signature bow shape.
Notes
-
Texturing: All rows of the main body are worked in the Back Loop Only (BLO). This is essential for creating the ribbed look demonstrated in the tutorial.
-
Consistency: Ensure you count your stitches carefully in each row (5 HDC, 4 SL ST, 14 HDC, 4 SL ST, 14 HDC, 4 SL ST, 5 HDC) to maintain the uniform shape of the bow.
-
Completion: You will need to complete two identical body pieces to create a fuller, sturdier bow.
Skill Level
-
Beginner.
Measurements / Sizing
-
Width: The foundation chain is 51 stitches long, which determines the overall width of the bow.
-
Customization: You can adjust the width of the bow by increasing or decreasing the number of chains in your foundation, provided you keep the stitch sequence consistent.
Gauge
-
Gauge is not specified in the tutorial; however, maintain a firm, even tension throughout to ensure the bow holds its shape well when cinched.
Stitch Abbreviations
-
CH: Chain
-
HDC: Half Double Crochet
-
SL ST: Slip Stitch
Special Stitches
-
Back Loop Only (BLO): Instead of inserting the hook under both top loops of a stitch, insert the hook only under the loop furthest away from you. This creates a raised "ridge" on the opposite side of the work, giving the bow its distinctive texture.
Materials Needed
- Yarn: Thin cotton yarn (~150g / 500m) or your choice
- Hook: 1.75 mm (or suitable for yarn)
- Filler: Synthetic stuffing (fiberfill/polyester)
- Keyring hardware: For the keychain attachment
- Needle & Thread: For embroidering the face and sewing
Head Pattern
- The head is crocheted in a spiral (no joining at rounds).
Start:
- Amigurumi ring (magic ring).
Round 1:
- 6 single crochets (SC) into the ring. Tighten center.
Round 2:
- 2 SC in each stitch around (Total: 12 stitches). Mark first stitch.
Round 3:
- 1 SC, 1 increase (2 SC in same stitch) — repeat around (Total: 18).
Round 4:
- 2 SC, 1 increase — repeat around (Total: 24).
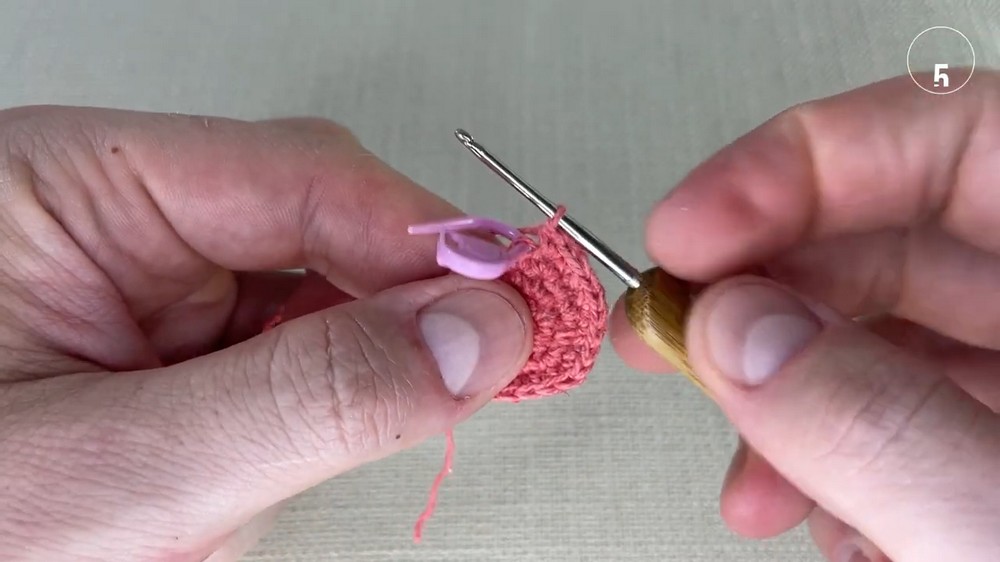
Round 5:
- 3 SC, 1 increase — repeat around (Total: 30).
Round 6:
- Work 1 SC in each stitch around (Total: 30 stitches).
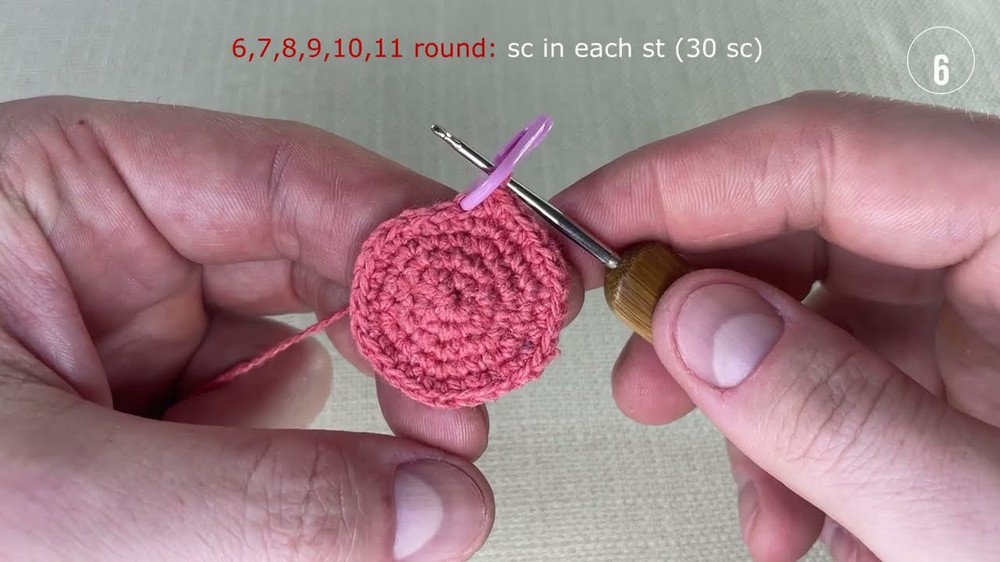
Round 7:
- Work 1 SC in each stitch around (Total: 30 stitches).
Round 8:
- Work 1 SC in each stitch around (Total: 30 stitches).
Round 9:
- Work 1 SC in each stitch around (Total: 30 stitches).
Round 10:
- Work 1 SC in each stitch around (Total: 30 stitches).
Round 11:
- Work 1 SC in each stitch around (Total: 30 stitches).
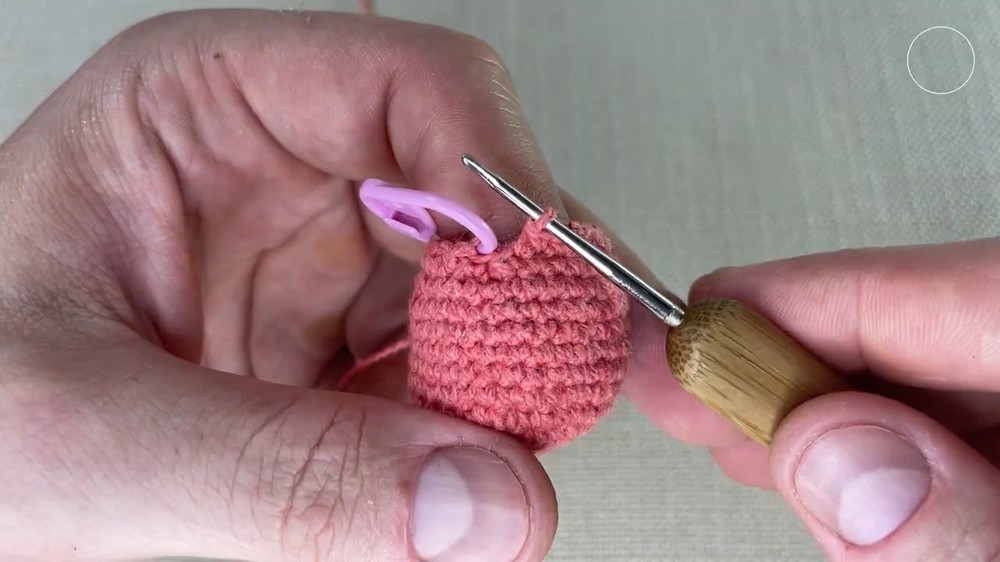
Face Embroidery:
- Before closing head, embroider nose and eyes about 2 rows down from opening with needle and black thread.
Round 12:
- 3 SC, 1 decrease — repeat around (Total: 24).
Round 13:
- 2 SC, 1 decrease — repeat around (Total: 18).
Round 14:
- 1 SC, 1 decrease — repeat around (Total: 12).
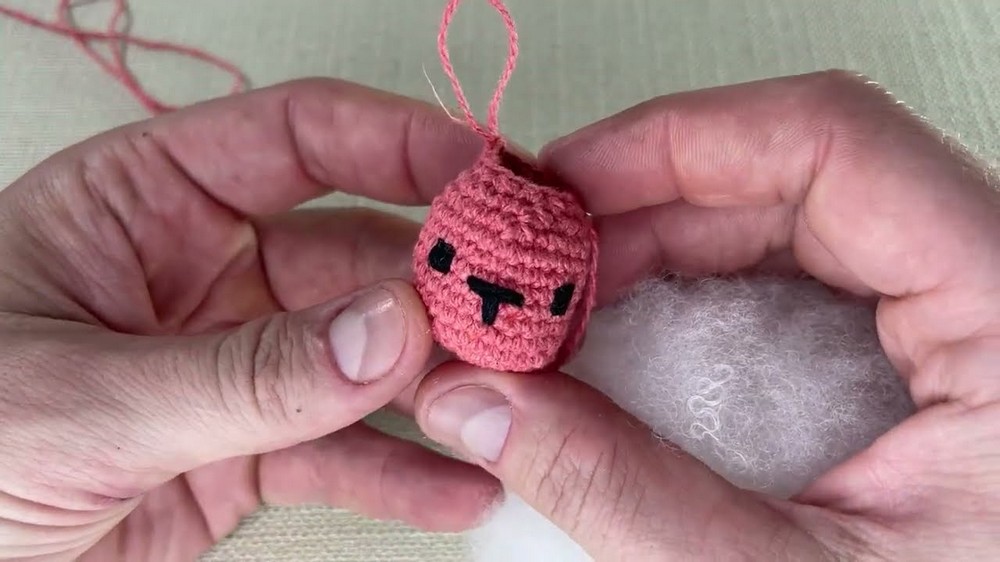
Stuffing:
- Firmly stuff with synthetic filler.
Round 15:
- 6 decreases (Total: 6 stitches).
Finishing:
- Cut yarn (leave 15-20 cm tail). Weave thread through front loops of last 6 stitches, pull tight to close.
Ear Pattern (Make 2)
Start:
- Amigurumi ring.
Round 1:
- 6 SC into ring.
Round 2:
- 1 SC, 1 increase — repeat around (9 stitches).
Round 3:
- 2 SC, 1 increase — repeat around (12 stitches).
Round 4:
- 3 SC, 1 increase — repeat around (15 stitches).
Rounds 5-12 (or 13):
- 1 SC in each stitch around (adjust length as desired).
Shaping:
- Fold ear in half. Insert hook through stitches on both sides and crochet together using slip stitches.
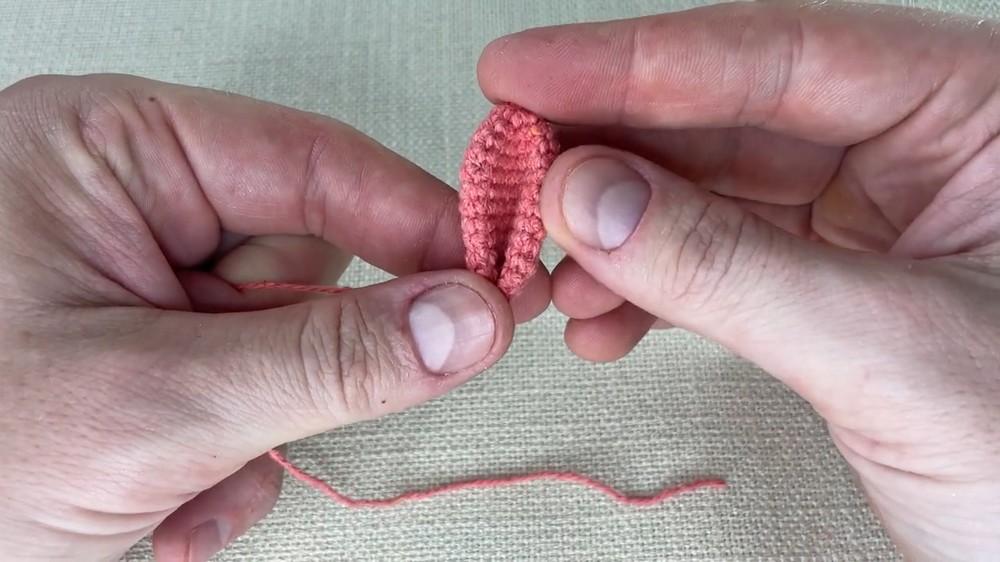
Finishing:
- Chain 1, cut yarn (leave 15-20 cm tail), pull through.
Assembly
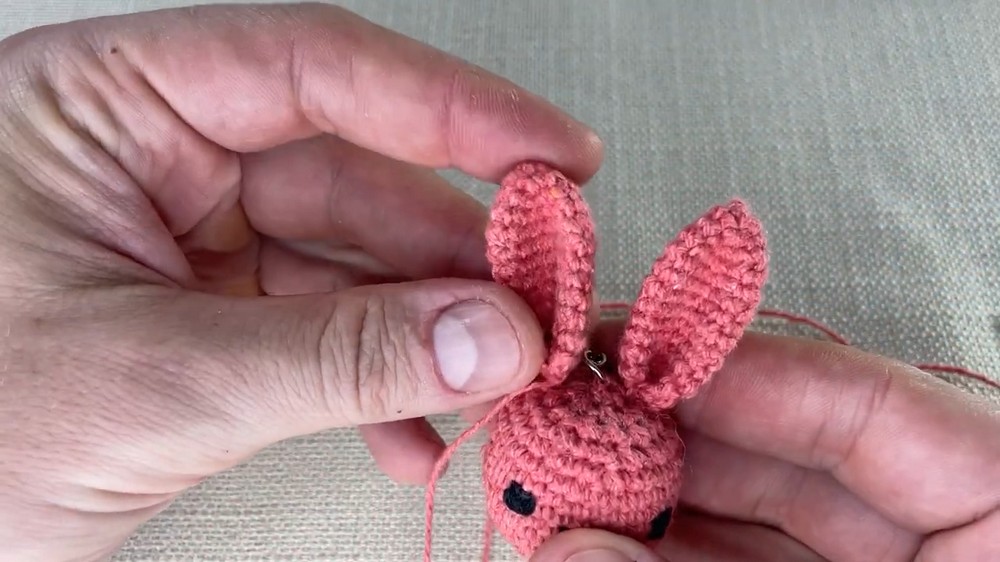
- Keychain Ring: Sew keychain ring to top of head using leftover yarn tail. Loop through ring several times, secure inside the head, cut excess.
- Ears: Position ears favoring back side of head, sew firmly with yarn tails left on ears. Secure ends inside the head.
Summary
Making this bow keychain is a simple, relaxing project that works up very quickly. It involves crocheting two small rectangular pieces and a tiny strap, which are pulled together to form a perfect bow shape. By working in the back loops, the yarn develops a nice ribbed texture that gives the finished piece a polished, professional look.Because the bow is small, it’s a great way to use up leftover yarn. You can pick any colors you like to match your mood or your bag, making it a versatile and personal accessory. Once you cinch the center and attach it to a keyring, you have a durable, handmade keychain that adds a touch of charm to everyday life.This project is ideal for a quick afternoon of crafting, leaving you with a cute, finished piece that you’ll enjoy using all the time.
