Vibrant Free Crochet Bookmark Pattern Perfect For Every Reader
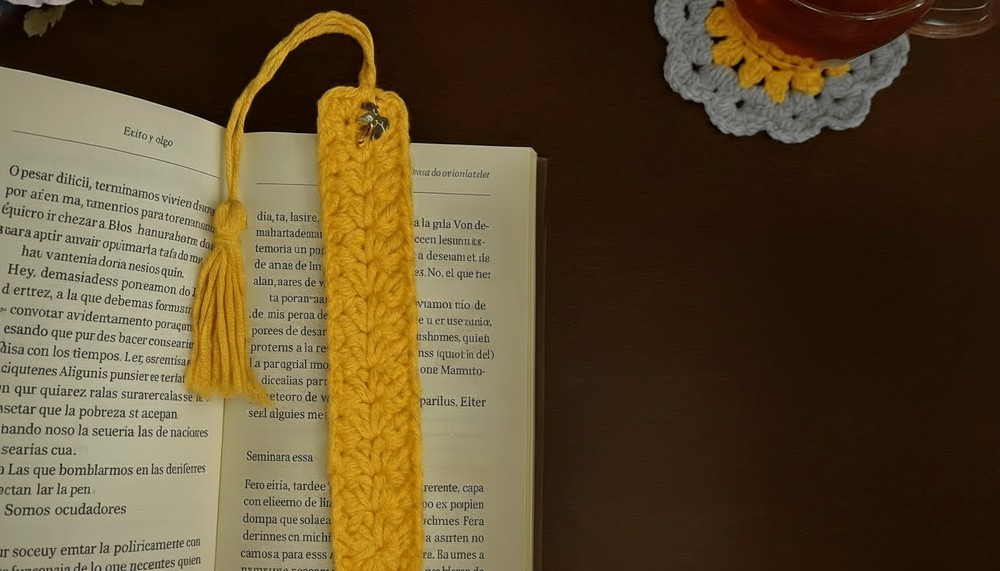
Turn your colorful yarn into a sturdy and beautiful page holder by using this Crochet Bookmark Pattern to finish a lovely project that stays neat and very flat for years.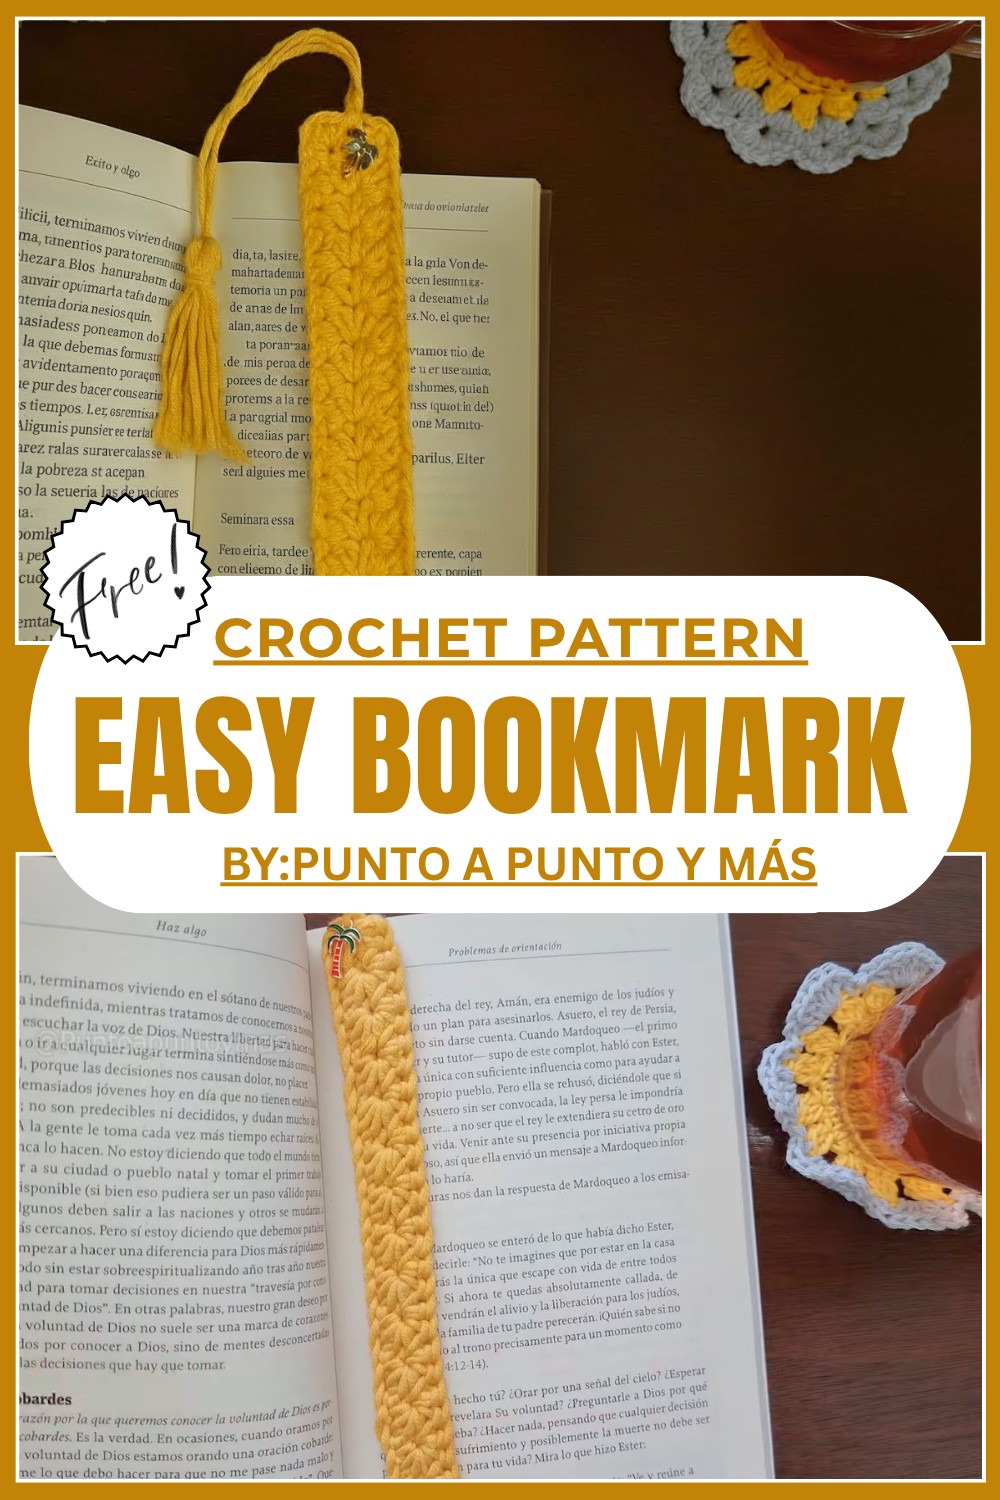
Explore a Stylish Free Crochet Bookmark Pattern
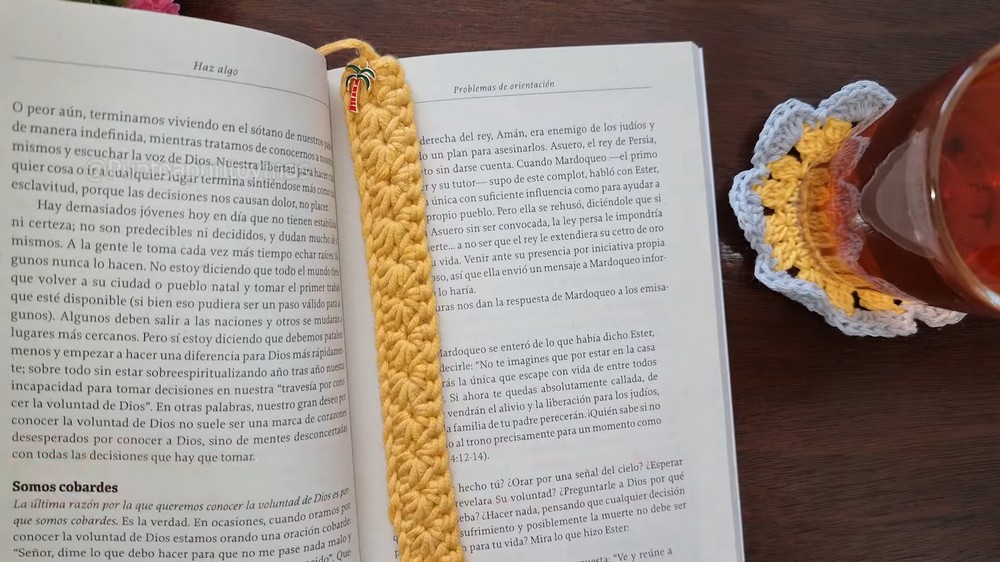
A "Free Crochet Bookmark Pattern" is a fun and simple project that anyone can try, even beginners. This pattern teaches you how to make a rectangular bookmark using the beautiful star stitch, giving it a unique and decorative look. The star stitch is not only easy to learn but also adds an elegant and stylish texture to your bookmark. This bookmark can be customized in any color to reflect your personality or match your favorite book. With a soft tassel attached at the end, your bookmark becomes both useful and decorative. You can also add a charm for a personal touch. This crochet bookmark isn’t just practical for keeping your place in books; it also makes a wonderful homemade gift for friends or family.
Crochet Bookmark Pattern
Materials Required
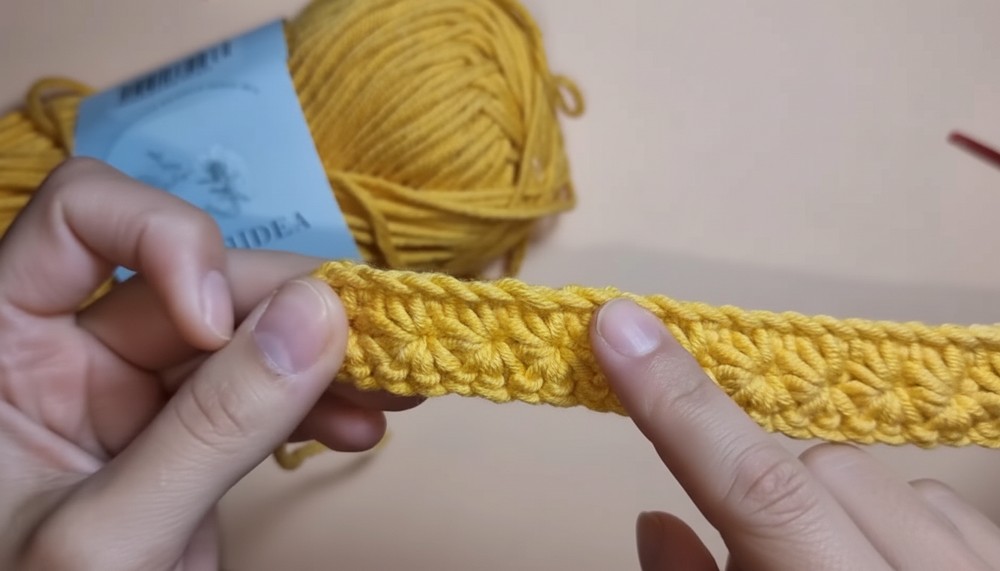
- Yarn: Choose a thin to medium weight yarn in any color of your choice. Cotton yarn is recommended for a flat and sturdy finish.
- Crochet Hook: Use a crochet hook size that matches your yarn; typically, a 3mm to 4mm hook works well.
- Scissors: To cut the yarn.
- Tapestry Needle: For weaving in the ends.
- Optional: A small charm to attach to the bookmark for added decoration.
Special Techniques Used
- Slip Knot: Used to start the project.
- Chain Stitch (ch): Forms the foundation chain.
- Single Crochet (sc): Used for the border and in certain rows.
- Star Stitch: The main decorative stitch for the bookmark.
- Slip Stitch (sl st): For finishing edges.
- Tassel Making: Adds elegance to your bookmark.
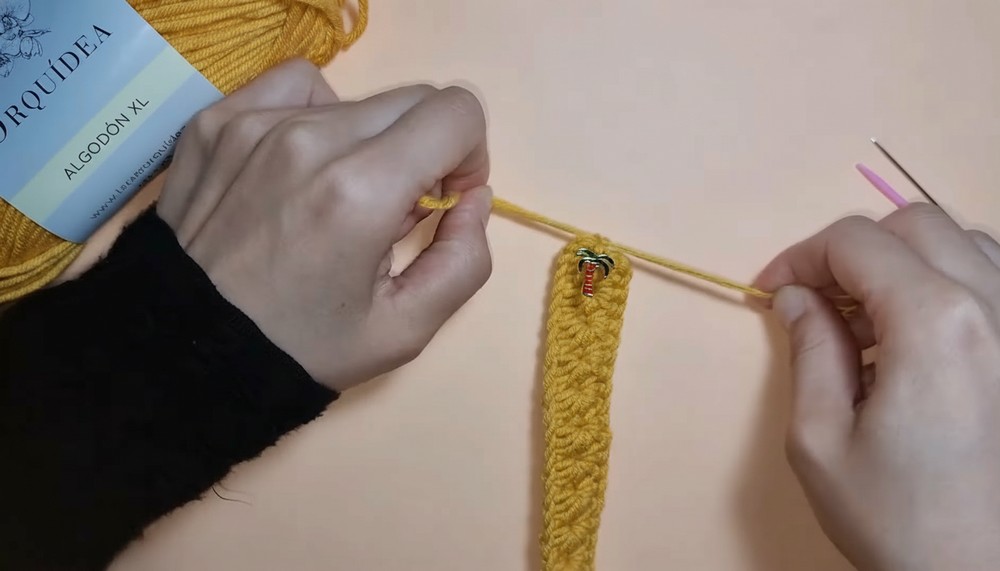
Step by Step Instructions
Foundation
- Start with a slip knot on your crochet hook.
- Create 33 chains to make the foundation chain for the bookmark.
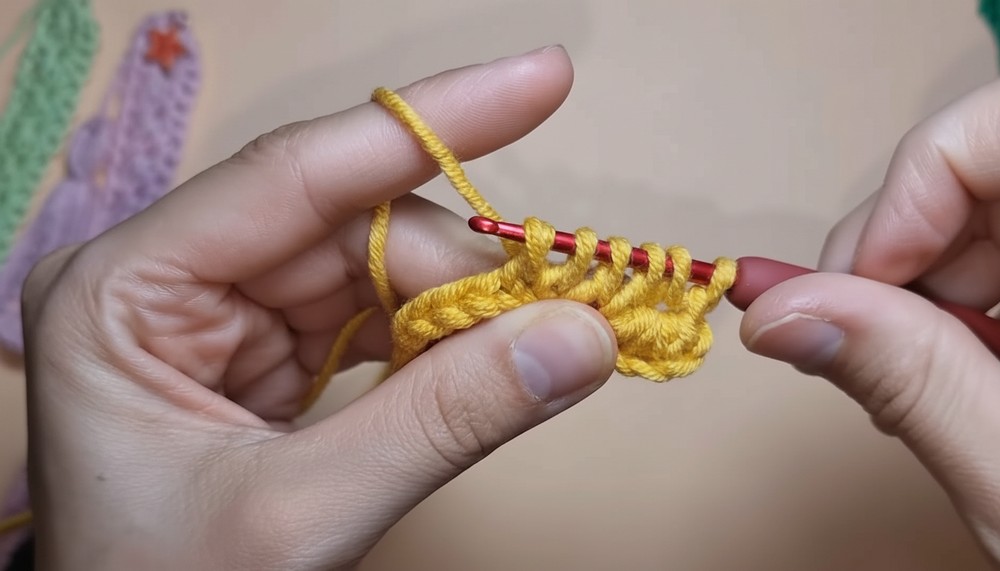
Row 1: Star Stitch Setup
- Yarn over and insert the crochet hook into the second chain from the hook.
- Yarn over again and pull through, leaving three loops on the hook.
- Insert the hook into the next chain, yarn over, and pull through—this leaves four loops on the hook.
- Repeat the process for the next two chains:
- Insert the hook into the chain, yarn over, and pull through, adding one loop each time.
- By the end, you will have six loops on your crochet hook.
- Yarn over and pull through all six loops, completing the star's "eye."
- Chain 1 to lock the star stitch in place.

Row 2 Onward: Star Stitch Continuation
- Insert the hook into the chain space formed by the chain stitch of the previous star stitch and yarn over.
- Now you have 2 loops on the hook.
- Insert the hook through one strand of the last stitch (from the star's "eye"), and yarn over to pull up a loop.
- This creates 3 loops on the hook.
- Move to the original chain foundation and insert the hook into the next available chain. Yarn over and pull through.
- Now you have 4 loops on the hook.
- Repeat for the next two chains, eventually leaving 6 loops on the hook.
- Yarn over and pull through all loops to form another star. Chain 1 to lock the new stitch.
- Continue this process along the row.
Repeat this star stitch process for the remaining chains until the end of the row.
Row 3: Forming the Base for the Border
- Turn your work.
- In each chain space from the previous row, make 2 single crochets (sc).
- Continue working 2 single crochets in each of the next 15 stitches, as indicated.
- End the row with a slip stitch, followed by a chain.
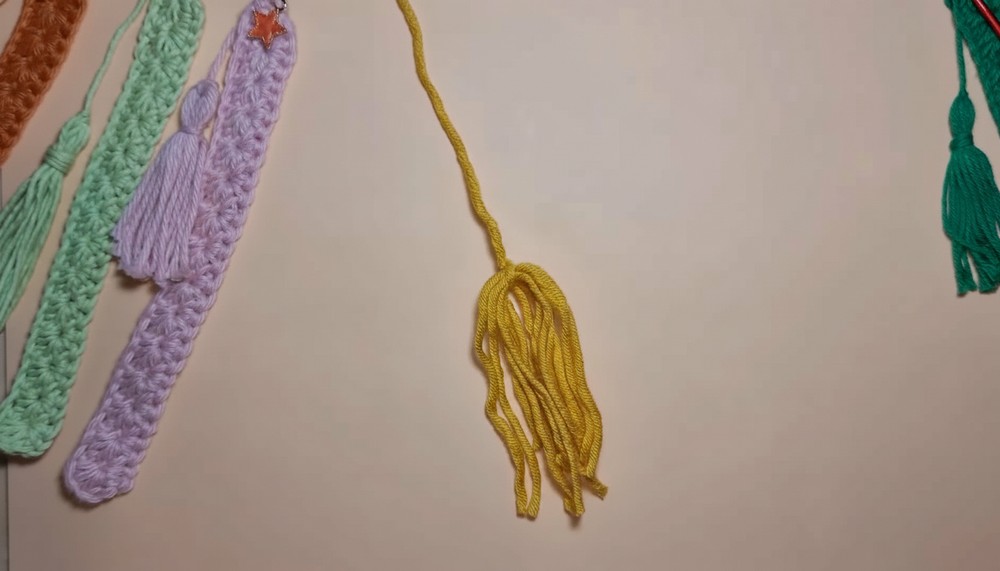
Adding the Tassel
- To create the tassel:
- Wrap your yarn around your fingers 7 8 times to form the base of the tassel.
- Gently remove the wrapped yarn and tie another piece of yarn near the top to secure it.
- Cut the loops at the bottom of the tassel for a loose, flowing effect.
- Attach the tassel to one end of the bookmark with your tapestry needle, securing it tightly.
Finishing the Pattern
- Fasten off by cutting the yarn and weaving in the loose ends with your tapestry needle.
- Stretch the bookmark gently and steam or iron it lightly to ensure it lies flat.
- Attach an optional charm if desired by threading it onto the tassel or sewing it onto the bookmark's edge.
Final Words
Congratulations, You have completed your beautiful crocheted bookmark with the star stitch. This versatile project allows you to experiment with different colors, yarn textures, and embellishments to create a unique and personalized design.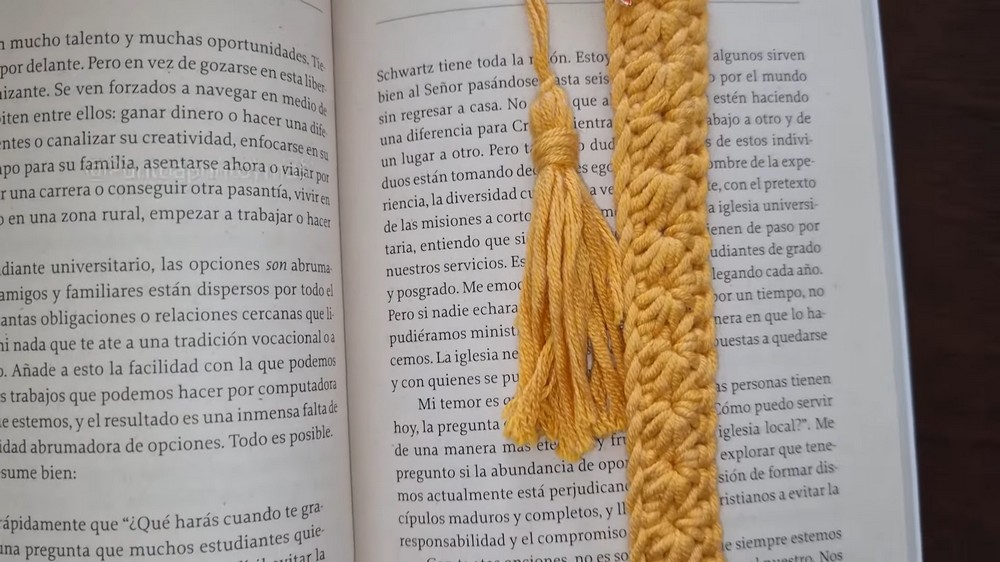
Tips to Maintain the Pattern
- Blocking: Use light ironing or steam blocking with a damp cloth to retain the bookmark’s shape.
- Washing: Clean gently with lukewarm water and mild soap, as aggressive washing may distort the design.
- Storage: Store your bookmark flat to avoid bending or curling of the edges.
Feel free to customize this pattern to suit your preferences. Whether it’s a thoughtful gift or a personal craft project, this bookmark is both stylish and functional.