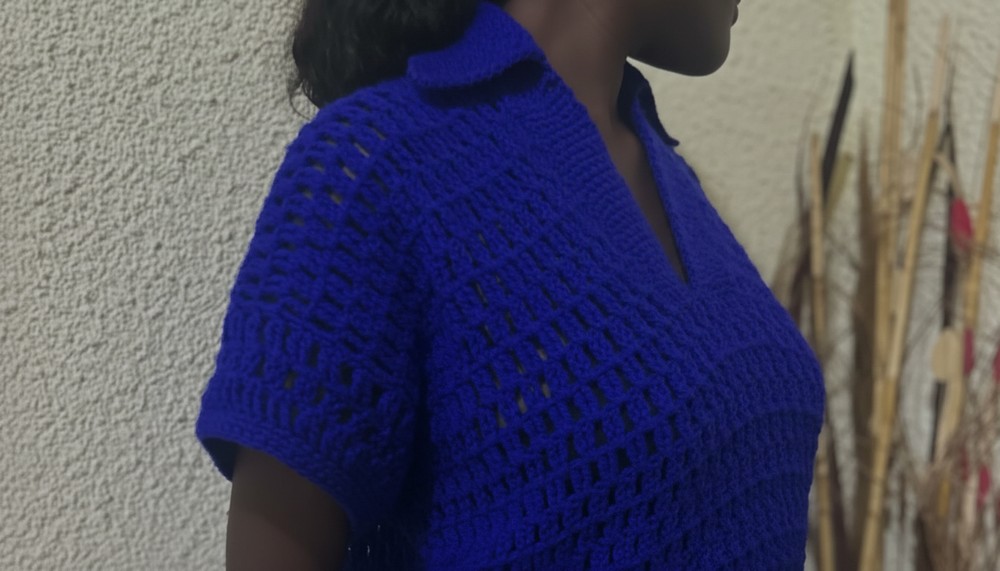
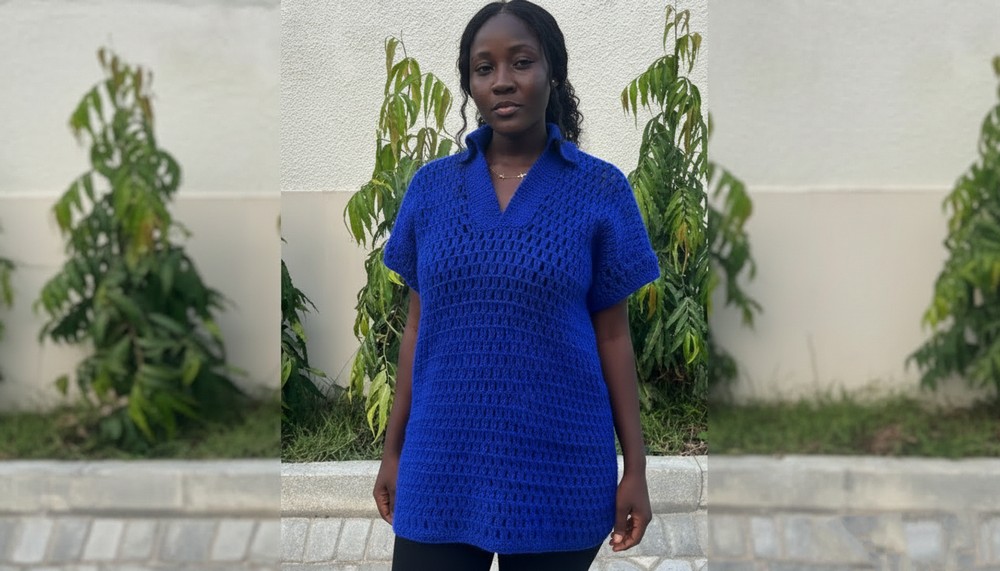
Unique Free Crochet Polo Shirt Pattern You Can Use For Sporty Looks
Try this free crochet polo shirt pattern and stitch a modern, cozy outfit that’s perfect for sunny days, relaxed moments, or layering with style.
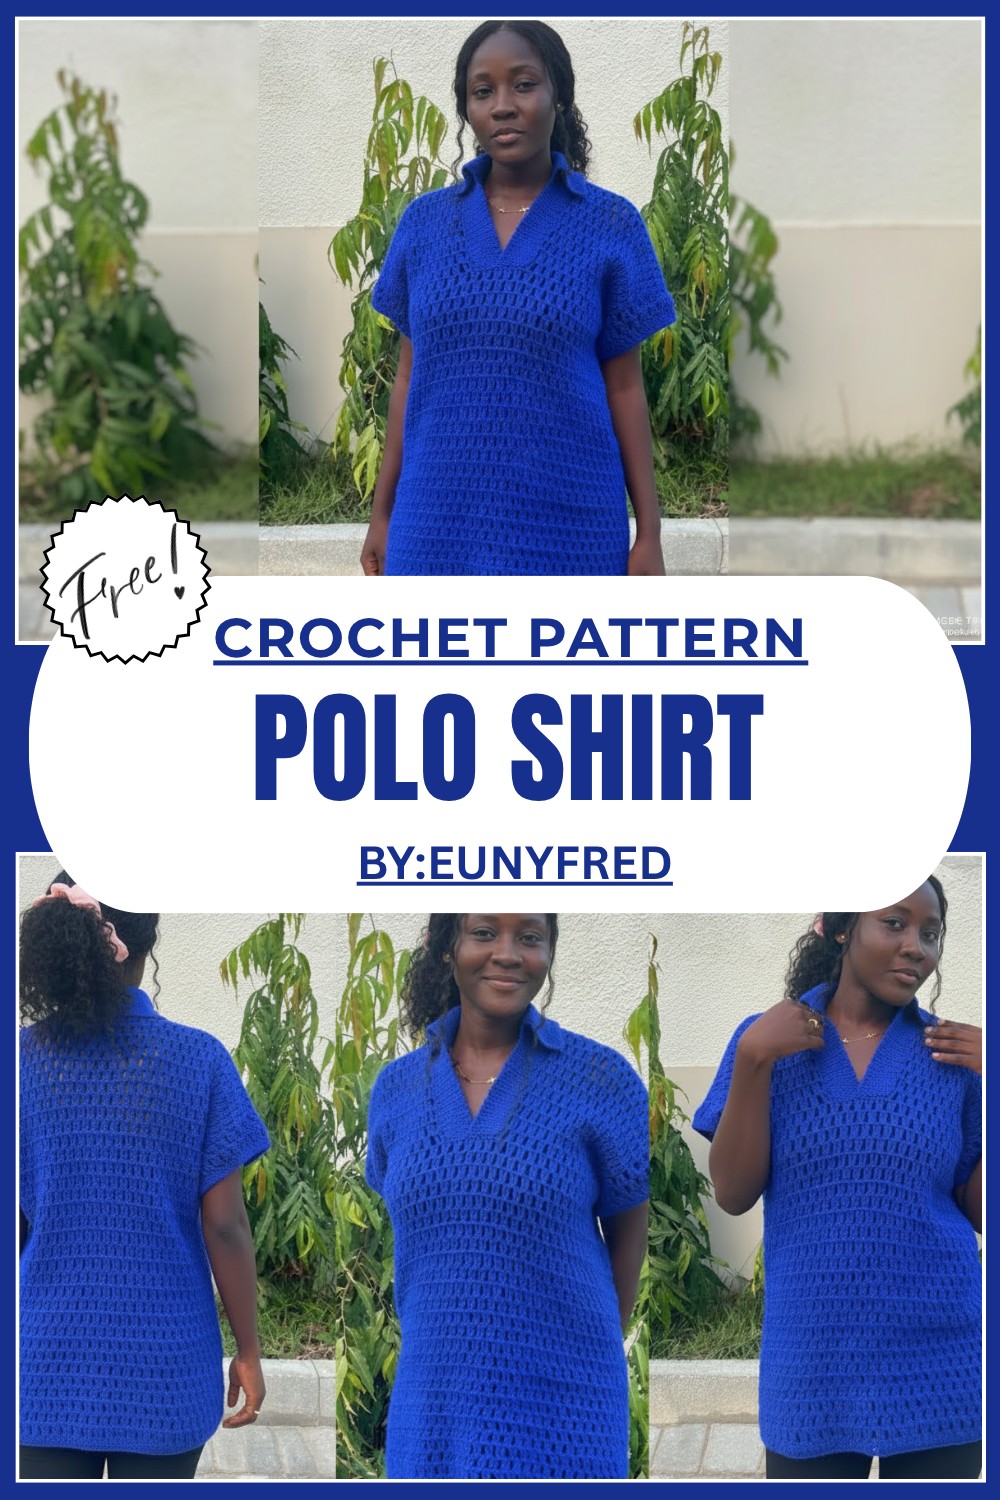
Simple Free Crochet Polo Shirt Pattern You’ll Easily Use All Day
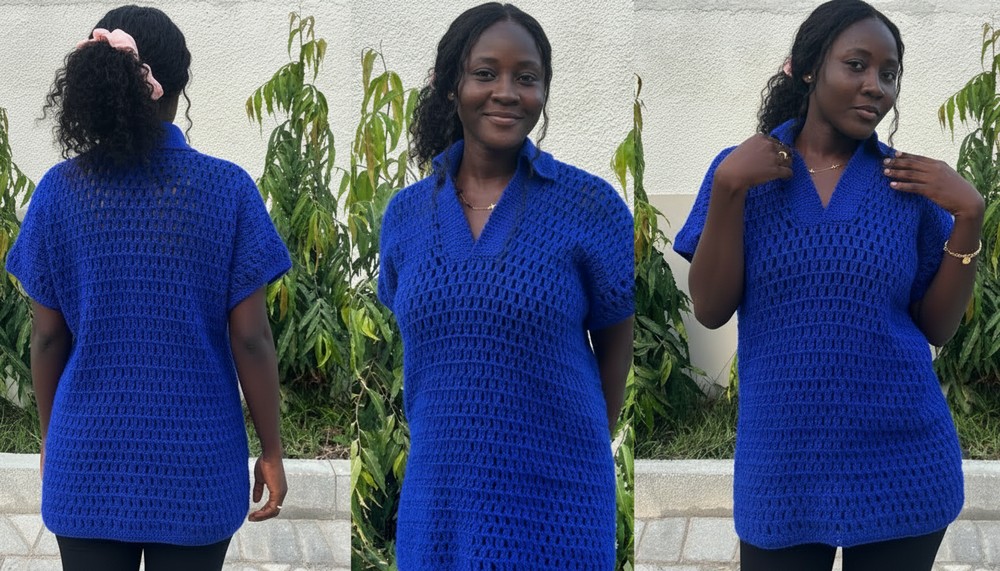
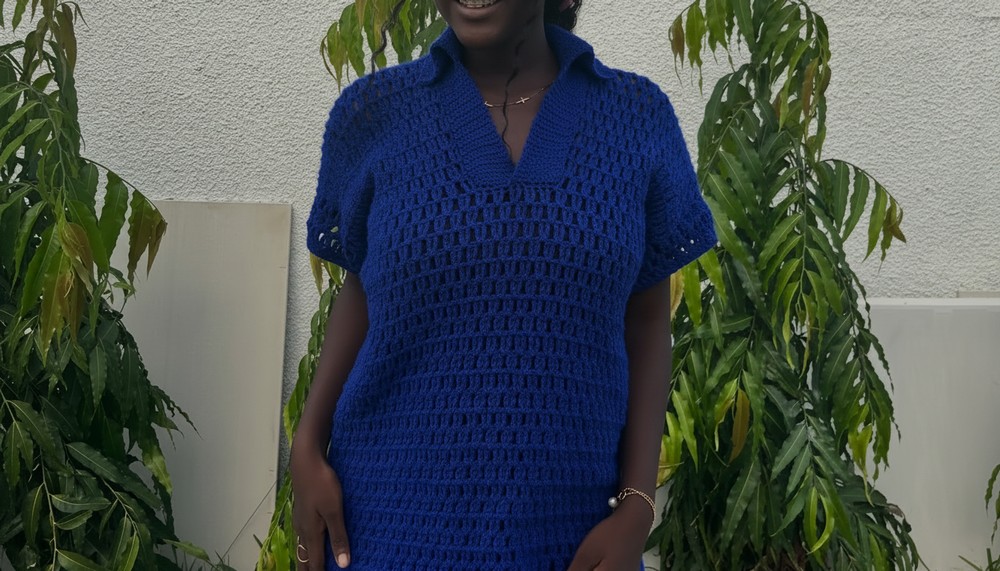
This unisex design is made to suit both men and women and adds a stylish touch to any wardrobe. The shirt is lightweight, breathable, and comfortable to wear, making it perfect for warm summer days. Its oversized mesh style gives it a modern and relaxed look that you can wear casually or as a layering piece. With its unique texture and flexibility, this crochet polo shirt stands out as a creative and versatile addition to your clothing collection. It’s suitable for beginners, as the steps are simple and easy to follow.
Using a 5.5 mm crochet hook and acrylic yarn, you can bring this trendy pattern to life. Whether you want an eye catching piece for everyday use or an outfit for special occasions, this crochet pattern is a beautiful project to make and enjoy.
Amazing Crochet Polo Shirt Pattern
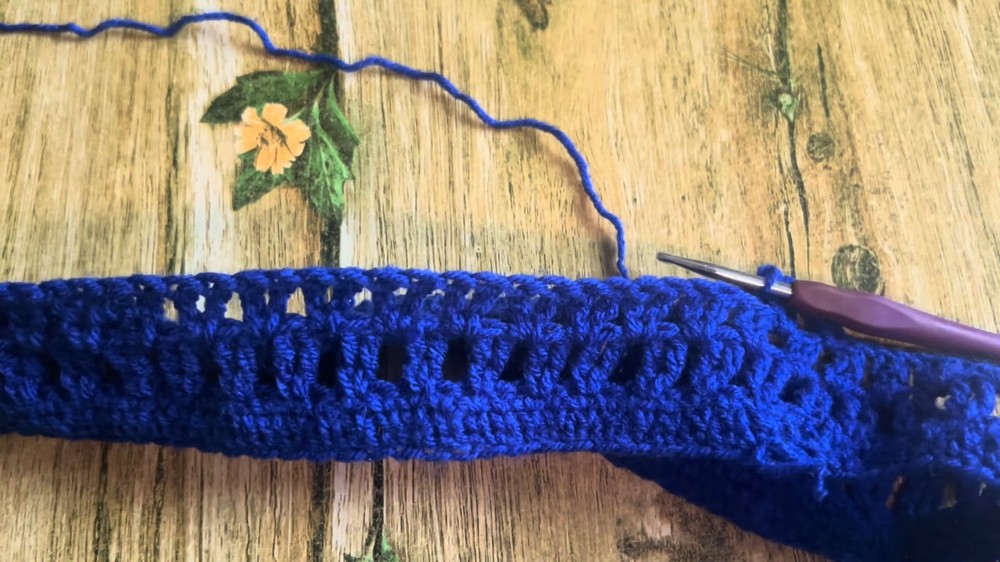
Materials Needed:
- Yarn: Acrylic yarn; weight category: 3–5. Approximately 300 g or more depending on desired shirt length and size.
- Recommended yarn hook size: 5.5 mm (use a bigger hook to achieve a roomy mesh).
- Hook Size: 5.5 mm for the body; switch to 5 mm for more structured areas (optional).
- Measuring Tape: For accurate sizing.
- Stitch Markers: To mark divisions and stitches.
- Scissors: For cutting yarn.
- Yarn Needle: For sewing and weaving in ends.
Special Techniques:
- Triple (Treble) Crochet (tr):
- Yarn over twice.
- Insert hook into the designated stitch.
- Yarn over, pull through two loops at a time until one loop remains.
- Single Crochet (sc):
- Insert hook into the designated stitch.
- Yarn over, pull through, and yarn over again to pull through both loops.
- Third Loop Single Crochet:
- Instead of going into the usual loops at the top of the stitch, turn the work slightly to access the third loop below. This technique adds texture and strength.
Instructions:
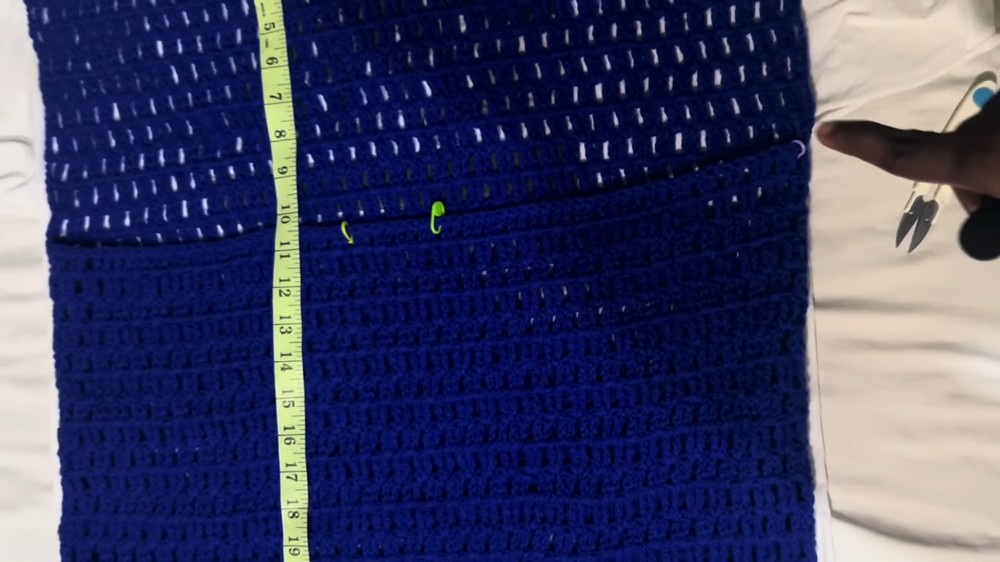
Step 1: Taking Measurements
- Measure the widest part of your body (e.g., hips for a shirt/dress or bust for a crop top).
- Add an extra 1–2 inches for ease, ensuring the fabric stretches comfortably.
Step 2: Foundation Chain
- Chain a foundation chain equal to your hip measurement plus some stretch allowance. Ensure the chain is a multiple of 2 for symmetry.
- Example: For a hip width of 40 inches, chain about 140 stitches (plus an extra chain for turning).
- Join the chain into a circle with a slip stitch, ensuring it does not twist.

Step 3: Base Rounds
- Round 1: Create a foundation of single crochet.
- Chain 1 to start, then work loose single crochets around the entire chain.
- Join with a slip stitch to the first single crochet.
- Round 2 & 3: For added structure, work single crochet into the third loop of each single crochet stitch. Ensure this is done loosely.
- You now have a sturdy base for your mesh pattern.
Step 4: Mesh Pattern (Body of Shirt)
- Round 1:
- Chain 4 (counts as the first treble crochet), then yarn over twice.
- Insert the hook into the same stitch as the chain 4 and make a treble crochet.
- Skip 1 stitch, then work two treble crochets into the next stitch.
- Repeat this pattern of skipping 1 stitch and making 2 treble crochets into the next stitch around the row.
- Repeat Mesh Rounds:
- For each new round, chain 4, turn your work, and start the treble crochets in the first available space.
- Continue until the shirt reaches your desired length, stopping just below the bust or chest.
Step 5: Dividing for Panels
- When you reach your desired shirt length, divide the shirt into two panels (front and back).
- Fold the shirt in half to find the front and back midpoints.
- Use stitch markers to mark the midpoints and the side edges.
- Ensure an equal number of stitches on the front and back panels.
- Work treble crochets over the back panel, alternating rows in the same mesh pattern. Add rows until the back panel reaches your desired length for the shoulders.
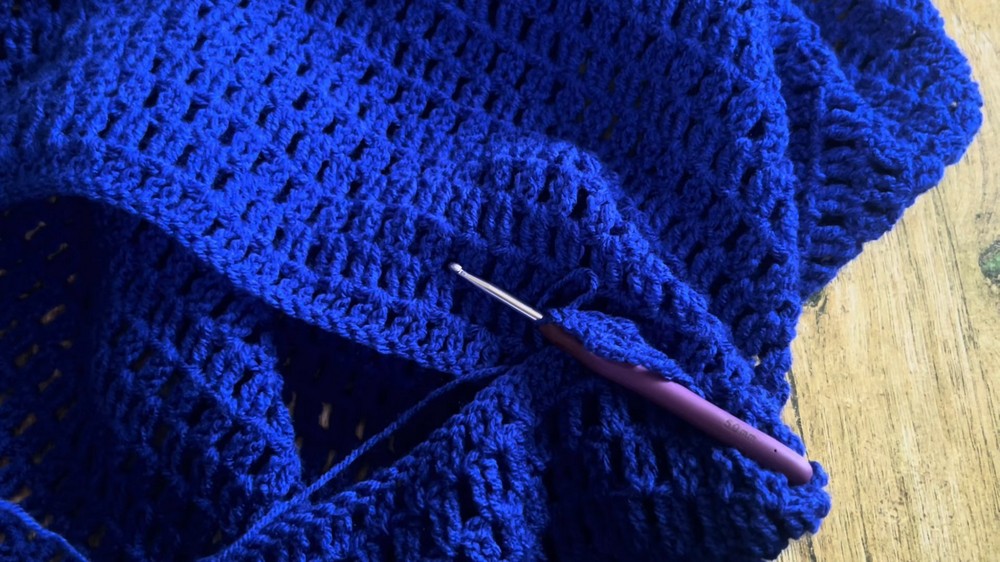
- For the front panel, divide it into two halves for the neckline. Work each side separately and add rows in the mesh pattern until both sides match the back panel length.
Step 6: Joining Shoulders
- Align the front and back panels at the shoulders and sew or slip stitch them together.
- Join only enough stitches for a comfortable neck opening.
- Repeat for the opposite shoulder.
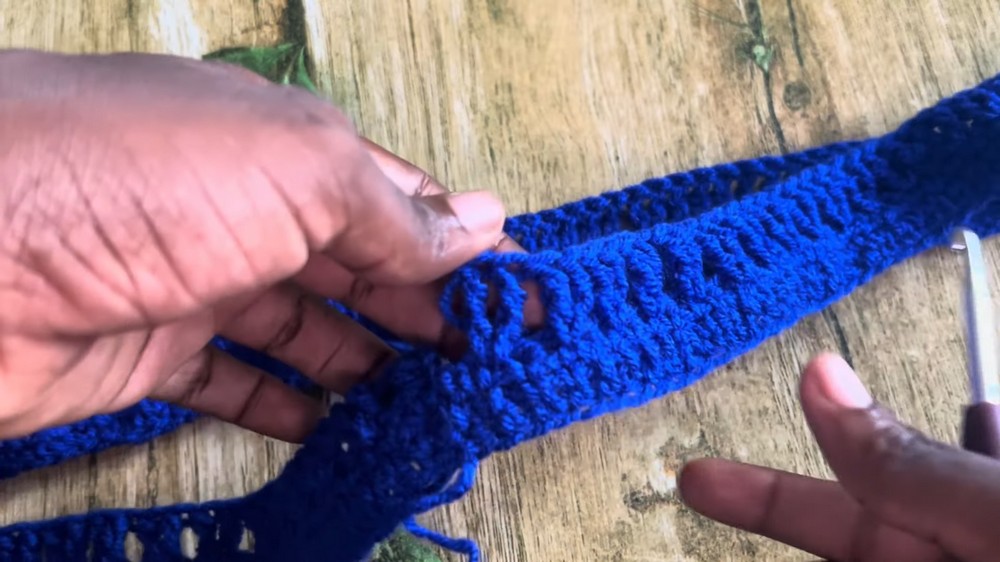
Step 7: Collar
- Attach the yarn at any point along the neckline.
- Work single crochet all the way around the neckline for a clean edge.
- Into each chain or space, make 1–3 single crochets depending on the space.
- For a thicker collar, repeat single crochet in third loops for 2–3 rounds.

Step 8: Sleeves (Optional)
- Attach the yarn at the edge of one armhole.
- Work in rounds:
- Round 1: Single crochet loosely all the way around the armhole.
- Round 2: Chain 4, then create treble crochet pairs, skipping 2 stitches between each pair.
- Rounds 3–5: Repeat the mesh pattern for as many rows as you wish to widen the sleeves.
- Finishing Rounds:
- Add 2–3 rounds of single crochet for the sleeve ends for a polished look.

- Add 2–3 rounds of single crochet for the sleeve ends for a polished look.
Step 9: Final Touches
- Weave in any remaining yarn ends securely using the yarn needle.
- Block your shirt gently to even out stitches and achieve the correct dimensions.
- Spray your shirt lightly with water and stretch it to the desired measurements on a flat surface.
- Spray your shirt lightly with water and stretch it to the desired measurements on a flat surface.
Final Words:
Congratulations on completing your oversized crochet mesh shirt, This piece can be worn casually over a tank top, swimsuit, or even as a beach cover up. With its breathable design and lightweight texture, it’s perfect for warm and sunny days.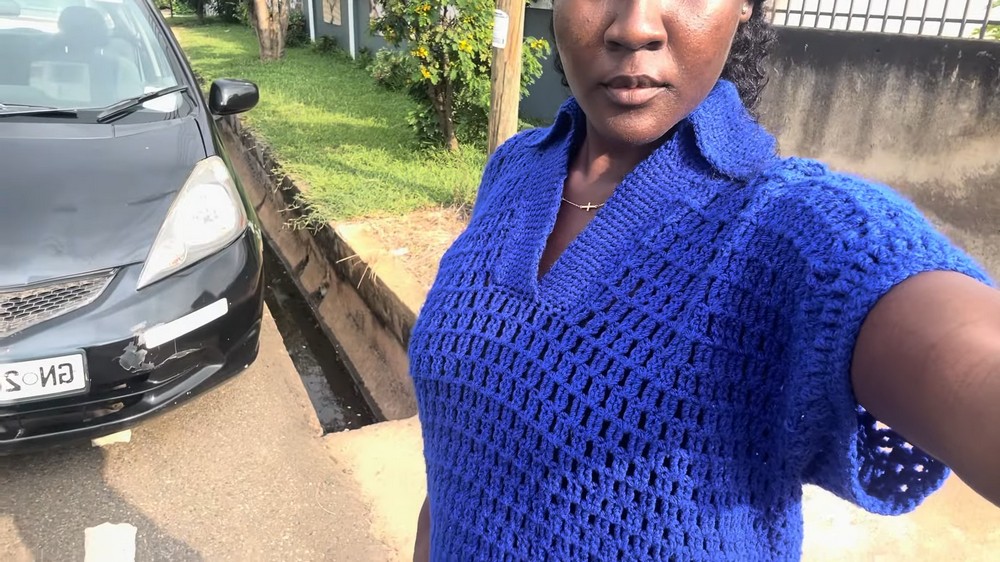
Tips to Maintain the Pattern:
- Gauge Check: Always check your tension and gauge before starting, especially if using substitute yarn or hooks.
- Proper Stretch: This mesh shirt is designed to stretch slightly for comfort, so ensure your stitches are not too tight.
- Yarn Choice: Opt for lightweight, breathable yarn for a summer vibe. Avoid heavy or stiff yarns.
- Custom Lengths: Adapt the shirt length and sleeve length to suit your preferences.
- Washing: Handwash your crochet shirt to maintain its shape and prevent overstretching. Lay flat to dry.