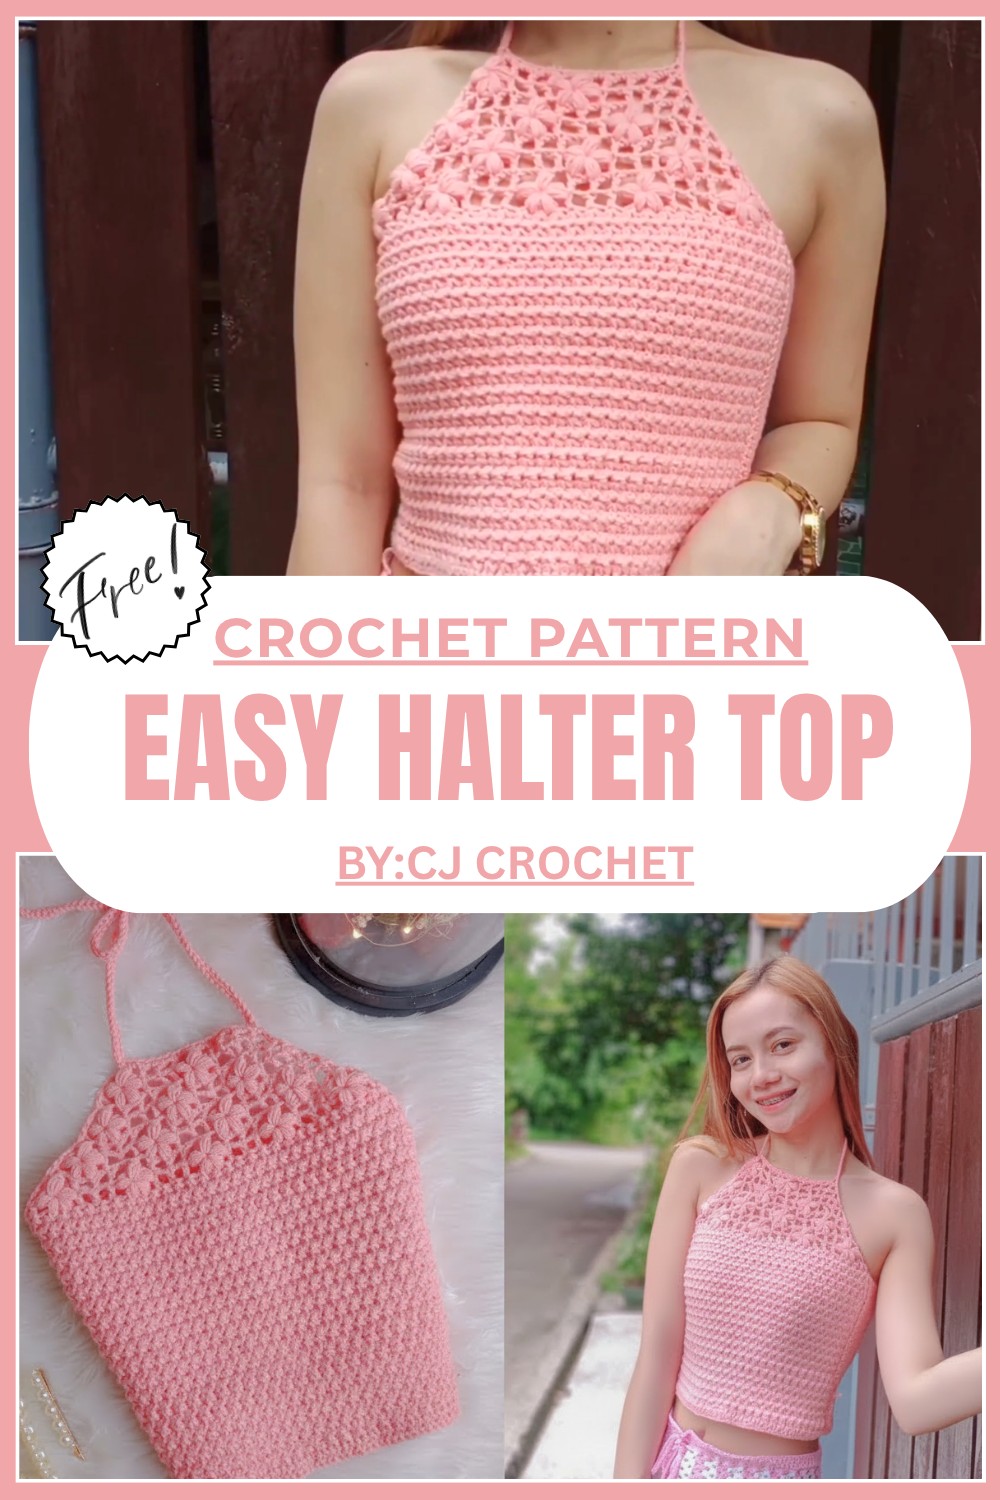
Comfortable Free Crochet Halter Top Pattern For Your Summer Wardrobe
Build a trendy and beautiful halter top using this free crochet pattern that is simple to follow, lightweight, and breezy top perfect for warm sunny days.
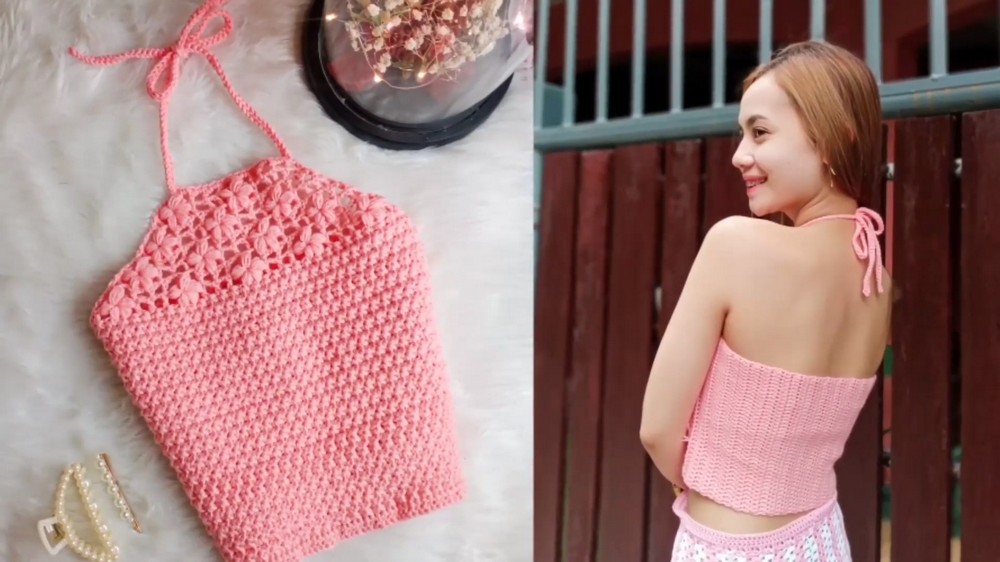
Make a Free Crochet Halter Top That Will Turn Heads
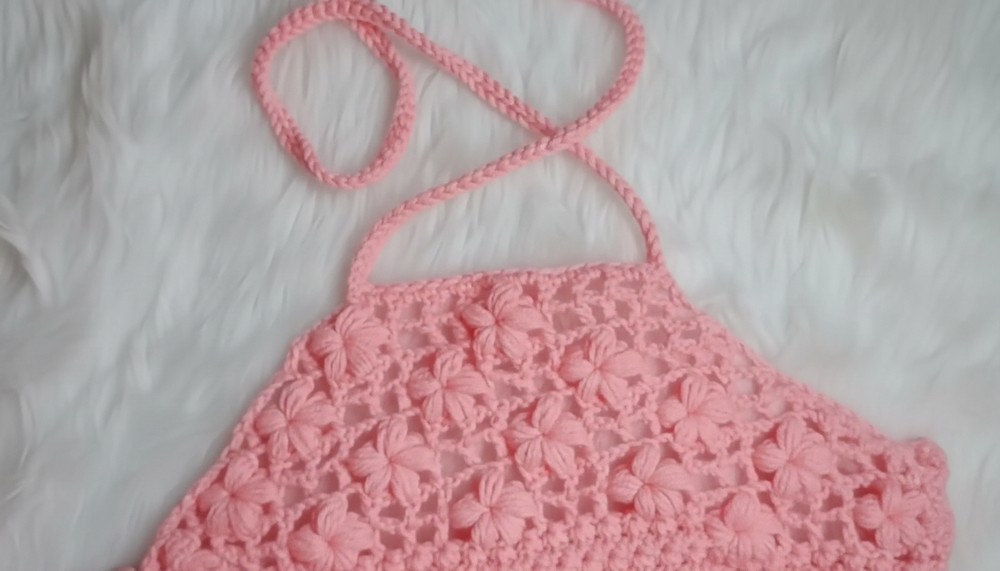
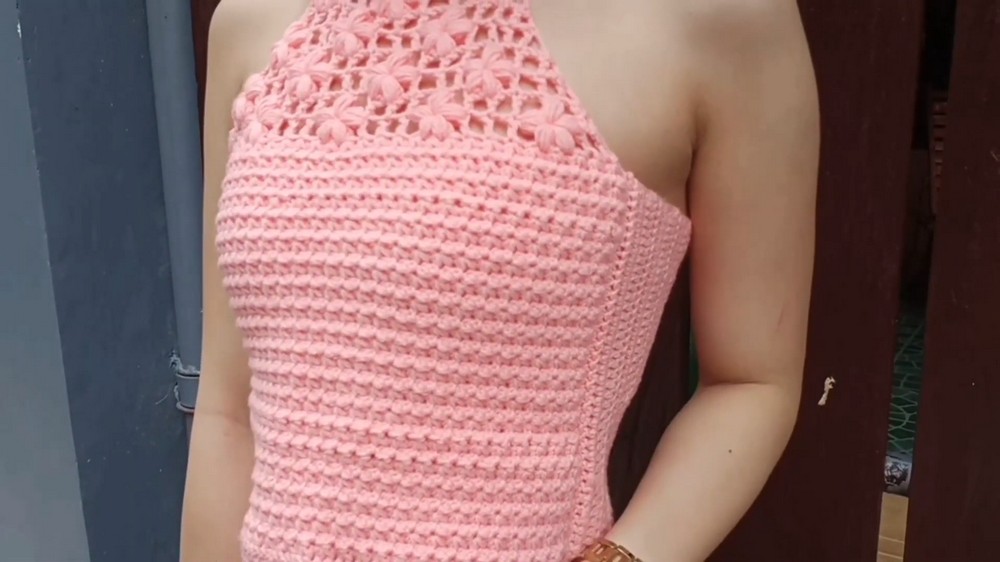
The "Free Crochet Halter Top Pattern" is a fun and simple design that anyone can make. It is perfect for summer and is both trendy and comfortable to wear. This pattern features a unique flower grid made using star stitches and puff stitches, giving it a delicate and beautiful look.
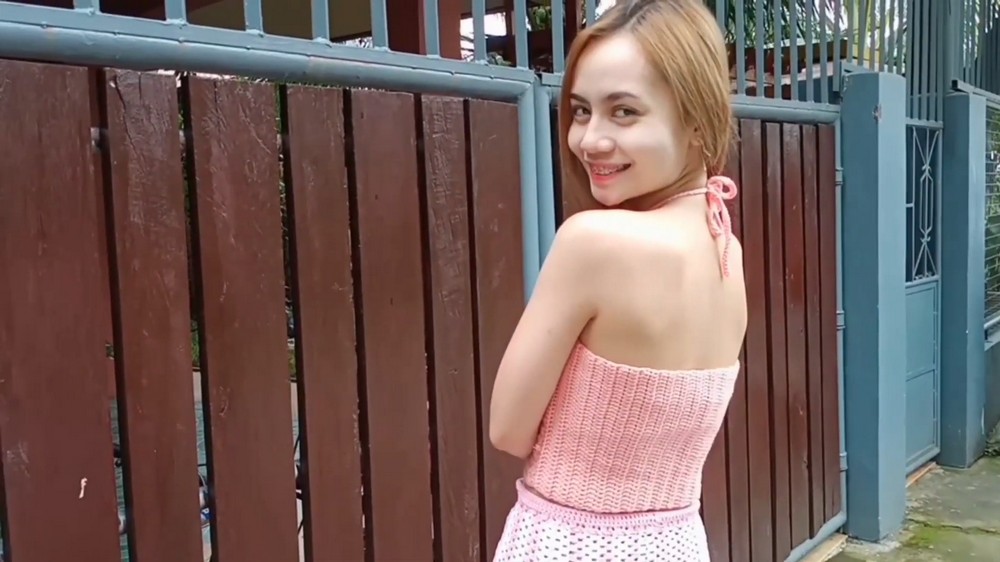
The lower part of the top has an elegant textured design made with foundation double crochets, providing a solid base. The halter style is created with lightweight yarn, making it breathable and ideal for warm weather. The top ties securely around your neck and back, making it adjustable for a perfect fit. 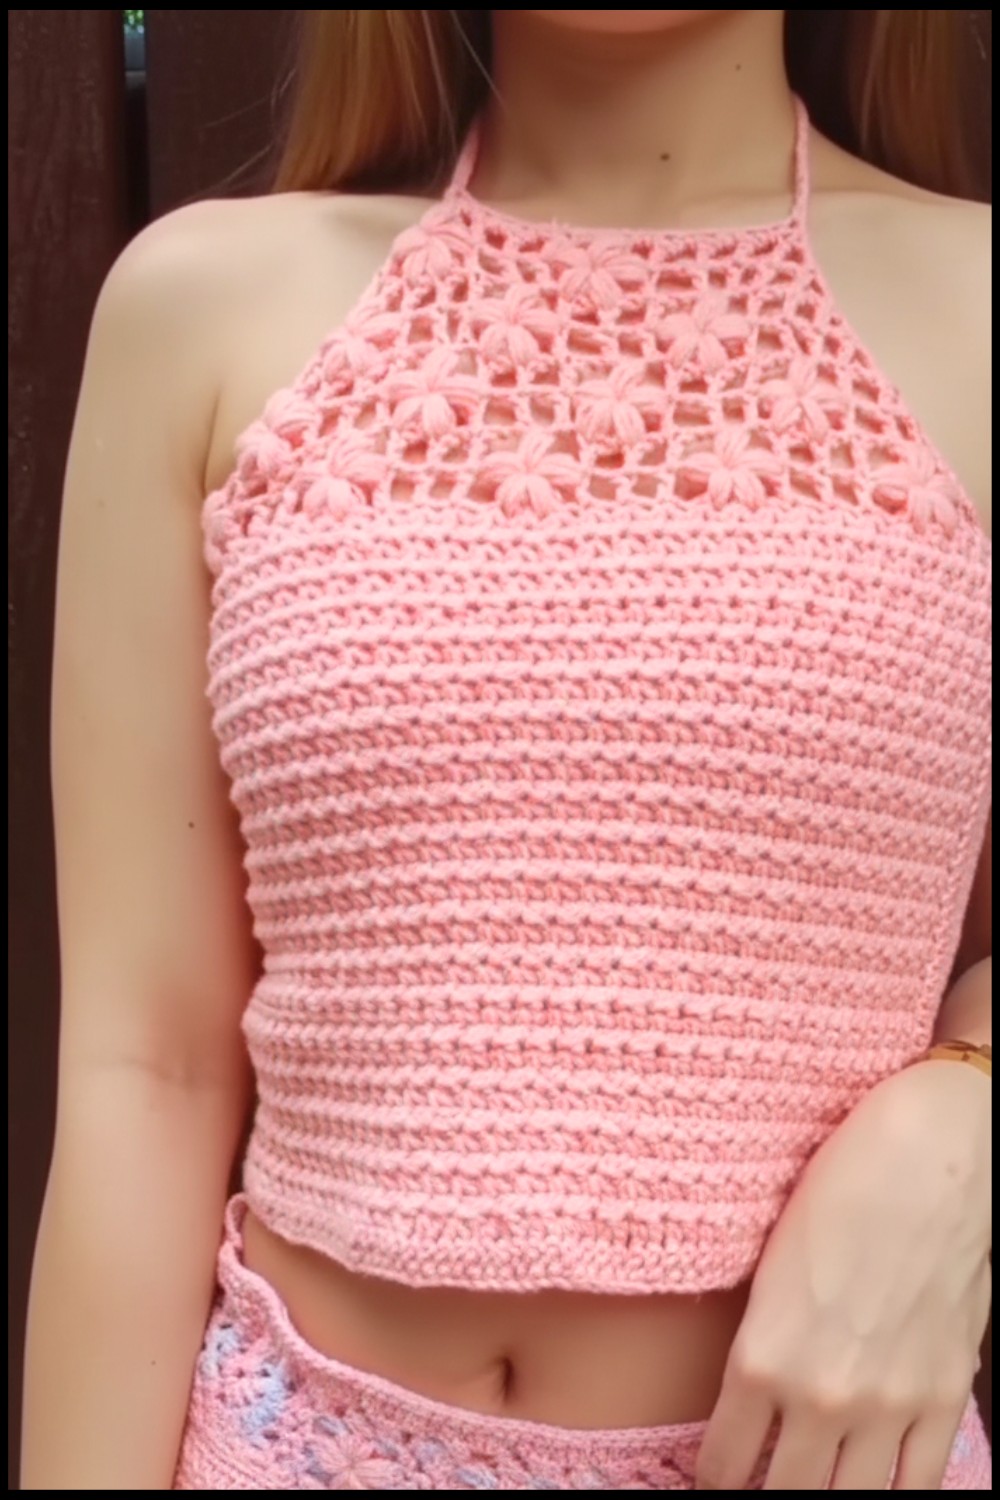 This project is great for beginners and perfect as a creative handmade gift or as a stylish addition to your wardrobe. With its charming design and easy to follow steps, it’s a must try for anyone who loves crochet.
Materials Needed
- Yarn: Choose lightweight (3) cotton yarn in your desired color(s).
- Hook: Recommended size is a 4.0 mm hook (adjust based on your tension).
- Tapestry Needle: For weaving in ends.
- Scissors

Special Techniques Used
- Foundation Double Crochet (FDC): A method used to start the bottom part of the top for a flexible foundation.
- Star Stitch: Creates a grid like pattern that forms the flower shapes.
- Flowers: Created by clusters of puff stitches worked into specific points in the design.
- Decreasing Rows: Gradual reductions to shape the halter top.
Pattern Instructions
1. Bottom Part
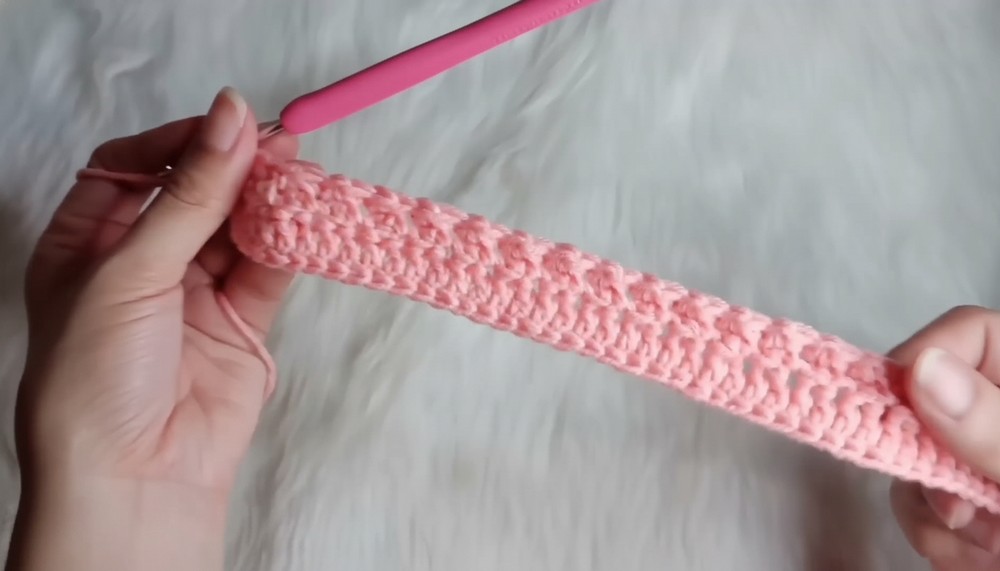
Step 1: Start the Foundation Double Crochet (FDC):
- Make a slip knot.
- Chain 3, yarn over, and insert your hook into the first chain.
- Yarn over, pull up a loop, yarn over, pull through the first loop, yarn over, and pull through two loops twice.
Complete 70 FDC stitches (ensure it’s an even number). Alternatively, chain 70 and work a double crochet into each chain.
Step 2: Begin the Star Stitch Pattern:
- Chain 1, turn.
- Row 1: Work 1 single crochet into the first stitch. Insert your hook into the first stitch, the second stitch, and the third stitch. You’ll now have 4 loops on your hook. Yarn over and pull through all loops, then chain 1.
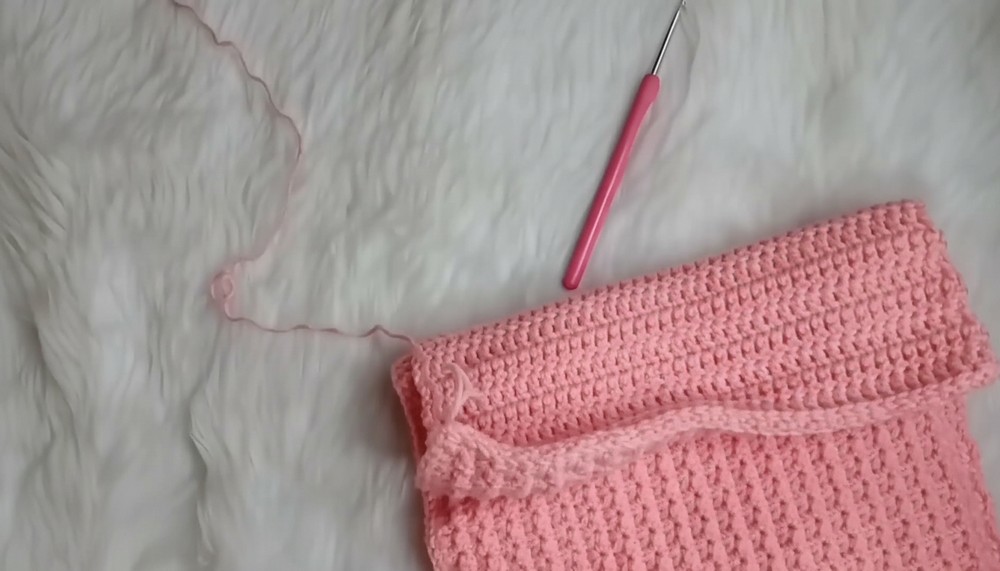
- Repeat this method across the row to create star stitches.
- At the end of the row, finish with 1 single crochet in the last stitch.
- Additional Rows: Repeat the star stitch process for a total of 37 rows.
2. Back Part
Step 1: Attach yarn to the edge of the bottom part.
- Chain 1 and work 1 double crochet into each row end along the edge.
- Repeat double crochet rows to desired length for the back panel that will wrap around your body.
Step 2: Connect to the other side:
- Hold the two edges of the back part together and slip stitch along the raw edges to join.
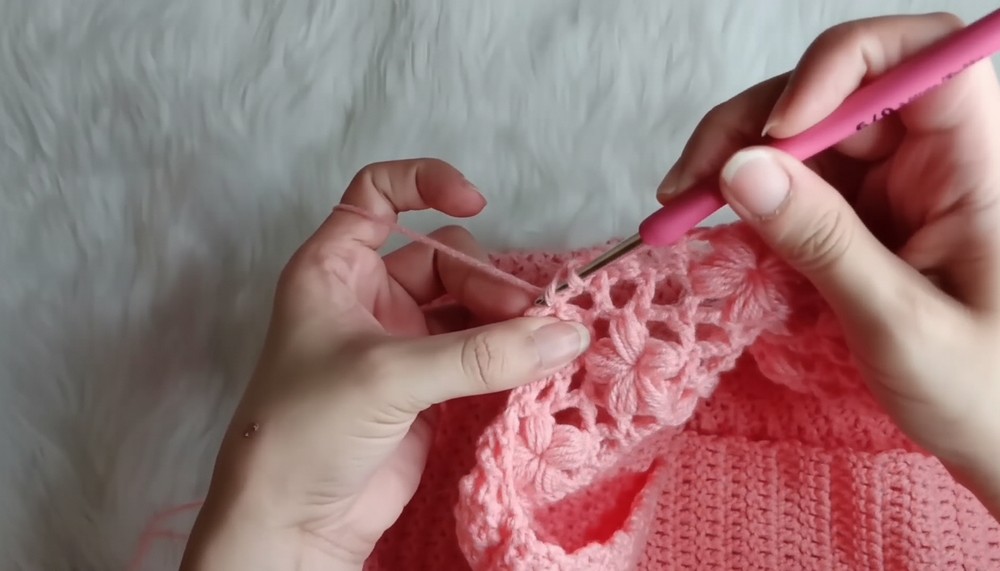
3. Top Part with Flower Grid
Step 1: Attach yarn to the top edge of the front part.
- Chain 2, skip one stitch, and work 1 double crochet. Chain 2, skip one stitch, and work another double crochet.
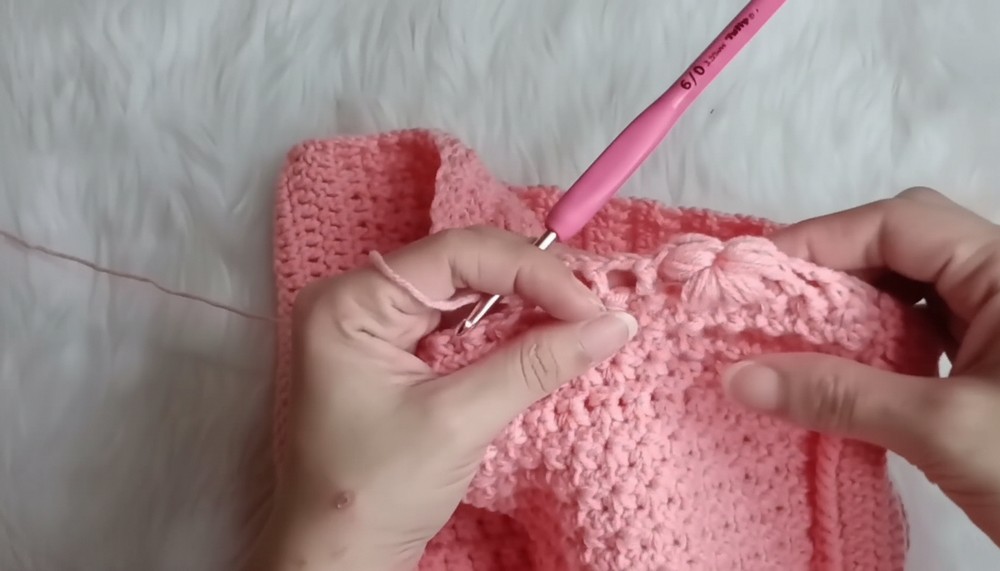
Step 2: Begin making flowers:
- Pull up your loop to elongate the stitches. Yarn over, insert your hook into the stitch, yarn over, and pull up a loop at the same height as the first. Repeat this 4 times in total for a puff cluster of 5 loops. Yarn over and pull through all loops, then chain 1 to secure.
- Skip 2 stitches and make a second flower cluster. Continue creating clusters per the pattern.
Step 3: Continue decreasing rows:
- Each row begins and ends with fewer double crochets to create the halter shape. To decrease, simply skip one additional stitch on each side as you create star stitches or flower grids.
Work until you have approximately 7 rows of flower grids, or until you’re satisfied with the height of the top.
4. Straps
Step 1: Attach yarn to the top edges of the front panel.
- Chain 75 (or your desired strap length) for a halter strap.
- Slip stitch back across the chain to the starting point.
Step 2: Repeat on the other side for the second strap.
Step 3: Create ties for the back:
- Attach yarn to the top corners of the back panel and chain to your desired length for the back ties.
Finishing
- Weave in Ends: Use a tapestry needle to hide all loose yarn ends.
- Block the Halter Top: Wash and block the top lightly to ensure it holds its shape.
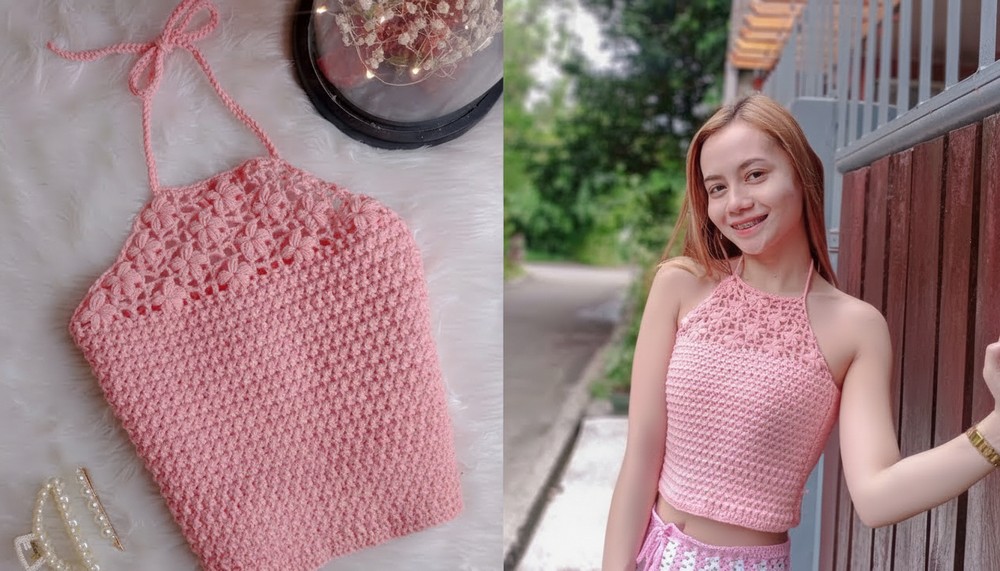
Final Words
Congratulations, You’ve completed your beautiful flower grid halter top. This project is perfect for summer and pairs well with skirts, shorts, or jeans.
Tips to Maintain the Pattern
- Washing: Use gentle, cold washing methods, and avoid wringing to prevent the yarn from stretching.
- Storing: To maintain its shape, store the top flat rather than hanging.
- Customizing: Adjust for size by adding or reducing the foundation stitches, and test-fit the straps before securing.