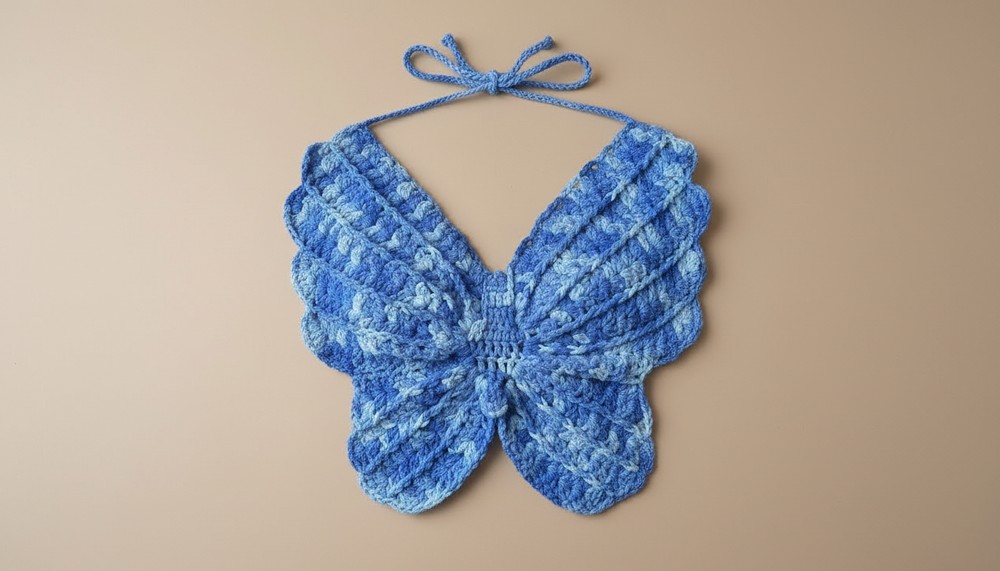
Top Your Summer Look with This Free Crochet Butterfly Top Pattern
Enjoy this free guide to easily make a crochet butterfly top that is lightweight, stylish, and perfect for bright and sunny days.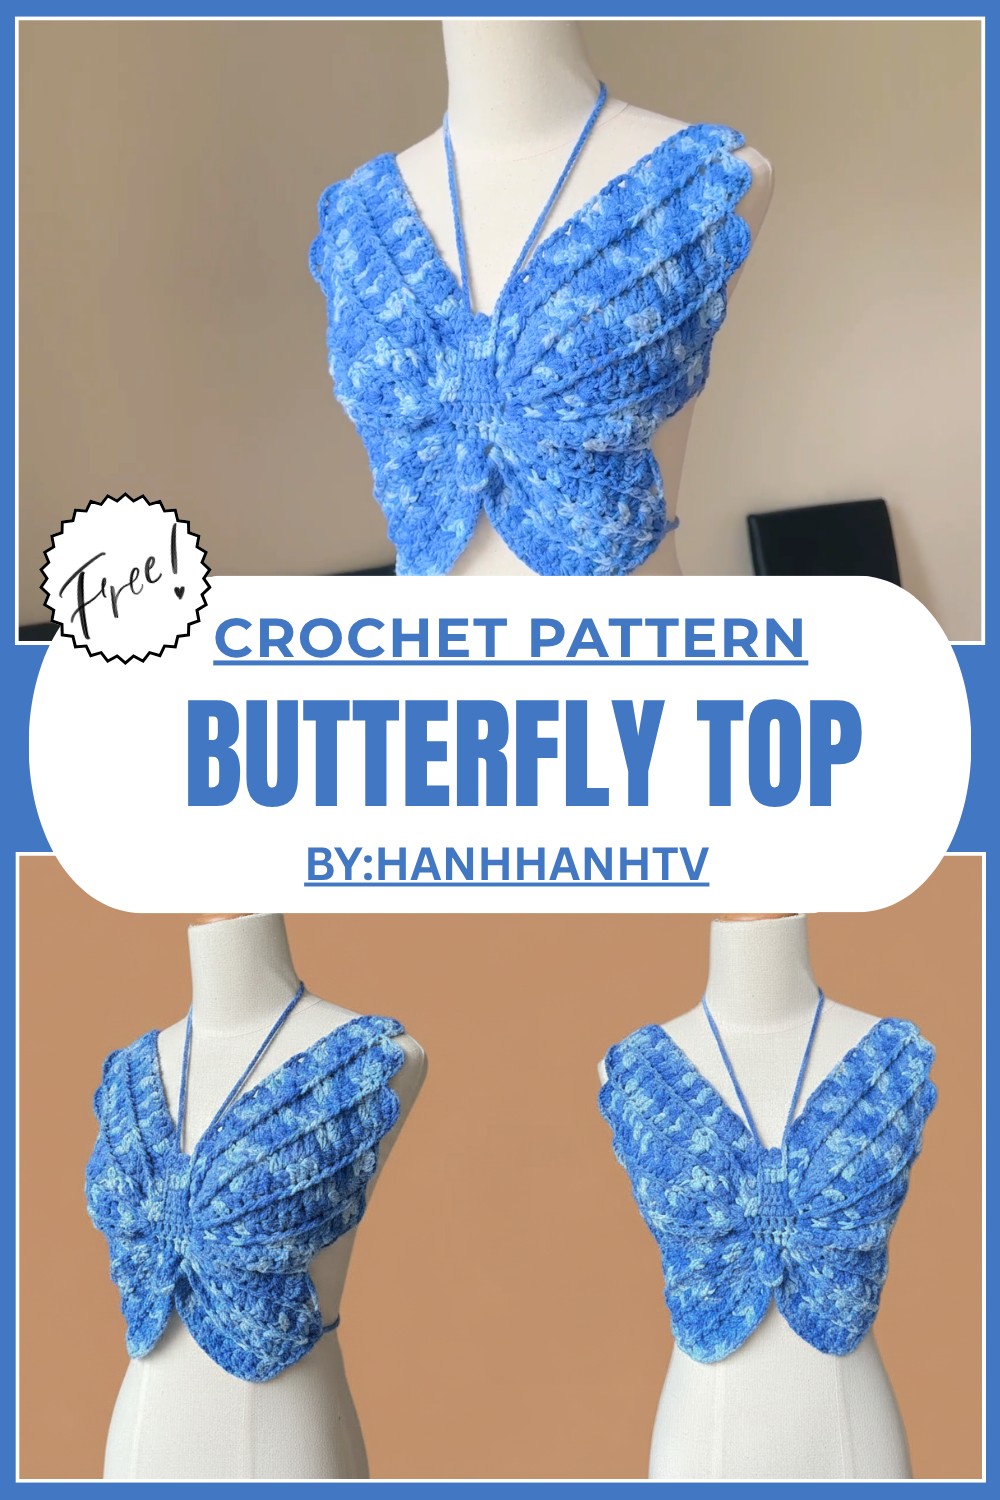
Free Crochet Butterfly Top Pattern You’ll Fall in Love With
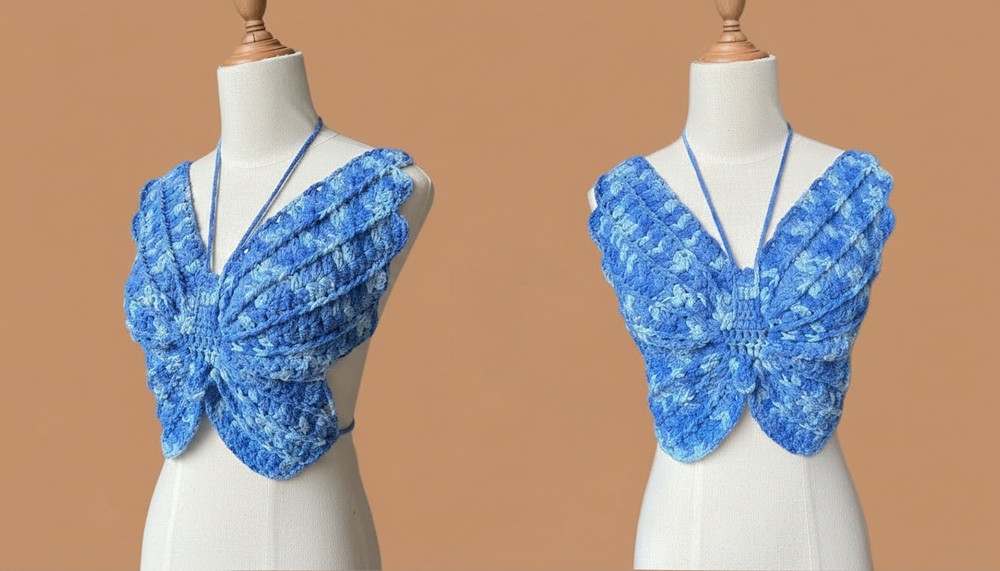
This guide brings you an easy and exciting way to make a stunning crochet butterfly top that is stylish, fun, and perfect for a sunny day. Inspired by the beauty of butterfly wings, this top is light, breezy, and incredibly comfortable to wear. The soft, colorful gradient yarn makes it playful yet elegant, and it’s sure to catch everyone’s attention.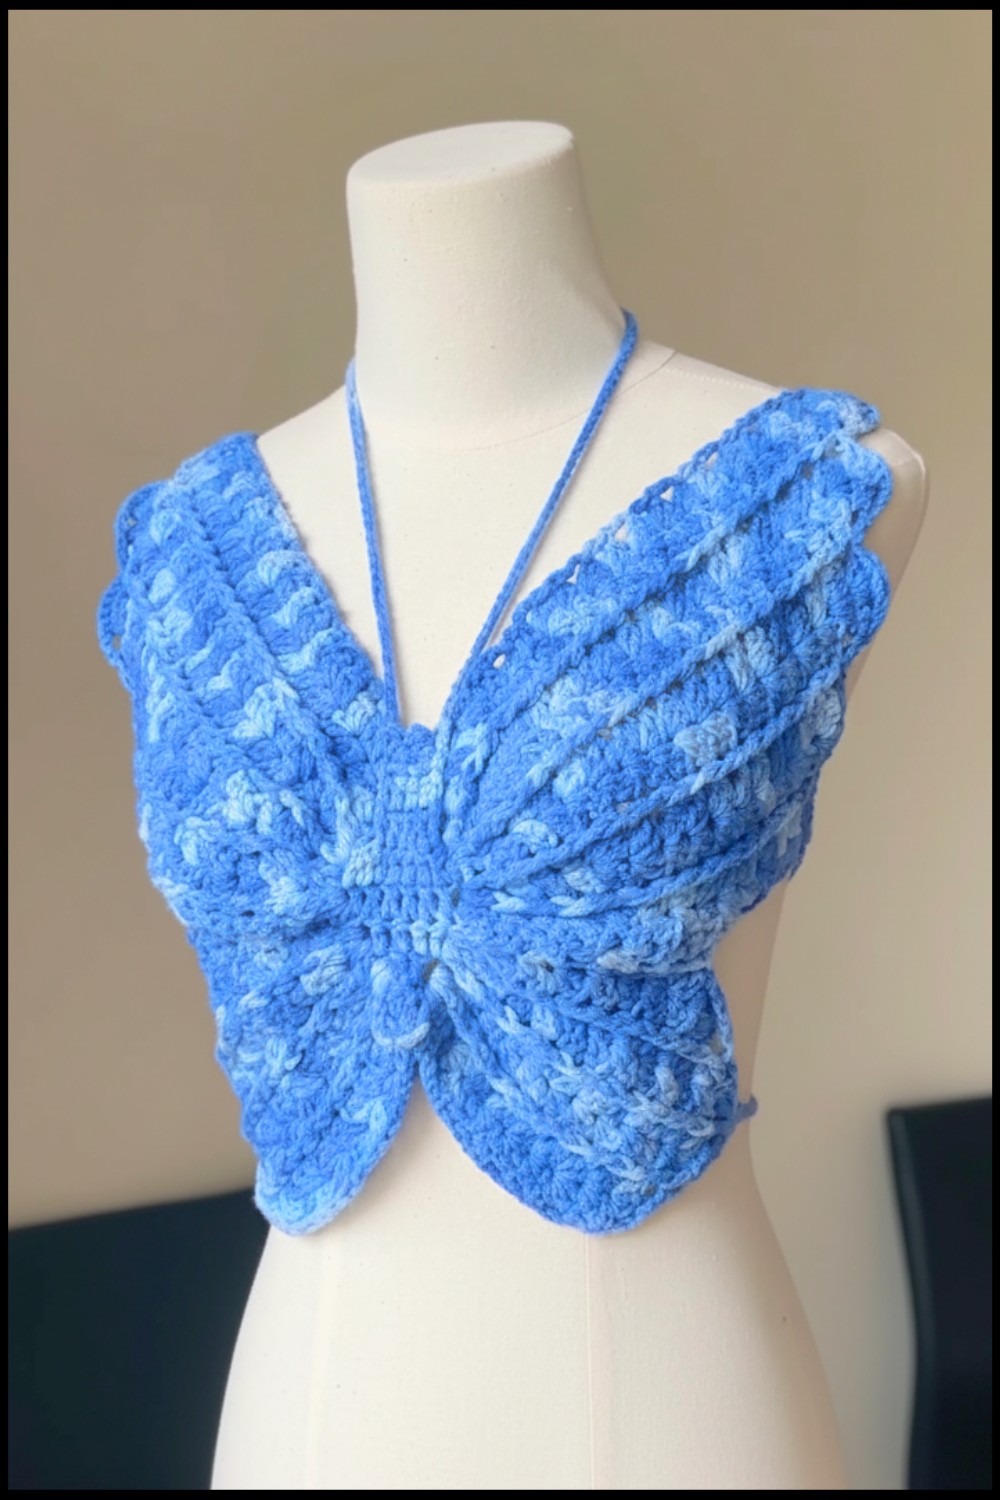 The unique design wraps around the body like butterfly wings, providing a flattering fit that’s customizable for all sizes.
It’s perfect for casual outings, relaxing at the beach, or adding a touch of charm to your everyday look. The textured ribbing on the wings gives it a standout appearance that people will love.
Crochet Butterfly Top Pattern
Materials Needed
- Yarn:
- Gradient (“loang”) yarn, approximately 150g total.
- Suggested types:
- 50g gradient skeins: Purchase at least three skeins.
- For smaller sizes (bust ~80cm): Use finer weight yarn such as 125g or 100g skeins.
- Adjust according to bust size:
- For bust ~85 90cm: Use thicker yarn.
- For bust ~80cm or smaller: Use thinner yarn.
- Crochet Hook:
- Size 3.0 mm hook.
- Accessories:
- Scissors.
- Yarn needle (for weaving in ends).
- Stitch markers (optional but recommended for marking increases and decreases).
Techniques Used
- Chain (Ch)
- Slip Stitch (Sl St)
- Single Crochet (SC)
- Double Crochet (DC)
- Increase (Inc): Work two stitches in the same base stitch.
- Decrease (Dec): Skip stitches or work stitches together to narrow the fabric.
- Front Post/Back Post Crochet: Used for creating textured ribs (referred to as “luồn trước” and “luồn sau” in the original video).
Pattern Instruction
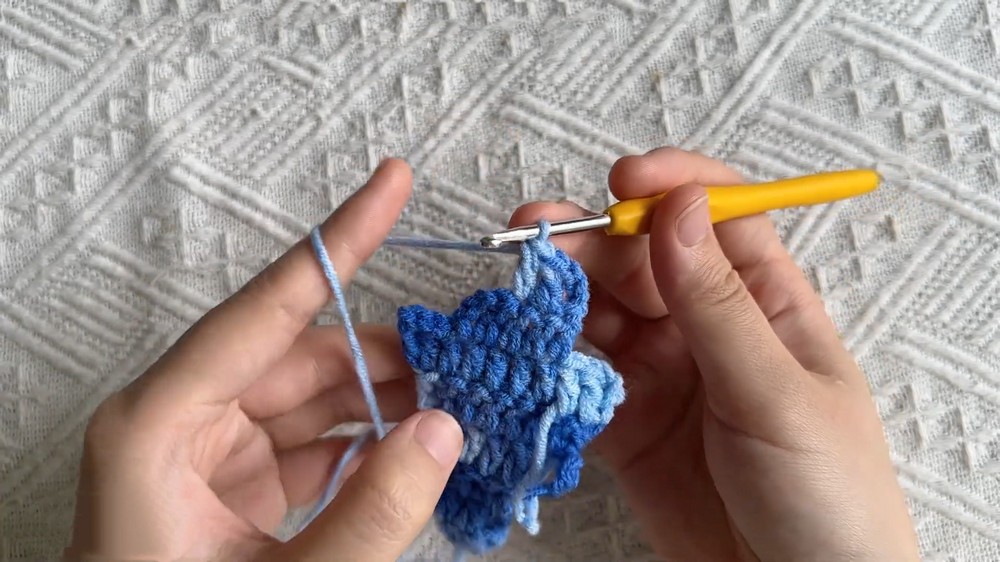
1. Main Body of the Butterfly
- Foundation Row:
- Start by making 4 chains (Ch) and form a ring by slip stitching into the first chain.
- Row 1:
- Make 3 double crochets (DCs) into the ring.
- Chain 1 to close the row.
- Row 2 and Beyond (Increases):
- Chain 3 to turn.
- Increase at the beginning and end of the row:
- Add 2 DCs in the first and last stitches.
- Work 1 DC into each stitch in between.
- Continue this pattern, increasing at both ends, until you reach your desired width.
2. Upper Straps
- Chain 120 stitches (adjust length to preference for tying at the neck).
- Attach the chain to the top base wing and repeat for the second side.
3. Upper Wings
- Start the Wings:
- In the desired corner, make 5 DCs into the starting stitch.
- Continue working rows of 5, 4, or 3 DCs (as needed), with 1 chain stitch for turning at the end of each row.
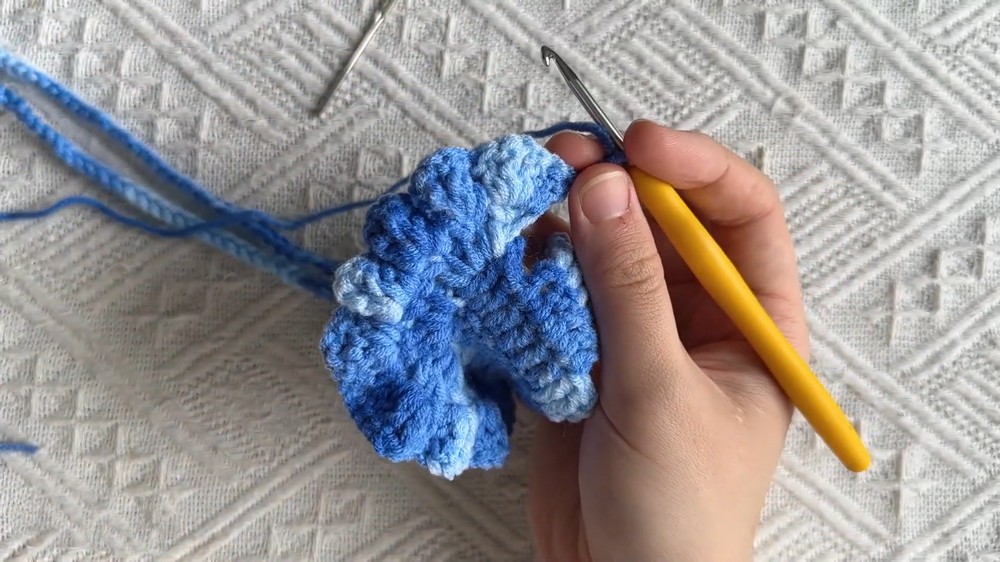
- Adding Ribs (Gân):
- Alternate rows where DCs are worked:
- Front Post DC (luồn trước): Push the stitch forward for a raised effect on the right side.
- Back Post DC (luồn sau): Push the stitch backward for a recessed effect.
- Alternate rows where DCs are worked:
- Finishing the Upper Wings:
- Decrease the edges as needed (reduce ribs and stitches gradually).
- Tie off and weave in ends.

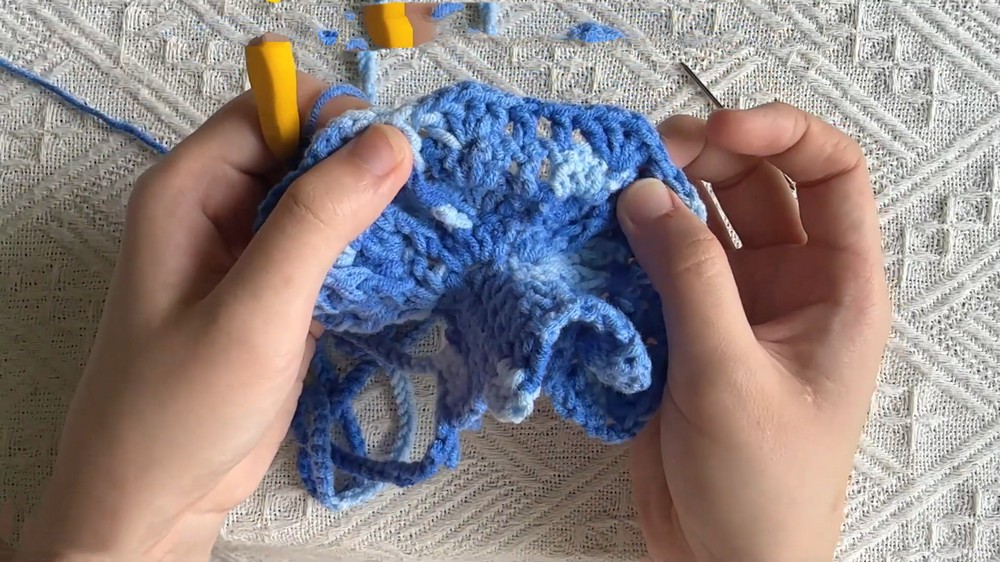
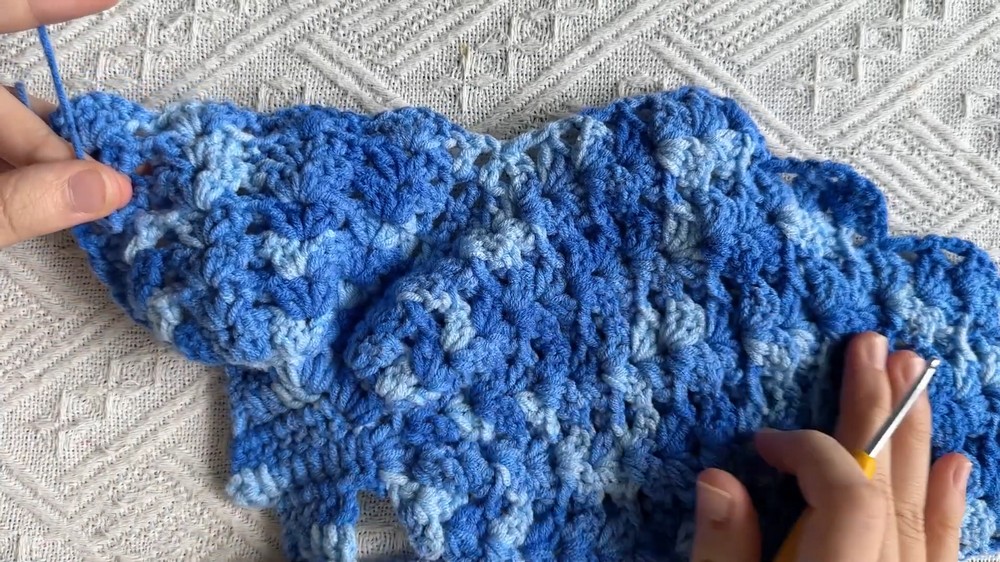
4. Lower Wings
- Identify the bottom edge of the main butterfly body and repeat the wing pattern.
- Focus on increasing width by working DC clusters with chain spaces for shaping.
- Use a similar sequence of ribs (front/back post DCs) for texture.
- Decrease at Ends:
- Narrow the wing tips symmetrically as you move down the rows.
- Decrease by skipping stitches at the start and end of rows.
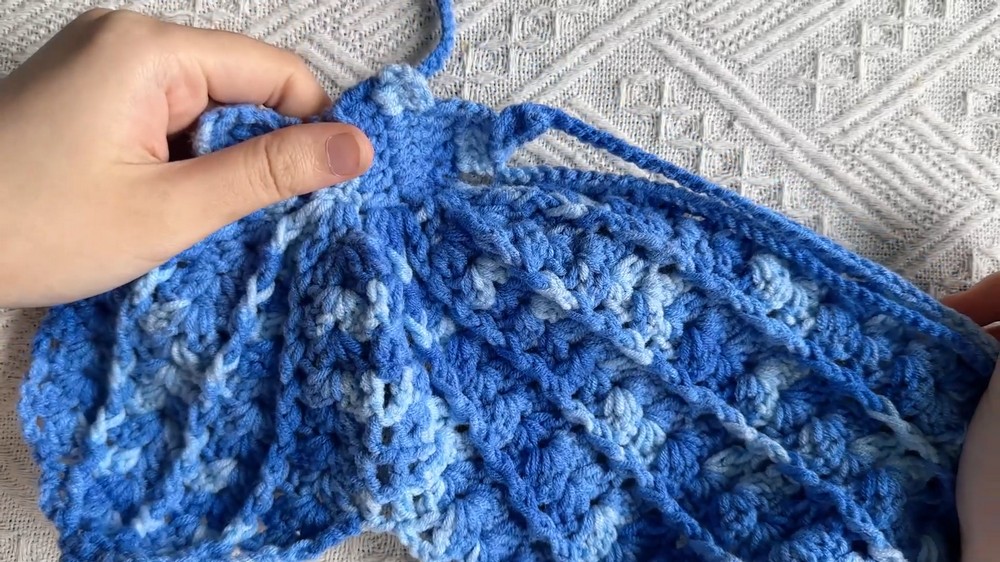
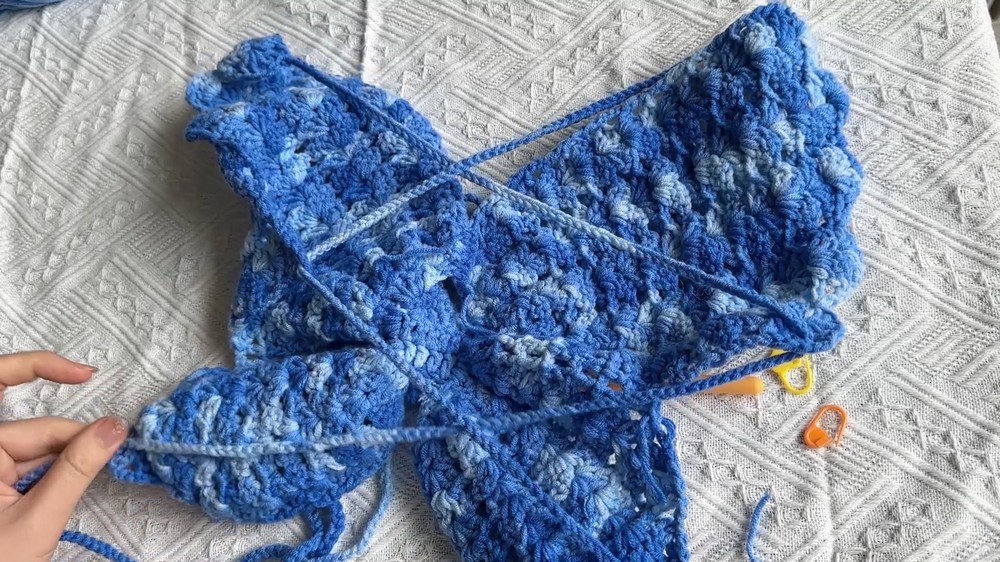
5. Joining the Back
- Aligning the Wings:
- Place the left and right wings together. Ensure symmetry by matching corresponding stitches.

- Attach using slip stitches or sew using a yarn needle.
- Place the left and right wings together. Ensure symmetry by matching corresponding stitches.
- Focus on reinforcing areas where the wings’ edges meet to ensure durability.
Finishing the Top
- Weaving in Ends:
- Use a yarn needle to securely weave in any loose ends.
- Blocking:
- Steam block or wet block the entire top to relax stitches and ensure the shape is symmetric.
- Optional Padding:
- Insert lightweight bra pads or lining for additional coverage, as the open pattern may expose skin.
- Insert lightweight bra pads or lining for additional coverage, as the open pattern may expose skin.
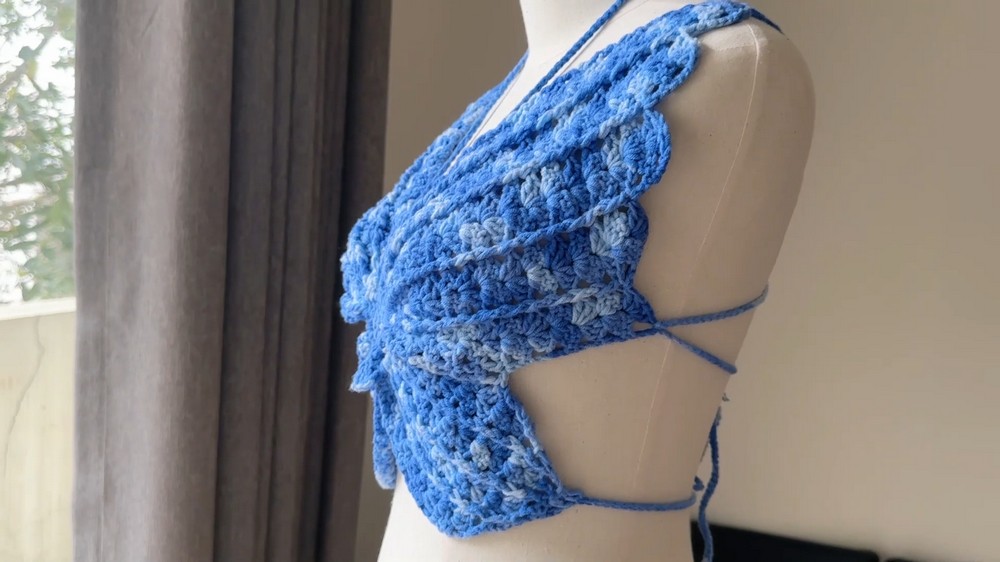
Wearing Suggestions
- Proper Placement:
- Ensure the neckline ties are secured close to the shoulders to hold the top higher on the bust.
- Adjust the back tie designs for preferred coverage:
- Straight tie: Secure directly at the back.
- Crisscross tie: Lace the lower ties across the back and tie at the waist.
- No tie: Leave loose for a more casual look.
- Styling: Wear it over a strapless top or swimsuit for a layered summer look.
Additional Tips
- Yarn Type:
- For cooler weather, substitute gradient yarn with solid colors or thicker yarn.
- Custom Fit:
- Adjust increases and decreases based on your body measurements. Use stitch markers to fine tune sizing.
- Maintenance:
- Hand wash with mild detergent to avoid overstretching. Lay flat to dry.
Final Words
The butterfly top (áo bướm sò) is a versatile, lightweight summer garment. With its open structure and elegant wings, it’s ideal for tropical or beachwear. Follow the detailed instructions for a professional looking finish, and enjoy personalizing your creation with unique colors or patterns.