Wonderful Free Crochet Heart Basket Pattern For Cute Storage
Design a pretty pink basket with tall walls to keep your desk neat and tidy by using this Free Crochet Heart Basket Pattern to hook a very cool handmade project.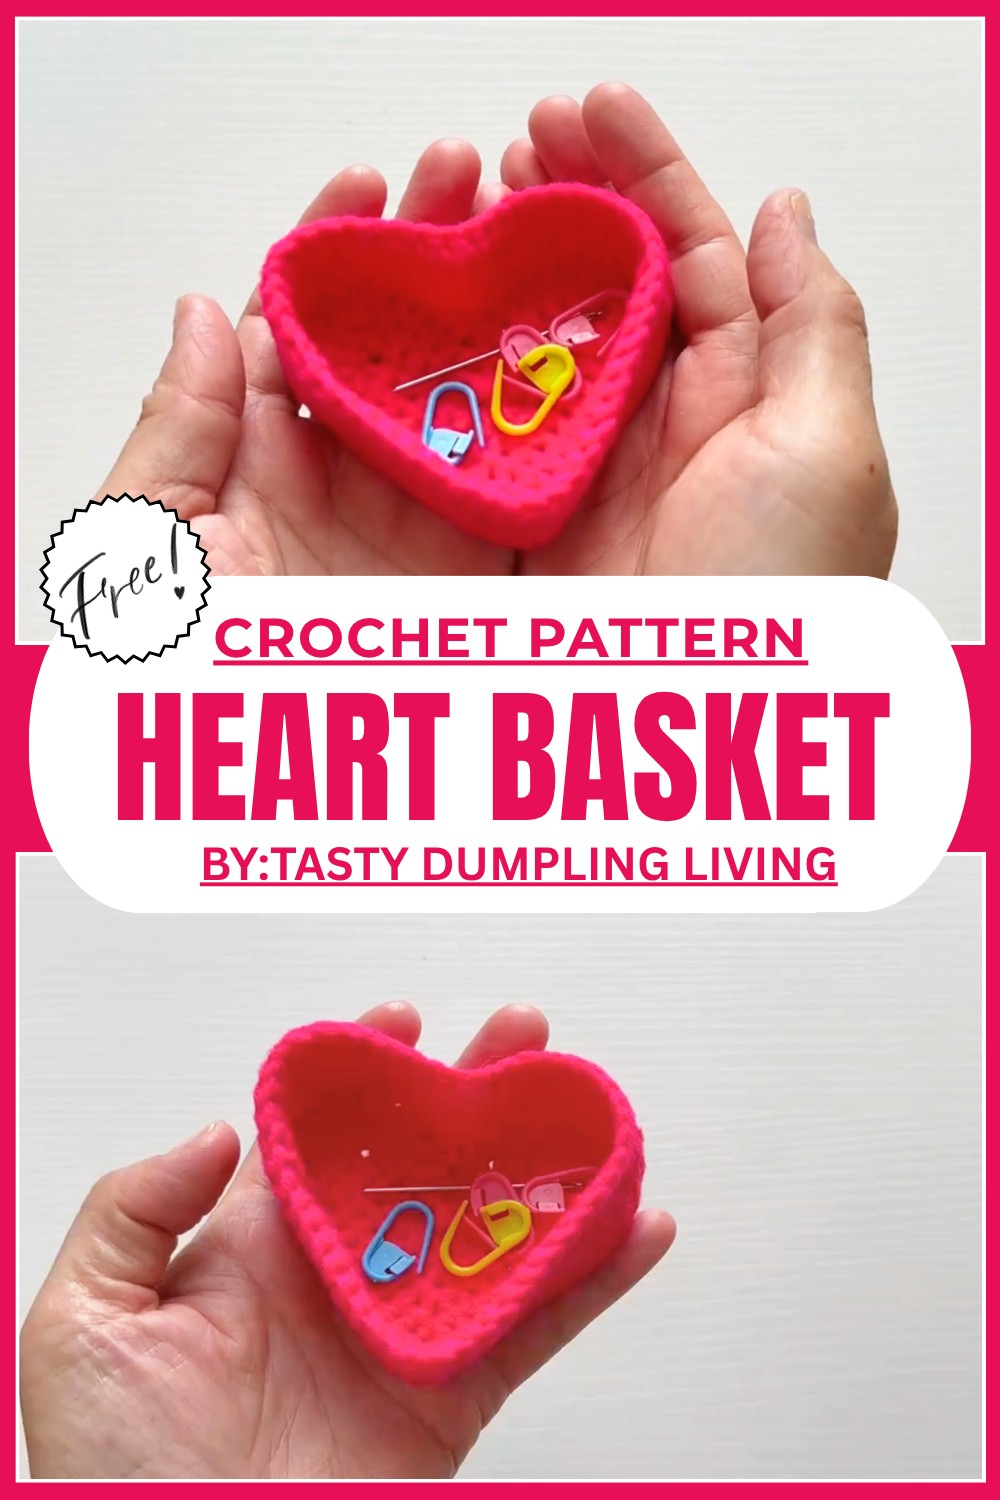
Cute & Soft Free Crochet Heart Basket Pattern Perfect for Stitch Supplies
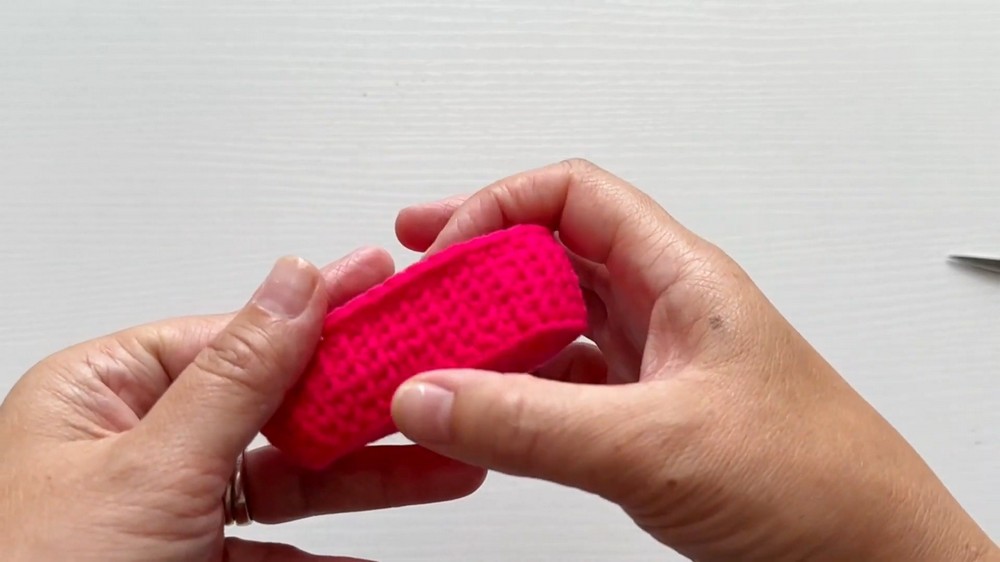
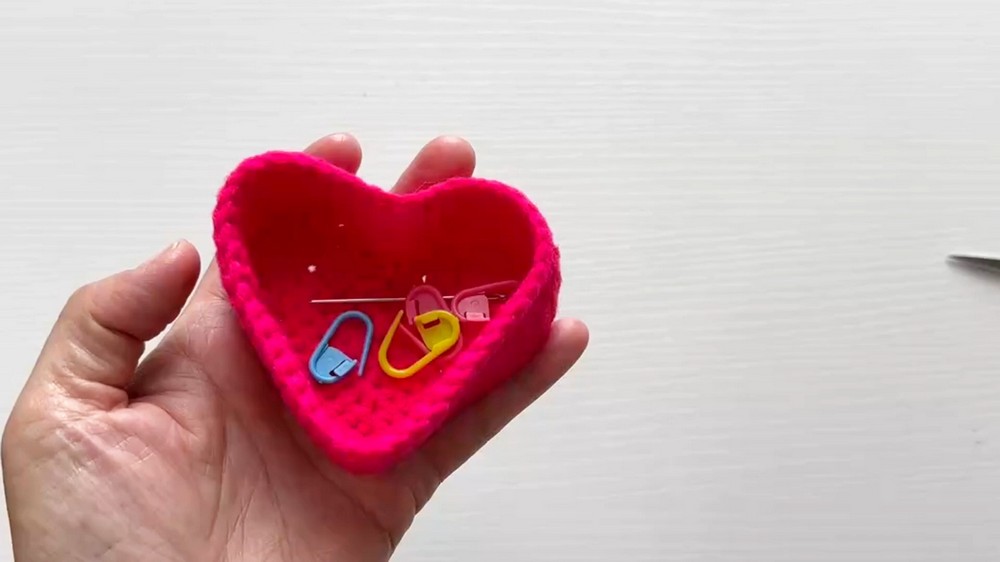
The Free Crochet Heart Basket Pattern is a delightful project designed to combine practicality with artistic flair. Perfect for beginners and experienced crocheters alike, this basket stands out with its charming heart shape, making it as adorable as it is functional. You can use it to store small everyday items like stitch markers, needles, jewelry, buttons, or even as a cute tabletop organizer. Its unique design features a sturdy base and textured sides, worked up in single crochet using a special technique that offers durability and a neat knit like appearance. 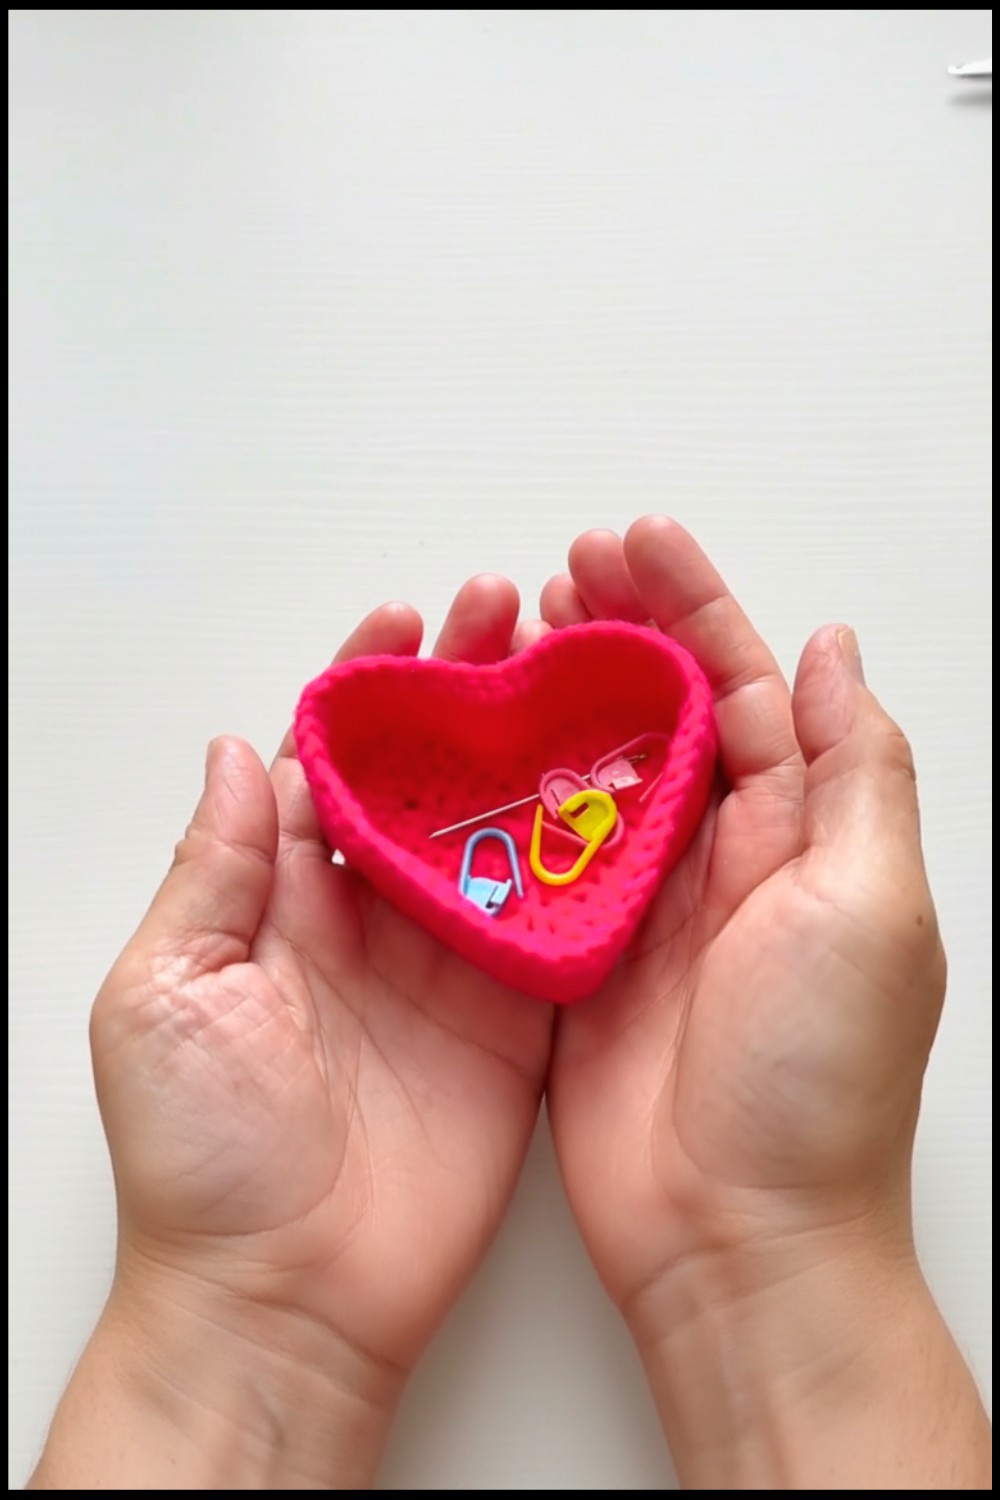 The basket is versatile and customizable—create it in various colors to match your decor or give it as a thoughtful handmade gift. Although the pattern uses tight stitches for a firm finish, the steps are simple and clear, giving you a fun challenge without feeling overwhelming.
This project is not just about making something beautiful; it's about crocheting a useful piece that adds charm to your space.
Bold Free Crochet Heart Basket Pattern
Finished Size
- The finished size of the basket will vary based on the yarn and hook used, but with the materials recommended, it should measure approximately 5 inches wide and 2.5 inches tall.
Materials
- Yarn:
- Weight: Use DK or lightweight worsted yarn. Cotton yarn is recommended for sturdiness.
- Amount: Approximately 50g of yarn.
- Hook:
- Size: 3.5 mm crochet hook (or size recommended for your yarn).
- Tools:
- Tapestry needle for finishing.
- Stitch markers (optional but highly recommended).
- Scissors.
- Optional:
- Starch spray for stiffening (if needed for cotton yarn).
- Starch spray for stiffening (if needed for cotton yarn).
Gauge
- Gauge (not critical for this project):
- 10 single crochets (sc) x 10 rows = 2 inches square.
- Gauge may vary depending on your personal tension.
Pattern Instructions
Special Techniques
- Working into the Back Loop Only (BLO): Insert your hook into the back loop of a stitch instead of under both loops.
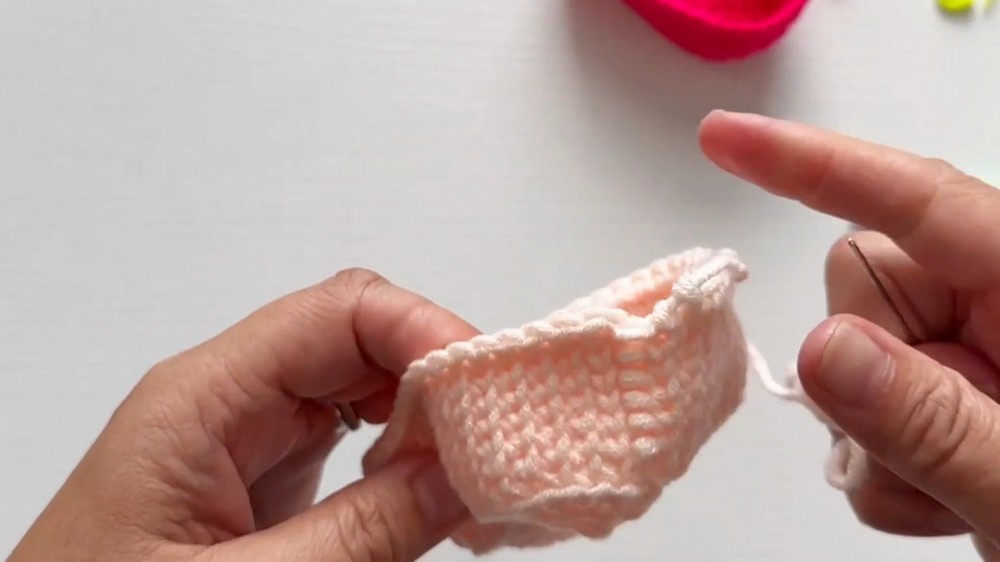
- Invisible Join: Finish your project seamlessly by using a tapestry needle to pull the yarn through stitches as described later in the pattern.
- Single Crochet Waistcoat Stitch (aka Knit Stitch): Insert your hook between the legs of the “V” at the front of the stitch rather than in the loop at the top.
Step by Step Instructions
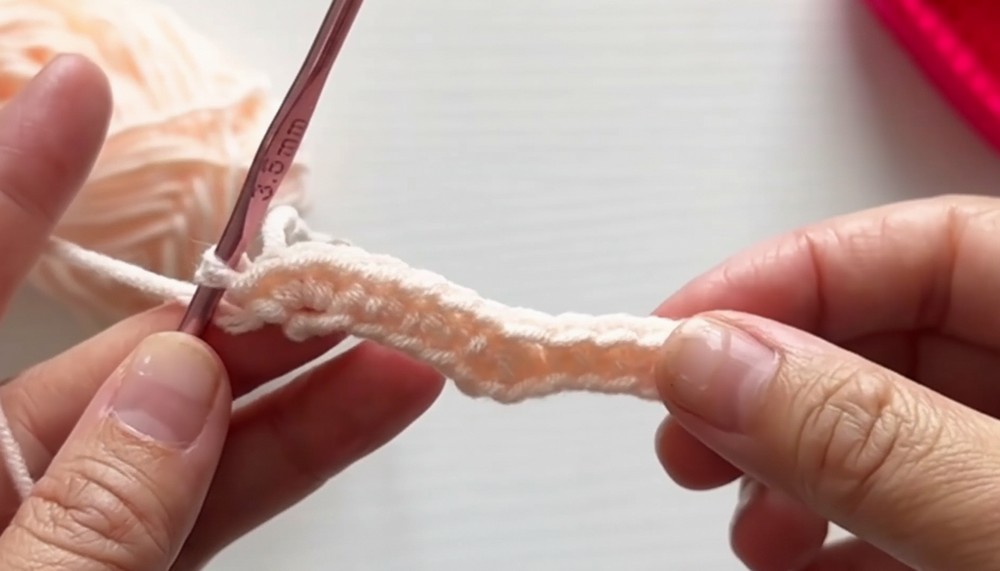
Round 1: Foundation Chain
- Begin with a slipknot on your hook.
- Chain (ch) 14.
- Turn your chain to work into the back bumps of the chain.
- Into the 2nd back bump, work:
- 3 single crochets (sc) into the same stitch.
- Work 1 single crochet into the next 4 bumps (1 sc each).
- Decrease the next three stitches:
- Insert your hook into the first bump and pull up a loop.
- Repeat for the next two bumps.
- You should have 4 loops on your hook. Yarn over and pull through all 4 loops.
- Work 1 single crochet into the next 4 bumps.
- Into the last bump of the chain, work 3 single crochets.
- Without turning, rotate your work to the other side of the chain. Work along the underside of the chain:
- Skip the first stitch (where you already worked the last 3 sc).
- Work 5 single crochets along the next 5 chains.
- Into the next chain, work 3 single crochets to form a rounded edge.
- Work 5 single crochets to the end.
- Join with a slip stitch (sl st) to the first stitch of the round.
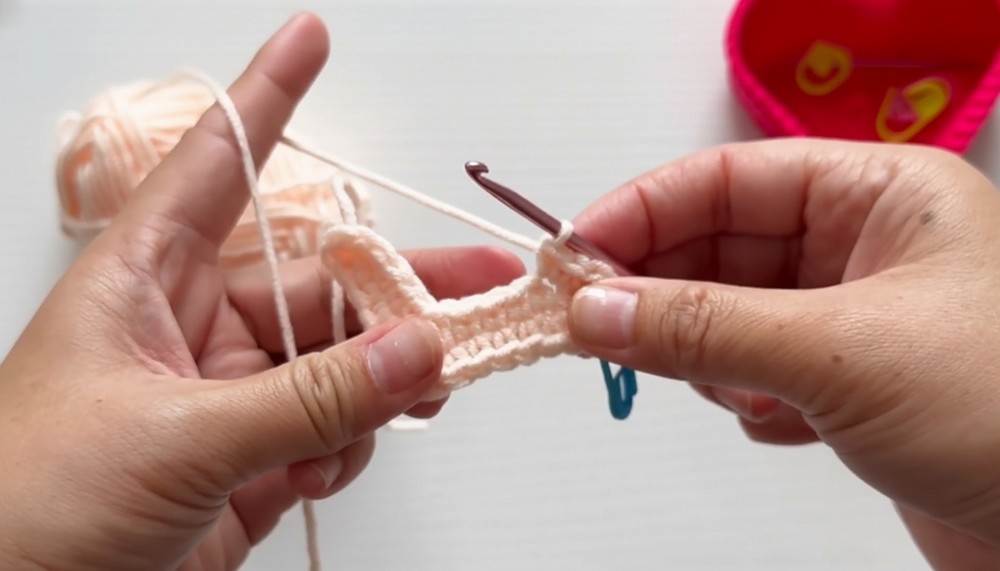
Round 2: Increases and Shaping
- Chain 1 (does not count as a stitch).
- Increase into each of the first 3 stitches:
- Work 2 single crochets into each stitch.
- Work 1 single crochet into the next 3 stitches.
- Decrease the next 3 stitches into 1 (as in Round 1).
- Work 1 single crochet into the next 3 stitches.
- Increase into the next 3 stitches by working 2 single crochets into each.
- Work 6 single crochets along the next 6 stitches.
- Into the next stitch, work an increase of 3 single crochets.
- Work 6 single crochets down the other side.
- Join with a slip stitch to the first stitch.
Round 3: More Increases
Repeat the instructions from earlier rounds to continue the heart shape while adjusting for the following:
- Alternate between single crochet stitches and increases as necessary, following the instructor's method.
- Work decreases in the middle of the body (to form the indentation for the heart shape) and increases at the curve's edges.
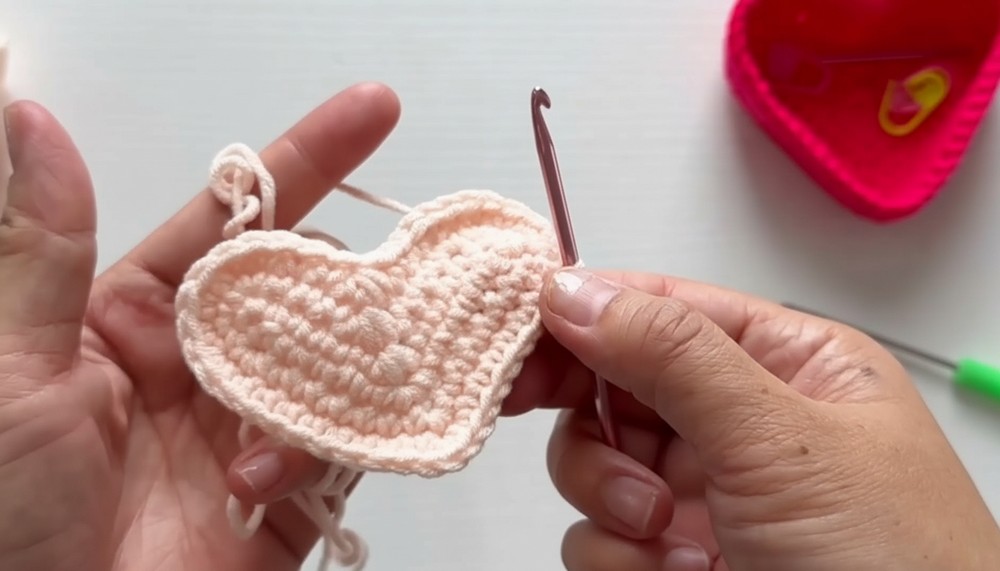
Round 4 and the Base Completion
- Follow similar shaping patterns from Round 3:
- Ensure that you maintain symmetry on both sides of the heart.
- Finish this round to complete the base of your basket.
Creating the Sides of the Basket
- Start Round 5:
- Chain 1 and begin working the Back Loop Only (BLO) technique. Insert the hook through the BLO of the stitch and the base of the stitch for added strength.
- Work single crochet stitches all the way around.
- After completing this round, join with a slip stitch.
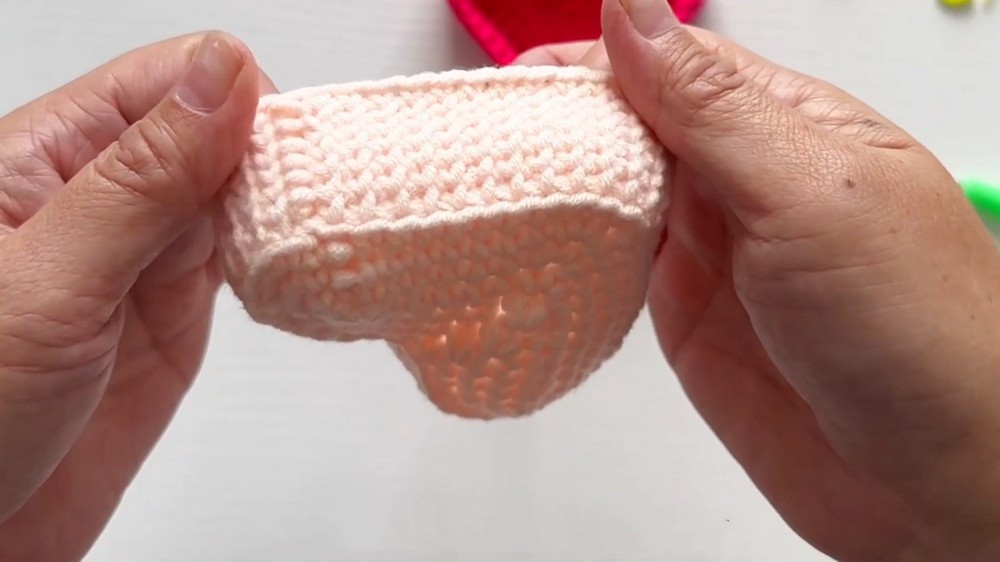
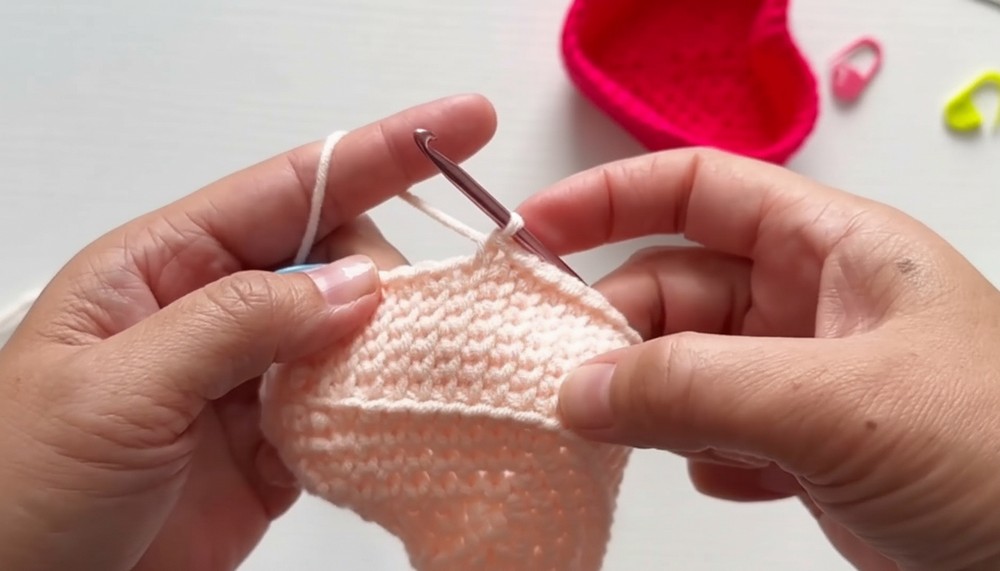
Round 6 and Beyond:
- For the remaining rounds, use the waistcoat stitch:
- Locate the “V” shape at the front of each stitch.
- Insert your hook between the arms of the “V” for a knit like effect.
- Continue this pattern, working as many rounds as you desire until the basket reaches your preferred height.
Finishing
- Invisible Join:
- Thread your tail onto a tapestry needle.
- Insert the needle from front to back under the first stitch and pull tight.
- Insert the needle into the BLO of the last worked stitch and secure.
- Fasten Off: Cut yarn, leaving a long tail to weave in.
- To stiffen the basket (optional): Spray with starch and shape it. Leave to dry overnight for a firmer structure.
Tips and Customization Ideas
- Yarn Choice:
Use cotton yarn for structure or acrylic yarn for easier handling and durability. - Colors:
Experiment with different color combinations or add a decorative border to the top edge.
- Handles:
Add a small braided or crocheted handle to make it portable. - Height:
Adjust the height by simply working more or fewer rounds on the side.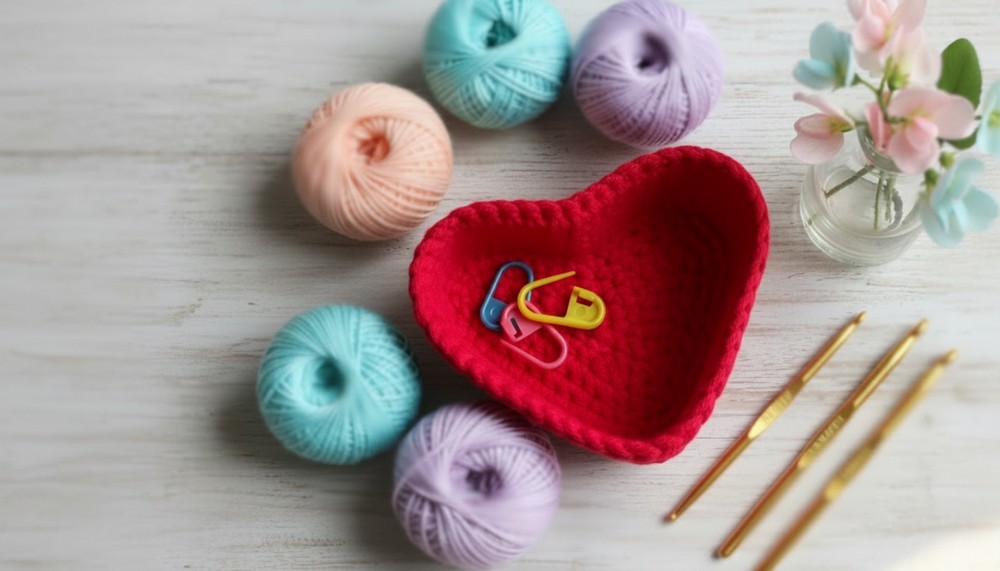
Conclusion and Important Remarks
You now have a charming heart shaped basket that is practical, customizable, and makes for a wonderful gift or decor item. The tight stitches provide durability, while the heart shape adds a playful and unique touch. If your hands feel tired from tight stitches, try taking breaks or using ergonomic crochet hooks for comfort.