
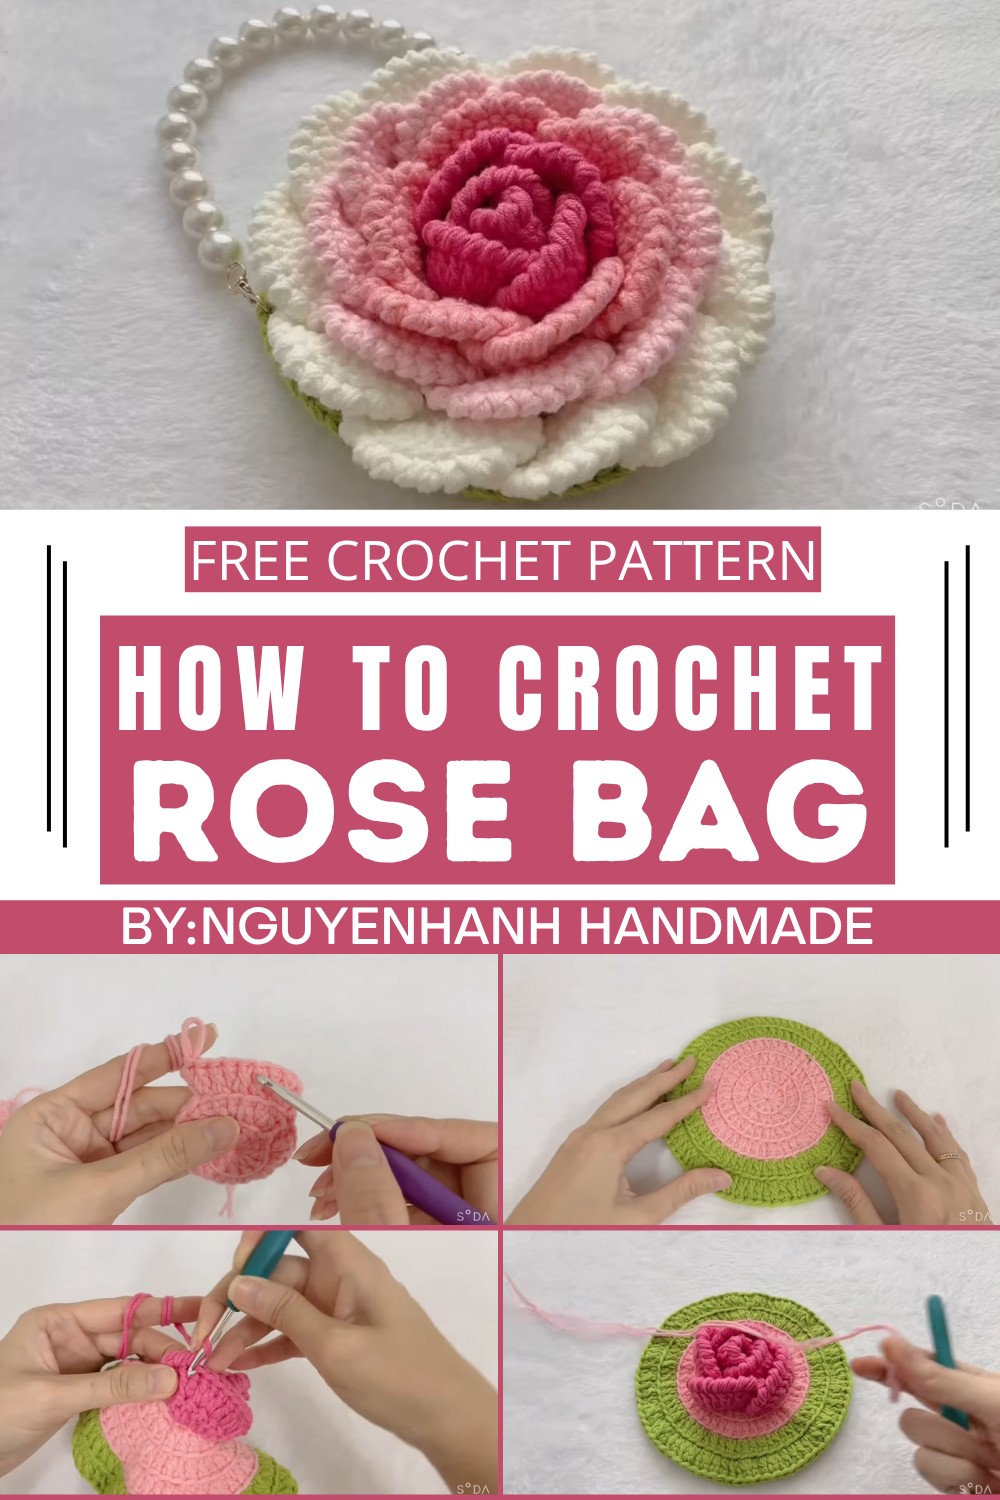
Unique Crochet Rose Bag Pattern For Fashionable Outfits
Unlock endless creativity with this Crochet Rose Bag Pattern that combines style and practicality for a handmade accessory perfect for any occasion.
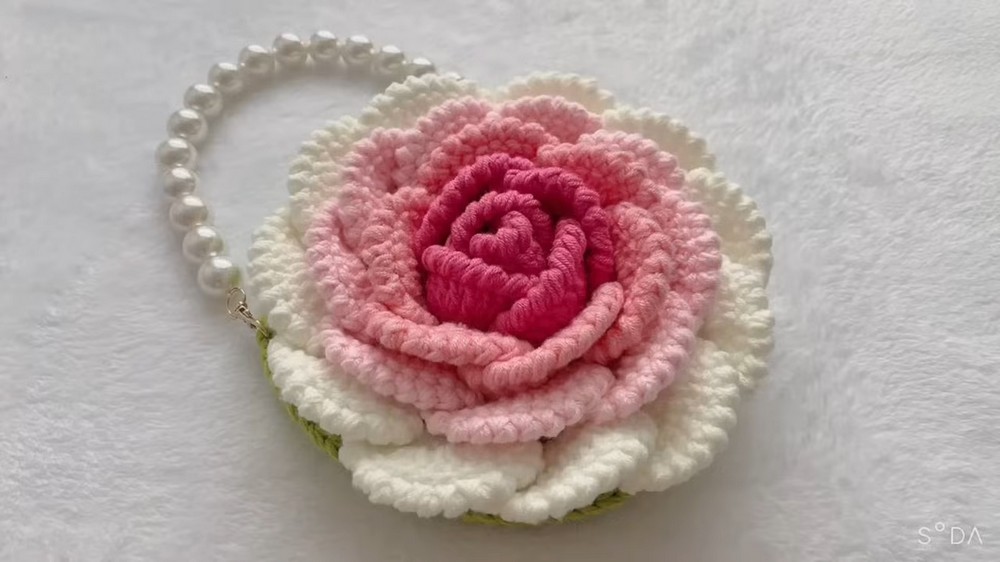
Vibrant Crochet Rose Bag Pattern to Match Any Wardrobe
Add a touch of artistry to your accessories with this elegant and practical project. The free crochet rose bag pattern combines a stunning 3D rose design with functionality, making it perfect for carrying everyday essentials like your phone, wallet, or keys. Ideal for a variety of occasions, it works beautifully as a casual day bag or a handmade gift for someone special.
With room for creative customization, you can experiment with colors and styles to make it uniquely yours. This pattern offers the perfect opportunity to create something that’s both eye-catching and incredibly useful.
Crochet Floral Bag Pattern with 3D Rose Design
Skill Level
Intermediate to Advanced
Finished Size
The finished bag has a diameter of approximately 19 cm (7.5 inches) and can hold a phone and a few small items.
Materials List
- Yarn:
- Pink shades (3 colors): Dark pink, medium pink, light pink
- Green shades (2 colors): Dark green, light green
- White yarn (optional for back joining and details)
You can use cotton DK-weight yarn for durability. Adjust yarn size if using another type.
- Hook Sizes:
- 4.0mm hook: For detailed petals and trim work
- 5.0mm hook: For base and bag body
- Other Materials:
- Magnetic button (for bag closure)
- Bag strap (optional, can be purchased or crocheted)
- Darning needle (for sewing and weaving in ends)
- Scissors
Key Abbreviations (Use US Terms)
- ch: Chain
- sc: Single Crochet
- hdc: Half Double Crochet
- dc: Double Crochet
- sl st: Slip Stitch
- inc: Increase: 2 stitches worked into the same stitch
- blo: Back Loop Only
Special Notes
- Follow the color changes as indicated in the steps for vibrant petals.
- Pay attention to stitch counts at the end of each row to maintain symmetry.
- Use a magic ring for the neatest circular base.
Step-by-Step Instructions
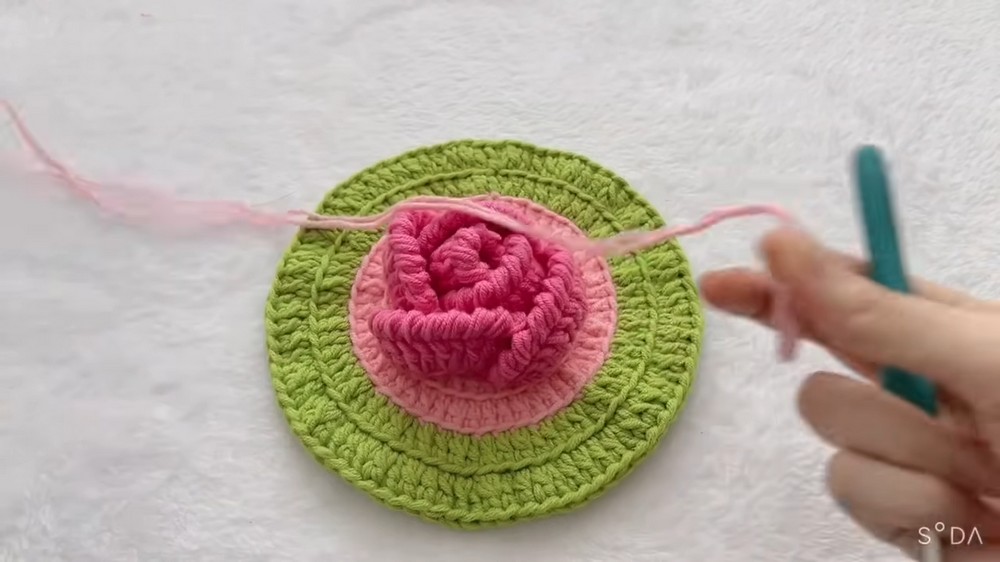
1. Crochet the Circular Bag Base
Foundation Round:
- Using the 5.0mm hook and light pink yarn, make a magic circle.
- Ch 2 (does not count as a stitch). Crochet 12 dc into the circle.
- Pull tight and close the circle with a sl st.
Round 1:
- Ch 2. Work 2 dc in each stitch around (inc in every stitch).
- You should have 24 dc at the end. Join with a sl st.
Round 2:
- Ch 2. (1 dc in the next stitch, inc in the following stitch). Repeat from * to the end.
- You should have 36 dc. Join with a sl st.
Round 3:
- Ch 2. (1 dc in each of the next 2 stitches, inc in the following stitch). Repeat from * to the end.
- You should now have 48 dc. Join with a sl st.
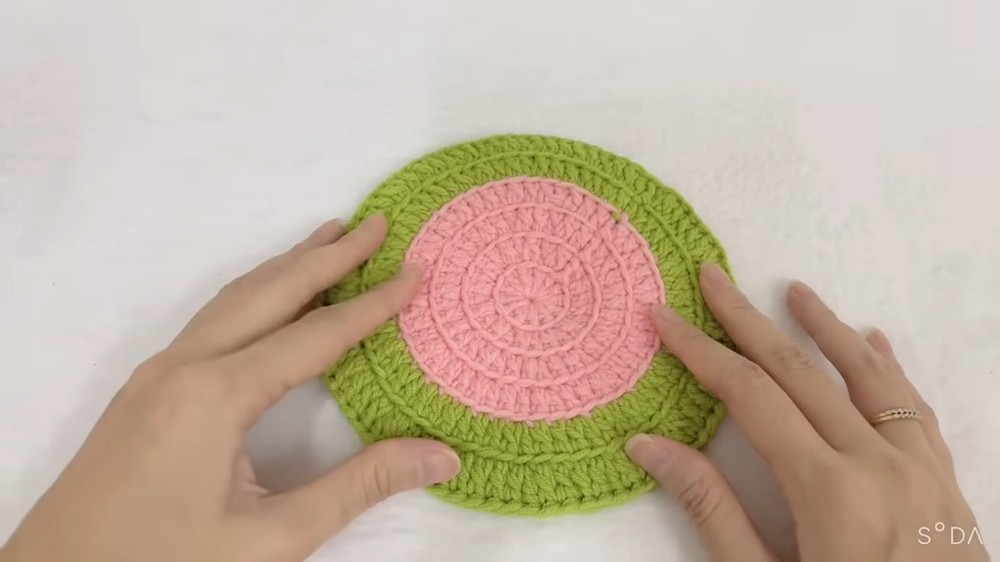
Round 4 and Beyond:
- Continue increasing following the same pattern: add one more single dc between increases each round. For example:
- Round 4: (3 dc, inc) → 60 dc
- Round 5: (4 dc, inc) → 72 dc
- Round 6: (5 dc, inc) → 84 dc
- Stop once the circle reaches a diameter of approximately 19 cm.
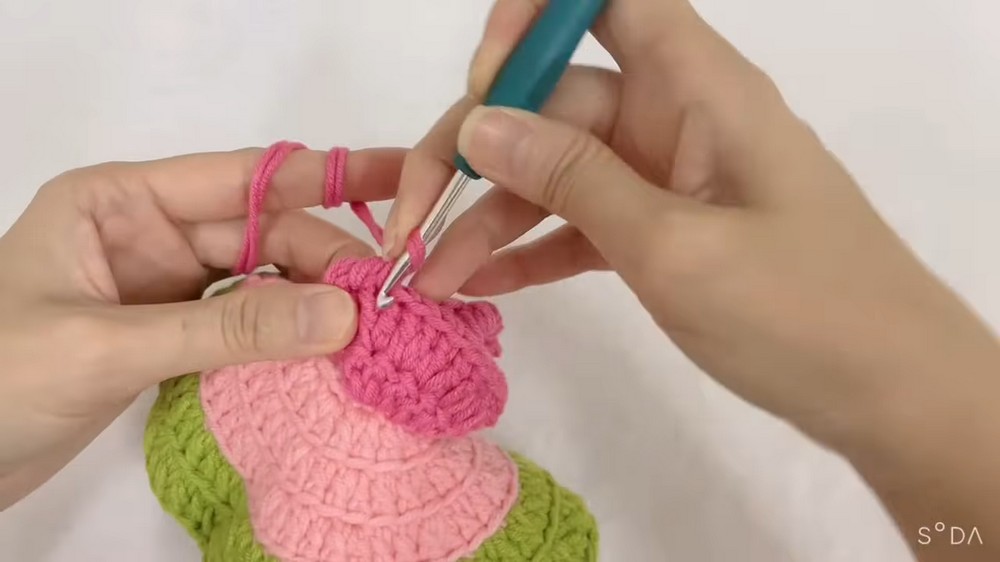
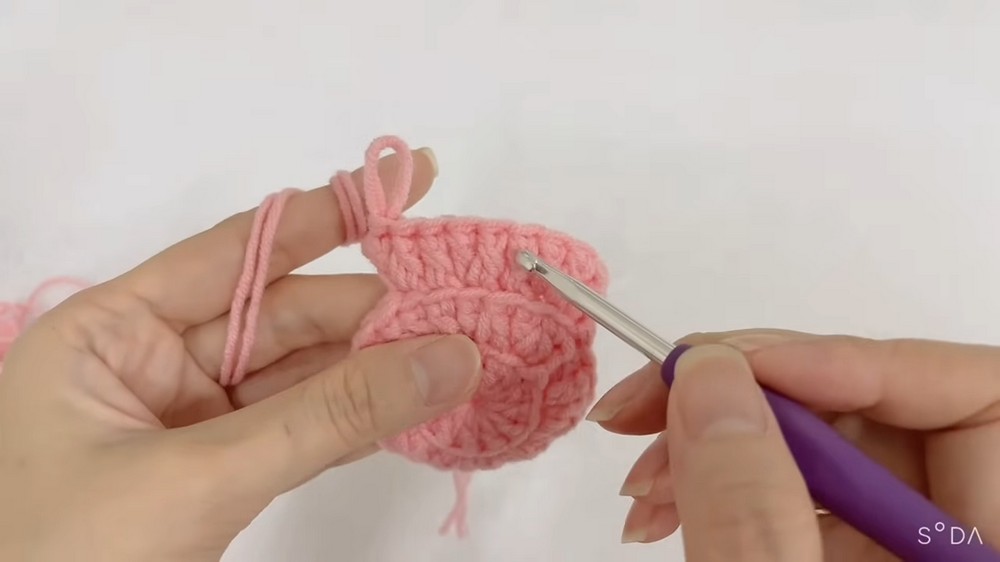
2. Add the 3D Rose Petals
Switch to your 4.0mm hook and dark pink yarn. Each petal is crocheted individually around the circular base. Follow these steps for every petal:
Petal Foundation:
- Attach yarn to any stitch. Ch 2.
- In the same stitch, work 3 dc.
Row 1 of Petal:
- Ch 2, turn. Work 6 dc across the previous 3 stitches.
Row 2 of Petal:
- Ch 1, turn. Work 1 sc in each stitch to reverse and form the petal edge detail.
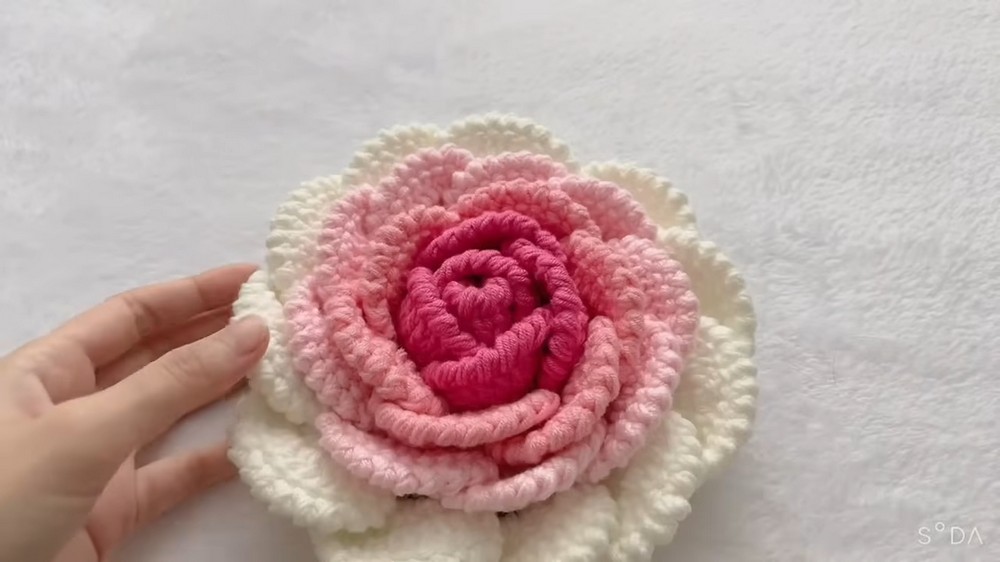
Creating Additional Petals:
- Skip 4 stitches of the base circle, attach yarn to the 5th stitch, and repeat Petal foundation and rows until all petals are done.
- Alternate colors (dark pink to light pink) for a layered floral effect.
3. Crochet the Bag Back
- Repeat Steps 1 to Round 6 of the circular base.
- You now have a plain back circle to pair with the floral front.
4. Join Front and Back Pieces
- Hold the front and back pieces together (right sides facing out). Use white yarn and a 4.0mm hook.
- Insert your hook through the back loops of both pieces.
- Work sc around the edges to join them, leaving a 25-stitch opening at the top for the bag opening.
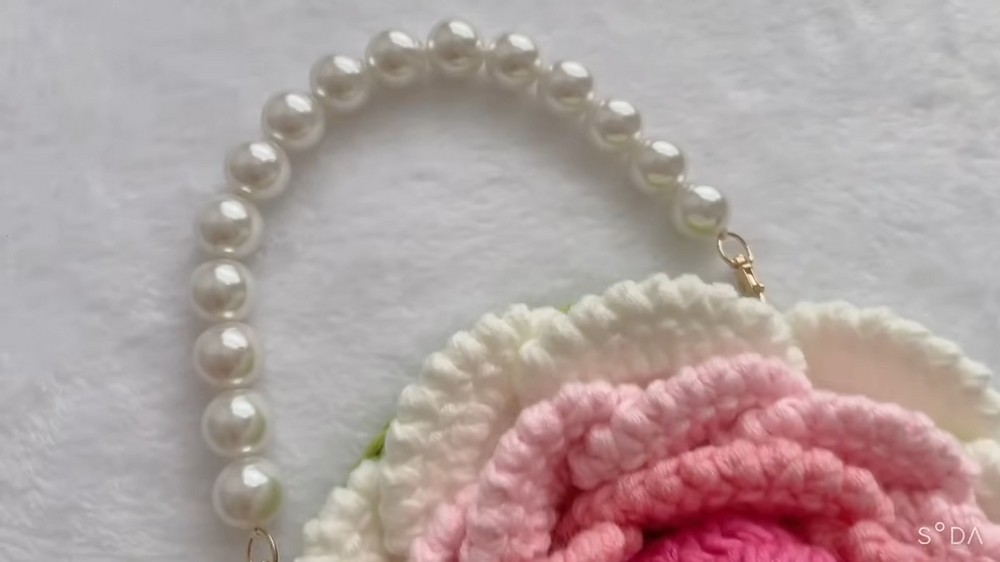
5. Create the Bag Strap (Optional)
- Use the same yarn or a matching color.
- Ch the desired length of the strap.
- Work 1 sc into each chain across the row for a sturdy strap.
- Sew the strap securely onto the top edges of the bag.
6. Add Closing Fastener
- Sew a magnetic button to the inside edges of the bag opening for a clean and functional closure.
Conclusion
Congratulations! You’ve completed your Crochet Floral Bag with a 3D Rose Design. This versatile design is perfect for gifting, as a unique accessory, or to show off your crochet skills.
Pattern Correction
- Ensure consistent tension when transitioning between colors for smooth petal gradients.
- If your petals appear oval instead of round, check your dc and inc placement within each petal.
Tips for Success
- Block the finished bag if needed to help define the round shape.
- Experiment with different yarn shades for a custom look.
- Use a tighter tension for the petal edges to give them a more delicate, crisp finish.