Pretty Free Crochet Jar Cover Pattern To Beautify Jars
Use this free crochet jar cover pattern to make beautiful and unique jar decorations that are easy to create and perfect for adding charm to your space.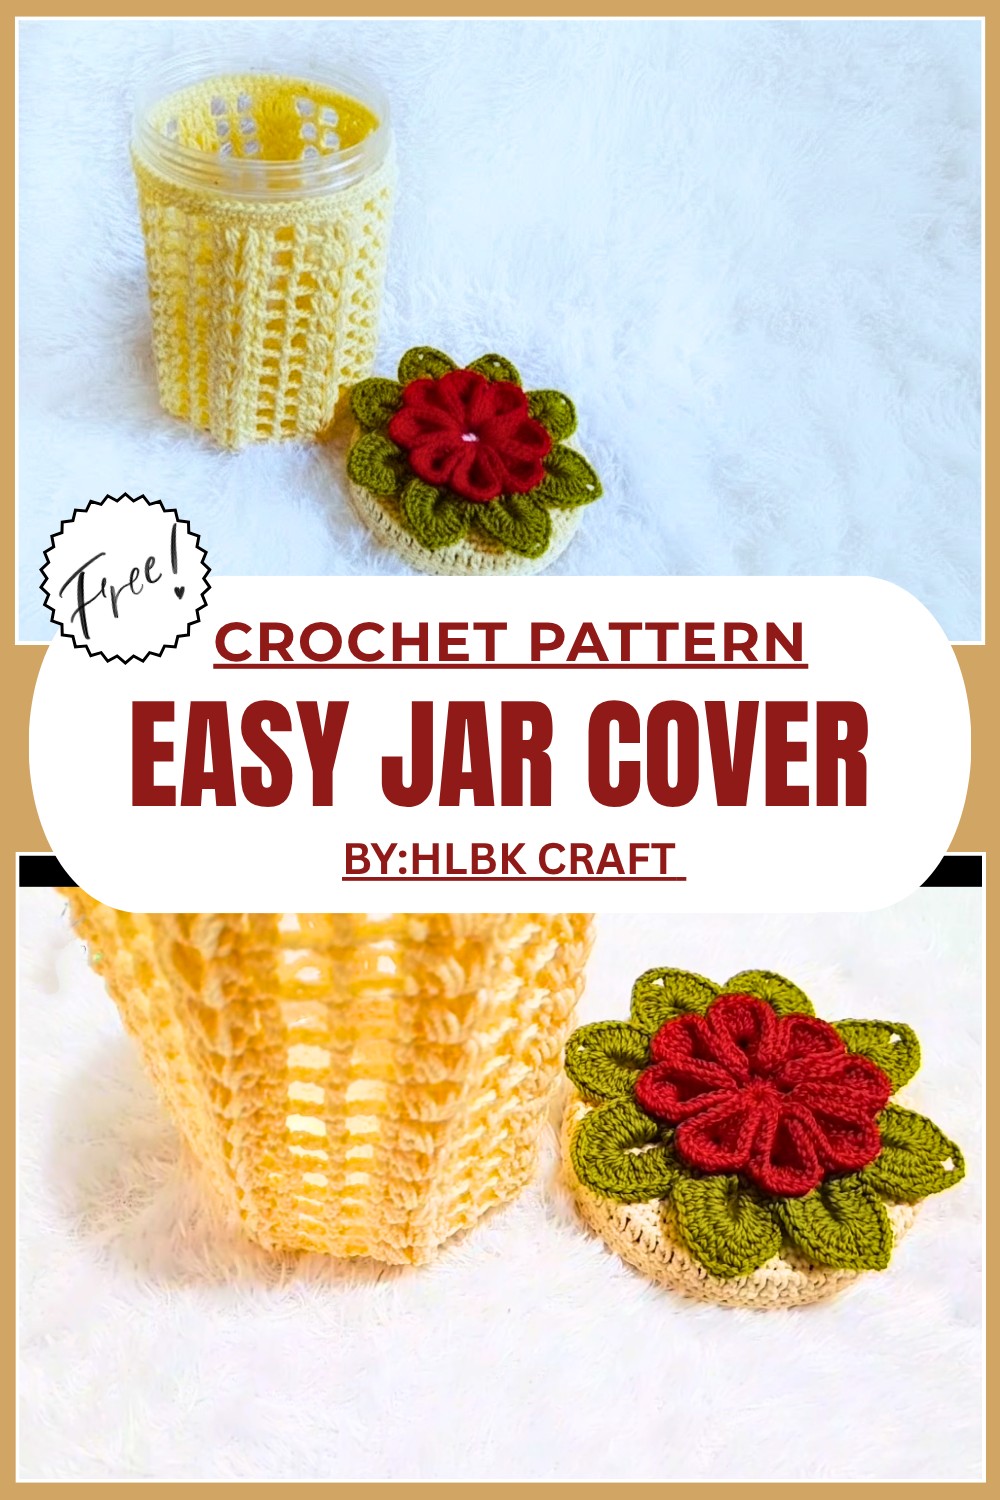
Easy Free Crochet Jar Cover Pattern Everyone Uses
Have you ever wanted to turn a boring old jar into something magical and pretty? With a Free Crochet Jar Cover Pattern, you can do just that. This adorable cover is like a cute outfit for your jar, making it look colorful, cozy, and super unique. You can use it to brighten up your kitchen, store small items, or even give it as a handmade gift.
The floral and puff stitch designs are so charming, they’ll make your jar look like a piece of art. Plus, it’s super easy and fun to create, even if you’re new to crocheting. 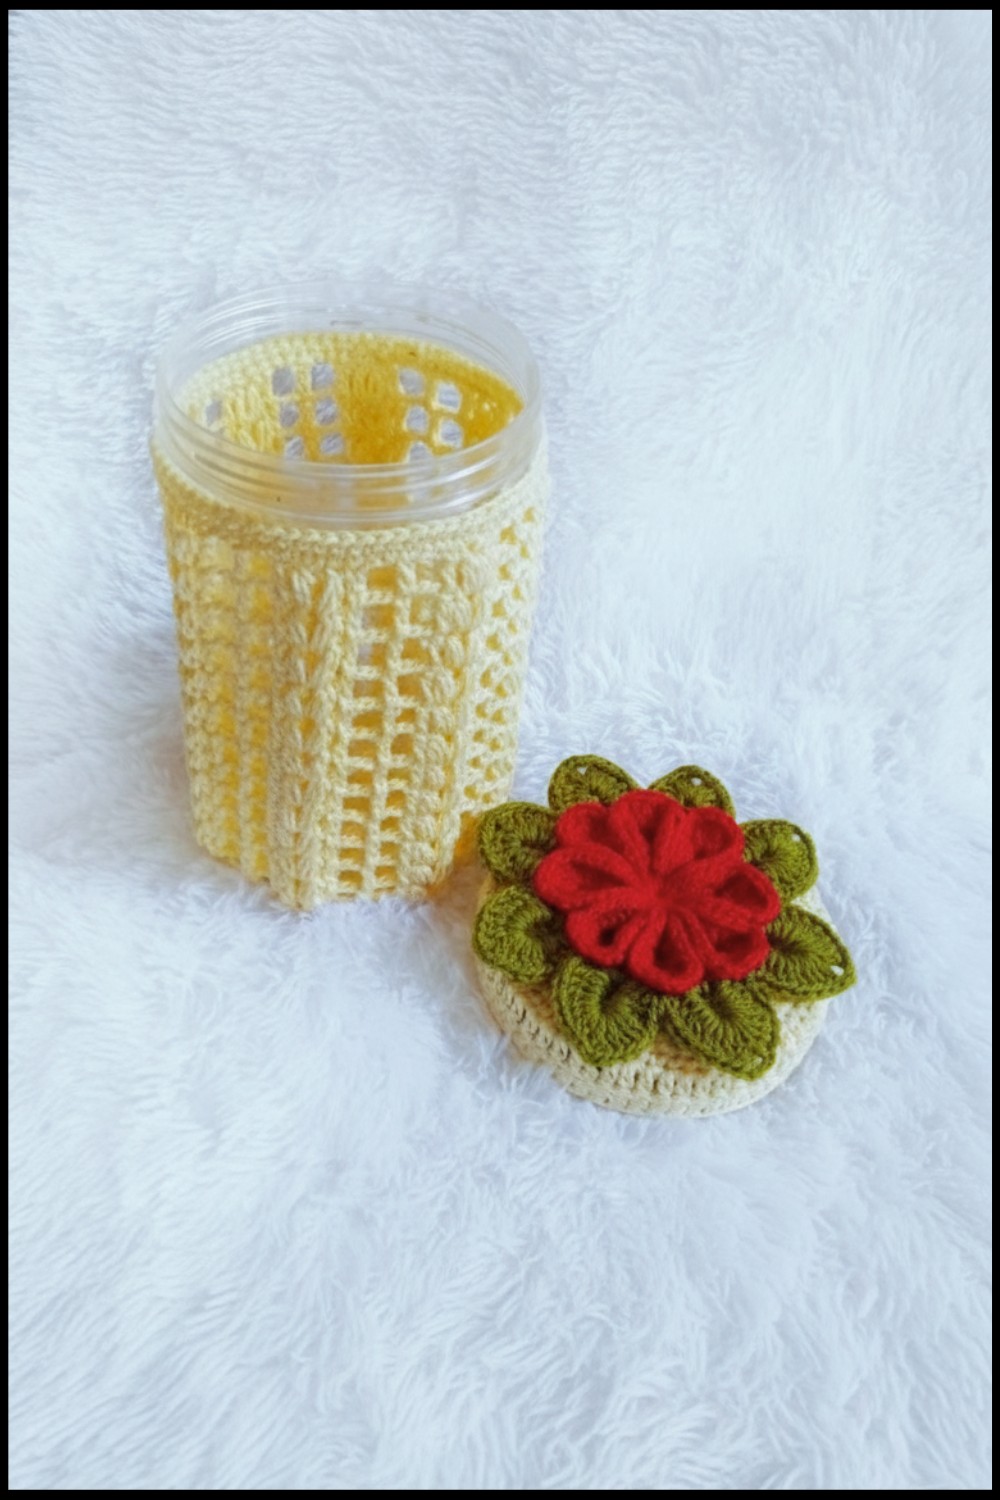
Grab some yarn, follow the simple steps, and watch your jar transform into something special. This is a creative, budget friendly way to recycle jars and make something truly beautiful. Give it a try, and your jar will never look boring again.
Stunning Crochet Jar Cover Pattern
Finished Size:
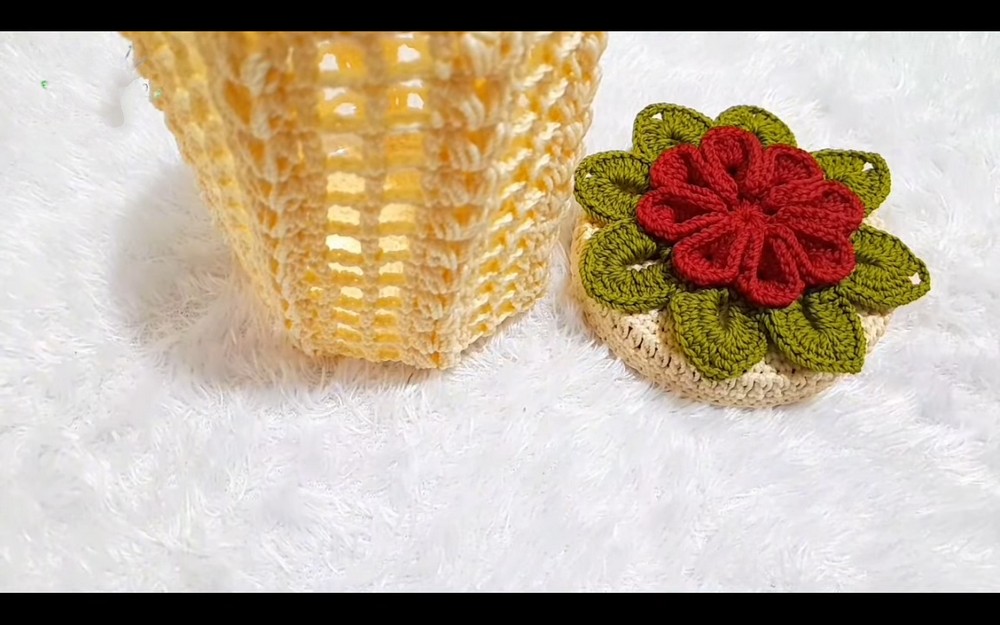
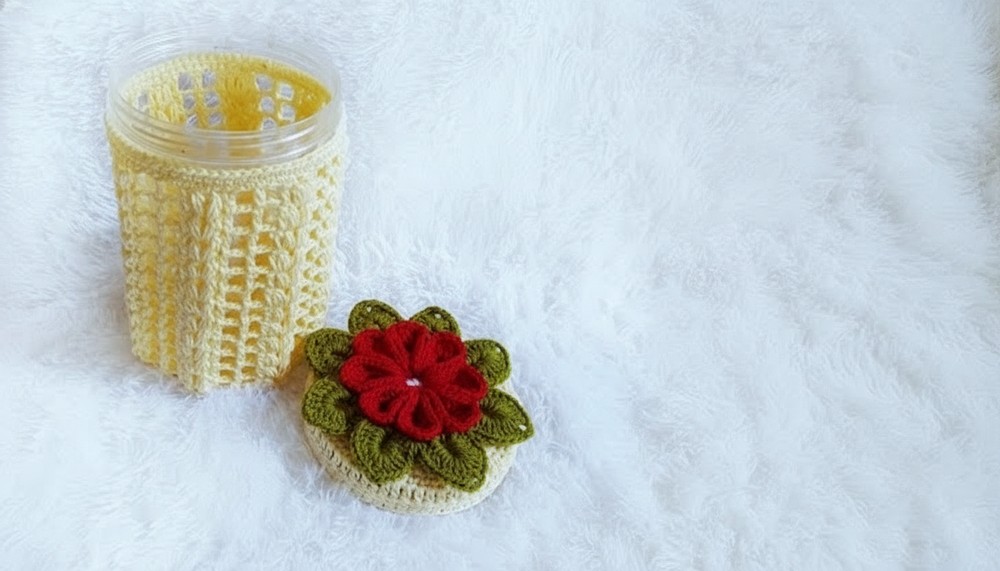
The finished cover is designed to fit standard size containers, such as a reused Kimbo sausage jar or a medium sized cookie jar. Adjust the height of the body as needed to fit your container. The floral lid is snug but can be secured with a touch of glue along the edges to keep it in place.
Materials Needed:
- Yarn:
- Acrylic yarn in three colors:
- Color A (Flower petals and lid foundation): Bright or pastel color.
- Color B (Leaves): Green.
- Color C (Body and base details): A neutral or complementary color.
- Acrylic yarn in three colors:
- Crochet Hook:
- Size 4mm (main pattern) and 3mm (for tighter edge work).
- Other Tools:
- Scissors.
- Tapestry needle for weaving in ends.
- Hot glue gun (optional, for securing lid edges).
Gauge:
- Gauge may vary based on the yarn and hook size you choose. For reference:
- 16 double crochet stitches and 8 rows equal 4 inches [10 cm] using a 4 mm hook and worsted weight yarn.
Stitches & Abbreviations Used:
- CH: Chain.
- SC: Single Crochet.
- DC: Double Crochet.
- SL ST: Slip Stitch.
- Magic Ring: Adjustable Loop used to start rounds.
- DC Inc (Double Crochet Increase): Two DC stitches worked in the same space.
- Puff Stitch (3 DC Together): Yarn over, draw up a loop 3 times in the same space, then pull through all loops. Make a CH to secure the puff.
Pattern Instructions:
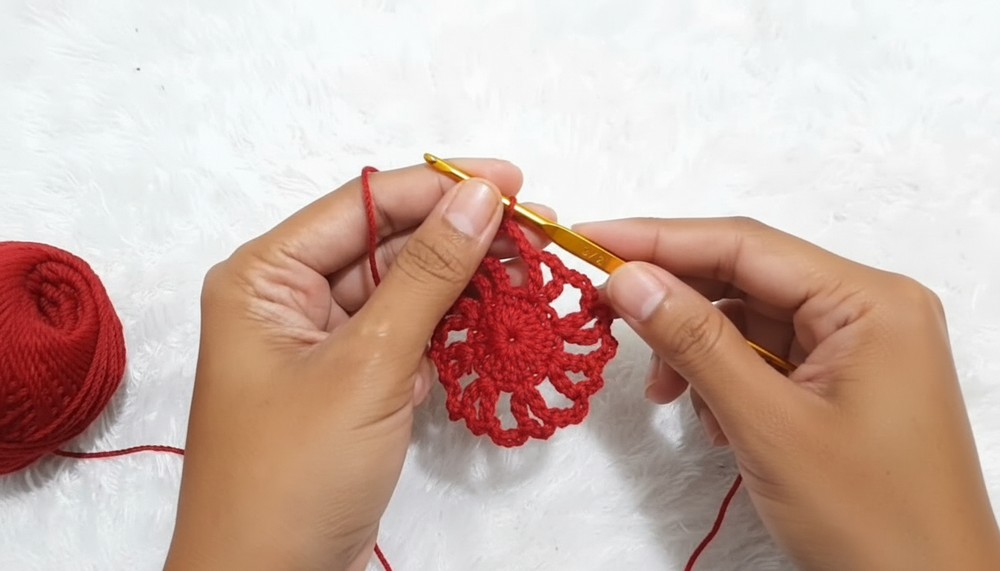
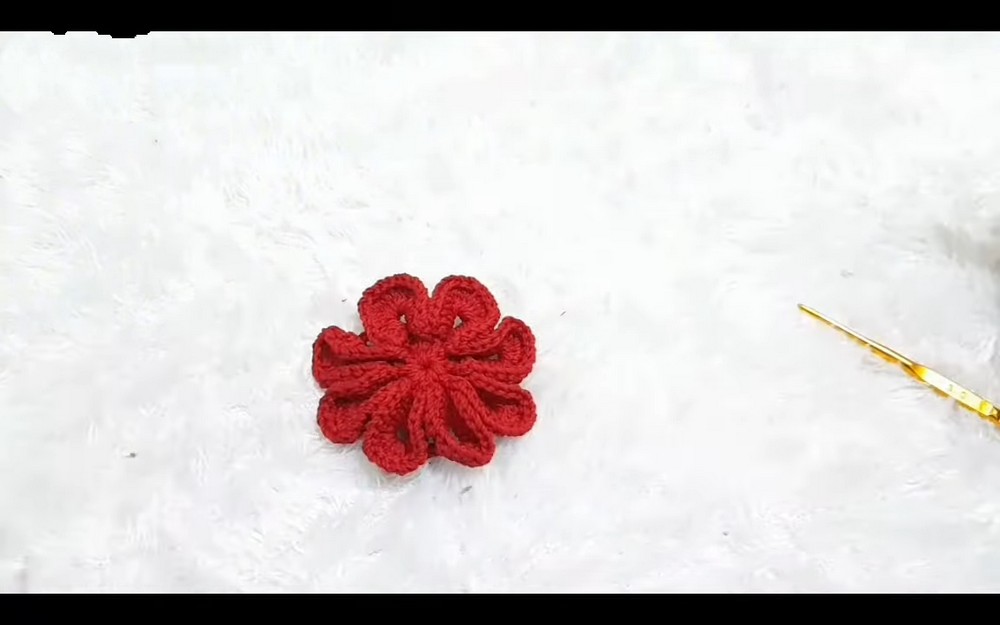
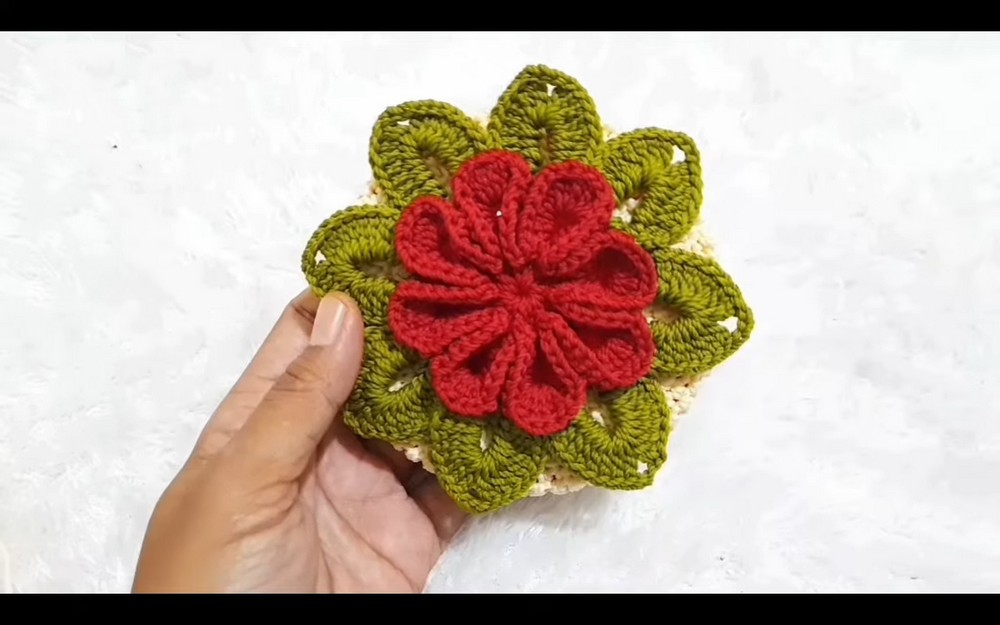
I. Lid – Foundation Flower Motif:
- Begin with Color A for the flower petals:
- Create a Magic Ring and CH 3 (counts as 1st DC).
- Work 15 DC into the Magic Ring for a total of 16 DC stitches.
- SL ST to the 3rd CH from the start. Pull the Magic Ring tight.
- Work V stitch round:
- CH 3 (counts as 1st DC), [DC, CH 2, DC] in the same space to form the first V.
- Skip one stitch, and repeat [DC, CH 2, DC] in the next stitch around.
- You will form 8 V shaped clusters. SL ST at the end.
- Petals:
- In each V space: Work 6 DC for one petal.
- Slip to the center between each V to create separation between petals.
- Continue using 6 DC for all other petals. By the end, you’ll create 8 full petals that are soft and elegant.
- Secure and weave in ends before proceeding to leaves.
II. Leaves (Color B):
- Attach Color B at the base of any petal and CH 8.
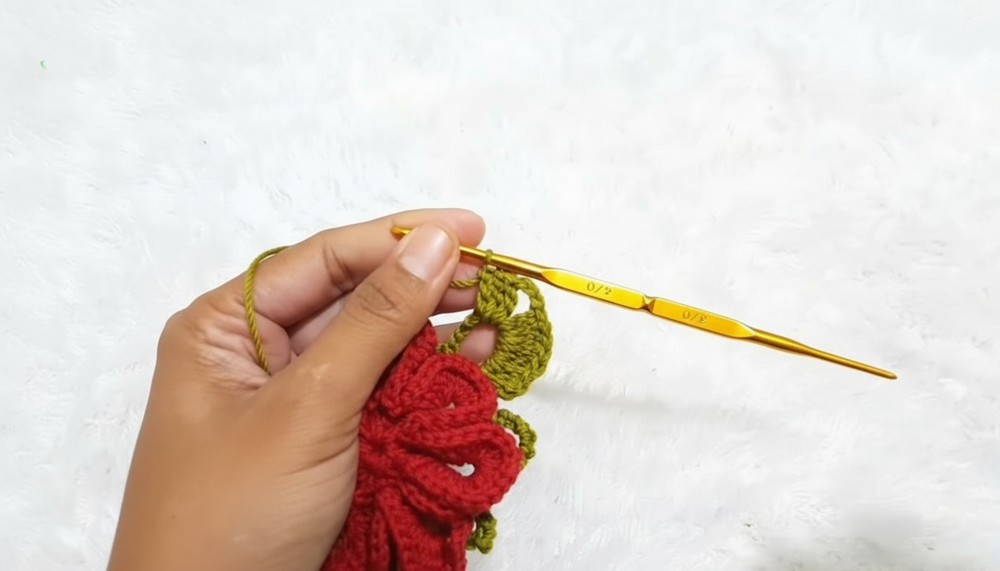
- SC into the same space to secure the chain and repeat around the flower, forming 8 evenly spaced loops.
- In each 8 CH loop:
- Work 8 DC stitches to form a leaf outline.
- CH 3, then another 8 DC in the same loop.
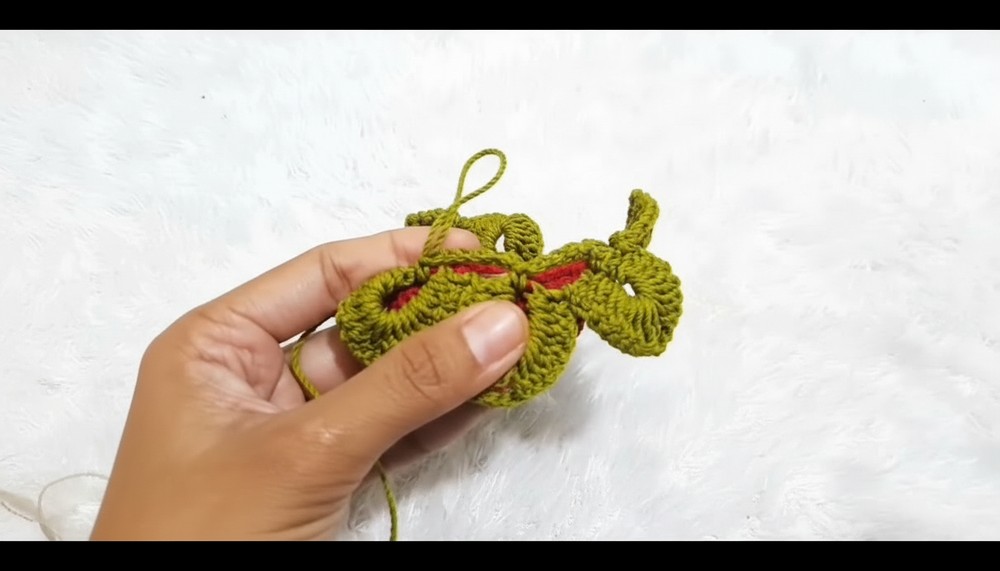
- Slip to the base of the next petal and repeat for the remaining loops to create 8 leaves.
- Secure, fasten off, and weave in ends.
III. Lid Base Details (Color C):
- Begin with a slip knot and attach to the space under the leaves. Work 1 SC between the leaves to anchor.
- Work 8 SC stitches around each space, forming a circular band.
- Ensure the lid fits snugly before finishing. Adjust the SC count slightly for tighter or looser fits.
- Secure the finished lid with hot glue along the inside edges (optional).
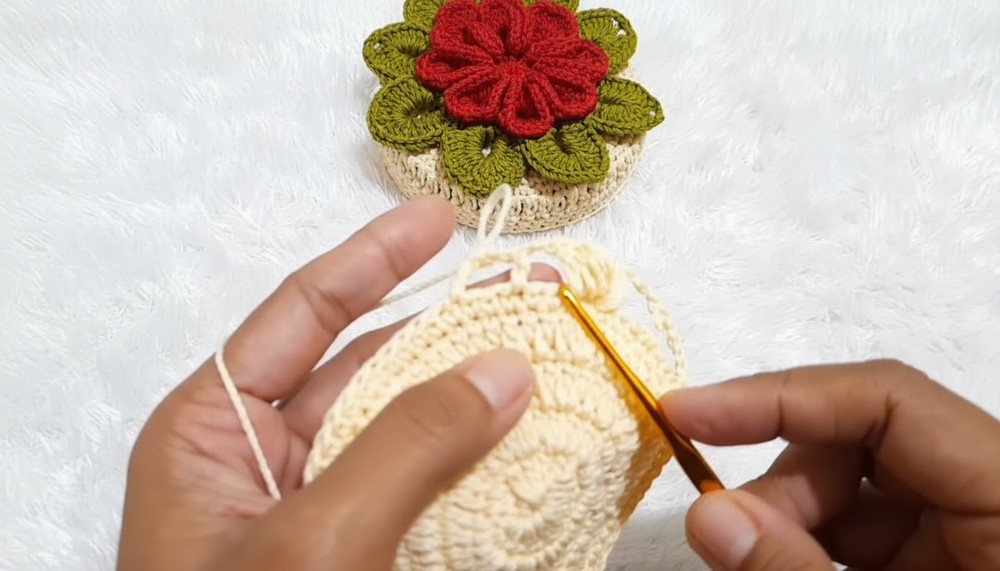
IV. Jar Body with Puff Stitch Motif (Color C):
- Row 1 (Base Round):
- Start with a Magic Ring. Work 16 DC into the ring, then pull tight and SL ST to join.
- Row 2 (Increase):
- CH 3 (counts as 1st DC), DC Inc in every stitch around (2 DC per stitch).
- Total: 32 DC.
- Row 3:
- [1 DC, DC Inc in the next] around. Total: 48 DC.
- Row 4:
- [2 DC, DC Inc] around. Total: 64 DC.
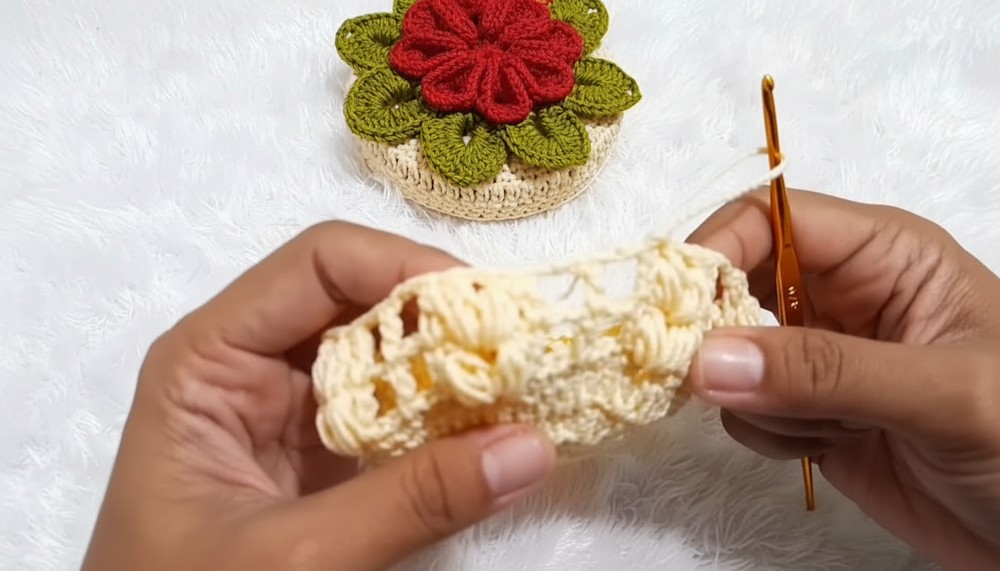
- Begin Puff Stitch Motif:
- CH 3 (counts as DC), CH 2, SK 2, DC in next stitch.
- Repeat DC, CH 2 across, occasionally incorporating puff stitches as described below.
- To create a puff st: Yarn over, draw up a loop 3 times in one stitch. Make CH to secure. Continue DC/CH round as needed.
- Alternate between rows of puff stitches and plain DC rows to the desired height. Use the 3mm hook for tighter top SC bands.
Tips & Customizations:
- Adjust Size: Increase or decrease the number of DC in the Magic Ring for smaller or larger jars.
- Add or reduce rows for height to match your container dimensions.
- Add Embellishments: Add beads to the puff stitch for a decorative look or embroider tiny flowers.
- Using Glitter Yarn: Give the flowers or puff stitches a shimmering effect with glitter yarn for festive occasions.
Special Techniques:
- Magic Ring: Create a fully adjustable center with the Magic Ring to avoid gaps in the middle of your motif.
- Even Puff Distribution: Space puff stitches evenly for a uniform and modern design.
- Switching Hook Sizes: Utilize a smaller hook for tighter stitches in edgework or decorative detailing.
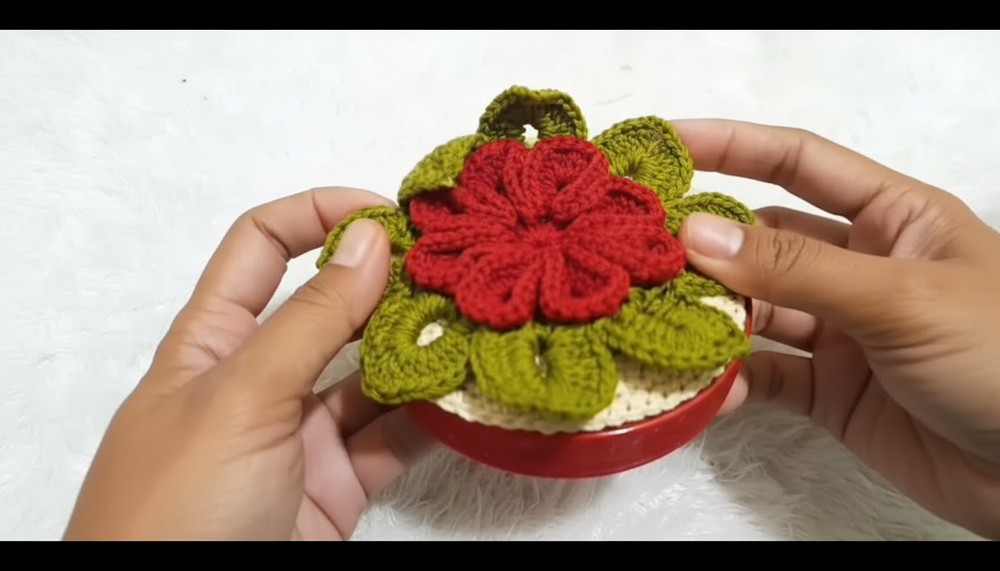
Conclusion:
This crochet jar cover offers utility and beauty—a perfect blend of functionality and art. The flower lid is delicately detailed, while puff stitches bring elegance to the jar body. Whether given as a handmade gift or used to enhance your home, it’s a personal statement of creativity.
Important Considerations:
- Test the gauge and modify for different yarn weights or hook sizes.
- Use neutral glue sparingly for lid stability, yet keep the body cover removable for washing purposes.