
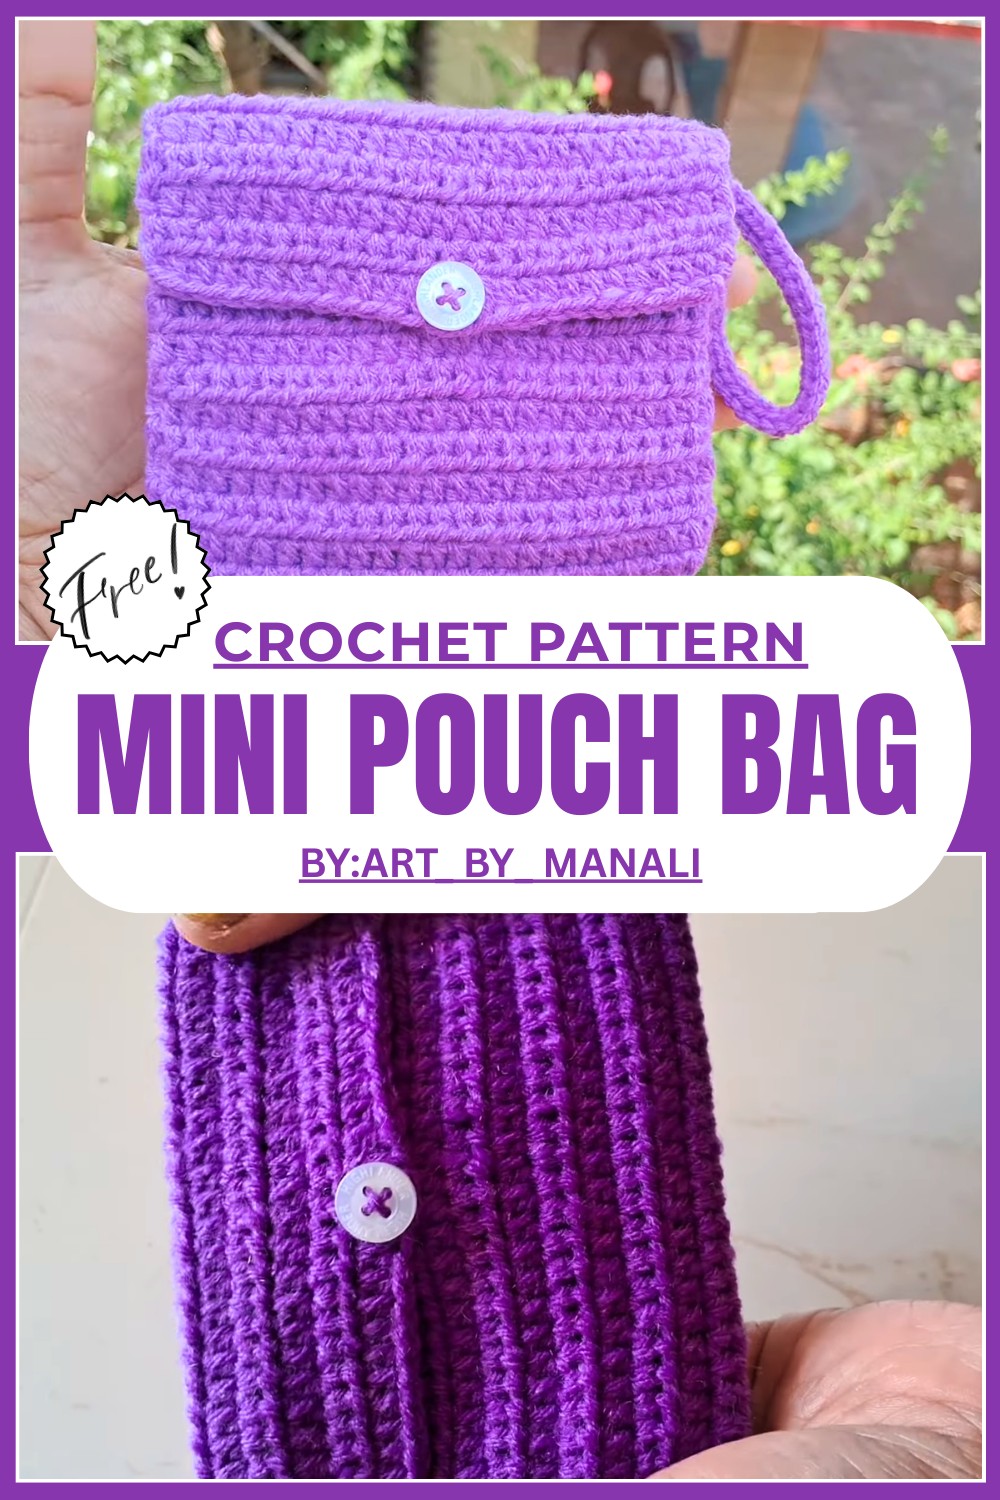
Beautiful Free Mini Crochet Bag Pattern That’s For Small Accessories
Grab this adorable free crochet mini pouch bag pattern and make your own cute and functional accessory to carry coins, keys, or tiny treasures with ease.
Free Crochet Mini Bag Pattern That’s Great for Keys
A small yet stylish bag can make a big difference in carrying essentials with ease. This crochet mini pouch bag pattern is both practical and charming, featuring a compact design that’s perfect for keys, coins, cards, or small accessories. Its handmade texture adds a unique and beautiful touch, making it a standout piece for everyday use or even a thoughtful gift.
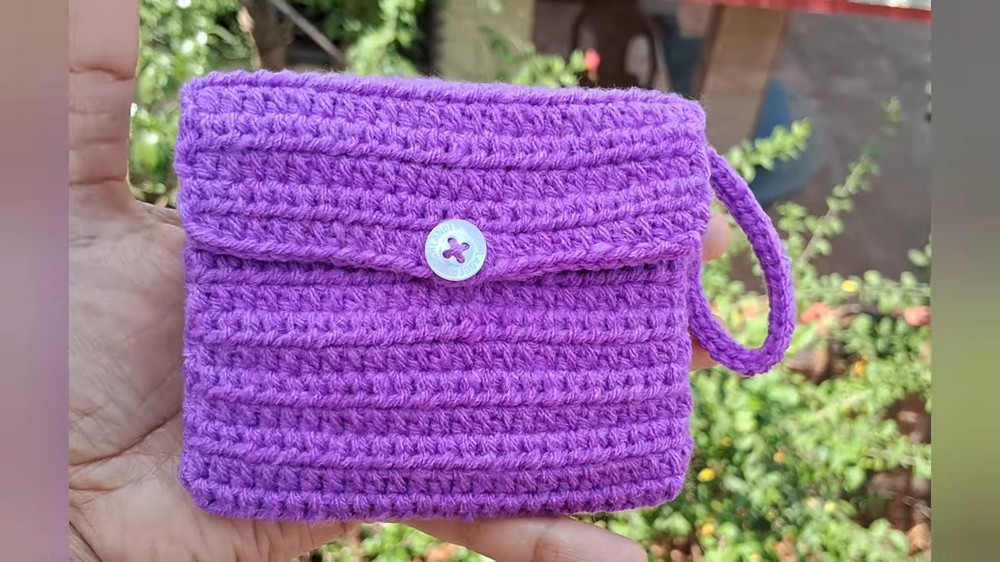
The pouch is lightweight, easy to carry, and fits comfortably in larger bags or pockets, ensuring convenience on the go. Its simple yet eye-catching appearance can complement any outfit, adding a bit of personal flair to your style. Whether you’re heading out for errands or just need a little organization in your life, this pouch serves the purpose perfectly. With this free pattern, making an elegant mini bag is simpler and more enjoyable than ever before. It’s a perfect accessory for practicality and elegance combined.
Materials
- Yarn:
- Medium-weight 4-ply yarn (used color: Lavender). Adjust the weight of the yarn as needed for size variations.
- Crochet Hook: 2.7mm hook.
- Button: For closure (choose between a metal button, zipper, or snap button for variation).
- Tapestry Needle: For sewing the sides and attaching the button.
- Scissors: For cutting yarn ends.
- Optional:
- Stitch Markers: To assist in marking rows for folding and stitching.
Skill Level
- Intermediate
Key Abbreviations (US Terminology)
- Ch = Chain
- HDC = Half Double Crochet
- Sl St = Slip Stitch
- St/Sts = Stitch/Stitches
- YO = Yarn Over
- SC = Single Crochet
- Sk = Skip
Special Notes
- Always maintain even tension throughout the project.
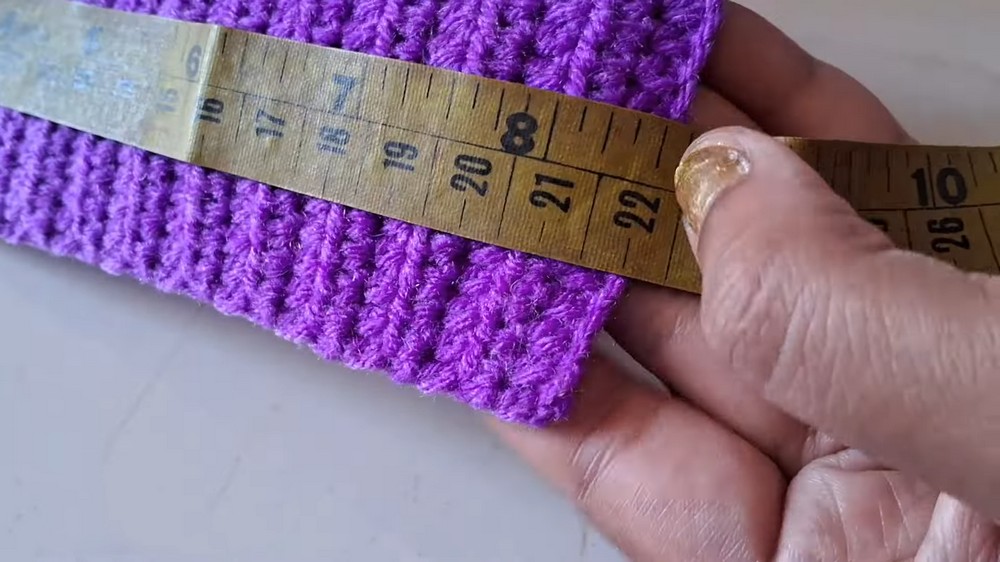
- The finished pouch dimensions in this pattern are approximately 8.5 inches in length and 4 inches in width, but adjustments can be made by increasing or decreasing the number of rows and stitches.
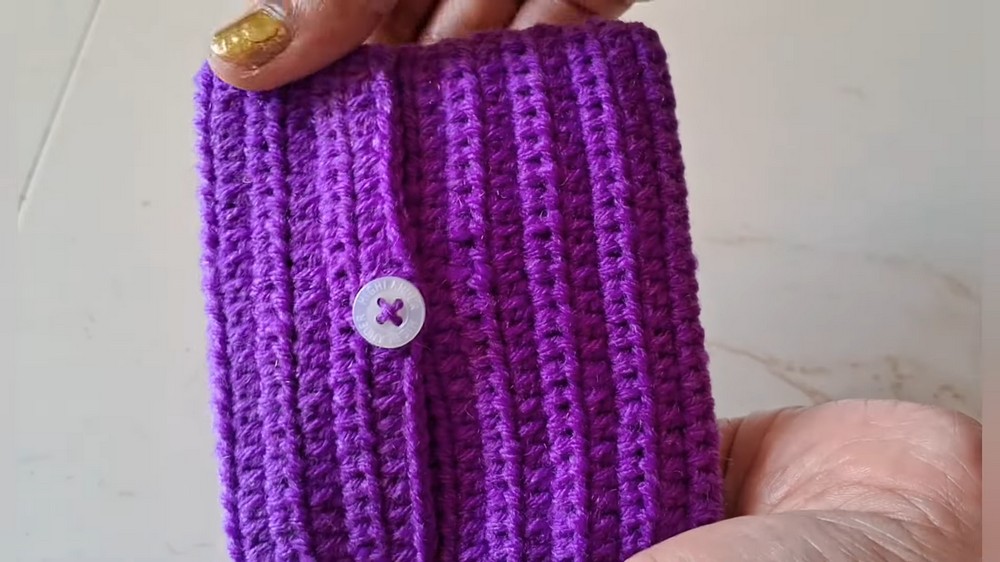
- Use the smooth side as the front of the pouch and ensure the rough side is used when stitching.
Pattern Instructions
Base Panel
Step 1: Slip Knot and Chains
- Begin with a Slip Knot: This is the foundation for your chain. (If unsure, refer to tutorial videos on slip knots).
- Chain 25:
- These chains form the width of your pouch. Adjust the number of chains if you wish to make the pouch wider or narrower.
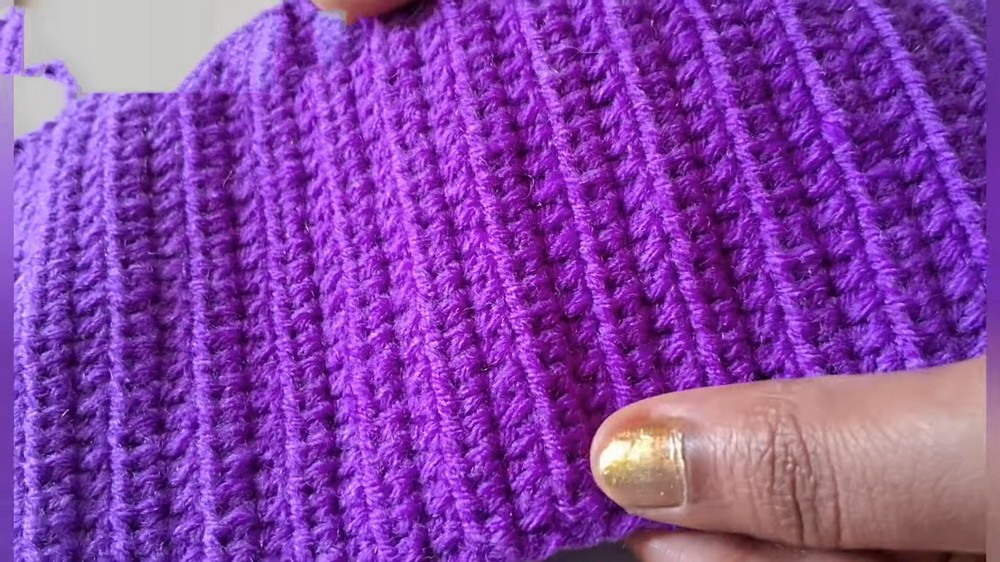
Step 2: Row 1 (HDC Row)
- Sk the first Ch from the hook and work into the second Ch.
- HDC:
- YO, insert hook into the Ch, pull up a loop (3 loops on the hook), YO and pull through all 3 loops.
- Continue working 1 HDC into each Ch across the foundation chain.
- Total: 24 HDC in the first row.
- Total: 24 HDC in the first row.
- Complete the row and turn your work.
Step 3: Rows 2-34 (HDC Repeats)
- Ch 1, then work 1 HDC in the first St and in every St across.
- Total: 24 HDC in each row.
- Repeat this row until you have 34 rows in total (or adjust depending on the desired pouch height).
- At the end of the 34th row, do not fasten off yet.
Step 4: Final Row (Row 35)
- Ch 1, turn, and work 1 HDC into the first 12 stitches only.
- Ch 2 to create a buttonhole.
- Sk 2 Sts and work 1 HDC into the 13th St.
- Continue working 1 HDC into the remaining stitches (12 HDC).
- This row creates a buttonhole in the middle of the row for closure.
- Fasten off and weave in ends.
Folding and Marking for Stitching
Step 1: Divide the Rows
- Place the smooth side of the crochet panel facing up (this will be the outer side of the pouch).
- Mark points:
- Count 14 rows from the bottom and place a stitch marker. This will mark the bottom fold.
- Count another 14 rows above the mark and place another stitch marker. The remaining 7 rows at the top will form the flap of the pouch.

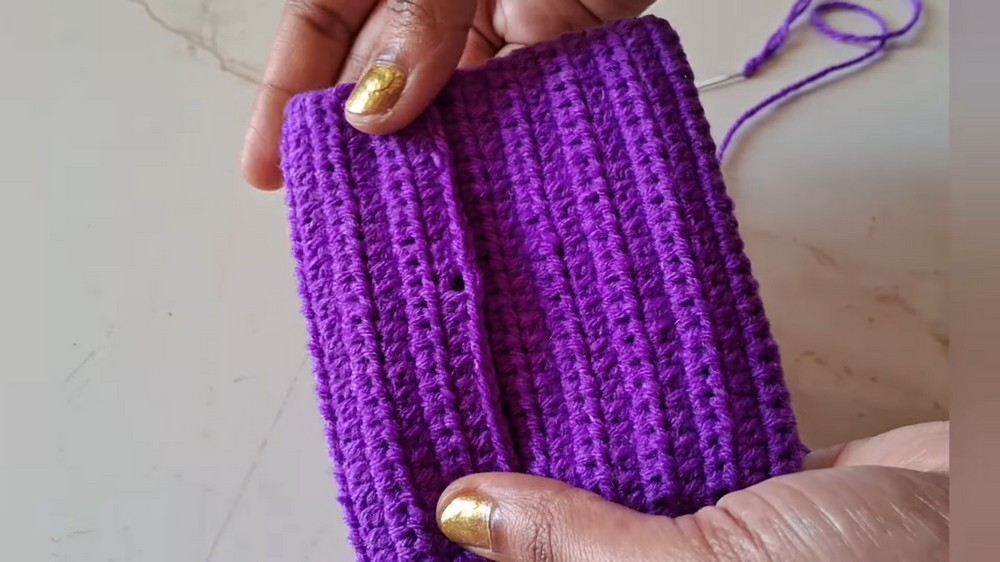
Step 2: Fold and Align
- Fold the panel at the first stitch marker so that the bottom 14 rows overlap with the middle 14 rows, forming the front and back of the pouch.
- The remaining 7 rows will naturally form the closing flap.
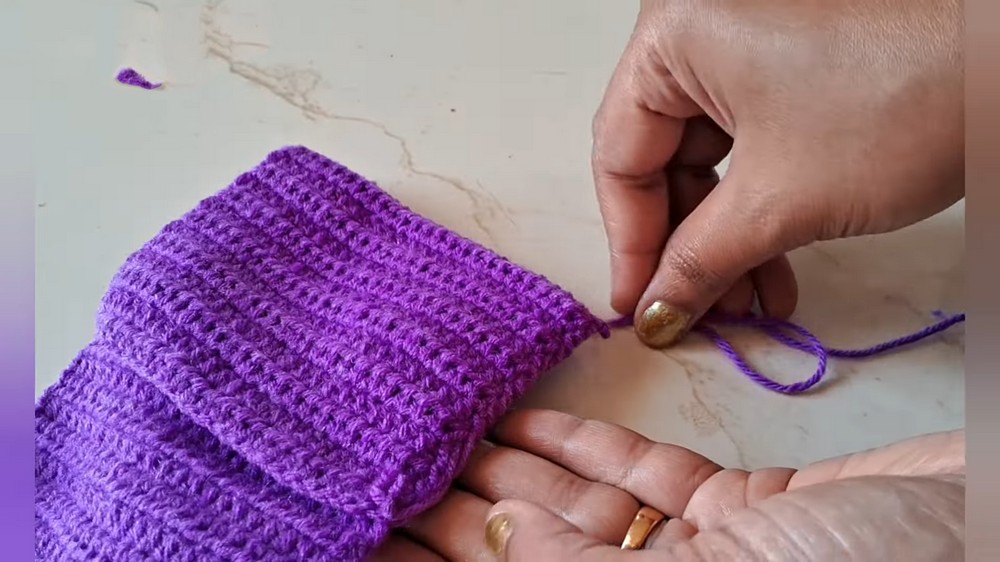
Stitching the Sides
Step 1: Prepare for Stitching
- Using a tapestry needle and the same yarn, stitch the sides securely from the top of the flap fold to the bottom row.
- Ensure you’re stitching along the rough side to maintain a neat finish on the smooth side.
- Finish stitching one side and fasten off securely.
Step 2: Stitch the Other Side
- Repeat the same process on the other side of the pouch.
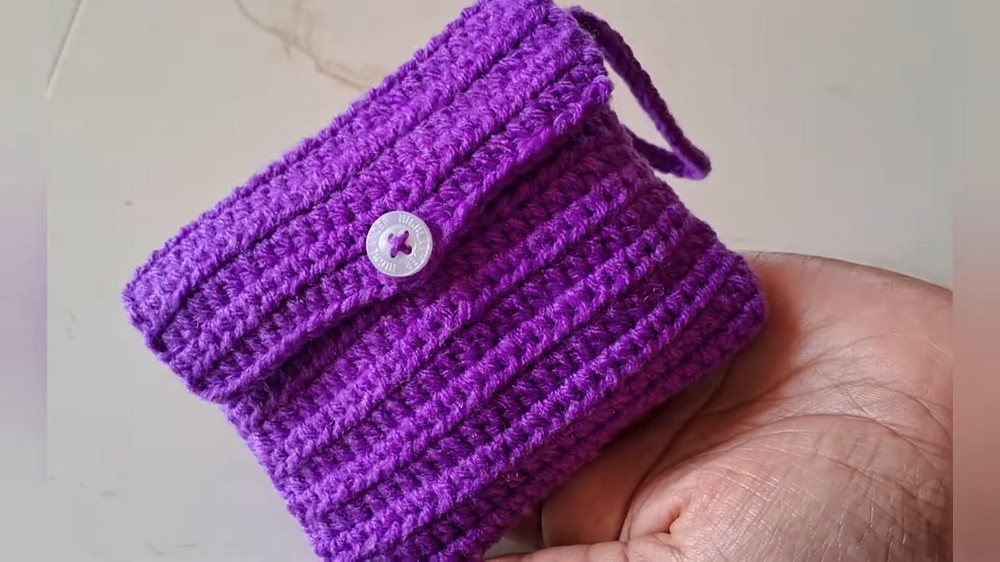
Adding the Button
Step 1: Button Placement
- With the flap folded down, locate the buttonhole from Row 35.
- Count 10 HDC stitches from either side of the bottom row to center the button in the middle.
Step 2: Sew the Button
- Using a tapestry needle, securely stitch the button underneath the buttonhole.
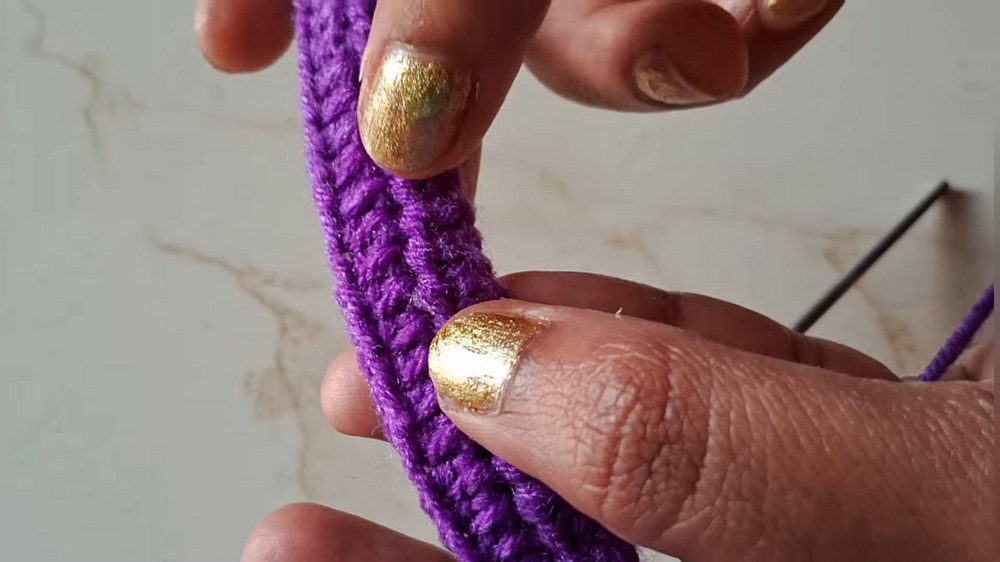
Adding the Handle (Optional)
Step 1: Create the Handle
- Begin with a Slip Knot and Ch 35 (adjust for desired handle length).
- Sl St into the second Ch from the hook and into each remaining Ch.
Step 2: Attach the Handle
- Secure the ends of the handle onto the top corners (8th
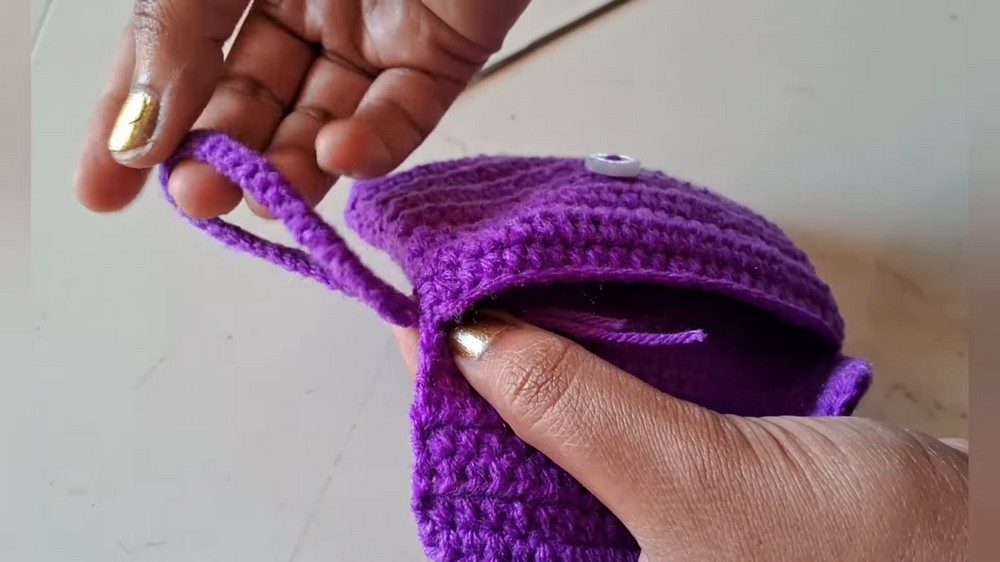 row on either side).
 - Use a tapestry needle and secure with tight stitching.
Customization Options
- Color Variations: Use multiple colors or stripes for unique designs.
- Size: Alter the size by increasing/decreasing foundation chains or the number of rows.
- Closure: Replace the buttonhole and button with a zipper or a magnetic clasp for variation.
Conclusion
Your Mini Woolen Pouch Bag is now complete! This versatile design is perfect for carrying small essentials or as a stylish accessory. The simplicity of the stitch pattern allows room for creativity with colors and closures. Don’t forget to share pictures of your completed project on Instagram or your favorite social media platform.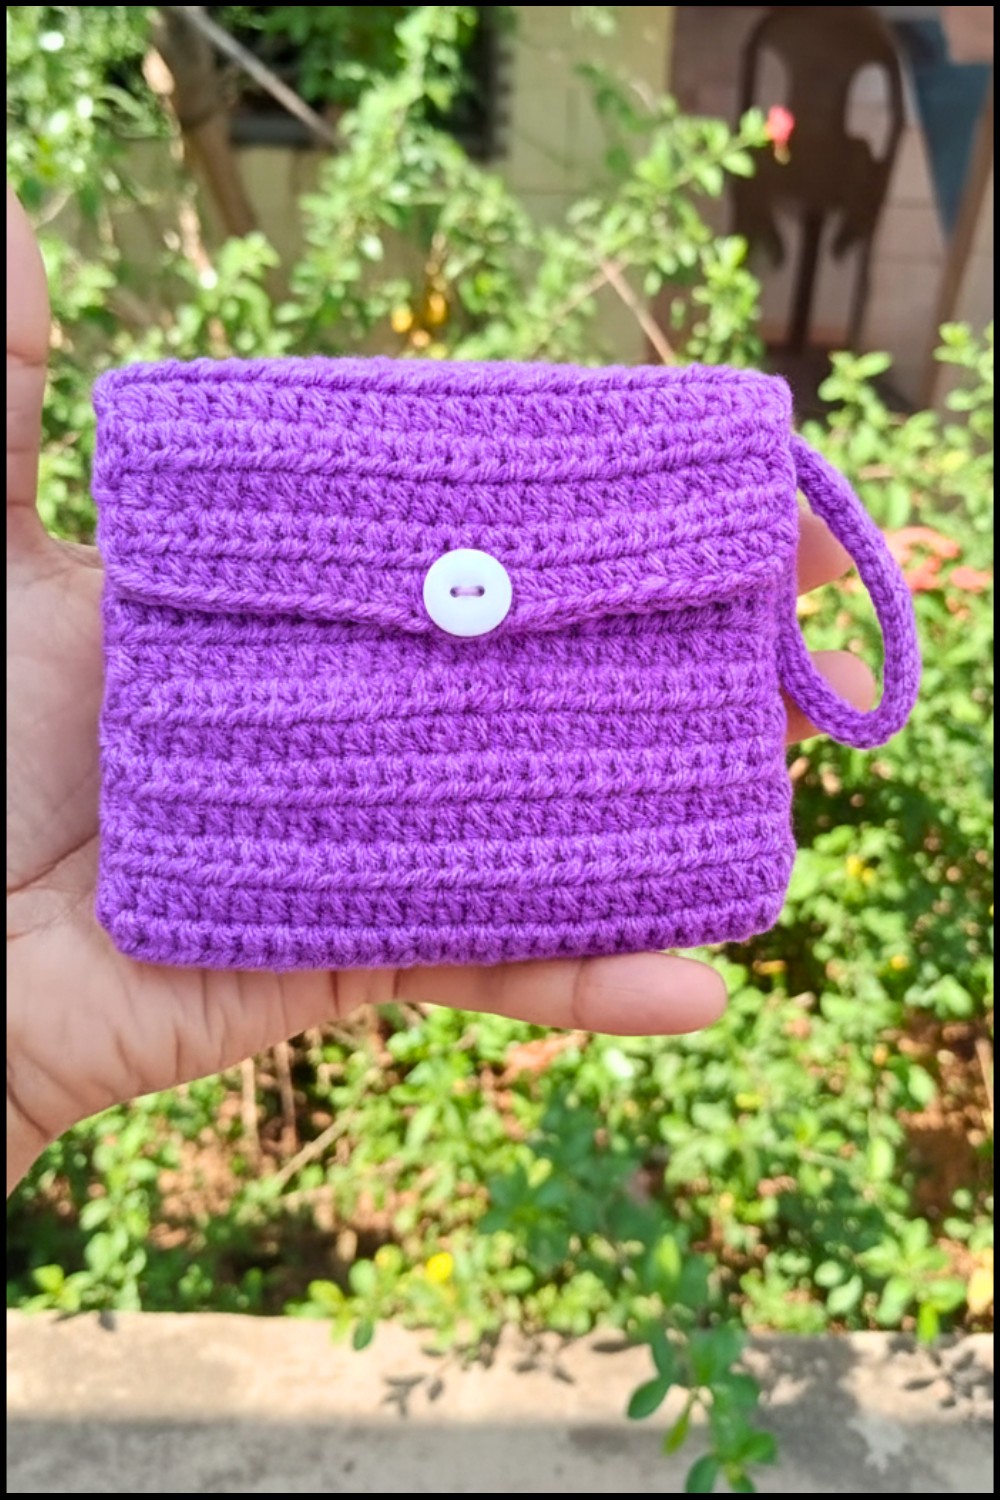
Pattern Corrections
- Ensure you adjust stitch counts and chain lengths proportionally if resizing the bag.
- Always count your stitches after completing each row to maintain proper dimensions.
Tips
- Tension Consistency: Maintain consistent tension to avoid uneven edges.
- Blocking: If your pouch curls, gently block the panel before stitching the sides.
- Secure Knots: Double-knot your ends when attaching the button or handle to prevent loosening.
- Experiment: Add embellishments such as tassels, beads, or embroidery for a personal touch.