
Breezy Crochet Mesh Top Pattern For Staying Cool & Comfy
Stitch your way to style with this breathable and chic crochet mesh top pattern, perfect for layering or wearing solo to feel comfy and fashionable every day.

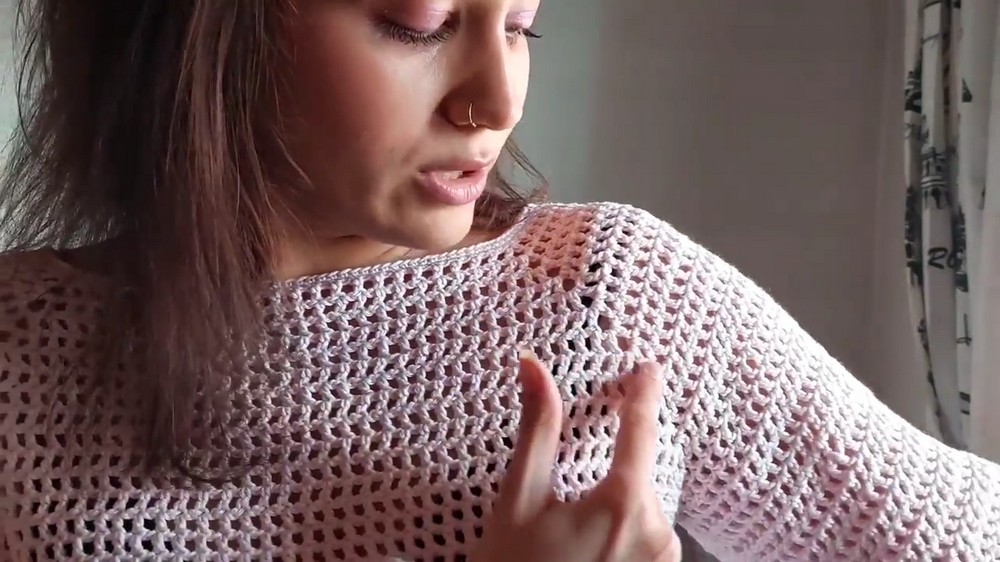
Trendy Crochet Mesh Top for Casual Looks
Think of something light, breathable, and effortlessly stylish that’s perfect for warm weather or casual layering. A crochet mesh top offers a beautiful combination of practicality and elegance with its open, airy design. This standout top fits seamlessly into any wardrobe, working beautifully with jeans, skirts, or shorts for a laid-back but polished look.

The lightweight structure not only keeps you cool but also gives a graceful finish to every outfit. Whether it’s for a stroll on the beach or a special occasion, its versatility makes it ideal for any setting. The soft texture and flowy appeal make it comfortable to wear while still turning heads. Plus, it’s easy to customize into something loose and casual or more fitted to match your preferences. A timeless piece that is simple yet eye-catching, perfect for adding charm to everyday moments while keeping it functional.
Crochet Bolero Pattern Step-by-Step
Materials Needed
- Tools:
- Crochet Hook: 4mm
- Optional: 2mm crochet hook for tighter finishing edges.
- Scissors
- Yarn:
- 50g Cotton Yarn with 106 meters per skein. (Ensure the yarn is soft and durable.)
- For sizes Large or XL, adjust yarn consumption accordingly.
- Additional Notes:
- Hand wash only (max 40°C) as per yarn care instructions.
- Do not use a washing machine or iron the finished piece.
Key Techniques Used
- Chain Stitch (ch)
- Slip Knot
- Double Crochet (dc)
- Slip Stitch (sl st)
- Joining with Slip Stitches
- Creating Corner Spaces
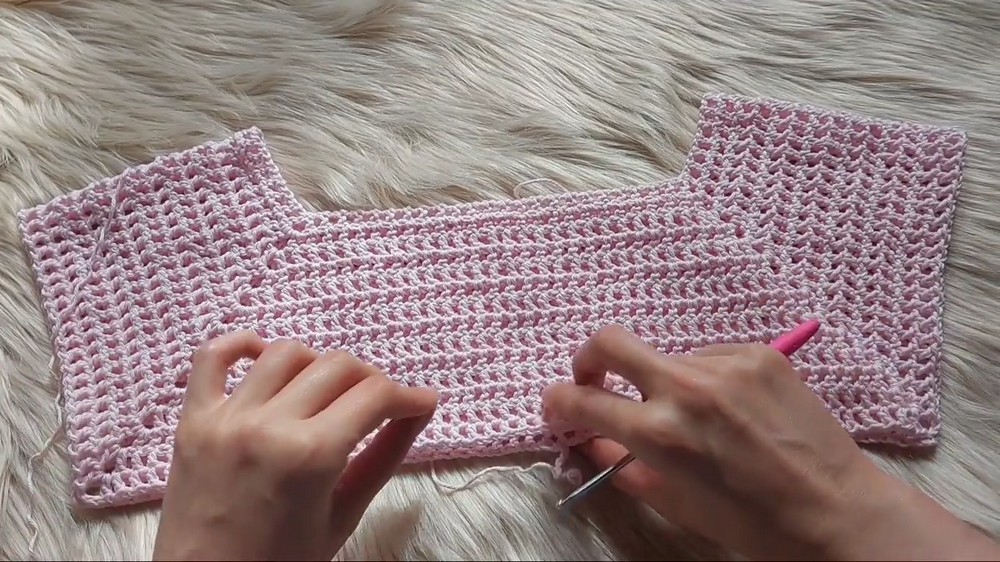
Pattern Overview
This bolero is made with a simple crochet flow:
- Body Construction (Front, Back, Shoulders, and Chest completed as one piece).
- Formation of Armholes (Separating body from sleeves).
- Sleeves and Neckline (Following a circular pattern).
- Optional Extension (Including sleeves and body for extra length).
Pattern Instructions
Step 1: Start With the Foundation Chain
Size Reference:
- Chain 154 stitches for a Small/Medium size bolero.
- For Large/XL sizes, additional body length can be added by increasing chains: each increase aligns proportionally with armhole depth and body height.
Instructions for the Chain:
- Create a slip knot and place it on the 4mm crochet hook.
- Chain 154 stitches (make sure not to tighten the chains too much).
- The foundation chain should be flexible for shaping; ensure a snug but loose tension.
- The foundation chain should be flexible for shaping; ensure a snug but loose tension.
Purpose of Foundation Chain:
- This chain serves as the base for forming the front panel, back panel, and shoulders, which will be crocheted as one cohesive unit.
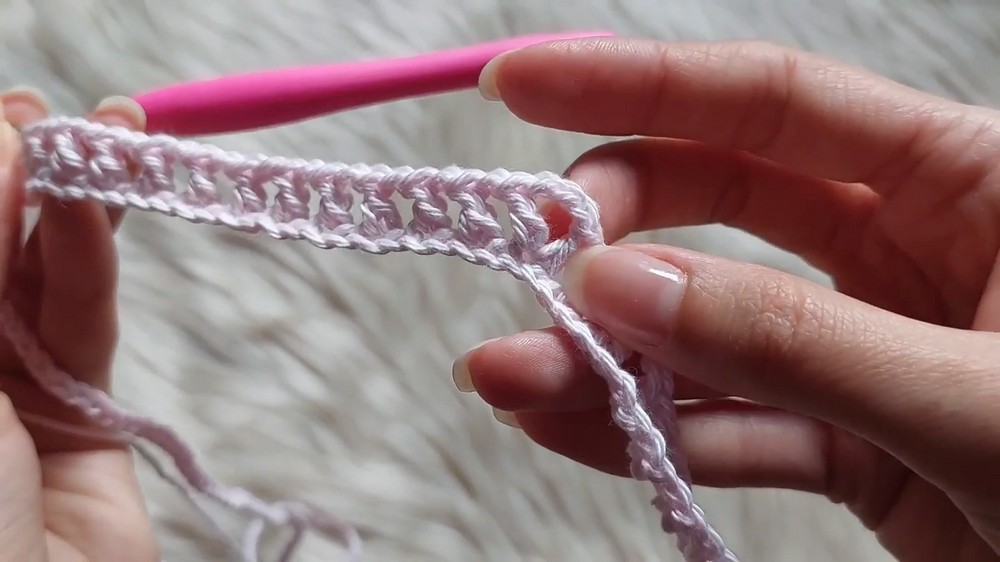
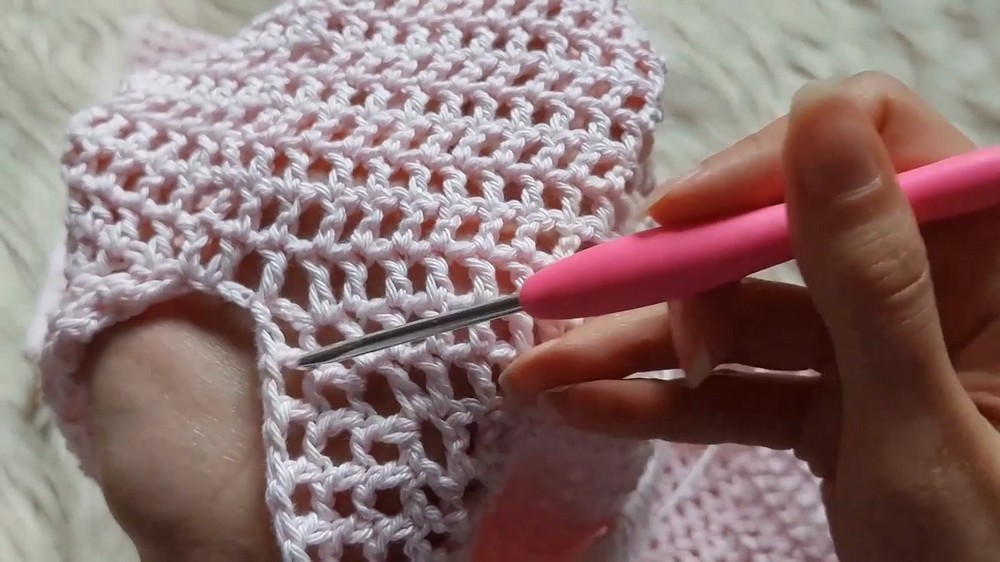
Step 2: Establish and Begin Corner Spaces
Row 1:
- Set up Corner Spaces: Each corner space will form part of the shoulder sections:
- Chain 5 more stitches after completing the foundation chain.
- Skip 5 chains from the hook, and insert the hook into the 6th chain. Create a double crochet (dc).
- Form Spaces:
- After the first corner, chain 2, skip 2 chains, and insert into the next chain to create another dc space.
- Repeat this step across, forming gaps/spaces along the chain.
Purpose:
You will form sections for the body and shoulders with this setup:
- 8 gaps for the front panel.
- 15 gaps for the shoulder area (each side).
- 23 gaps for the back panel.
Mark Sections:
- After creating 8 gaps, move to shoulder areas (15 gaps), then back panel (23 gaps).
Step 3: Building and Joining Corners
Corners for Shoulder Sections:
When reaching corner spaces:
- Insert the hook into the corner gap and create 2 double crochets (dc).
- Separate them by chaining 3 stitches between each.
- Finish the corner by inserting the hook on the opposite side.
Continuous Movement:
- After every corner space, proceed to crochet regular spaces along each panel (as done previously in Row 1).
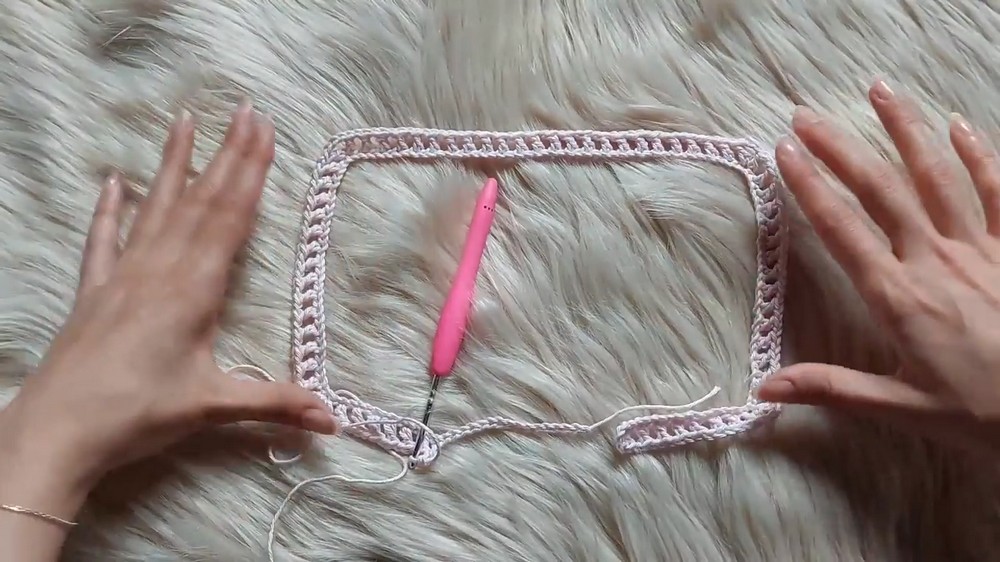
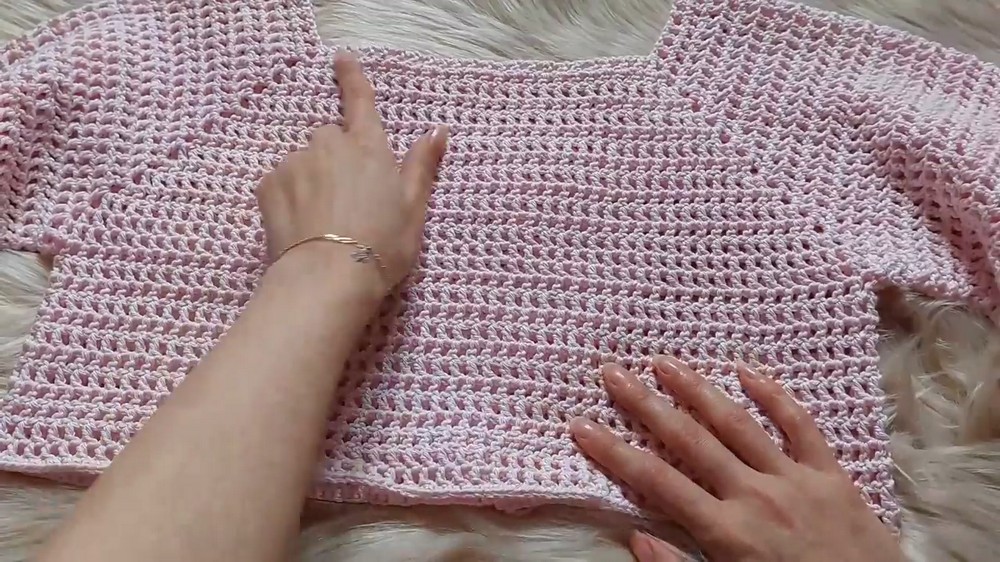
Step 4: Complete the First Round (Body and Shoulder)
Finish Connection:
- When you finish crocheting the panels (front, back, and shoulders), join the final corner and connect the last chain to the beginning chain using a slip stitch.
- This creates a seamless round for the bolero.
- Tip: Adjust stitches to prevent stiffness when connecting pieces.

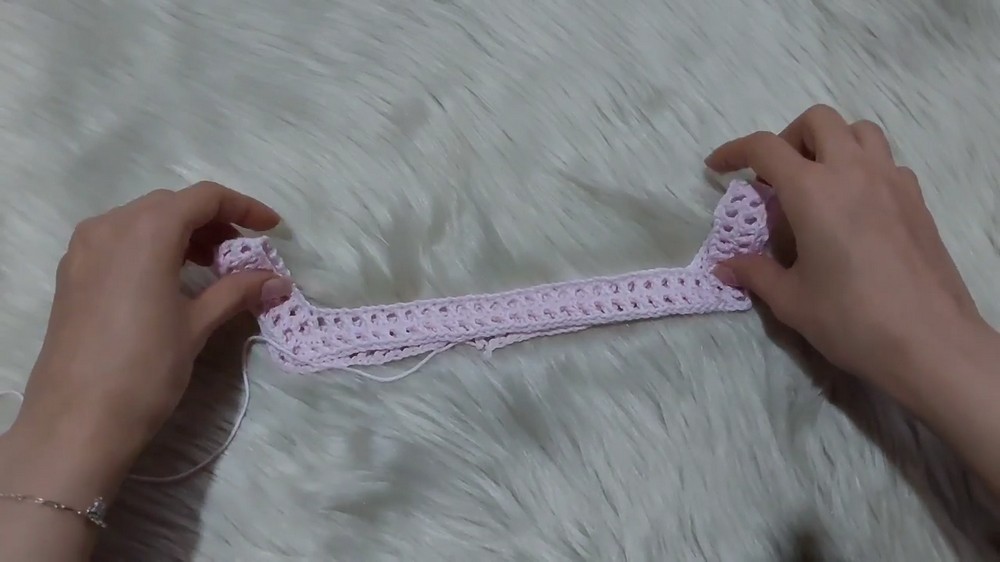
Step 5: Forming Armholes and Separating Body
Marking the Armholes:
- After completing 14 rows, separate the armhole sections from the body.
- At the desired corner gaps, use a slip stitch technique to join and define the armholes:
- Join one corner gap to another to create a circle-like armhole.
Body Sections:
- The main body will now be crocheted separately from the sleeves and neck area.
Step 6: Crocheting Sleeves
Start the Sleeves:
- Insert the yarn into the armhole opening created earlier and form 4 chain stitches.
- This will serve as the base for the sleeve.
- Crochet spaces/gaps:
- Follow the body’s double crochet and chain pattern (dc + ch 1 repeated).
- Crochet circularly around the armhole opening to form the sleeve.
Extend Length:
- Add as many rows as you desire to adjust sleeve length.
Step 7: Finishing Touches and Neckline
Edge Cleanup:
- Use 2mm crochet hook to tighten edges around sleeves, neckline, and body hem.
- Work slip stitches or single crochets along these edges to create a polished, clean finish.
Optional Extensions:
- To extend the body length, return to the bottom hem and crochet additional rows.
Seamless Joining:
For remaining loose ends or unfinished connections (if any):
- Use slip stitches.
- Securely weave in loose ends with a yarn needle for a clean look.
Final Words
Congratulations on completing your crochet bolero! This versatile design allows customization for both casual and formal use. Adjust the sizing, armholes, and body length to suit your preferences.
Tips to Maintain Your Bolero
- Washing Instructions:
- Use cold water and gentle handwashing to preserve stitch structure and yarn elasticity.
- Storage:
- Store your bolero flat or folded to avoid stretching.