
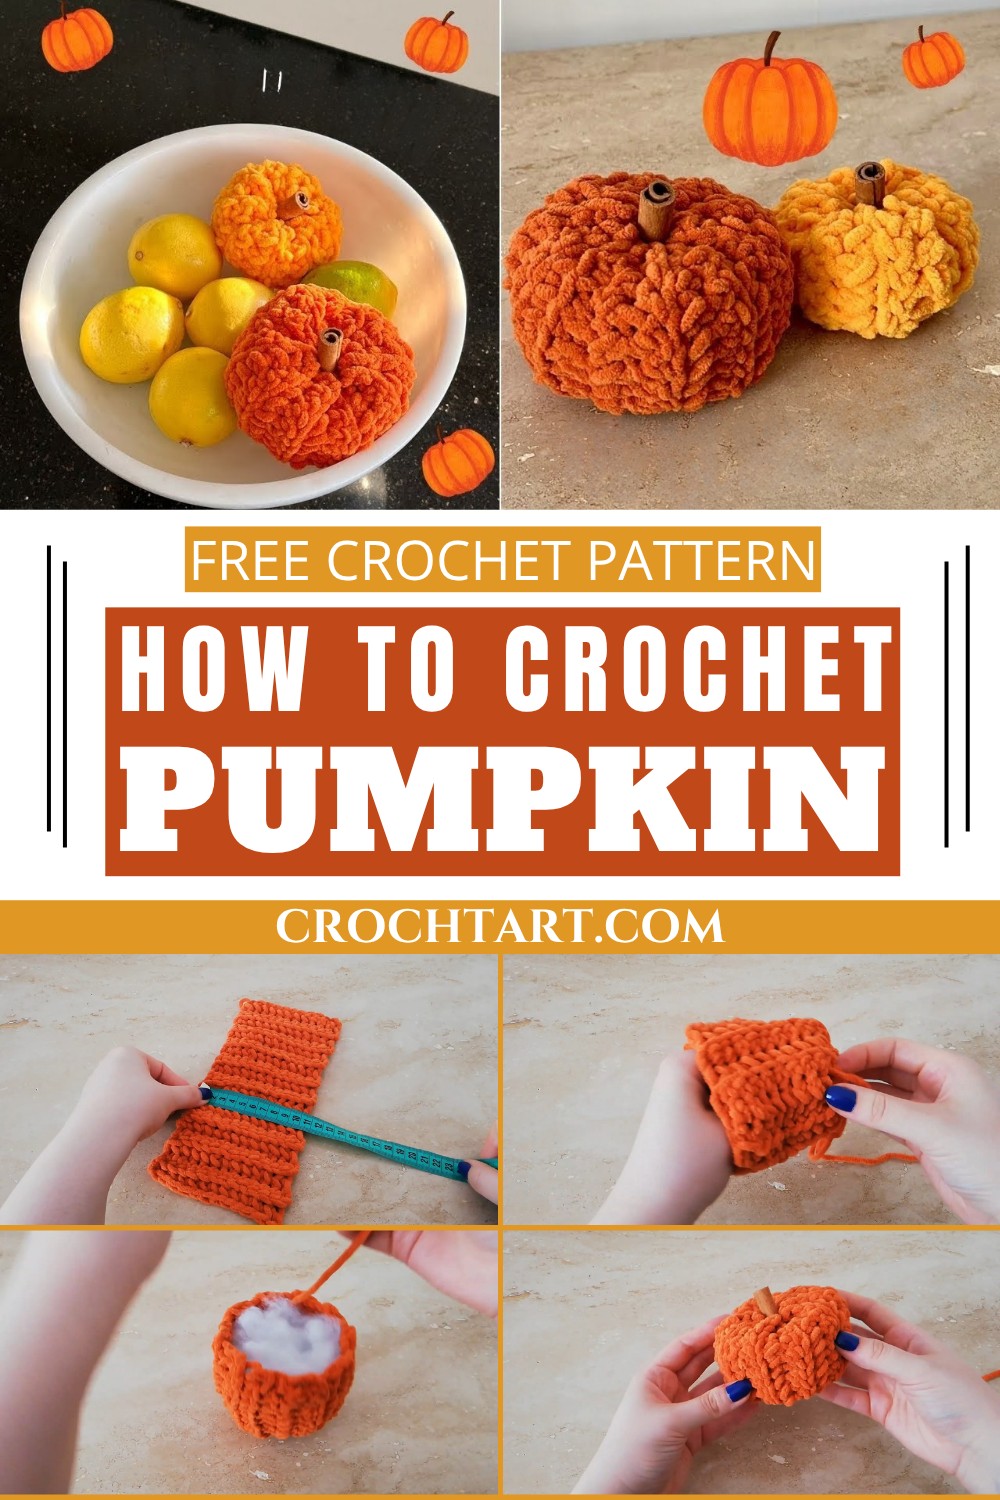
Elegant Crochet Pumpkin Pattern To Style Your Space
Bring cozy charm to life with this unique Crochet Pumpkin Pattern, perfect for timeless decor, heartfelt gifts, and year-round handmade warmth.
Harvest traditions have long celebrated the pumpkin as a symbol of warmth, abundance, and home. That timeless charm is now reimagined through crochet pumpkin pattern, offering a soft and lasting alternative to the seasonal staple. These handmade pumpkins are more than decorative items they represent comfort, creativity, and a personal touch that brings life to any space. From the rich tones of autumn to soft pastels for year-round decor, each one is a unique expression of style and warmth.
Timeless Crochet Pumpkin Pieces to Enrich Your Interior
Their uses stretch far beyond the fall season. Placed on mantels, bookshelves, dining tables, or even in children’s rooms, they add an inviting, homey feel wherever they appear. Lightweight and durable, they are perfect for homes with children or pets, offering a safe and sustainable option for decoration. With no risk of spoilage or mess, they can be displayed year after year without losing charm or color, making them a thoughtful gift or cherished keepsake.
Beyond their beauty, the process of making them is calming and fulfilling. The repetitive motion of the stitches, the transformation of yarn into something meaningful, each moment spent brings not just a decor item, but a sense of achievement. In every completed pumpkin lies the simple joy of turning ordinary materials into something quietly magical.
1. Materials Needed
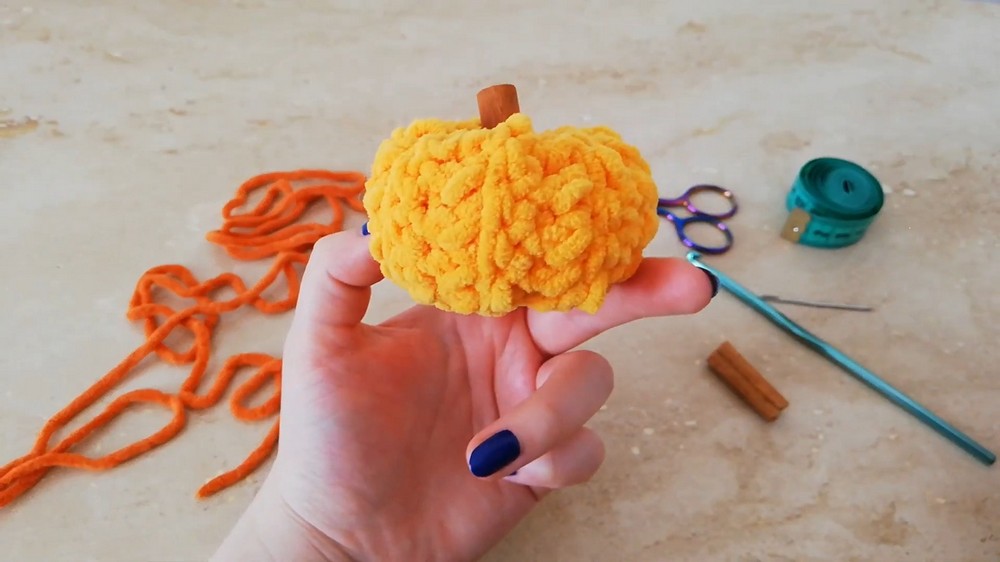
- Velvet Yarn: Buse chose mustard-colored yarn, but any color can be used to fit your theme.
- Hook: A 5mm crochet hook (use a size that fits your yarn).
- Needles: For sewing and finishing.
- Scissors: To cut yarn as needed.
- Tape Measure: Optional, for precise measurements.
- Cinnamon Sticks: For a creative and natural stem.
- Fiber Filling: To stuff the pumpkin.
Step-by-Step Process
2. Starting the Base
- Wrap the yarn around your finger and make a knot.
- Create a chain: The number of chains determines the size of the pumpkin.
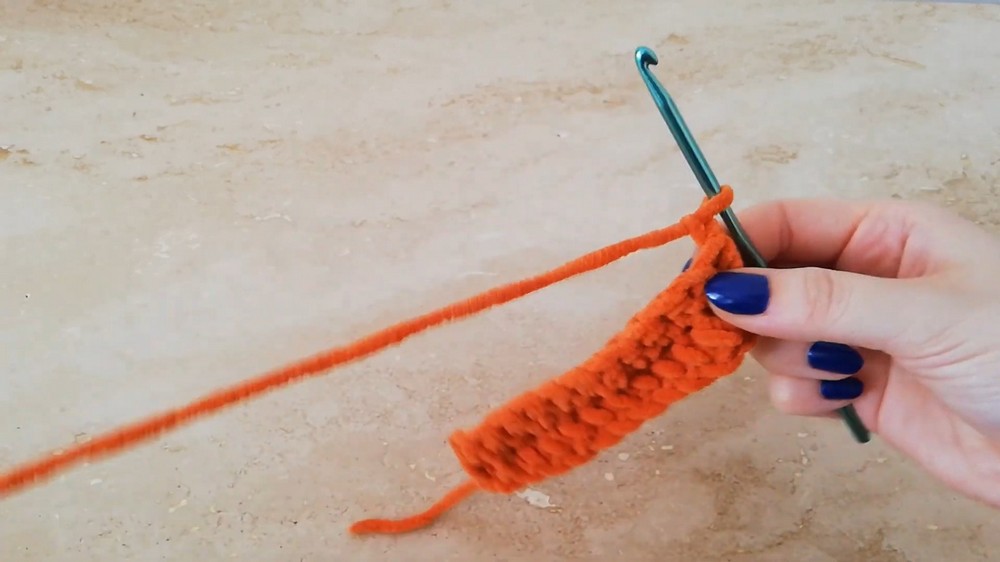
- For example, Buse made 13 chains for her pumpkin, but you can adjust this based on your desired size.
- Begin single crochet stitching:
- Insert the hook into the next gap, loop the yarn, pull through, and complete a single crochet. Continue until the end of the row.
- Insert the hook into the next gap, loop the yarn, pull through, and complete a single crochet. Continue until the end of the row.
3. Building the Pumpkin Shape
- Create a new row: Add a chain, turn the piece, and continue crocheting, always inserting the hook in the middle part of the loops (forming a spike-like “V” shape).
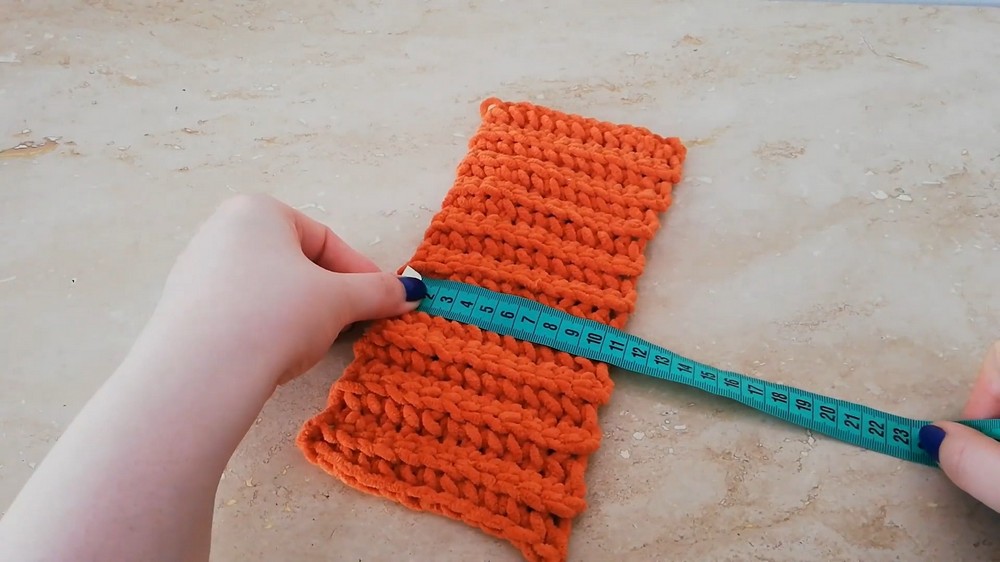
- Crochet until the piece turns into a long rectangular strip:
- Buse made her strip 23 cm long and 10.5 cm high, over 19 rows.
- Adjust the size to make your pumpkin bigger or smaller.
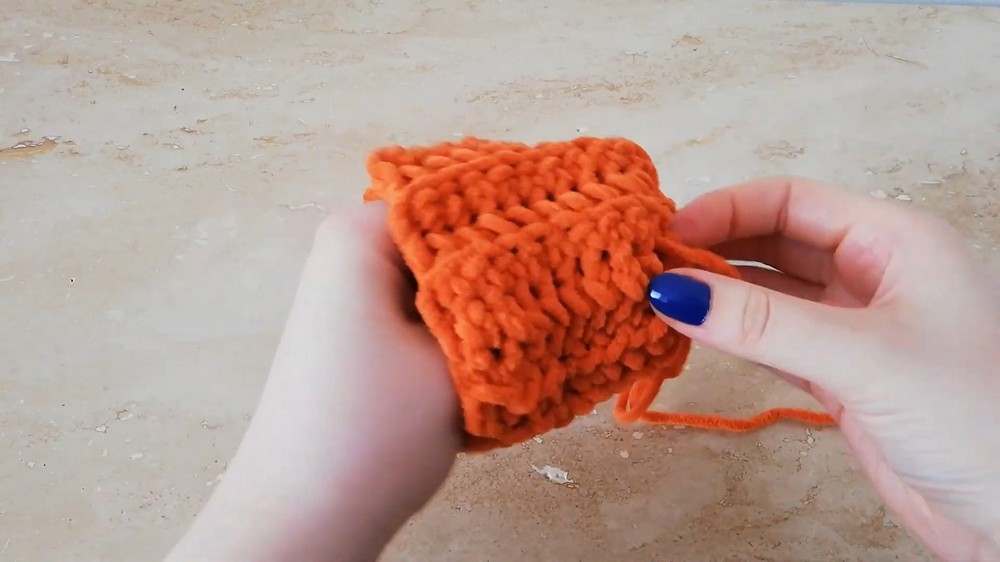
4. Sewing the Edges
- Once the rectangle is ready, fold it in half (lengthwise).
- Sew the two edges together using a needle or hook. To secure the yarn:
- Insert the hook through a loop, pull through, and repeat until the end of the row.
- Tie off the end and cut the yarn.
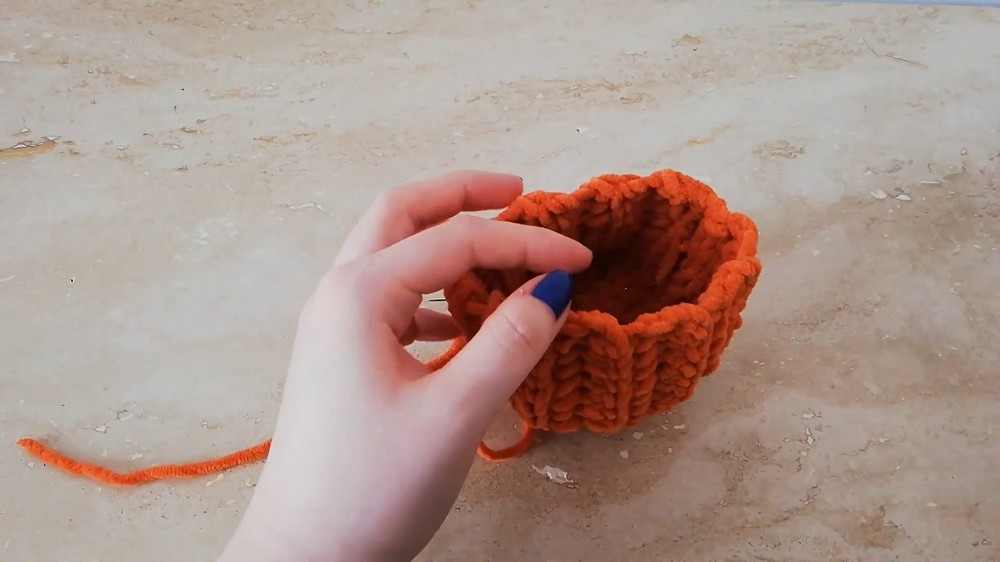
5. Shaping and Stuffing
- Flip the rectangle so the stitched side is inside.
- Close the bottom opening:
- Thread the needle with leftover yarn, sew around the edge, and pull tightly to bring the edges together.
- Fill with Fiber: Add enough fiber stuffing to shape the pumpkin.
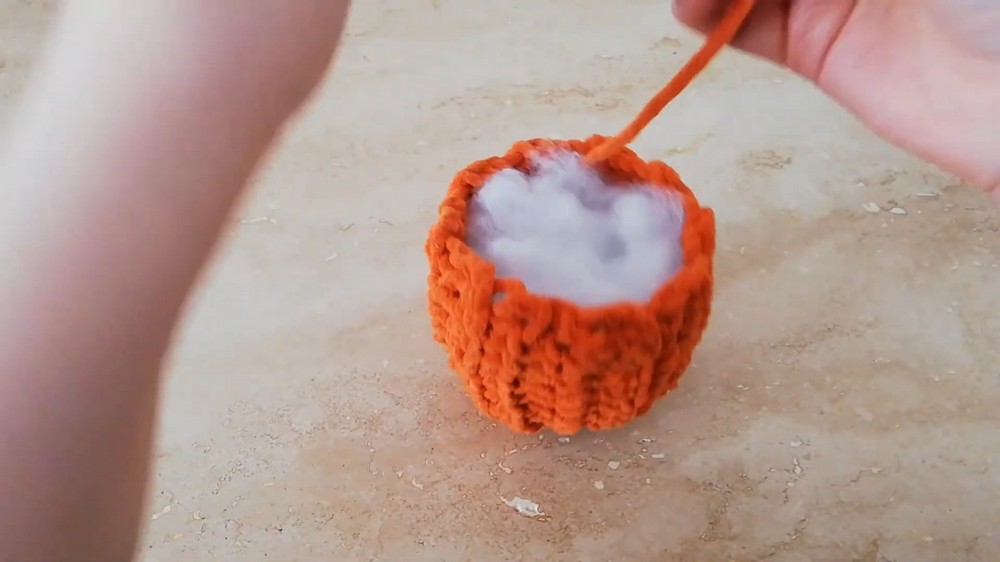
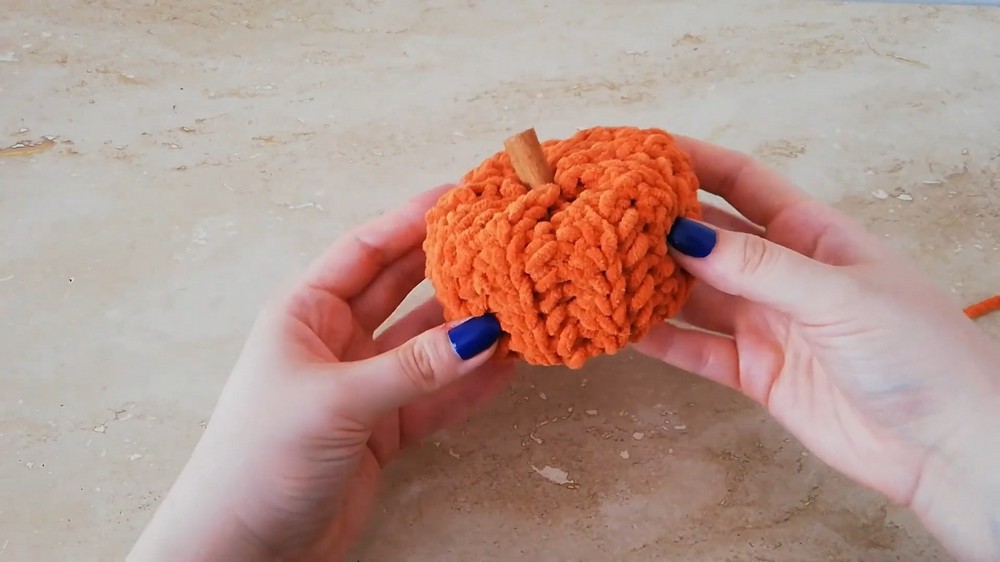
6. Closing the Top and Adding the Stem
- Sew around the top opening, similar to the bottom, but leave a small gap.
- Insert a cinnamon stick into the gap to act as the stem.
- Secure the stem: Pull the yarn tightly around the stem and sew additional stitches for stability.
7. Adding Definition
To create the pumpkin’s ridges:
- Thread yarn from the top center to the bottom center.
- Repeat this step multiple times through different sides of the pumpkin to form distinctive segments.
- Knot the yarn and hide it by threading it through the pumpkin and trimming any excess.
Special Features of This Pumpkin
- Cinnamon Stick Stem: Adds a natural and aromatic touch.
- Velvet Texture: The use of velvet yarn gives the pumpkin a soft, luxurious feel.
- Customizable Sizing: The size can be adjusted by changing the number of chains and rows.
Level of Difficulty
- Beginner-Friendly: The pattern uses basic crochet techniques such as chaining and single crochet stitches, making it ideal for those new to crocheting.
- Intermediate Customization: Adding definition to the pumpkin shape and closing the top requires some precision but is still straightforward with practice.
Tutor’s Suggestions
- Use yarn colors that match your theme (e.g., autumn tones like mustard, brown, or orange).
- Experiment with different yarn textures (standard, velvet, or cotton) for unique results.
- Be flexible with hook size: Choose a hook that complements the yarn you’re using.
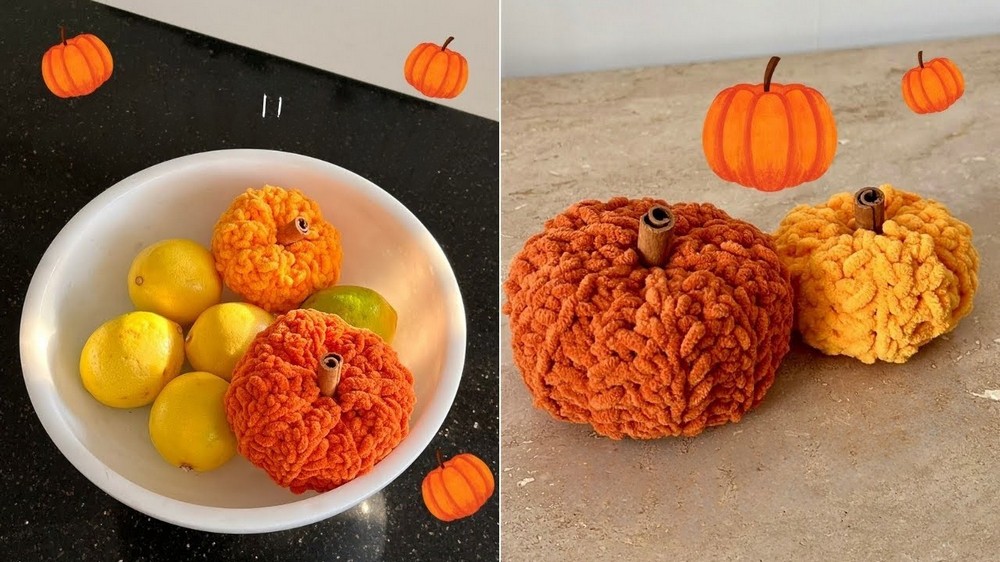
Uses
- Perfect for autumn or Thanksgiving décor.
- Makes a great handmade gift.
- Can be used as table centerpieces, shelf décor, or cozy room accents.
Conclusion
This crochet pumpkin pattern offers a detailed yet straightforward approach to creating a seasonal crochet. Whether you’re a beginner or an expert, this project is an enjoyable way to bring warmth and personality to your space. With just a few materials and a creative mindset, you can crochet unique pumpkins that capture the beauty of autumn.
Pro Tip
When sewing the pumpkin, pull the yarn gradually but firmly to avoid breaking the thread. If you’ve inserted a cinnamon stick or another decorative stem, ensure it is securely in place before tightening the final stitches.