Exciting Free Crochet Vest Pattern To Add Style To Your Wardrobe
Hook a soft and stylish Crochet Vest with this free pattern that is perfect for layering, and a cozy outfit for a comfy and modern everyday look.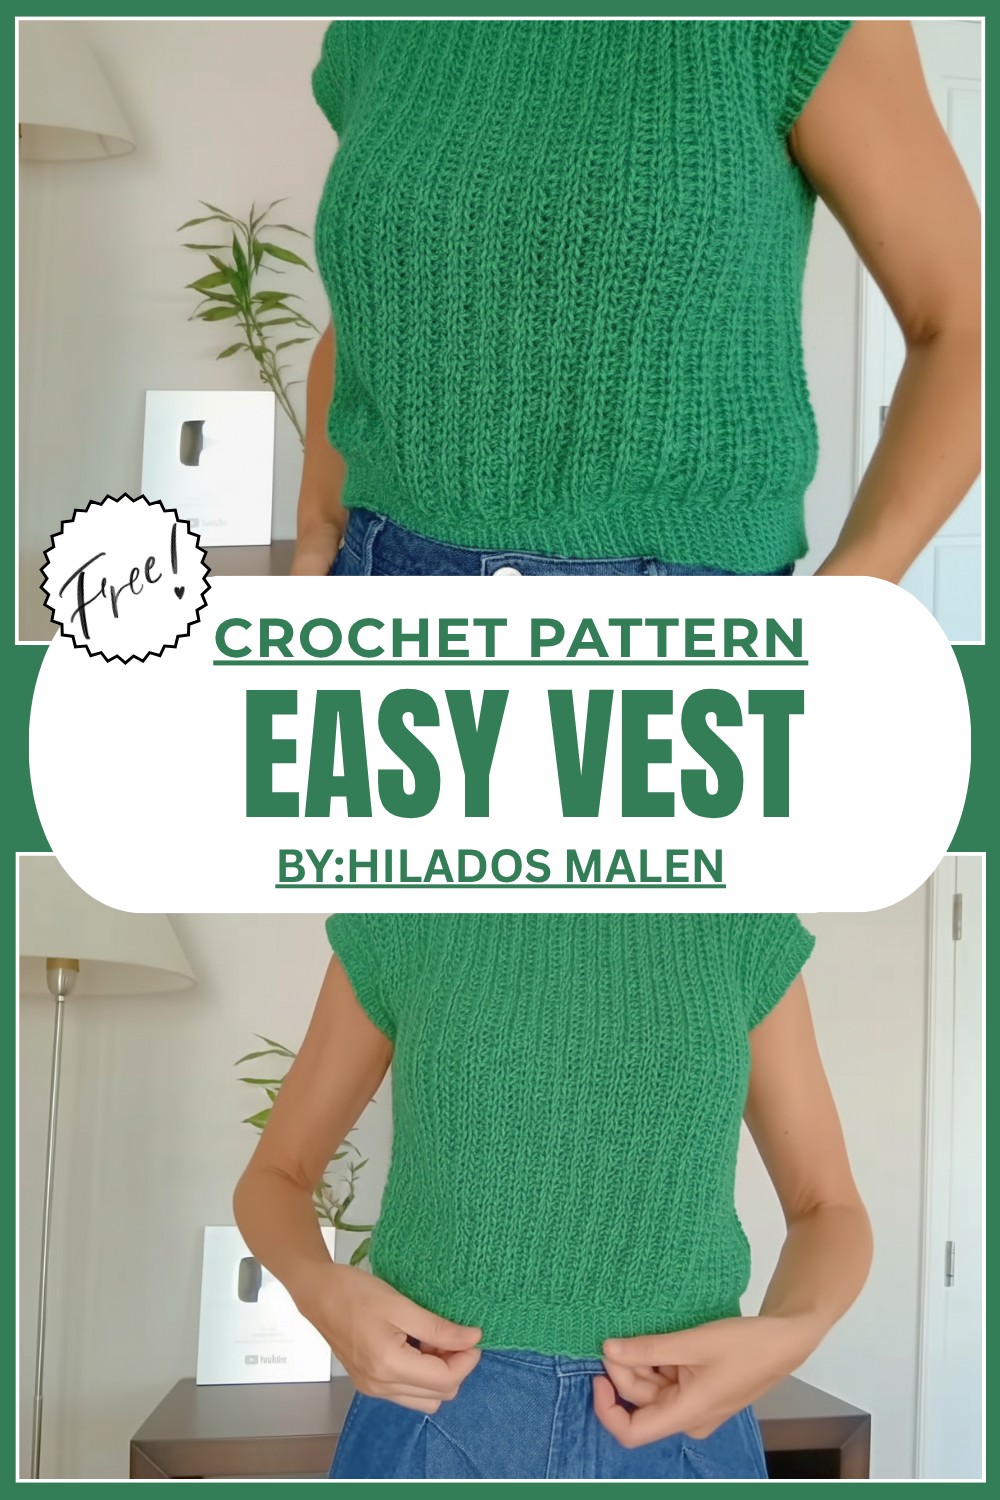
Easy & Creative Free Crochet Vest Pattern for You
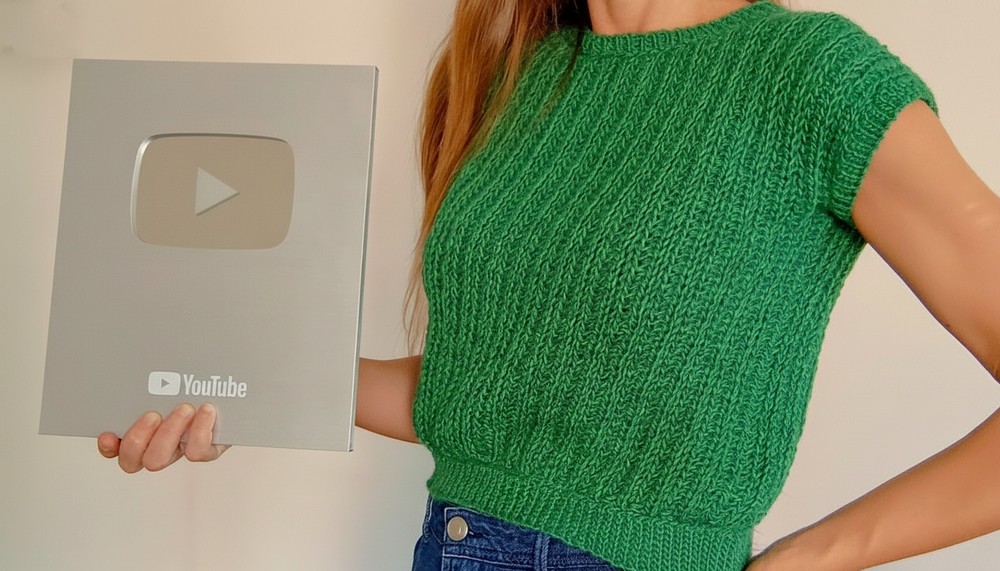
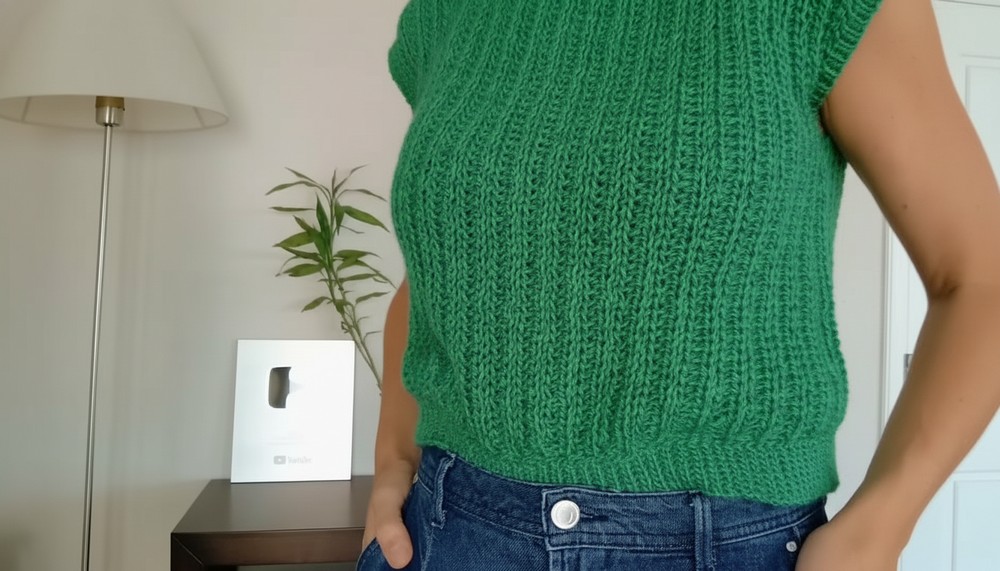
Warm Up in Style with This Free Crochet Vest Pattern. This easy and elegant vest combines the beauty of crochet with the classic look of knitting, making it a standout piece for any wardrobe. Perfect for both children and adults, this pattern is customizable to your exact size and preferred length. The vest is crocheted with soft yarns like wool, cotton, and acrylic, creating a cozy texture that feels amazing to wear.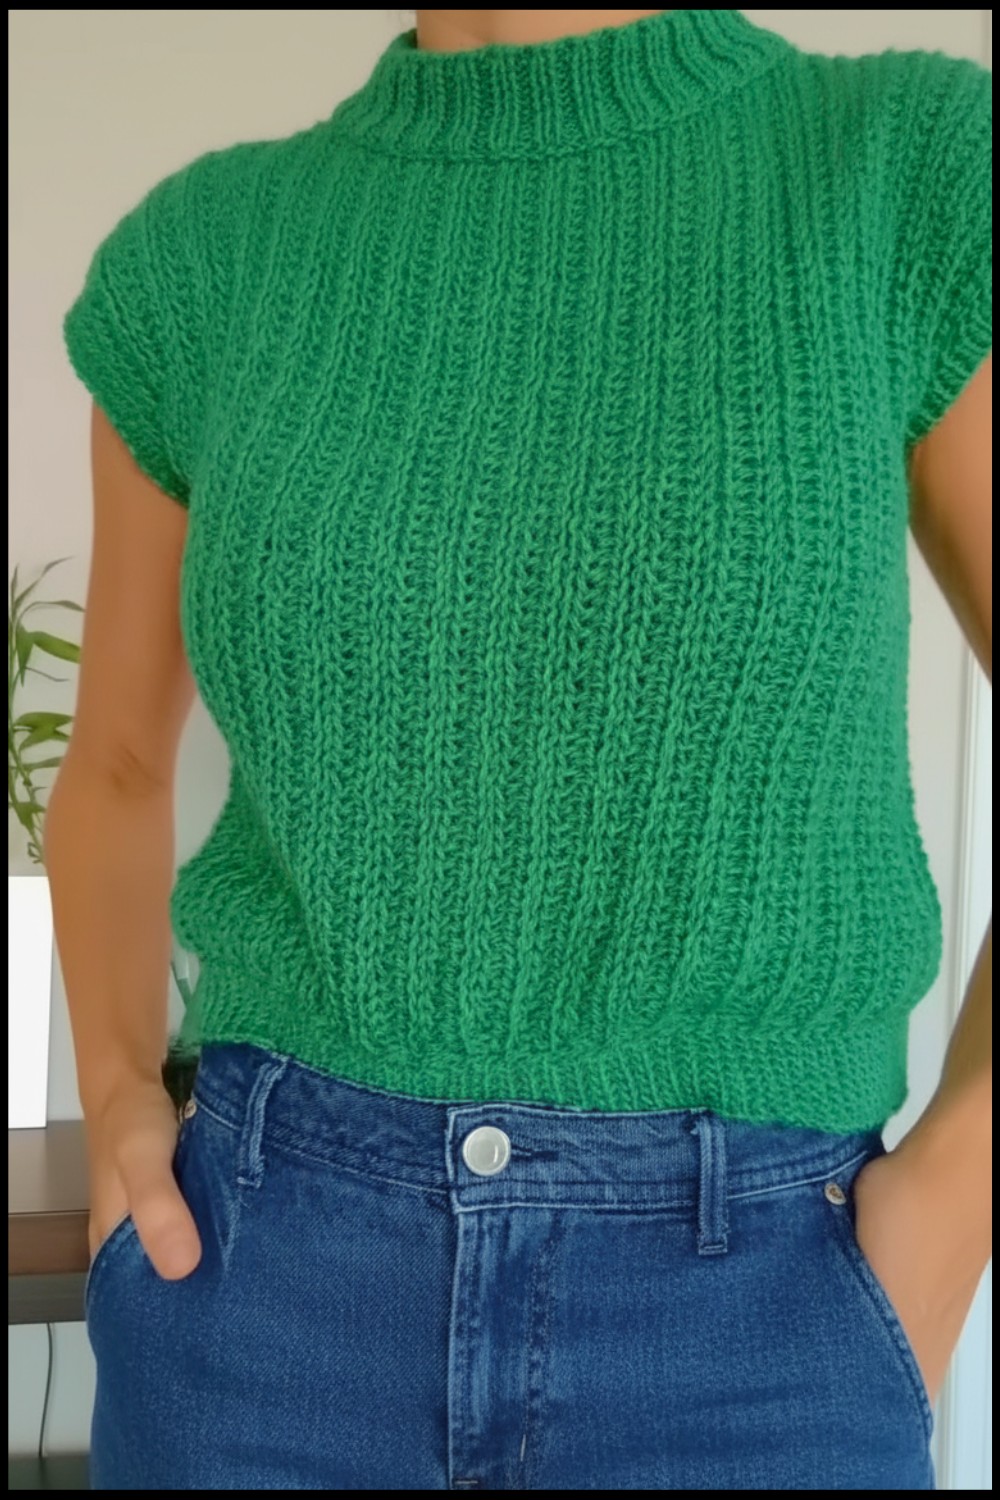 Its unique fluffy stitches add charm while giving it a professionally handmade appearance. Whether you're dressing up for chilly days or layering for a stylish look, this vest is the perfect addition to your outfit.
Featuring elastic edges at the neckline and hem, it’s both polished and practical. This project isn’t just fun to make—it’s a chance to express your creativity. Try it today and enjoy crocheting your perfect vest.
Modern Crochet Vest Pattern
Materials
- Yarn
- Composition: Wool, cotton, and acrylic blend.
- Thickness: Approximately 2mm.
- Suggested needle size: Recommended for 4.5mm–5mm knitting needles.
- Crochet Hook
- Suggested hook: Use a hook size three millimeters larger than recommended for the yarn to ensure a fluffy, loose stitch.
- Example: If the yarn calls for a 6mm hook, use a 9mm hook.
- For this guide, an 8mm hook is used.
- Additional Items
- Measuring tape.
- Stitch markers (optional, for marking sections).
- Scissors.
Pattern Instructions
Step 1: Start the Base
- Foundation Chains:
- Create a starting chain of 60 chains (or adjust to desired length measured from the shoulder to the bottom of the vest).
- Measure from the shoulder down to where you want the vest to end for your desired length.
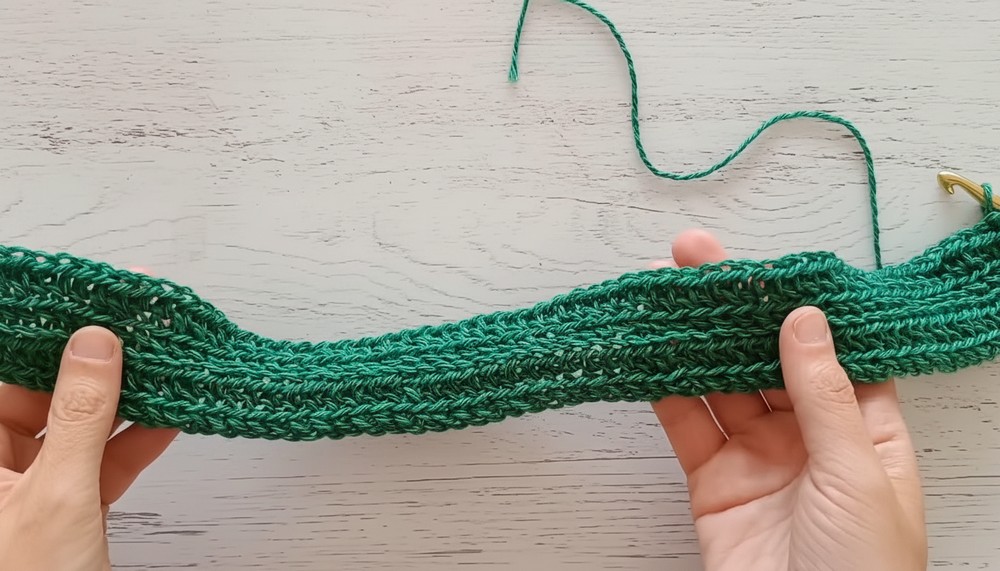
- First Row (Half Stitch with Leg):
- Create one ascending chain (this does not count as a stitch).
- Insert the hook into the second chain from the hook and create a single crochet (SC).
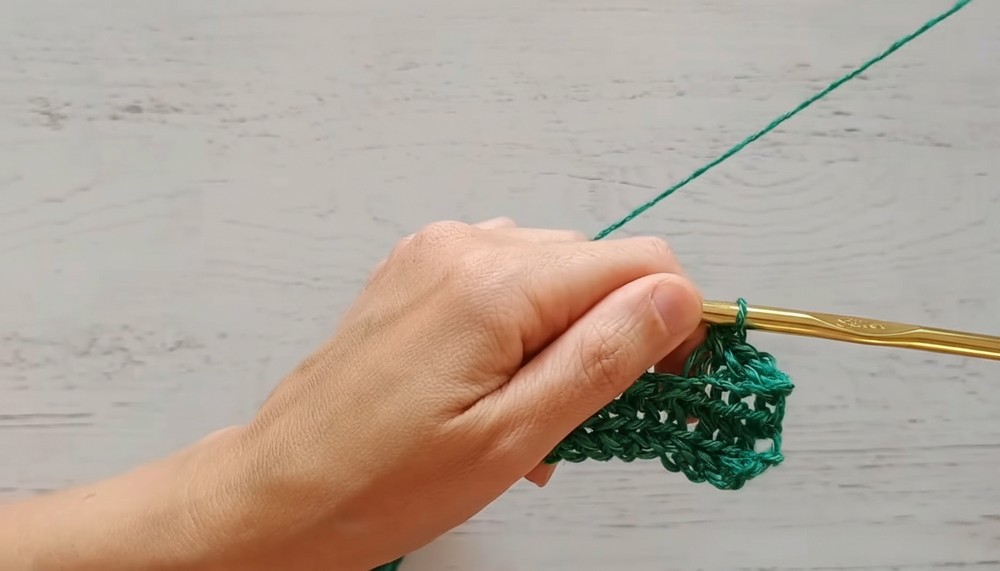
- For the next single crochet, take the leg of the previous stitch and pull up a loop through it.
- Next, insert the hook into the following chain and complete a regular single crochet, closing all loops on the hook.
- Continue this sequence (take the leg of the previous stitch + regular single crochet) until the end of the row.
- Second Row (Half Double Crochet – Back Loop):
- Chain 1 to turn your work (this chain does not count as a stitch).
- Insert yarn over for a regular half double crochet (HDC).
- Only crochet into the back loop of each stitch in this row.
Step 2: Repeat Row Pattern
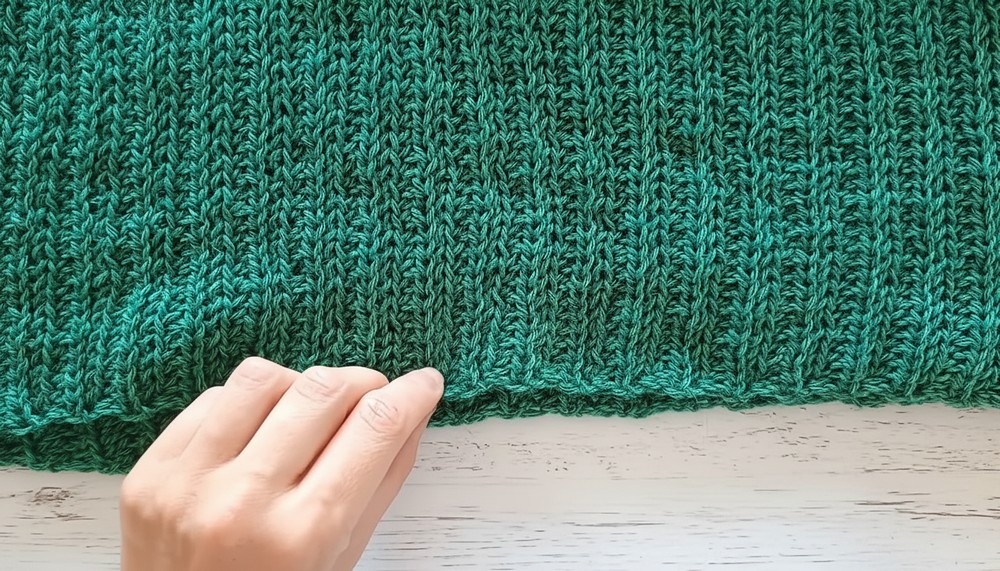
- Repeat Rows 1 (Half Stitch with Leg) and Row 2 (Half Double Crochet – Back Loop) throughout the project.
- The fabric will form distinct knit like textures, with one side resembling knit stitches and the other resembling a purl texture.
Step 3: Back Panel
- Determine Width:
- Continue crocheting rows until you reach the desired width for your body.
- Example: For a 48cm wide vest, crochet enough rows for that measurement.
- Create Shoulder Sections:
- Repeat the same steps for the front panel, ensuring it matches the back panel in width.
Special Technique: Neckline
Step 1: Shaping the Neckline
- Calculate the center of the front panel:
- Leave approximately 20cm for the neckline width.
- Decrease stitches on each side:
- To decrease for the neckline, stop crocheting 4cm before reaching the edge.
- After decreasing, continue working only on the reduced number of stitches for the next rows.
- To decrease for the neckline, stop crocheting 4cm before reaching the edge.
- Re add stitches:
- Once reduced stitches create the neckline depth (about 20cm), chain additional stitches (6) to recover them for the shoulder section.
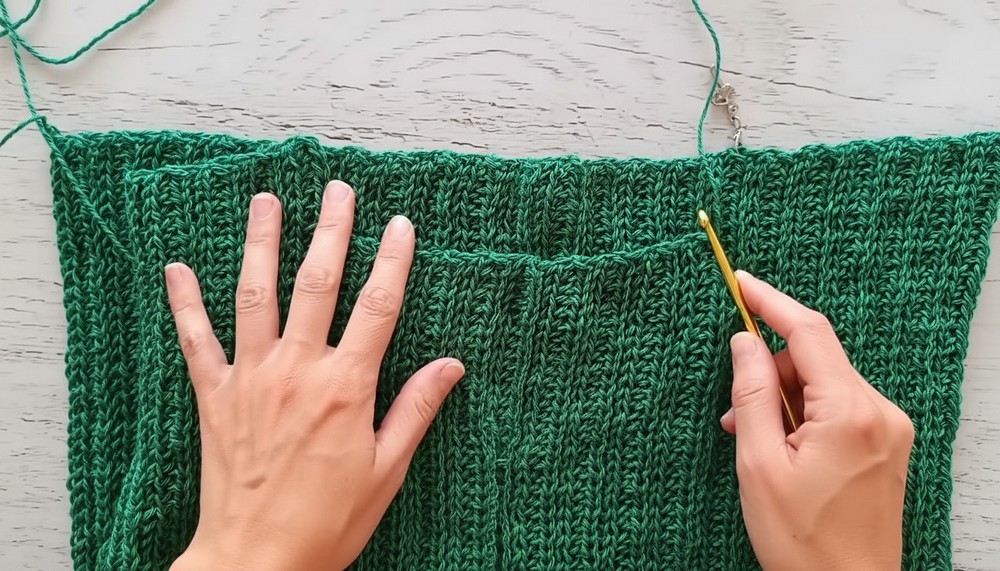
Step 2: Joining Front and Back
- Position the front panel against the back panel.
- Seam together the shoulders using slip stitches while working on the right side of the fabric.
Finishing: Armholes and Edging
Step 1: Armholes
- Leave approximately 18–20cm for armhole space during side stitching.
- Seam the sides together using invisible slip stitches.
Step 2: Neckline Finish
- Create a row of slip stitches around the neckline for a clean finish.
- Optional: Add an elastic stitch for texture:
- Chain 4 chains high and work back and forth slip stitches by inserting into the back loop only.
- Attach each row to the base with slip stitches, skipping one stitch each round to avoid puckering.
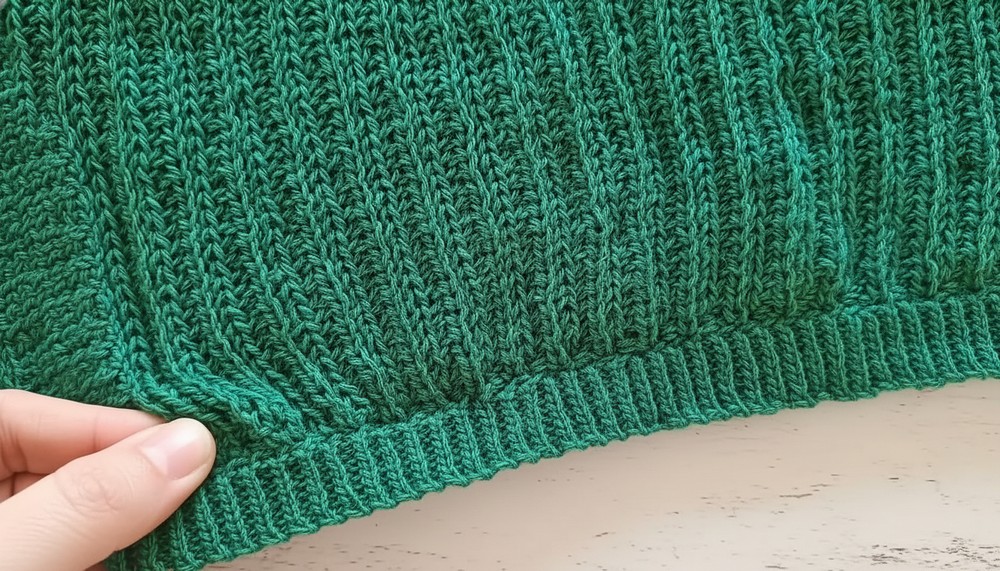
Elastic Hem
Step 1: Foundation Slip Stitch
- Work 1 row of slip stitches around the hemline.
Step 2: Elastic Band
- For added texture, chain 8 chains high (or adjust for desired elastic width).
- Crochet using the same technique as the neckline elastic band (slip stitches into back loop with attachment to the base).

Final Words & Tips
- Custom Sizing:
- Adjust starting chains to match your desired length.
- Modify row counts to suit your body width and armhole size.
- Yarn Choice:
- Consider lightweight yarn with a recommended needle size between 4.5mm and 5mm.
- Loose Tension:
- Maintain a loose tension throughout the project for the fluffy knit-like appearance.
- Seaming:
- Always seam using slip stitches to ensure invisible joins.
- Blocking:
- Steam or wet block the vest once completed to help even out stitches and enhance the final look.
- Creativity:
- Personalize the vest with decorative stitches or embellishments at the neckline or hem.
- Personalize the vest with decorative stitches or embellishments at the neckline or hem.
Conclusion
This crochet pattern mimics the appearance of tricot (knitting with two needles), allowing versatility for all sizes. Using simple stitches like single crochet and half double crochet, combined with smart stitch placement, this vest provides texture and elegance with minimal effort. The added elastic bands at the neckline and hem lend a tailored appearance, making this a great project for beginners and experienced crocheters alike.