Vivid Free Crochet Bag With Floral Appliques Pattern For Shopping or Outings
Learn how to crochet a beautiful Bag With Floral Appliques with this simple pattern and make a soft colorful accessory that looks exactly like a bright garden.

Glowing Free Crochet Bag With Floral Appliques Pattern that’s cute and functional
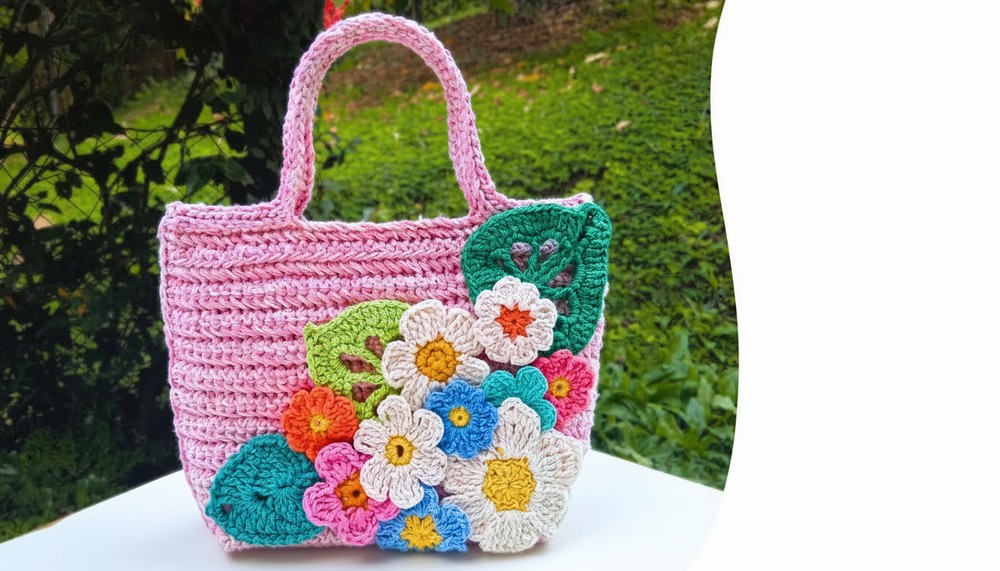
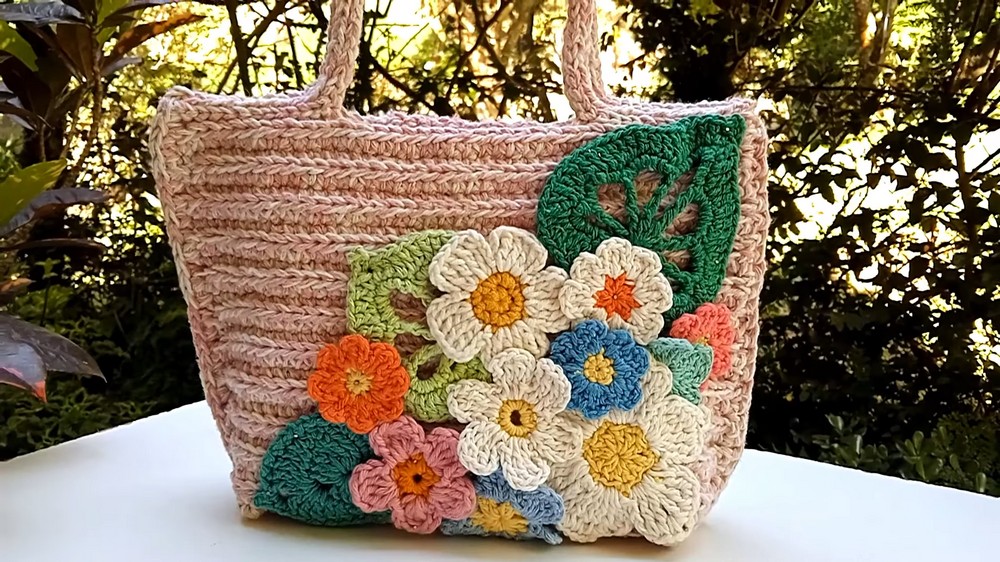
Carry a piece of a sunny garden wherever you go with the Free Crochet Bag With Floral Appliques Pattern. This bright and cheerful bag is like a burst of happiness, with colorful flowers decorating the front to make it look extra stylish and sweet.
Its soft and squishy feel pairs perfectly with strong handles and a wide bottom, helping you carry everything from books to toys with ease. The thick yarn gives the bag a unique strength and shape that lasts, while its beauty makes it perfect for parties or as a thoughtful gift for someone special. Whether you’re a beginner or an experienced crocheter, the easy steps guide you to create something truly amazing. With every stitch, you’ll crochet a charming and eye-catching bag that’s as beautiful and practical as your creative talent.
Crochet Bag With Floral Appliques Pattern
1. Materials
To make this colorful and structured crochet bag with floral appliques, you will need the following materials:
- Yarn:
- Barbante fio 4 (worsted cotton) held double.
- Color 1: Cru (off-white or natural).
- Color 2: Rosa Bebê (baby pink).
- When held double, it works approximately as barbante 8.
- Alternatives:
- Barbante 8 (no need to hold yarn double).
- Barbante 10 for a thicker texture.
- Fios like fio de malha (T-shirt yarn) and fio náutico can be used for a sturdier bag.
- Not recommended: Thin yarns such as barbante 6, as they reduce the structural integrity of the bag.
- Barbante fio 4 (worsted cotton) held double.
- Crochet Hook:
- Size 5.0 mm.
- If your stitches feel loose, use 4.5 mm for a tighter fabric.
- Size 5.0 mm.
- Notions:
- Tapestry needle (for weaving in ends and optional sewing).
- Fabric glue (cola pano) for attaching floral appliques.
- Scissors.
- Stitch markers or safety pins for marking key points (e.g., handles, bottom extension).
- Optional: Alfinetes (pins) for positioning decorations like flowers.
- Decorative Elements (optional for final steps):
- Pre-crocheted flowers.
- Pre-crocheted leaves.
- These can be handmade or store-bought.
2. Optional Notes on Size and Adjustments
- Finished Dimensions (sample project):
- Width: 18 cm.
- Height: 25.5 cm (body only).
- Bottom extension depth: 5 cm.
- Adjusting the Size:
- To make the bag wider: Increase the number of foundation chains.
- To make the bag taller: Add more rows.
- Measurements can also vary depending on the yarn and hook size used.
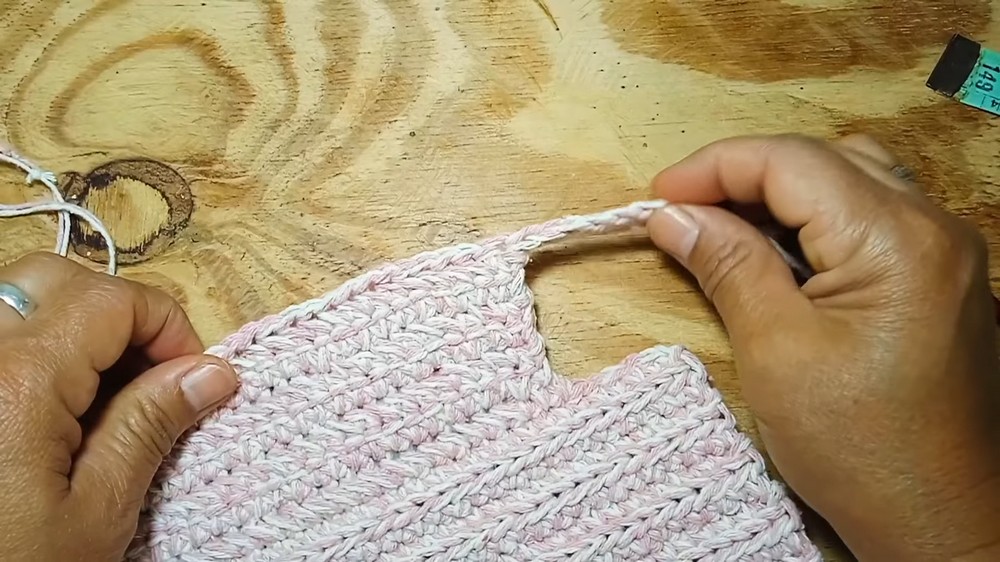
3. Special Stitches Used
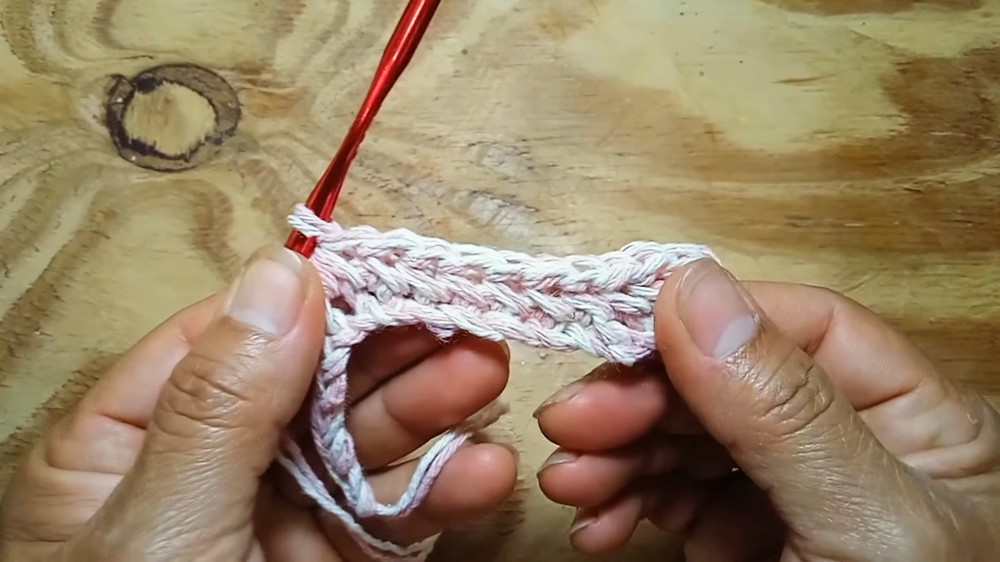
Decorative Textured Stitch
This unique stitch creates a beautiful and structured pattern for one side of the fabric while alternating with plain single crochet rows on the other.
- How to Work the Stitch:
- Insert your hook into the front loop of the stitch just worked (small loop in front of the previous single crochet).
- Then insert the hook into the next stitch in the row below or into the next chain for the first row.
- Yarn over and pull a loop from the base stitch (you now have 3 loops on the hook).
- Yarn over and pull through all 3 loops on the hook.
Repeat the process across the row for an even pattern.
4. Instructions
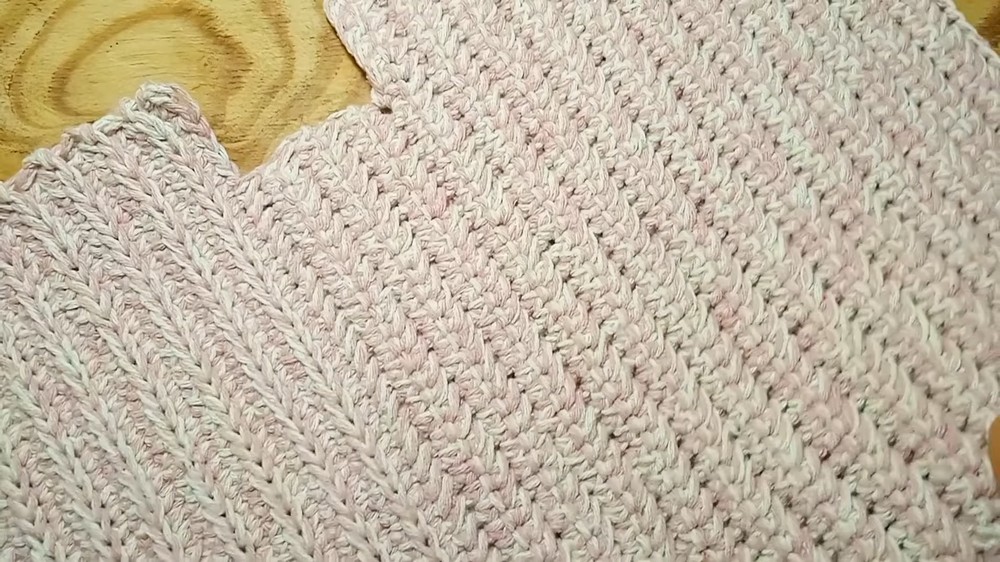
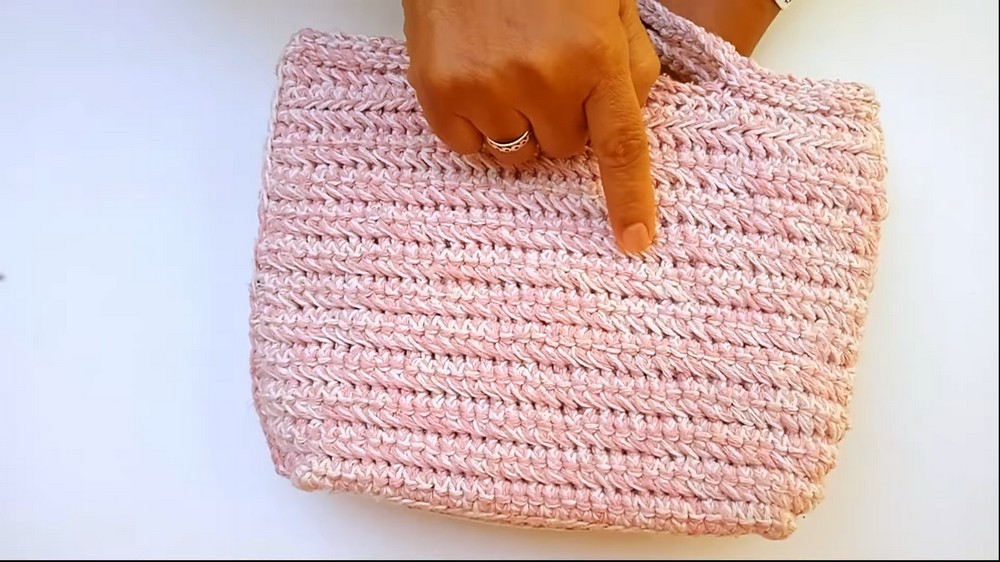
4.1. Body of the Bag
The body of the bag is worked in rows to create a flat rectangular fabric. Alternating rows of textured and single crochet are used.
- Foundation Chain:
- With both strands of barbante fio 4 held double, create a slip knot and chain (ch) 43.
- Optional: Adjust chain length if you want a wider or narrower bag. Always work even stitch counts for symmetry.
- Row 1 (Decorative Textured Stitch):
- Skip the first ch from the hook.
- Single crochet (sc) in the second ch from the hook.
- Start the decorative stitch in the next stitch:
- Insert the hook into the front loop of the previous sc and the next chain.
- Pull through one loop from the chain (3 loops on hook).
- Yarn over and pull through all loops.
- Repeat the decorative stitch until the end of the row.

Total stitches: 42.
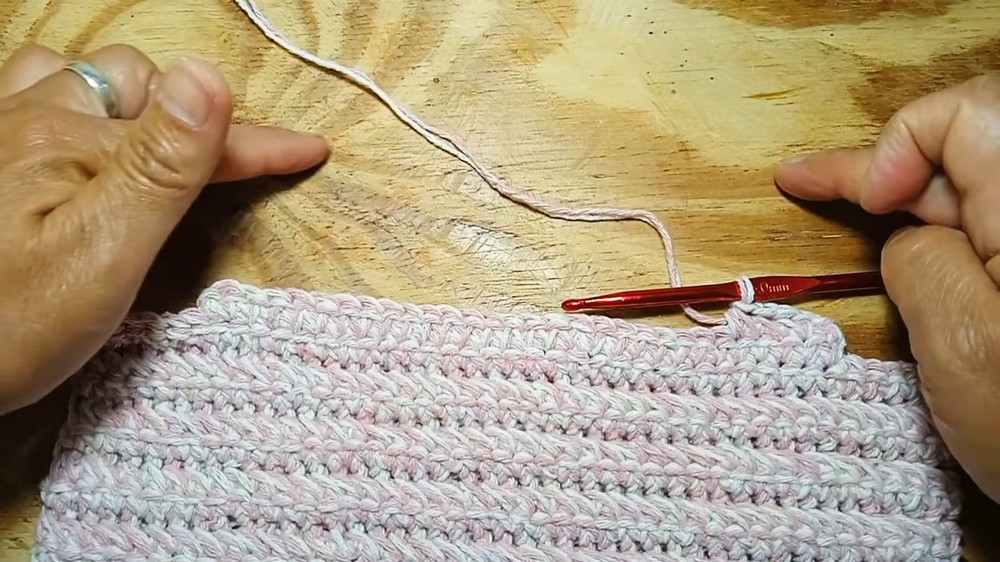
- Row 2 (Plain Single Crochet):
- Chain 1, turn.
- Insert the hook under both top loops of each stitch from Row 1, and work one single crochet into each stitch.
- Total stitches: 42.
- Row 3 onward:
- Alternate between decorative textured rows (Row 1) and plain single crochet rows (Row 2).
- Continue alternating rows until the panel reaches approximately 25.5 cm or your desired height.
4.2. Bottom Extension
- Marking the Bottom Section:
- At the bottom short edge of the bag’s rectangular panel, mark 7 stitches in from each side using stitch markers. This will leave approximately 30-31 stitches between the markers.
- These central stitches will form the bottom extension.
- Working the Bottom Extension:
- Attach yarn at the first marked stitch and chain 1 to secure.
- Work single crochet across the marked section only (30-31 stitches).
- Continue working in rows over this section, alternating between textured rows and plain single crochet rows (as above).
- Stop when the bottom extension measures 5 cm. In the video transcription, this was 6 rows.
- Fasten Off and Secure:
- Once the bottom extension is complete, cut your yarn and weave in the ends.
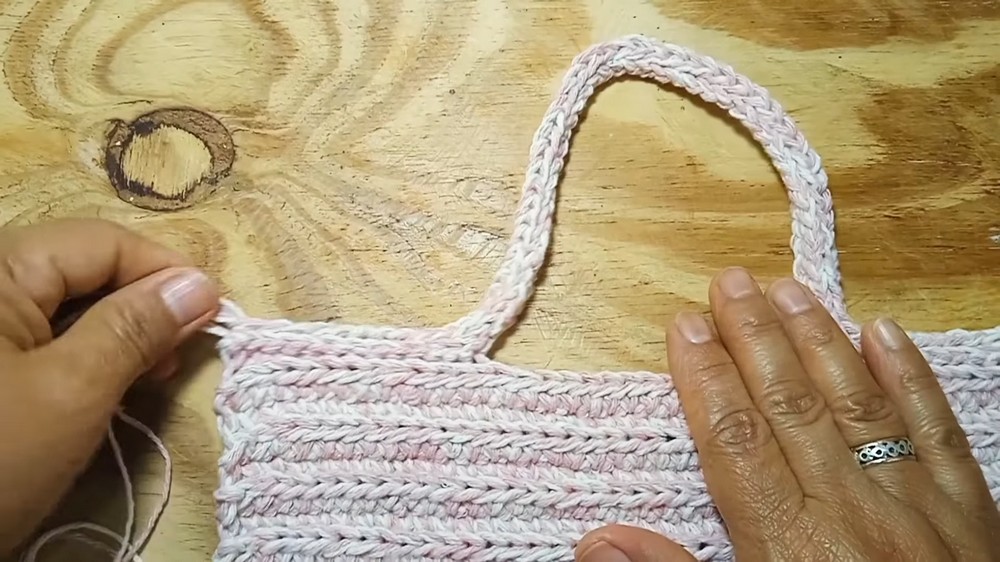
5. Handles
The handles are worked as straps attached to the top edges of the bag body.
- Marking Handle Placement:
- Count 13 stitches inward from each top corner of the bag and mark the points with stitch markers. These will serve as the handle attachments.
- Count 13 stitches inward from each top corner of the bag and mark the points with stitch markers. These will serve as the handle attachments.
- Creating the Handles:
- Attach yarn at the first marked stitch on one side, and use slip stitches (sl st) to work through the back loops of the next 13 stitches.
- Chain 42 to form the strap.
- Skip the 13 stitches on the opposite side, attach the strap with a slip stitch into the back loop of the next marked stitch, and slip stitch across the remaining 12 stitches.
- Continue with 2 additional rows of slip stitches (back loops only) to reinforce the straps.
- Finishing Both Handles:
- Repeat the process for the second handle, ensuring both are symmetrical.
6. Assembly
- Closing the Sides:
- Fold the panel in half. Using single crochet, join the front and back edges from the bottom up to the top edge.
- Work on the right side of the bag for a neat ridge along the sides.
- Closing the Bottom:
- Once the sides are closed, fold the bottom extension underneath. Using a tapestry needle or crochet hook, sew or crochet the bottom closed. Securely weave in all loose ends.
- Once the sides are closed, fold the bottom extension underneath. Using a tapestry needle or crochet hook, sew or crochet the bottom closed. Securely weave in all loose ends.
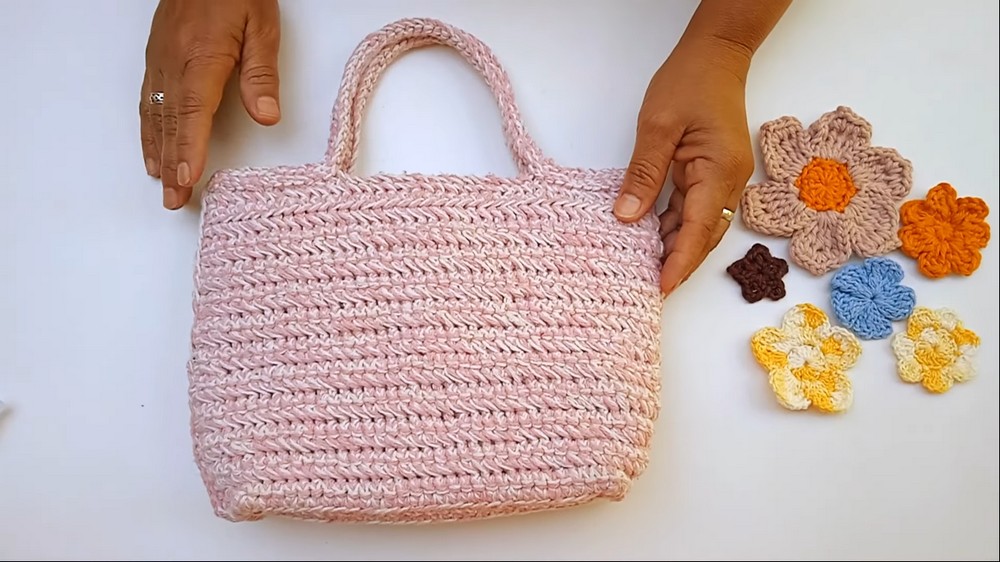
7. Adding Decorative Appliques
- Flower and Leaf Positioning:
- Use pins to secure flowers and leaves in place on the bag.
- Adjust until you are happy with their arrangement.
- Securing Appliques:
- Use fabric glue (cola pano) and apply a generous amount to the back of each flower and leaf.
- Adhere firmly to the bag and let dry for 72 hours before washing or handling.

8. Tips for Maintenance
- Wait 72 hours for fabric glue to fully cure before washing or exposing to heat.
- Hand wash in cool water to avoid damaging the appliques.
- Store in a cool, dry place and avoid prolonged exposure to sunlight to prevent fading of colors.
9. Final Thoughts
This crochet bag pattern is a delightful project offering practicality and beauty. The alternating textures and vibrant floral appliques make it stand out while being functional for daily use. With this step-by-step guide, you can create your own version, adapting colors, size, or decorations to make it uniquely yours.