
Free Crochet Mock Neck Top Pattern For All Seasons
Snag this stylish and comfy crochet mock neck top pattern for free that's for everyday wear, this design is chic, cozy, and easy to make.
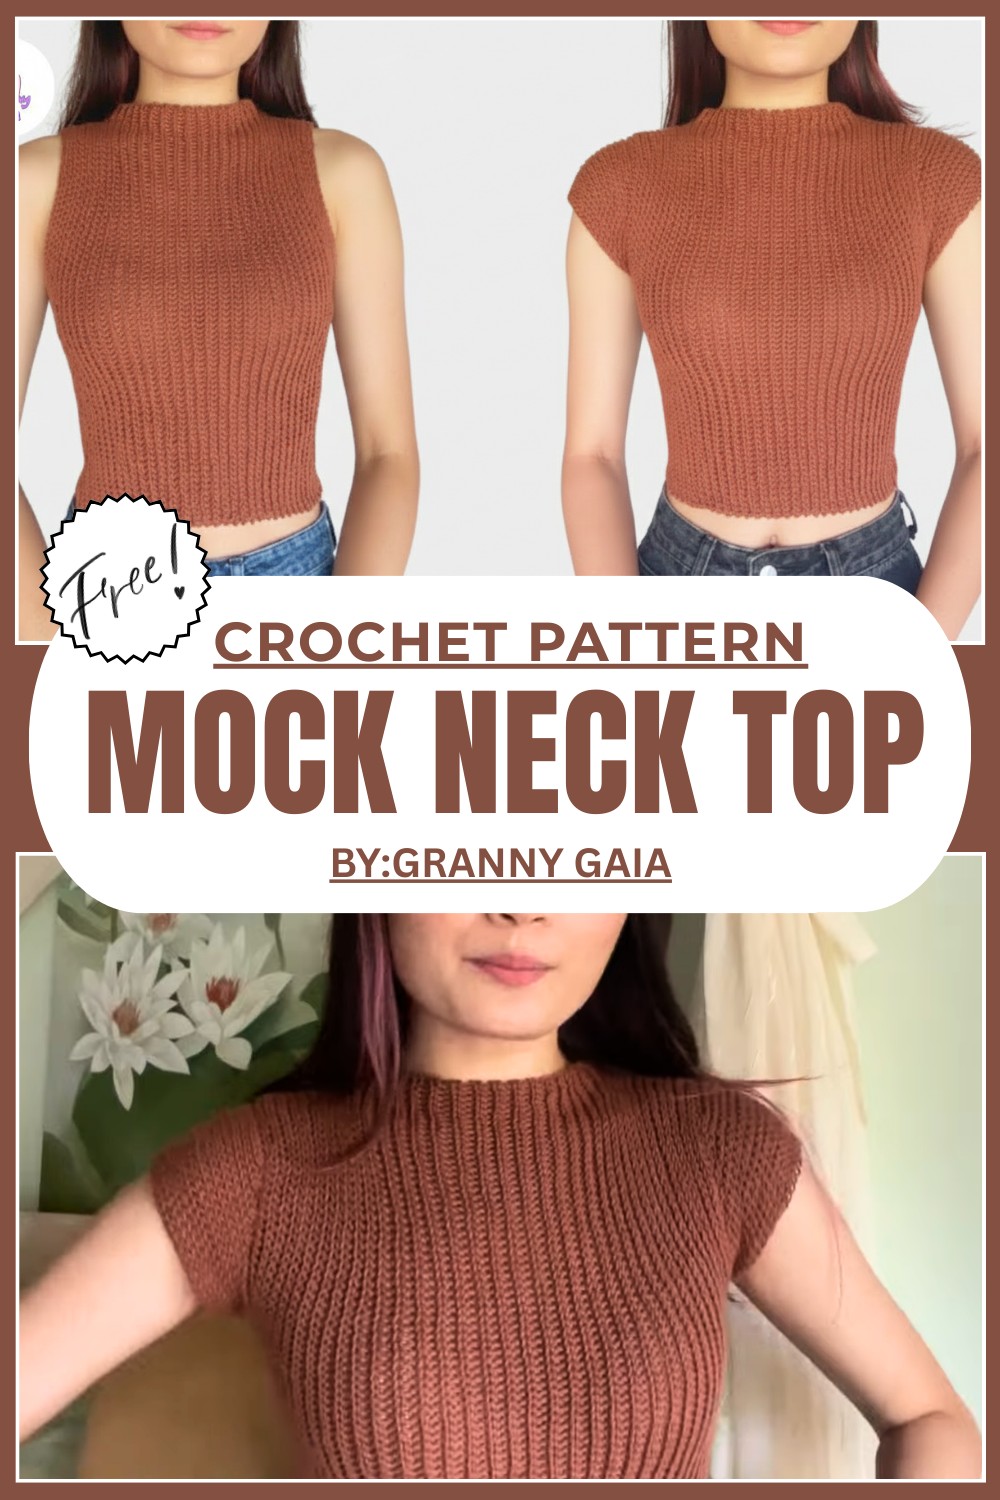
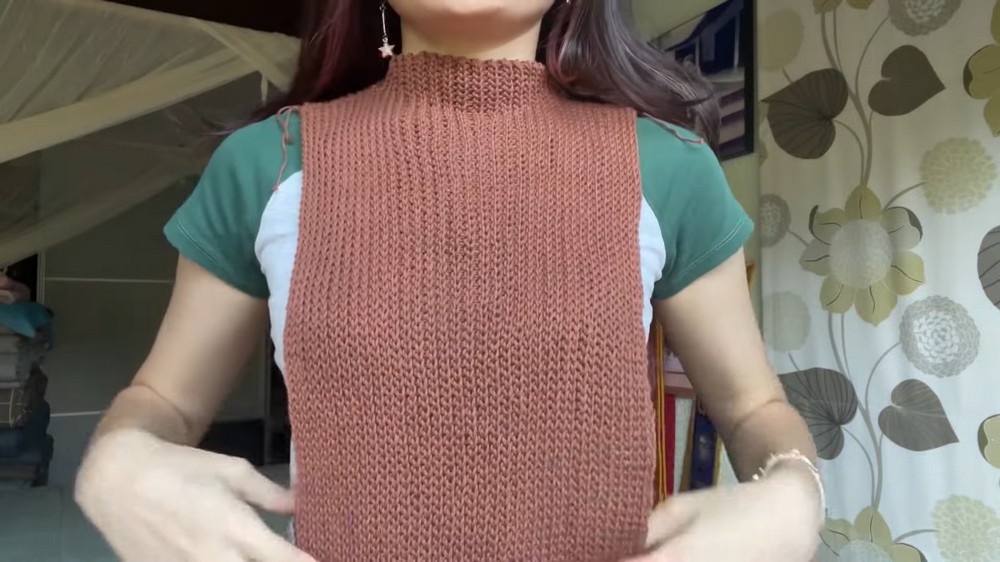
Free Crochet Mock Neck Top Pattern You’ll Ever Need
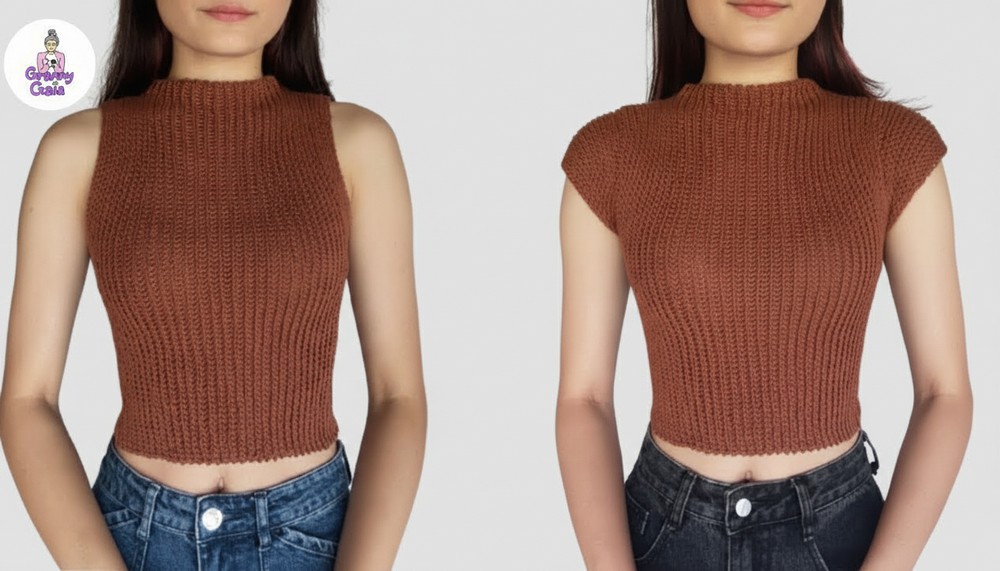
A beautifully crafted piece that blends style with comfort, the crochet mock neck top is a wardrobe essential for any season. Featuring a chic mock neck design and a soft, lightweight structure, it brings a touch of elegance to everyday wear. This versatile top transitions effortlessly from casual daytime outfits to cozy evening looks, making it a perfect choice for any occasion.

Its clean and modern silhouette flatters every body type while providing a comfortable feel that’s easy to wear all day long. Whether paired with jeans, skirts, or layered under a jacket, this crochet top adds timeless charm to any outfit. The pattern itself is simple to follow, allowing anyone to create a polished and fashionable item that feels tailored just for them. Embracing both beauty and practicality, this mock neck top is the perfect blend of fashion and functionality that you’ll want to wear repeatedly.
Finished Size
This top is customized to your body’s measurements. The tutorial includes instructions for adjusting the length, width, neckline height, and armholes. For reference, the tutorial top fits the following dimensions:
- Cap sleeve version:
- Sleeve length: ~8.5cm.
- Sleeve end width: ~14cm.
- Neckline height: ~3.5cm.
- Stretchy, fitted design for a precise and comfortable feel.
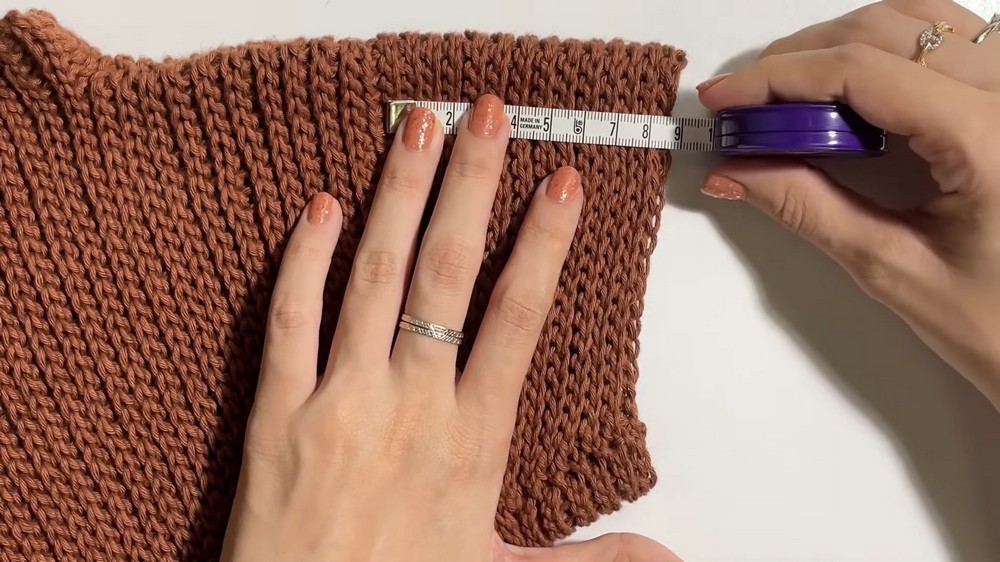
Gauge
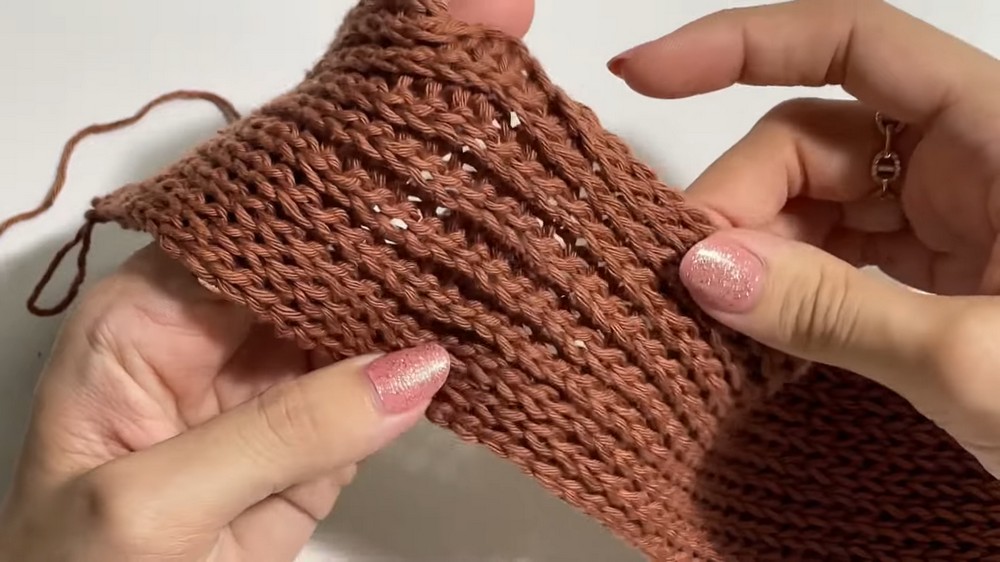
Since this pattern uses slip stitches in the back loop only, the gauge may vary. A sample gauge:
- 5 raised rows = ~3cm when stretched.
Adjust your hook size or tension according to your desired fit.
Materials
- Yarn: Sport-weight yarn (#2 weight). The example uses 100% cotton. Adjust yarn weight if needed for different sizes or seasons.
- Hook: 4.5mm crochet hook. Adjust if using a different yarn.
- Tape Measure: To keep track of measurements for a perfect fit.
- Stitch Markers: To mark key points such as first stitches, neckline sections, and armholes.
- Tapestry Needle: For seaming and weaving in ends.
- Scissors: For cutting yarn.
Skill Level
- Intermediate: Ideal for those comfortable with slip stitches and made-to-measure techniques.
Abbreviations (US Terminology)
- Ch: Chain
- Sl St: Slip Stitch
- St/Sts: Stitch/Stitches
- YO: Yarn Over
Special Techniques
1. Slip Stitch (Sl St)
- Insert hook into stitch, YO, pull through both loops on the hook.
- Always crochet loosely to avoid tight tension.
2. Slip Stitch in Back Loop Only (BLO)
- Insert hook into the back loop only of the stitch (the loop furthest from you), YO, and pull through both loops.
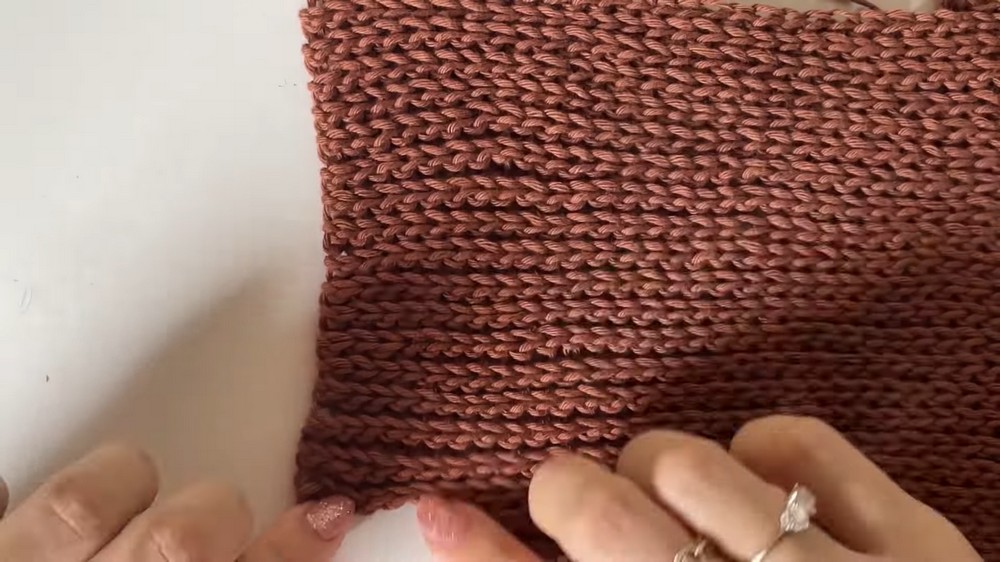
- This creates a stretchy, ribbed texture.
3. Decrease (Slip Stitch Two Together)
- Insert hook into the BLO of the next stitch.
- Insert hook into the BLO of the following stitch.
- YO and pull through all loops on the hook.
Pattern Instructions
Overview
- Panels: Create two identical panels for the front and back.
- Neckline and Shoulders: Modify rows for the mock neck and shoulder shaping.
- Seaming: Seam the shoulders and sides for a fitted top.
- Sleeves (optional): Add cap sleeves or long sleeves.
- Finish Edges: Clean up armholes and neckline.
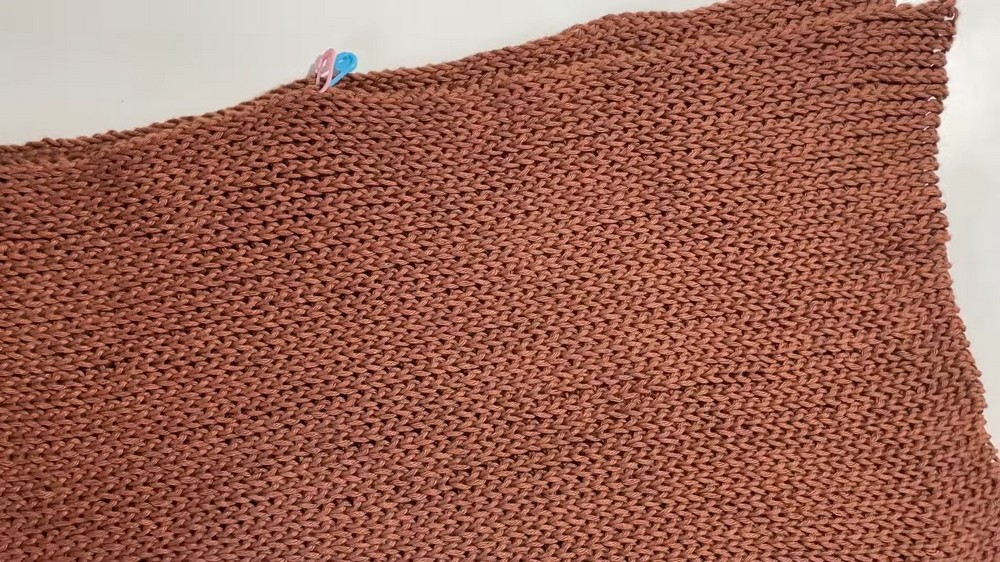
Part 1: Front and Back Panels
Step 1: Foundation Chain (Length of the Top)
- Create a slip knot.
- Ch the length of your top:
- Measure from the top of your shoulder to where you want the top to end.
- Add 3 extra chains to account for shrinkage caused by slip stitches.
- Example: Top length ~40cm requires ~43 chains.
Step 2: Row 1 (Slip Stitch Row)
- Ch 1 (turning chain).
- Starting from the second chain from the hook, work Sl St into each chain.
- Ensure your tension is loose.
- Mark the first stitch with a stitch marker.
- When you finish the row, Ch 1, turn your work.
Step 3: Rows 2 Onward (Slip Stitch in Back Loop Only)
- Insert hook into the BLO of the first stitch and work a Sl St. Mark the first stitch.
- Repeat Sl St in BLO of every stitch until the end of the row.
- At the end of the row, Ch 1, turn your work.
Step 4: Achieving the Desired Width
- Continue making rows of Sl St in BLO, following the instructions above.
- Stretch the fabric while measuring: The width should stretch from the start of your shoulder to your neck.
- Example: 10 raised rows (~6cm) for a snug fit.
Part 2: Mock Neck
Step 1: Adding Height
- Ch the desired height of your mock neck:
- Measure from your shoulder to the desired mock neck height. Example: ~3.5cm = ~6 chains.
- Add 1 chain for turning.
Step 2: Shaping the Mock Neck
- Row 1 of Mock Neck:
- Skip the first turning chain, work Sl St into the second chain.
- Work Sl St into each chain, then continue with Sl St in BLO into the shoulder section.
- At the end, Ch 1, turn your work, and continue rows of Sl St in BLO for the mock neck.
- Stretch and measure: The mock neck should cover the front of your neck, from side to side.
Part 3: Shaping the Second Shoulder
Step 1: Mark Shoulder Rows
- Determine the number of mock neck rows and ensure the remaining rows match the first shoulder section.
- Example: Shoulder = 9 raised rows.
- Example: Shoulder = 9 raised rows.
Step 2: Working the Second Shoulder Panel
- Continue rows of Sl St in BLO, skipping the mock neck stitches and turning at the appropriate row based on your marking.
Step 3: Duplicate Panel
- Create an identical second panel.
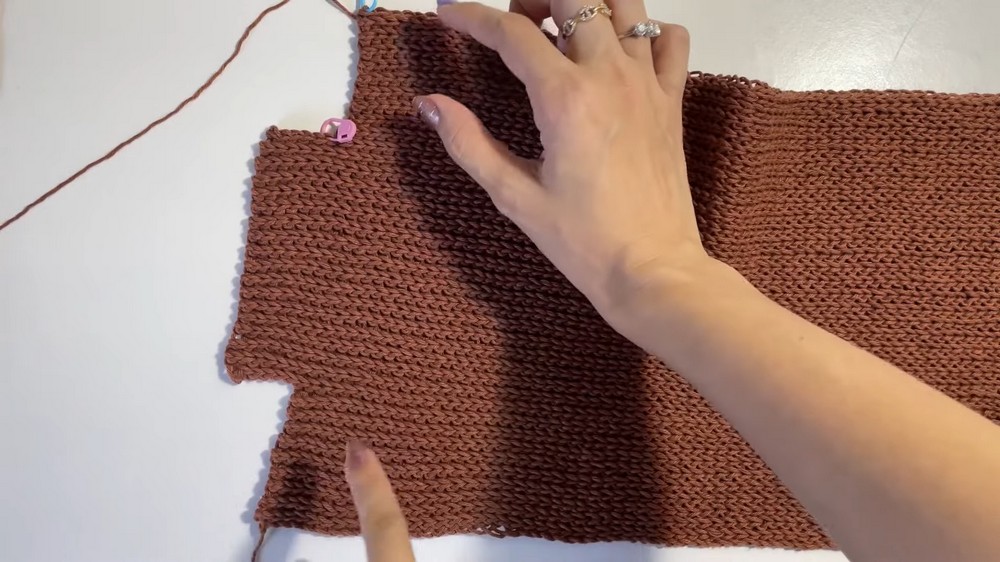
Part 4: Seaming the Shoulders and Sides
Step 1: Join the Shoulders
- Hold the panels together with wrong sides facing out.
- Work Sl St joins through corresponding BLO of both panels at the shoulders.
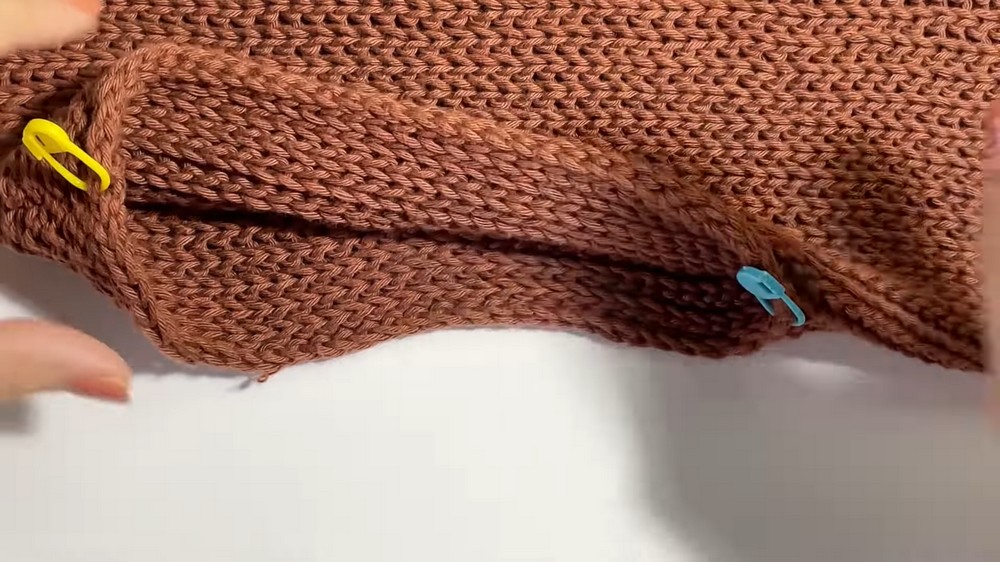
Step 2: Seam the Sides
- Mark the armhole length (e.g., 20cm from the shoulder seam for the armhole).
- Work slip stitch seams along the sides, stopping at the armhole markers.
Part 5: Finishing and Optional Sleeves
Sleeves (Cap or Long)
- Cap Sleeve:
- Work Sl St in BLO around the armhole, slipping every 4th stitch for slight shaping.
- Work Sl St in BLO around the armhole, slipping every 4th stitch for slight shaping.
- Long Sleeve:
- Extend the cap sleeve by working additional Sl St rows in BLO, adjusting for arm taper with decreases every few rows.
Finishing Edges
- Add a round of Sl St around the neckline and armholes for clean edges.
Customization Ideas
- Length Variations: Extend the foundation chain for a longer top or crop it for a shorter design.
- Sleeve Options: Create full-length sleeves for a cozy winter version.
- Colors and Stripes: Use color-changing yarn for a gradient effect or stripes for a playful touch.
- Surface Embellishments: Add decorative edging or beads for a unique finish.
Conclusion
Congratulations on completing your mock neck top! Its stretchiness and elegant design make it a timeless addition to your wardrobe. Enjoy experimenting with colors and sleeves to create customized versions for every season.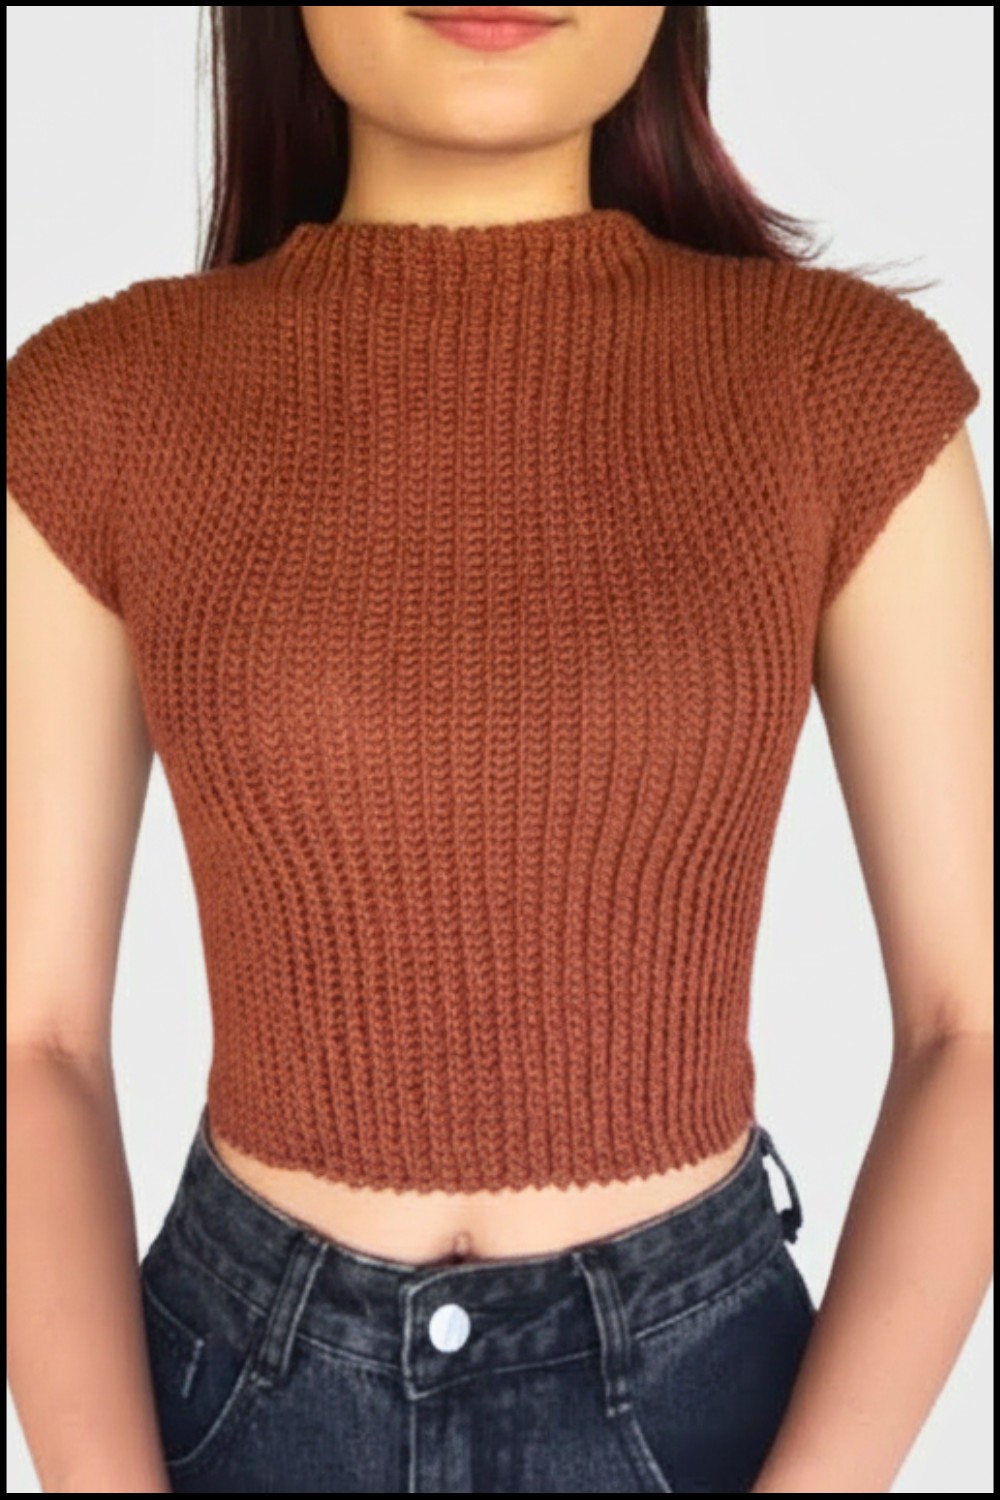
Tips to Maintain the Top
- Washing: Use gentle, cold water washes to preserve the elasticity.
- Blocking: Lightly block to smooth seams, especially for natural fibers.