
Free Crochet Off Shoulder Top Pattern with Modern Twist
Chic summer style shines through the Free Crochet Off Shoulder Top Pattern, giving a light and graceful layer perfect for warm days and breezy evenings.
Warm evenings often inspire lighter wardrobes, and a handmade garment can capture that relaxed feeling in the most personal way. This Free Crochet Off Shoulder Top Pattern offers a stylish option for those who enjoy breathable layers and effortless elegance during summer gatherings or casual outings. The open neckline keeps shoulders cool while adding a graceful touch that suits both beach strolls and evening dinners.
Glam Vibes Crochet Off Shoulder Top Pattern to Wear Anywhere

Working the rows involves a straightforward sequence of stitches arranged to achieve a soft drape that flatters different body shapes. The pattern provides guidance for maintaining consistent tension so the top fits comfortably without sacrificing shape. With its airy structure, it can be worn on its own during sunny days or paired with a light cardigan when temperatures dip.
The finished piece is more than a simple garment; it becomes a versatile part of a seasonal wardrobe. Whether matched with high-waisted skirts, denim shorts, or tailored trousers, the top shifts easily from casual daytime wear to a more polished evening look. The Free Crochet Off Shoulder Top Pattern encourages a satisfying project that results in a chic garment, offering both style and practicality while highlighting the charm of a handmade wardrobe essential that can be worn across multiple occasions.
Materials Needed
- Yarn: Weight 4 yarn.
- Crochet Hook: 5mm crochet hook.
- Scissors
- Needle
- Stitch Markers
Step-by-Step Instructions
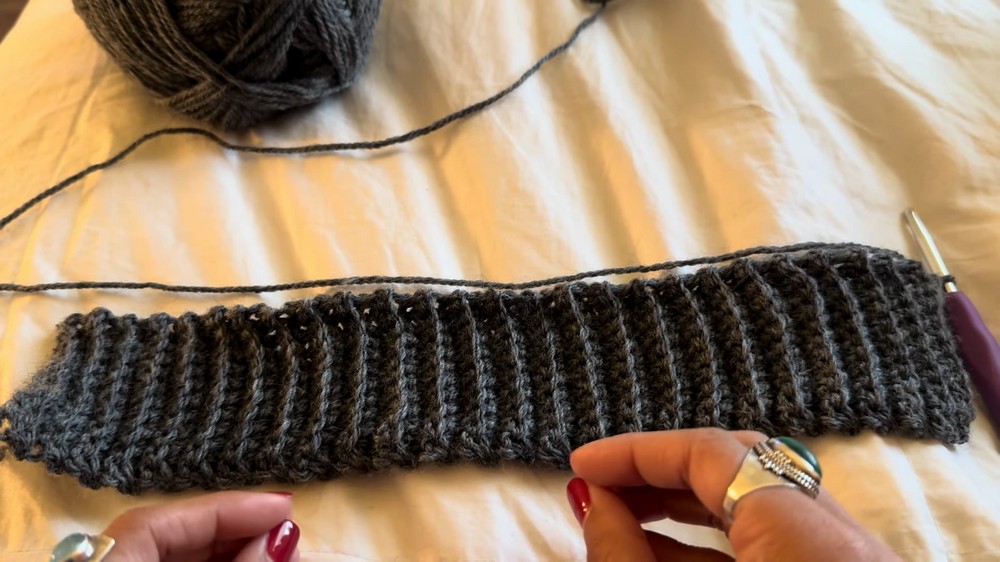
Step 1: Starting with the Bottom Ribbing
- Slip Knot and Chain: Begin with a slip knot and then chain 12.
- Single Crochets: Skip the first chain and start single crocheting into the second chain from your hook. Continue single crocheting in each chain all the way down the row.

- Chain One and Turn: At the end of the row, chain one and turn your work.
- Back Loops Only: Work single crochets into the back loops only of the previous row to create texture. Repeat this process until your ribbing reaches the desired width to fit the front side of your waist (e.g., 15 inches).
Step 2: Building the Body of the Top
- Chain Two: After achieving the desired width, chain two and start working half double crochets across the entire row.
- Half Double Crochets: Yarn over, insert your hook into the stitch, yarn over again, pull through all three loops on your hook. Continue this stitch across the entire row.
- Continue Rows: Chain two at the end of each row, turn your work, and repeat half double crochets. Continue until the piece measures up to your armpit or desired length.

Step 3: Adding Sleeves
- Chain for Sleeves: To start the sleeves, chain 18 (or the number required to comfortably fit around your arm).

- Half Double Crochets for Sleeves: Work half double crochets in each chain stitch, then continue across the row to join the sleeve to the body.
- Repeat for Second Sleeve: Once you reach the other side, chain 18 again for the second sleeve and continue working half double crochets to join both sleeves to the body. Ensure both sleeves match in length.
Step 4: Completing the Front Panel
- Continue Half Double Crochets: Continue working half double crochets until you reach the desired length for the front side, up to your neck area.
- Finished Front Panel: Once completed, set aside the front panel.

Step 5: Creating the Back Panel
- Back Panel: Follow the same steps as the front panel but work fewer rows (around 11 rows) to leave a backless design.
- Join Panels: Align the front and back panels and prepare to stitch them together using the yarn tail.

Step 6: Stitching Panels Together
- Stitch Together: Using a needle, stitch the sides and shoulder seams together. Make sure to connect stitches neatly to avoid crooked seams.
- Weave in Ends: Weave in any remaining yarn ends to tidy up the finished top.

Special Features
- Textured Bottom Ribbing: Working into the back loops only creates a beautiful textured ribbing detail.
- Beginner-Friendly: Simple stitches (single crochet, half double crochet) make this project easy to follow.
- Customizable Fit: Adjust measurements based on your body size for a perfect fit.
Level of Difficulty
The project is designed for beginners. Basic knowledge of crochet stitches (single crochet and half double crochet) is required, but each step is thoroughly explained, making it accessible even to new crocheters.
Tutor’s Suggestions
- Use Stitch Markers: They can help track your progress and ensure you don’t miss stitches.
- Wiggle Hooks: If stitches are difficult to find, wiggle your hook to locate and work them.
- Be Patient: Take your time to avoid mistakes and ensure a neat, professional-looking finish.
Uses
- Casual Wear: Perfect for casual outings or as a stylish summer top.
- Gifts: Handmade tops make thoughtful and unique gifts.
- Practice: Great project for practicing and perfecting basic crochet techniques.
Conclusion
Creating an off-the-shoulder top with crochet is a fun and rewarding experience. By following this beginner-friendly tutorial, you can make a stylish and comfortable garment that showcases your crafting skills. Patience and attention to detail will ensure that your top looks professional and fits well. Enjoy the process and wear your new top with pride!
Tip for Success
Consistency is Key: Ensure consistent stitch tension throughout the project to maintain an even texture and professional finish. If necessary, take breaks and revisit sections to improve the overall look of your top.