
Stylish Free Crochet Diamond Top Pattern with Easy Steps
Shine in style with this Free Crochet Diamond Top Pattern and create breezy tops that add a sparkling touch to your wardrobe and sunny day outfits.

Adorable Free Crochet Diamond Top Pattern to Try This
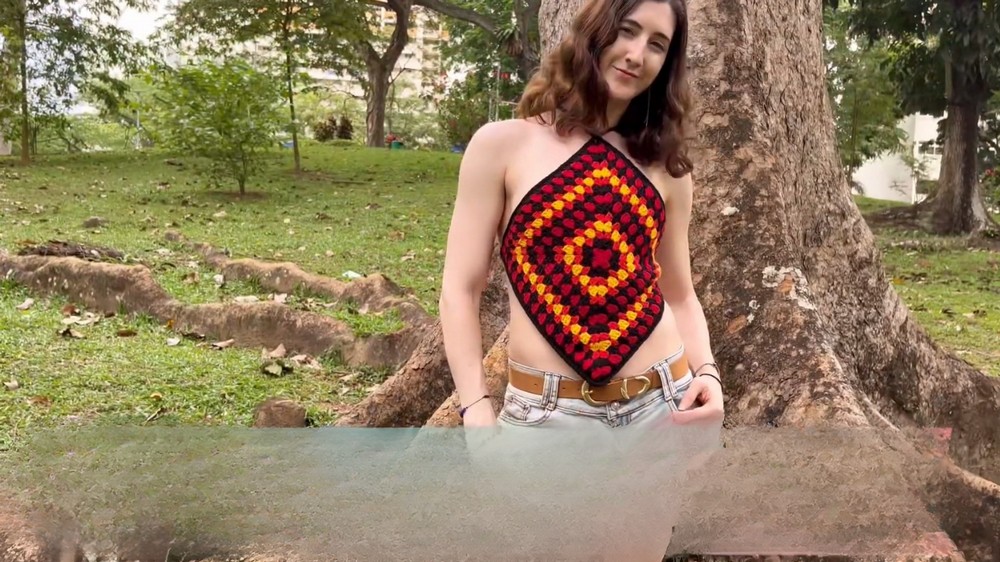
Imagine creating a handmade piece that combines elegance and simplicity in every stitch. The crochet diamond top pattern is a stunning design that features intricate yet easy-to-learn diamond shapes, giving the top a uniquely beautiful look. Perfect for casual afternoons or dressing up for special occasions, it carries a timeless charm that fits into any wardrobe effortlessly. The diamond pattern adds texture and sophistication, making it a standout piece without requiring overly complex skills. This top is not only breathable and lightweight but also versatile—pair it with jeans for a laid-back style or a skirt for a polished finish. Its customizable nature allows you to tailor it to your preferred size and color, making it even more special and personal. Whether you're looking to enhance your crochet skills or create a graceful addition to your collection, this free crochet diamond top pattern is a perfect choice!
Crochet Diamond Granny Square Top Pattern
Materials
- Yarn: Four different colors of medium-weight yarn (or #4 worsted weight yarn).
- Color A: The primary color (used for the first and ending rows).
- Colors B, C, D: Accent colors to create the diamond pattern.
- Crochet Hook: 4mm hook (or size suitable for your yarn).
- Scissors: Sharp scissors for cutting yarn and fabric.
- Tapestry Needle: For weaving in ends.
- Optional Lining: Scrap fabric of your choice (a color that complements your top).
- Thread and a sewing needle (if lining).
- Blocking Tools: Pins, blocking mat/foam, towels, and a water spray bottle or steamer.
Gauge
Gauge isn’t critical for this project, but for reference:
- One completed granny square round (up to 7 rounds): Measures approximately 16–17 inches across.
Finished Size
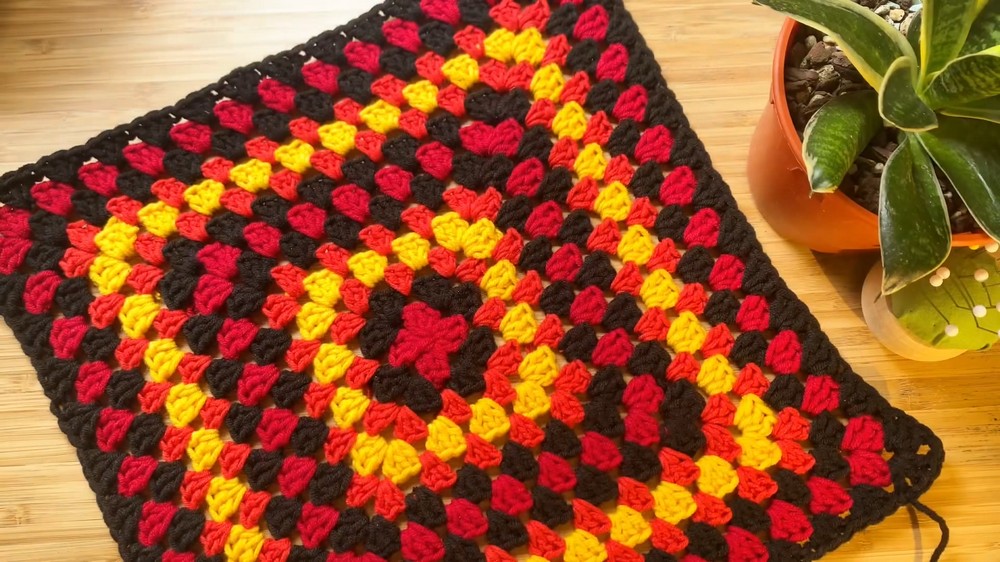
- The pattern creates one large granny square, approximately 16–17 inches in diameter, that functions as a diamond-shaped crop top. Adjust the size of your granny square by adding more rows for larger dimensions.
- Strap Length: Approximately 150 chains per strap, but can be adjusted for your comfort and desired fit.
Pattern Overview
The granny square top is made using double crochet clusters to create a large, bold design. After completing the square, you'll add finishing details: a slip stitch border, adjustable straps, optional lining, and block the project for a smooth, tailored finish.
Step-by-Step Instructions
Step 1: Create the Granny Square
- Begin with Color A:
- Make a slip knot and attach it to your hook.
- Chain 4, then slip stitch into the first chain to create a ring.
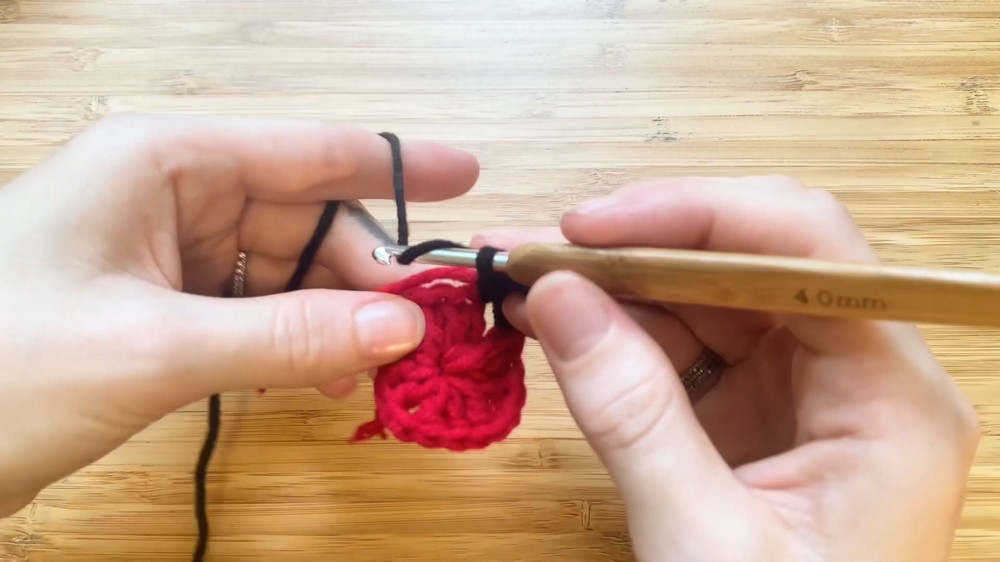
- Round 1:
- Ch 3 (counts as the 1st DC), then work 2 DC into the center of the ring.
- Ch 2 (this forms a corner).
- Work 3 DC into the center of the ring. Repeat this pattern (3 DC, Ch 2) 3 more times until you have 4 clusters, separated by ch 2 spaces.
- Slip stitch into the top of the starting ch 3 to finish. Cut and secure yarn.
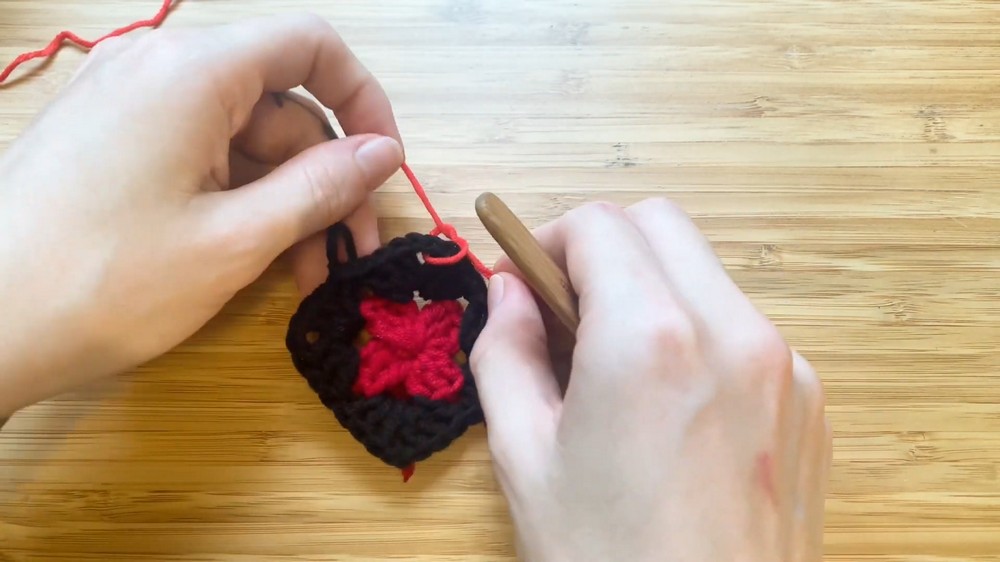
- Change to Color B (Row 2):
- Attach Color B with a knot in any ch-2 corner space. Pull the yarn through and chain 3 (counts as the 1st DC).
- In the same corner space, work 2 more DC, Ch 2, and 3 DC.
- In the next corner space, work 3 DC, Ch 2, and 3 DC.
- Continue this pattern into each of the 4 corner spaces.
- Slip stitch into the top of the starting ch 3, cut and secure yarn.
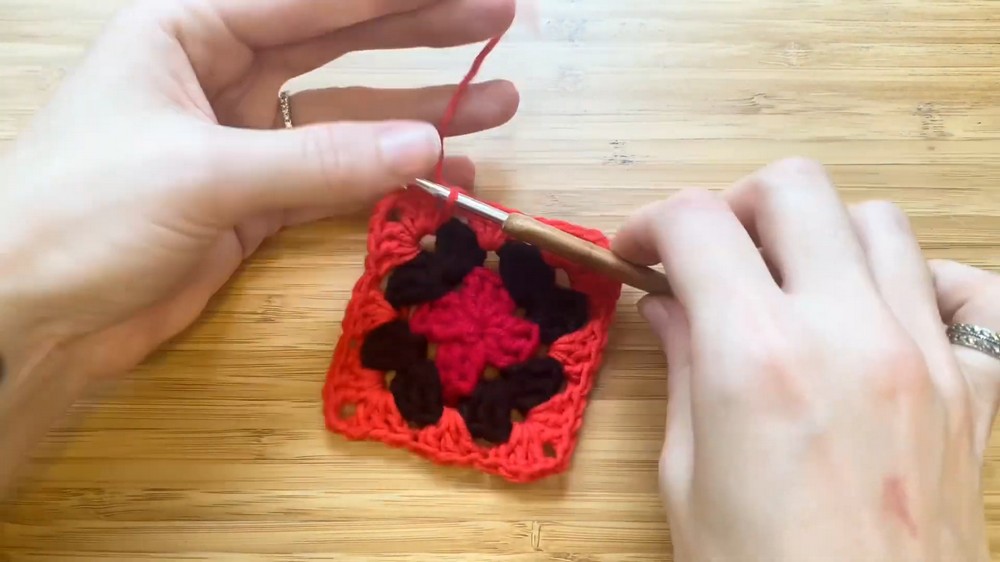
- Add Color C (Row 3):
- Attach Color C into any corner space and chain 3.
- In each corner space, work 3 DC, Ch 2, 3 DC.
- In each side space (between corners), work 3 DC.
- Repeat this pattern, ensuring each round adds an additional cluster per side of the square.
- Continue Adding Rows:
- Follow the same format from previous rows.
- Use the color sequence A → B → C → D → C → B → A, alternating colors row by row.
Step 2: Add Border
- With your final color (usually Color A), add a slip stitch border for a neat finish:
- Attach yarn to any corner space.
- Work slip stitches into each stitch and chain space around the square.
- Once you return to the starting corner, join with a slip stitch and fasten off.
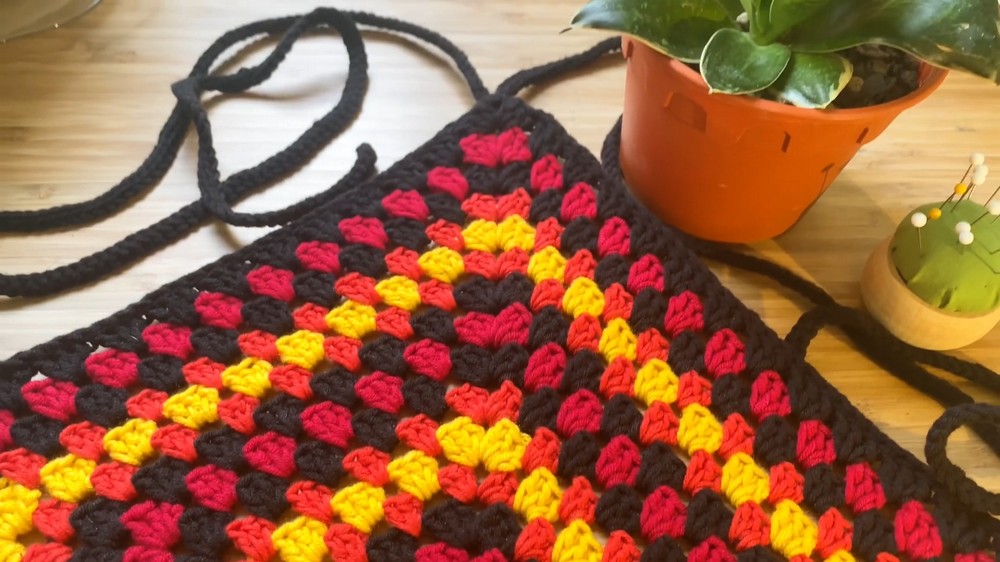
Step 3: Add Straps
- Positioning the Straps:
- Decide which corner will sit at the top of the diamond (front/back of your top).
- Straps will be attached to opposite corners at the top.
- First Strap:
- Attach yarn to a corner space.
- Chain 150 (or your preferred length, ensuring it is long enough to crisscross your back and tie securely).
- Turn, then slip stitch down the entire length of the chain. Insert your hook into the small bump at the back of each chain for a clean, professional finish.
- Slip stitch into the starting corner space and fasten off.
- Second Strap:
- Repeat the same steps for the second strap on the opposite corner at the top of the square.
Step 4: Blocking
- Purpose: Blocking relaxes the yarn, smoothens stitches, and provides a crisp, uniform shape.
- Process:
- Lay your top on a folded towel or blocking mat.
- Pin the edges in place to form a perfect square/diamond shape.
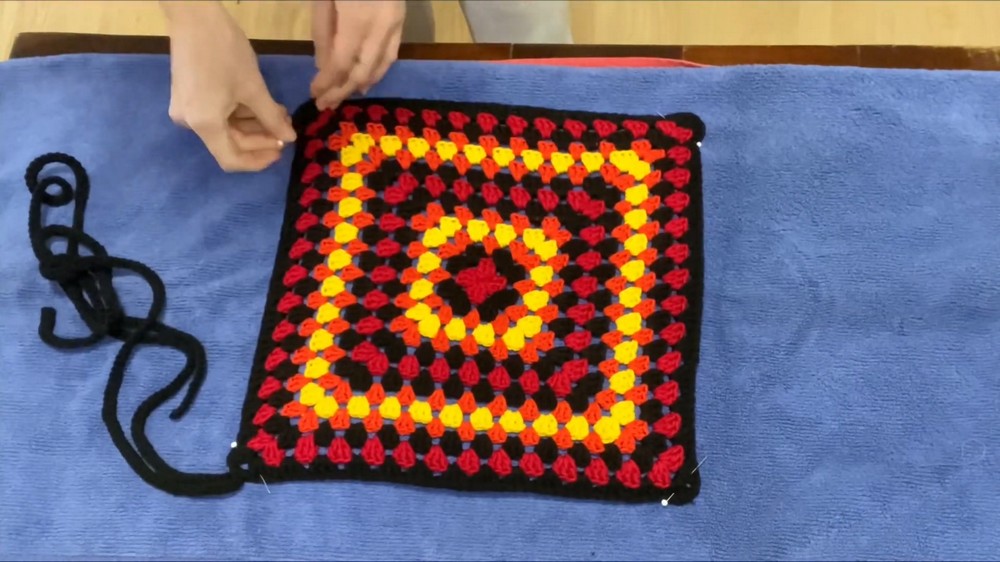
- Spray with water or steam. Allow it to air dry completely.
- Once dry, remove pins, and your piece will be beautifully shaped.
Step 5: Optional Fabric Lining
- Cut the Fabric:
- Cut the lining to match the measurements of the granny square. Leave an additional half-inch margin on all sides to fold under for a neat edge.
- Attach the Lining:
- Align the fabric wrong side facing up on the back of the square.
- Pin it into place, ensuring it doesn’t obstruct the straps.
- Hand-sew or machine-stitch the fabric in place using a zig-zag or double seam to secure.
- Optional: Use contrasting thread for a decorative effect.
Tips for Success
- Adjusting Size:
- Add or subtract rows to the granny square to increase or decrease the top’s size.
- Adjust the strap length based on your personal preference and fit.
- Choose Colors Wisely:
- Consider colors that gradient well for a cohesive, stylish finish. For bold contrast, use complementary colors.
- Add Embellishments:
- Embroider designs (e.g., flowers, vines) onto the granny square or lining for extra flair.
- Add beads or tassels to the end of the straps for a fun detail.
- Care: Hand-wash your top in cold water and lay it flat to dry to maintain its shape and prevent stretching.
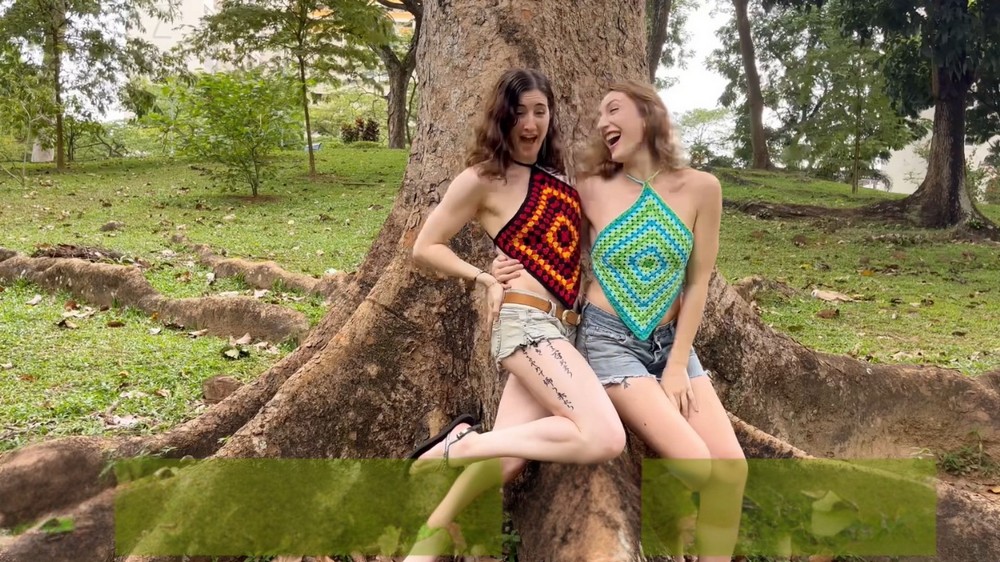
Conclusion
Congratulations on completing your Diamond Top! This versatile piece can be styled for summer outings, festivals, or casual wear. The bold granny square design paired with your chosen colors makes this top personal and unique. If you’ve added a lining, it’s now functional as well as stylish.
Important Remarks
- Final Look: A bold, diamond-shaped top with vibrant colors, clean slip-stitch edges, and sturdy straps that crisscross at the back.
- Customization Options: Adjust the size of the granny square or add straps in different widths for a unique look.