
Sweet Crochet Cross Bag Pattern Adding Cute Style
Show off your style with the Crochet Cross Bag Pattern and enjoy a versatile bag that combines function and charm for everyday use or thoughtful gifts.
Add a stylish, handmade touch to your accessories with a crochet cross bag pattern that’s both trendy and practical! Perfect for carrying daily essentials, this crossbody bag offers hands-free convenience while letting your creativity shine. Choose earthy tones for a natural, boho vibe or vibrant colors to create a bold statement piece.

Graceful Crochet Cross Bag Pattern With Soft Chic Details
This pattern is beginner-friendly and a fantastic way to use up leftover yarn. Lightweight yet durable, it’s great for errands, festivals, or travel, delivering a blend of functionality and personality. With this pattern, you’ll have a one-of-a-kind bag that’s as beautiful as it is useful!

Materials Needed:
- Yarn:
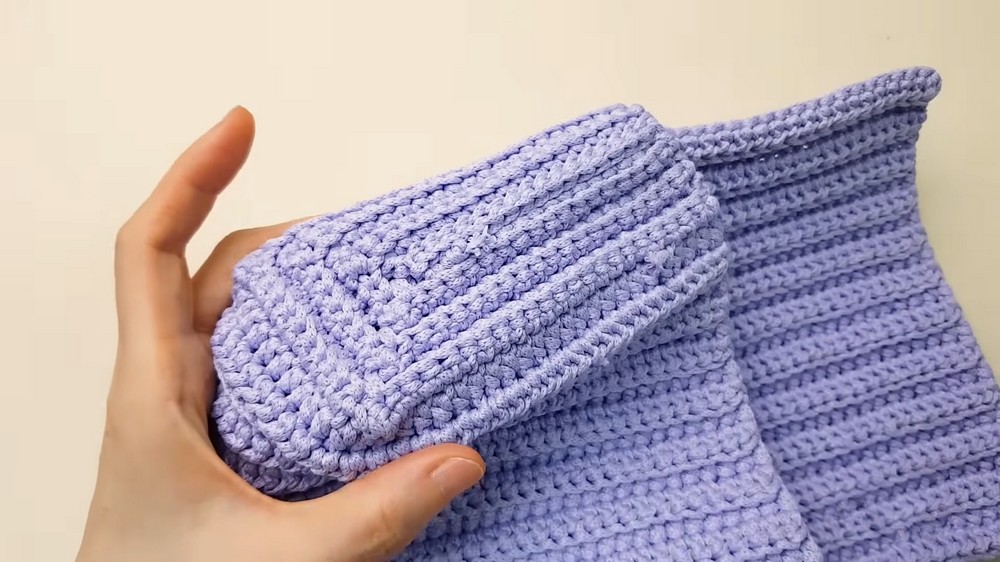
- Recommended: Thick and sturdy yarn such as Dopo or textured yarn for strong structure (choose luxury colors like cocoa, lavender, gray, or golden).
- Quantity: Enough for the bag size and straps, plus any optional decorative accents.
- Crochet Hook:
- Size 6 mm hook.
- Magnetic Button:
- For bag closure. Choose according to the bag’s size and aesthetic preferences.
- Decorative Button/Jewel Button (Optional):
- Select a button that complements your bag’s design for additional flair.
- Additional Tools:
- Pair of sharp scissors.
- Tapestry needle for sewing and weaving in loose ends.
- Stitch markers for tracking stitches/segments during construction.
- All-purpose glue (optional): Useful for securing yarn ends to prevent unraveling.
Skill Level:
Beginner to Intermediate – Simple stitches, back-and-forth rows, and assembly steps are required.
Abbreviations (US Crochet Terminology):
- CH: Chain
- SC: Single Crochet
- SL ST: Slip Stitch
- Short Knit: Refers to Single Crochet (SC) in this pattern.
- Long Knit: Refers to Double Crochet (DC) in this pattern.
- Gathered Knit: Group stitches worked together in one motion (used for edges).
Special Notes:
- The instructions assume tight tension for a compact, structured bag. Adjust hook size if desired.
- Customize the width, length, and cover size by modifying the starting chains and number of rows in each section.
- Mark sections like the cover, sides, and bottom with stitch markers to maintain symmetry during construction.
Step-by-Step Instructions
Bag Base:
- Foundation Chain:
- CH 80 stitches for the complete bag length (cover+bottom+front+back).
- This setup assumes: 24 stitches for one side (front/back), 12 stitches for the bottom, and extra for the fold-over cover.
- Adjust the chain count as needed for larger or smaller bags.

- Row 1:
- Starting in the 2nd CH from the hook, work one DC (Long Knit) into each chain across the row (80 stitches total).
- At the end of the row, CH 1 and turn your work.
- Rows 2-23:
- Repeat: Work 1 DC into every stitch across the row (80 stitches each row).
- Always CH 1 and turn at the end of each row.
- Tip: Keep the stitches tight for a more structured appearance.

Note: By Row 23, the bag will begin to take shape. Ensure straight edges by maintaining consistent tension as described in the Special Notes.
Bag Bottom:
- Mark Center Points with Stitch Markers (Row Count Reference):
- Divide the bottom section into 12 stitches for symmetry.
- Shaping Rows for Bag Bottom:
- Reduce stitches gradually by working gathered knits at the marked points.
- Example: At the bottom stitches (marked), SC 3 stitches together at 2 sections where the rings are placed.
- Repeat for 6 Rows:
- Continue shaping with gathered knits until the center stitches (12) are reduced to 1 stitch.
- This creates a neat, structured bottom fold.

Bag Sides:
- Divide Stitches Along Rows:
- Place stitch markers for 24 stitches (front/back), 12 stitches (bottom). Ensure even sides and symmetry.
- First Side:
- Using your working yarn, SL ST the sides together. Work one SL ST into single strands of yarn from the corresponding stitches of each side.
- This ensures a neat seam.
- Second Side:
- Repeat the same procedure as the first side. Ensure uniformity using stitch markers.
- Repeat the same procedure as the first side. Ensure uniformity using stitch markers.
- Finalize the Seams:
- Tighten each SL ST to prevent openings.
Bag Cover:
- Work the Cover:
- Continue the rows beyond the front section to form a foldable flap.
- CH 1, turn, and work SC rows until the flap is the desired length.
- Decorative Edge (Optional):
- Use shrimp knit (crab stitch) around the edge of the flap and bag to create a neat, thickened edge.
- Refer to shrimp knit details (described in the Straps section below).

Straps:
- Create the Strap:
- CH a desired length for the strap (measure for shoulder or crossbody fit).
- Shrimp Knit Instructions:
- Work shrimp knit across the CH to strengthen the strap:
- Insert hook behind the yarn, wrap, pull through.
- Repeat by turning slightly for a twisted appearance.
- Work shrimp knit across the CH to strengthen the strap:
- Attach the Straps:
- Pinch slightly at the connection points (for added stability) and sew straps on either side of the bag using a tapestry needle.
Closure:
- Magnetic Button:
- Attach the magnetic button to the cover and bag body (centered placement). Ensure consistency by lightly folding the bag to measure button placement over possible contents inside.
- Decorative Button (Optional):
- Sew a jewel or decorative button onto the magnetic closure area to enhance the bag’s aesthetic.

- Sew a jewel or decorative button onto the magnetic closure area to enhance the bag’s aesthetic.
Conclusion:
This beautiful corduroy crochet bag balances functionality and style with structured edges, a foldable cover, and a three-dimensional texture. Beginners can enjoy its simplicity while maintaining a polished, professional finish. Its versatile design allows for easy resizing, making it a suitable project for personalization or gifting.
Pattern Correction:
If stitches or rows seem uneven or narrow during construction:
- Check tension periodically.
- Ensure marker placements are accurate for bottom and side shaping.

Tips for Success:
- Use Tight Stitches: A firm tension adds structure and durability to the bag.
- Recheck Measurements: Frequently measure the length and width to ensure symmetry and straight edges.
- Glue for Security: Apply all-purpose glue to the ends of yarn to prevent unraveling.