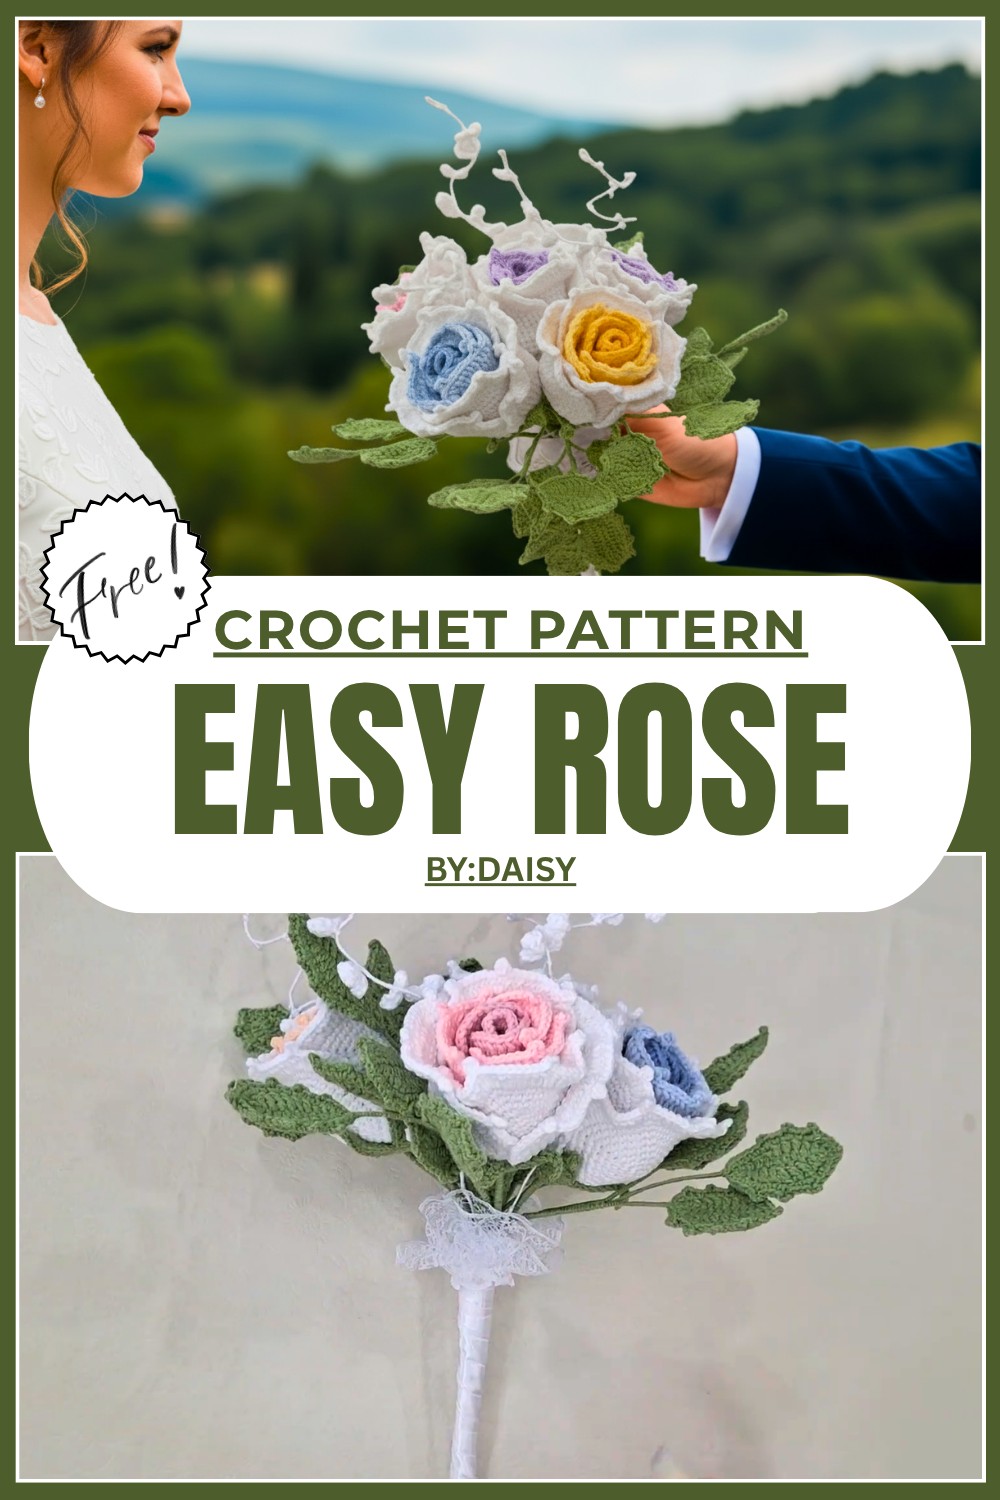
Adorable Free Crochet Rose Pattern That Look Like Real Flower
Bring the beauty of roses to life with yarn by following this Free Crochet Rose Pattern, a fun way to make flowers for decorations or memorable gifts.
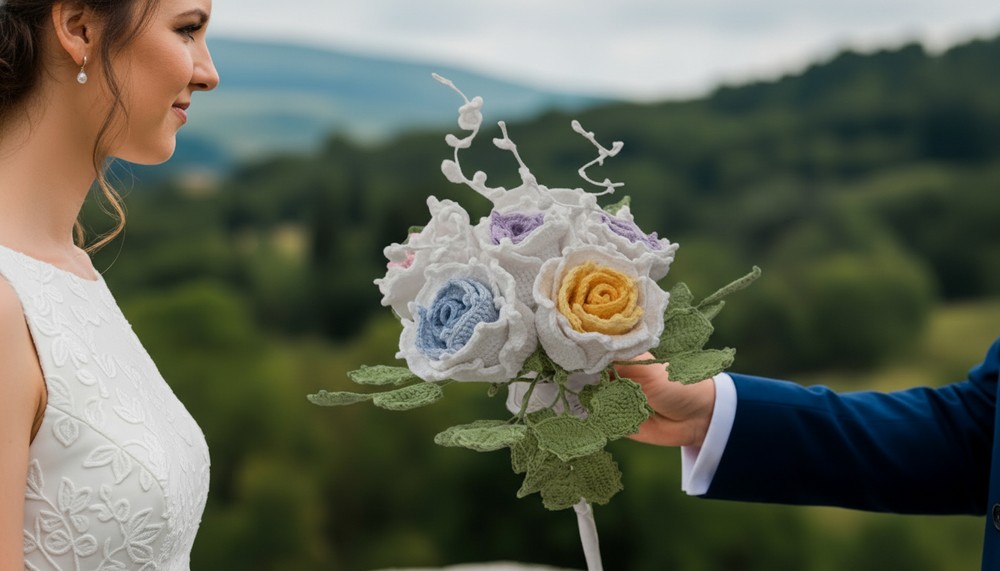
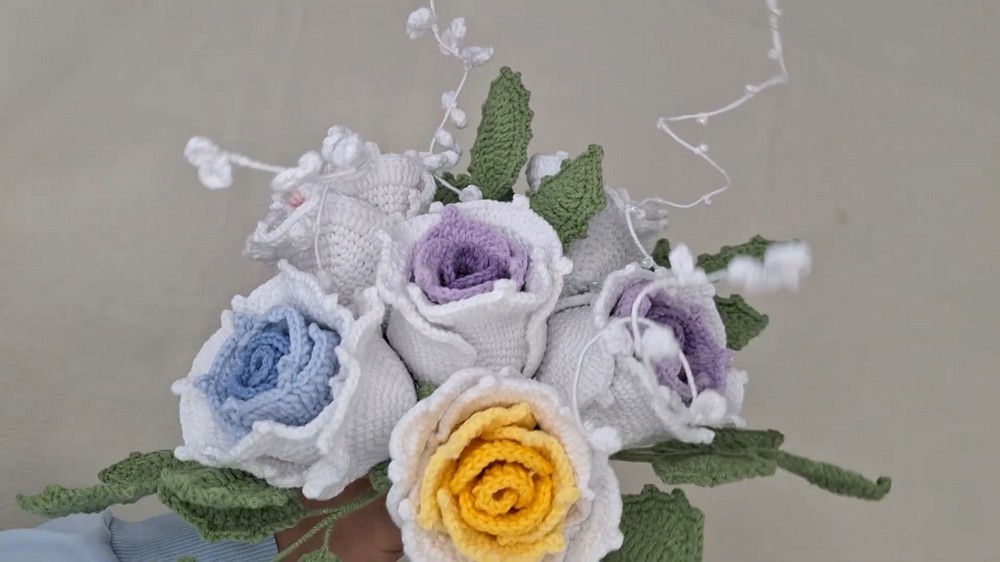
Free Crochet Rose Pattern for Stunning Handmade Bouquet
Soft and pretty flowers always make people smile, and the Free Crochet Rose Pattern is a simple way to make a beautiful rose using colorful yarn. A single rose can brighten up any space with its delicate petals and soft green leaf, giving it a realistic and graceful look. This rose can be placed in your room, used as a gift, or added as decoration to a headband or a favorite item.

The instructions are straightforward, making it easy for beginners to follow. The handmade rose stands out because it lasts forever, unlike real flowers, and the soft texture of the yarn makes it even more special. This lovely rose is not just a flower; it brings charm and happiness wherever it is used. It’s a wonderful way to make something meaningful and beautiful with your hands.
Crochet Rose Pattern
Materials Needed
- Yarn: Choose yarn in colors of your choice. (e.g., red/pink for roses, green for leaves).
- Crochet Hook: Use a crochet hook suitable for your yarn size (commonly 2.5mm–4mm).
- Wire: For stems and leaf support, size 6 floral wire or suitable alternative.
- Scissors: For cutting yarn and trimming.
- Glue: Optional, for attaching pieces securely.
- Needle: For weaving in ends.
Components of the Pattern
This bouquet consists of several components:
- Rose Petals
- Leaves (in three sizes)
- Base Green Leaf (Sepal)
- Main Stem and Finishing
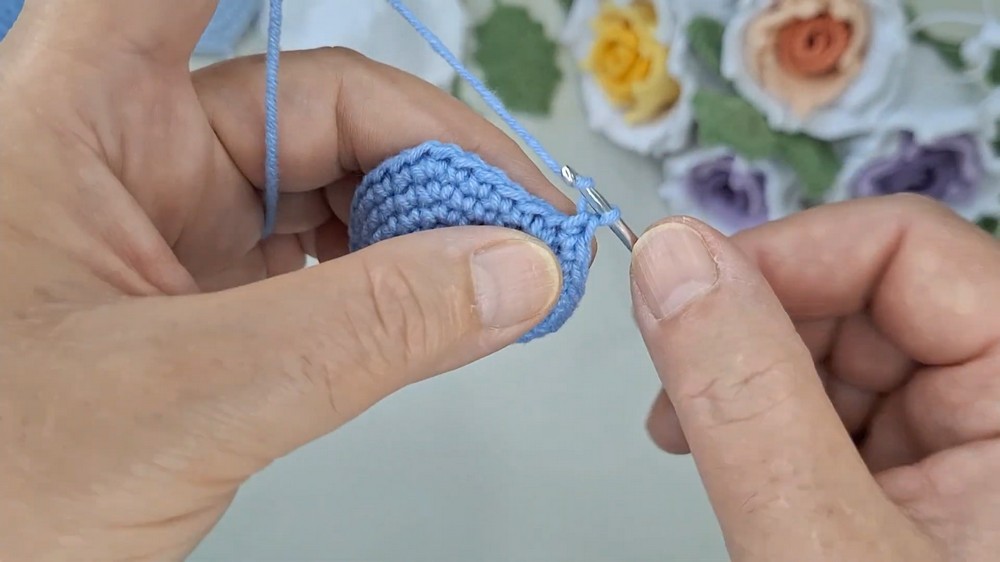
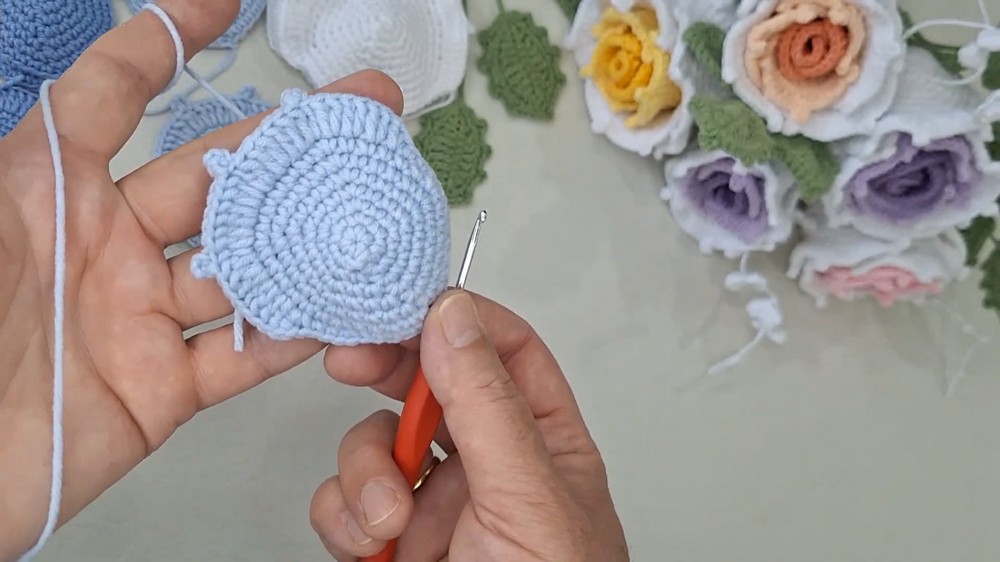
Step 1: Making the Rose Petal
- Create the Magic Ring:
- Begin with a magic ring. Chain 1, and work 5 single crochets (sc) into the ring.
- Pull the ring tight and slip stitch (sl st) to close.
- Round 1:
- Chain 1, make 2 sc in the same stitch.
- Repeat 2 sc in each stitch around (10 stitches in total). Slip stitch to close the round.

- Round 2:
- Chain 1, make 2 sc in the first stitch, then 1 sc in the next stitch.
- Alternate between 2 sc and 1 sc in each stitch around. Slip stitch to close (15 stitches).
- Round 3:
- Chain 1, start with 2 sc in the next stitch, followed by 1 sc in the next 2 stitches.
- Repeat the pattern (2 sc, 1 sc, 1 sc) in each stitch around (20 stitches). Slip stitch to finish.
- Rounds 4–7: Incrementally increase stitch counts:
- Work 4 and then 5 single crochets between the increase points in later rounds.
- By Round 7, you should have a petal with uniform curves forming slightly ruffled edges.

- Note: Adjust the number of rows for larger or smaller roses.
- Final Layer:
- After the 7th round, switch to double crochet (dc) for wider petals.
- Work 2 dc in each stitch in the last row to give an extra flared effect.
- Finish off and weave the ends.
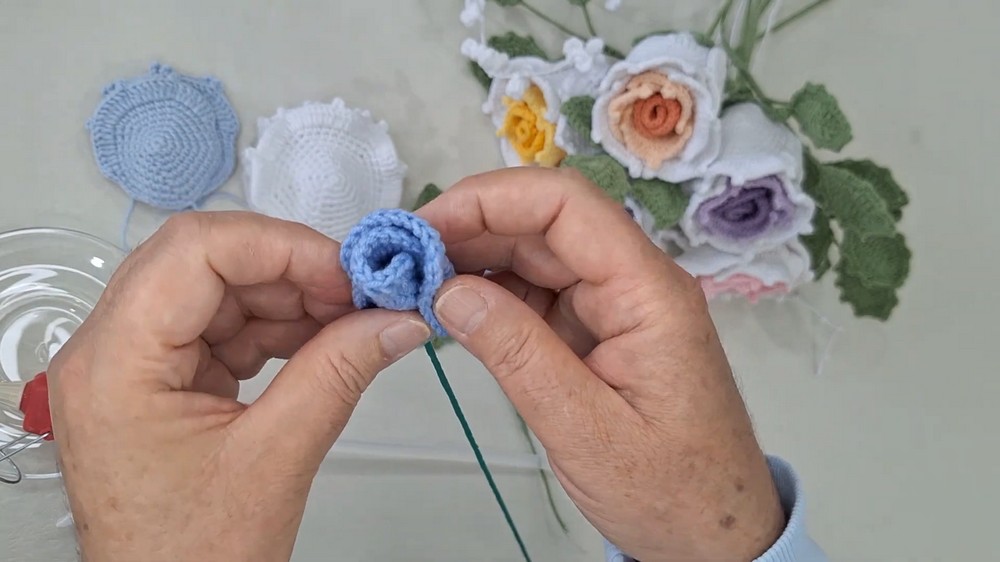
Tip: Make 3–4 petals and layer them for a complete rose.
Step 2: Crocheting the Leaves
The leaves are made in three sizes: small, medium, and large. Follow these steps:
- Small Leaf (7 rows):
- Start with a magic ring and chain 1.
- Work 10 sc into the ring.
- Chain 1 and continue increasing as follows:
- Rounds 2–4: Repeat 2 sc in the next stitch, 1 sc in the following stitch.
- Rounds 5 to 7: Add single crochets between increases.
- Weave in ends, or leave them to glue.
- Medium Leaf (8 rows):
- Repeat the steps for the small leaf but add a row of double crochet (dc) before the final round.
- Use larger stitches in the increase zones to give the leaf a broader, fuller effect.
- Large Leaf (9 rows):
- Follow the medium leaf instructions but extend it to 9 rows.
- Increases after Round 8 should alternate between single crochet and double crochet layers.
- Use a slip stitch in the final row to give a neat finish.
✳️ Tip: Make 3 small, 3 medium, and 4 large leaves for a balanced look.
Step 3: Creating the Sepal
- Start with 10 chains arranged into a magic loop.
- Foundation Rounds:
- Work 10 single crochets inside the loop.
- Chain 1, and complete 3 total rounds of single crochet for the base.
- Pointed Projections:
- For each protrusion, chain 10, and turn.
- Work slip stitches, single crochet, and half double crochet (hdc) to build texture along the chain.
- End with 3 double crochet (dc) for extra sharp points. Repeat for all sections around.
Tip: Ensure each projection overlaps the petals slightly for realism.
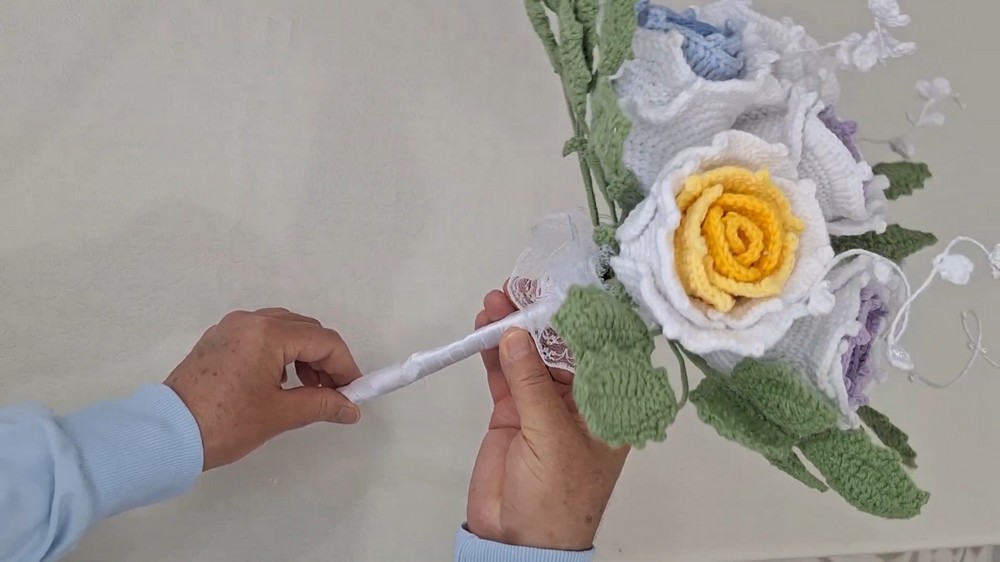
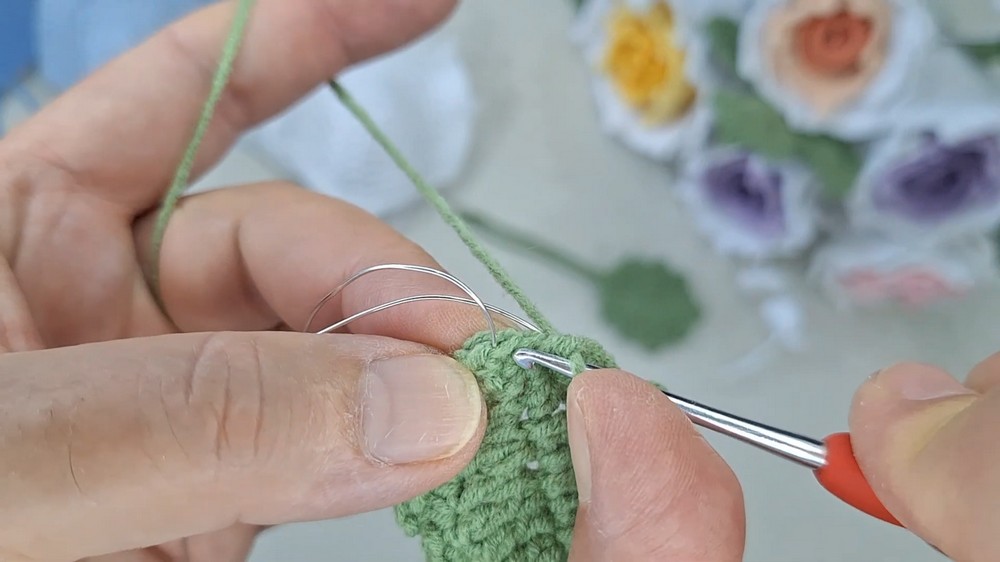
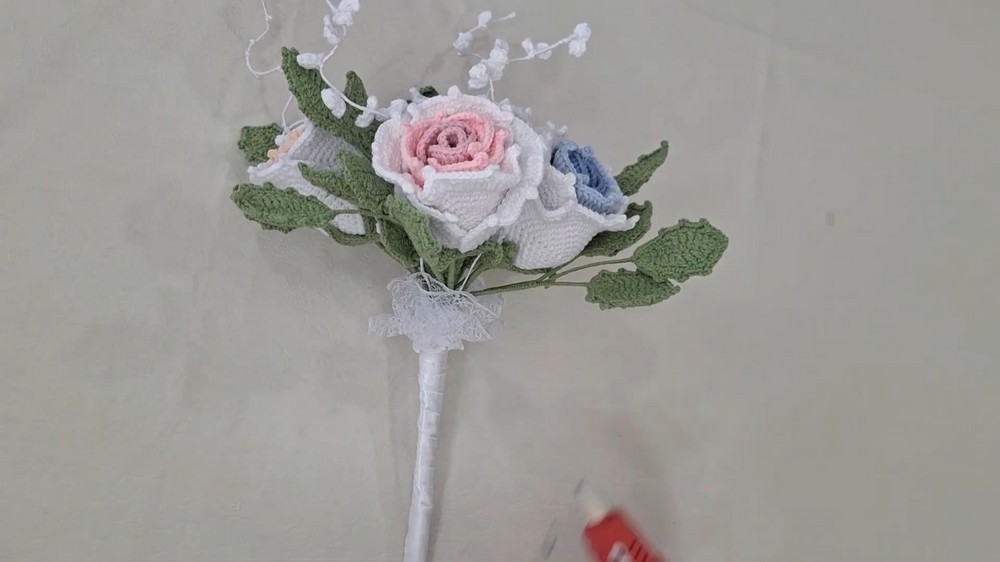
Step 4: Constructing the Stem
- Use Floral Wire:
- Insert floral wire into the finished flower/sepal, allowing it to act as a base.
- Secure the wire by twisting tightly or gluing in place.
- Wrap Yarn or Green Tape:
- Wrap your wire with green yarn or floral tape to hide the metal and give it a natural appearance.
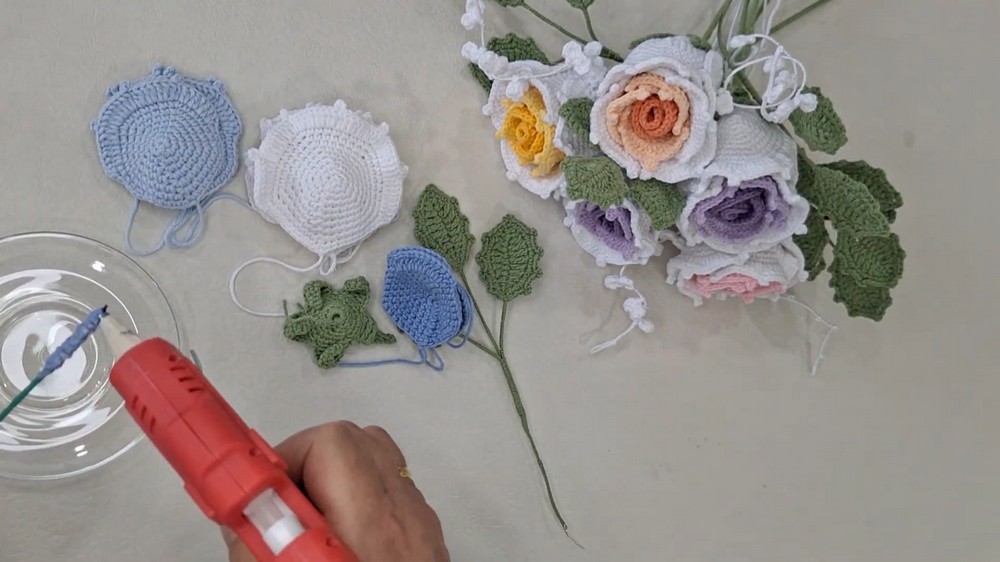
Finishing Steps
- Assemble the Components:
- Arrange leaves and roses in desired positions.
- Use glue or thread to secure leaves and roses around the central stem.
- Arrange leaves and roses in desired positions.
- Shaping:
- Gently shape the leaves and petals by pressing and molding for a more realistic look.
- Avoid pulling or tugging excessively.

- Final Touches:
- If needed, add finishing sprays like glitter or perfume to enhance the bouquet.
- If needed, add finishing sprays like glitter or perfume to enhance the bouquet.
Final Words and Tips
- Practice First: If you're new to crocheting, practice the basic rounds and stitches on scrap yarn before starting.
- Custom Colors: Experiment with different color combinations to personalize the bouquet.
- Blocking: Steam block or lightly press the petals and leaves to keep them from curling.
- Maintenance: Dust the bouquet occasionally to keep it in pristine condition.
- Reuse Scrap Yarn: Use leftover yarn for smaller leaves or petals, minimizing material wastage.