Incredible Free Crochet Bag Pattern Perfect For Every Outfit
Bloom with beauty as you create a stunning crochet bag with this free pattern that’s simple, versatile, and perfect for reducing plastic while looking amazing.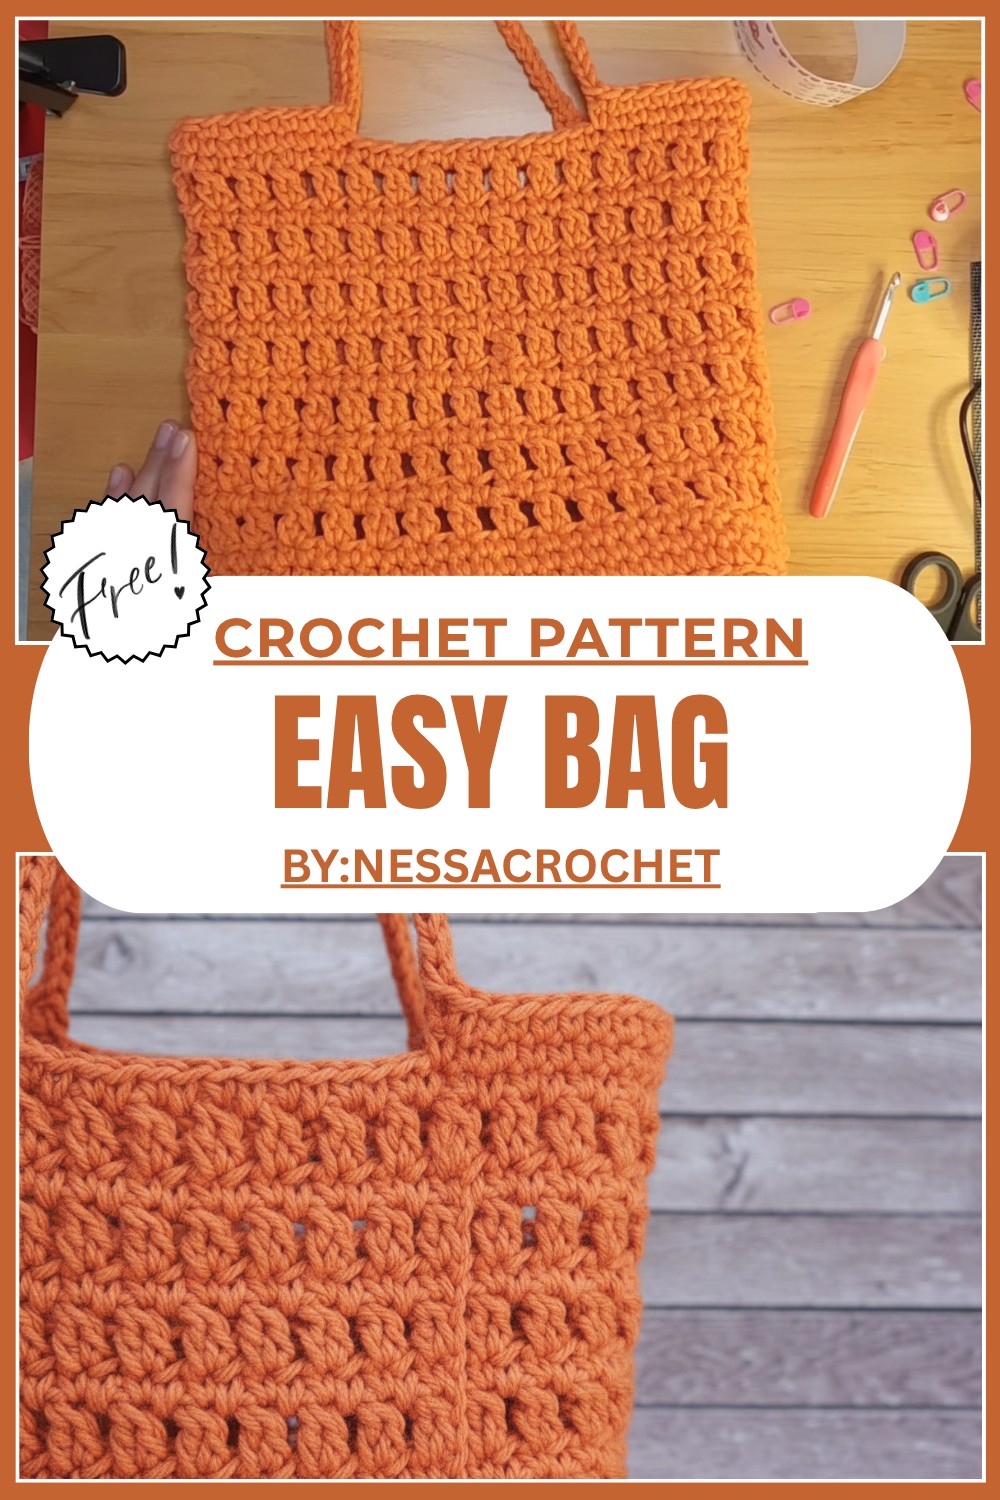
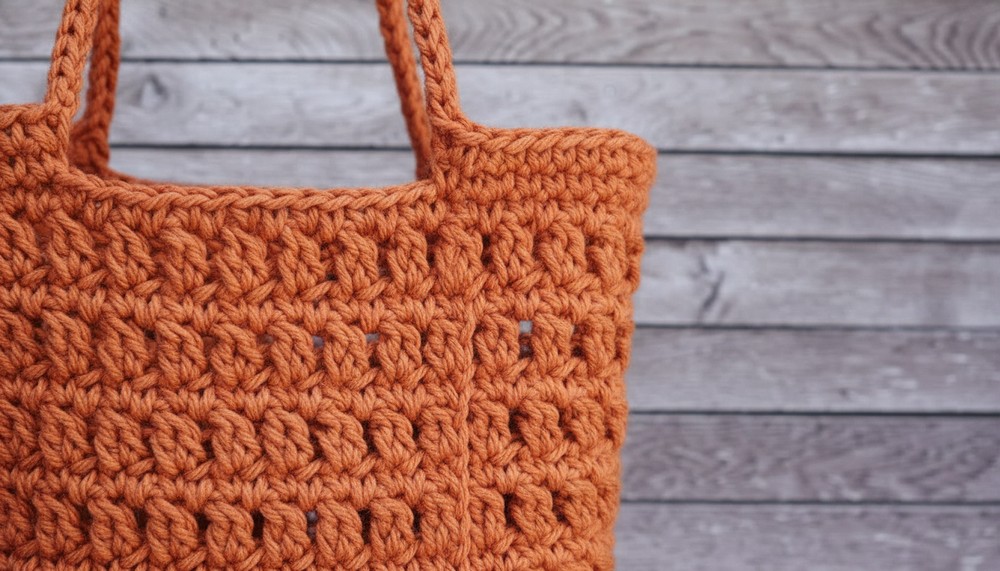
Your New Favorite Free Crochet Bag Pattern
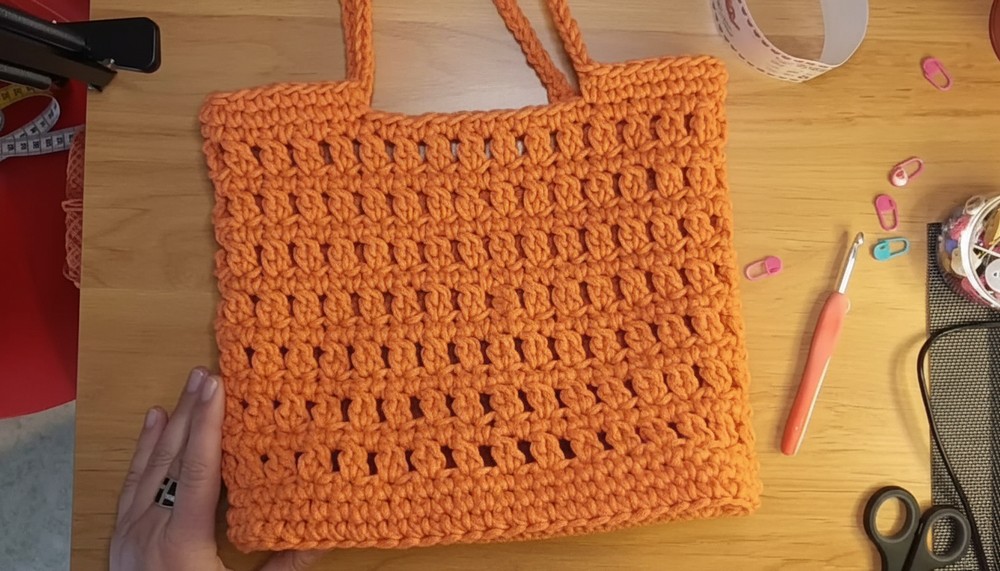
Here’s a Free Crochet Bag Pattern You’ll Absolutely Adore because it’s fun, stylish, and perfect for creating a sturdy bag you’ll want to carry everywhere. This trendy project features a neat and modern mesh-like design, making it ideal for shopping trips, beach days, or even running errands.
Using your favorite colorful yarn, you can easily create this must have accessory by following simple steps. Plus, it has strong handles and a spacious middle section—perfect for holding school books, groceries, or even your favorite snacks. 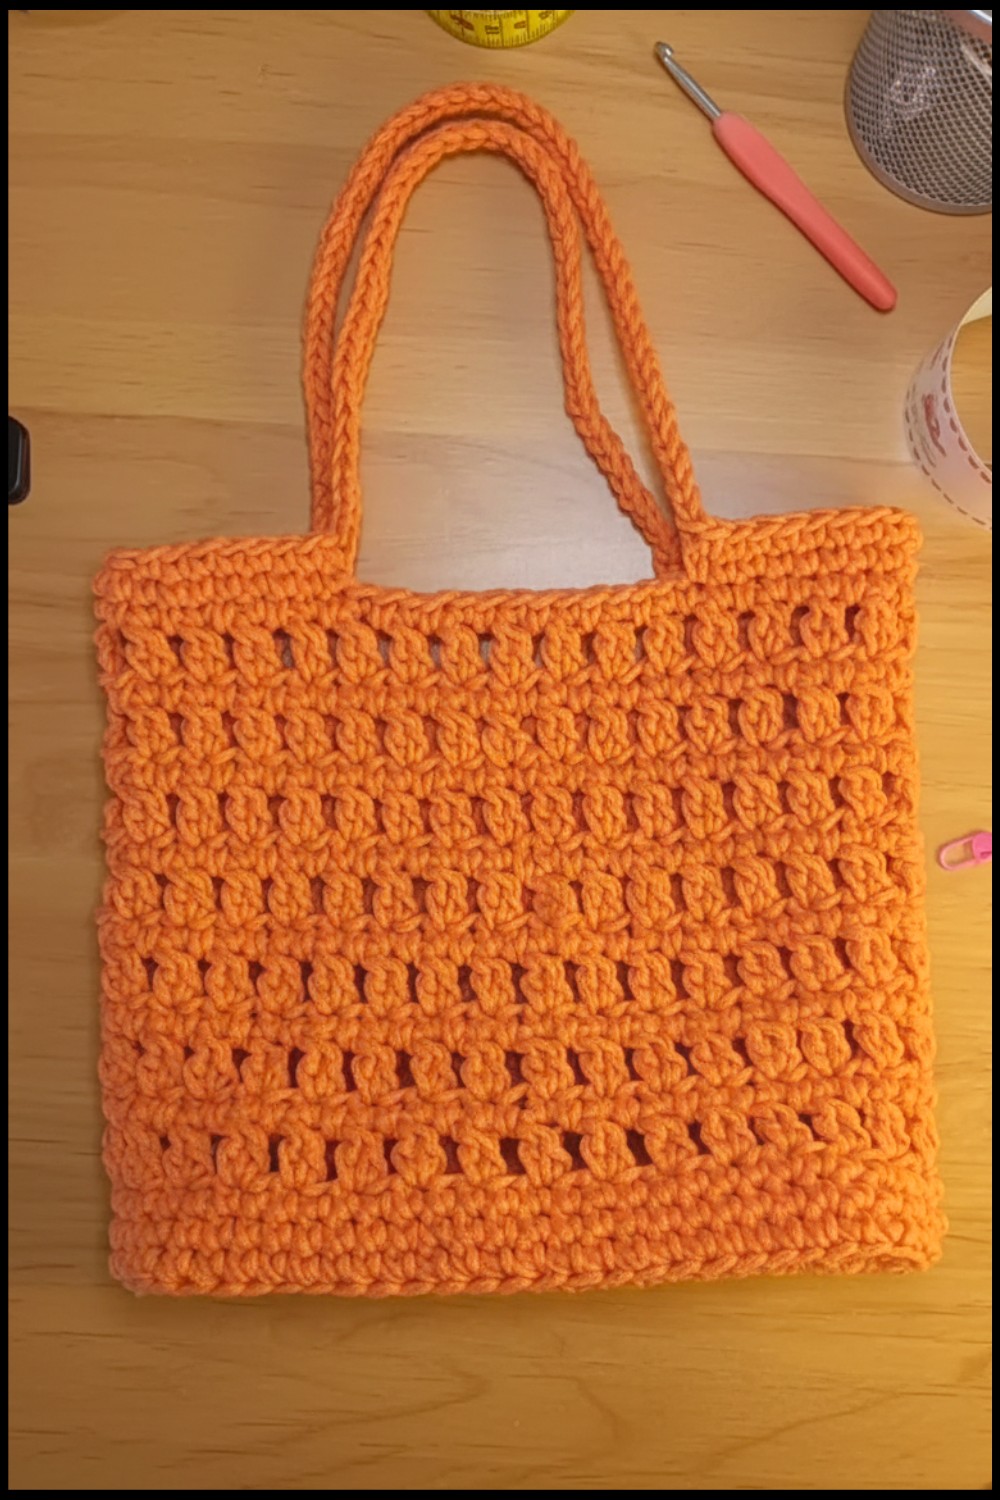 It helps the environment by reducing plastic use—all while keeping you looking fabulous. Lightweight, durable, and truly unique, this project lets you turn basic shapes into a stunning handmade bag that shows off your creativity and stays stylish for years to come.
Cute Crochet Bag Pattern
Materials Required
- Yarn: 100% cotton cord (approx. 240–260g).
- Recommended yarn: ICOD cord by Lydia Crochet Tricot (5mm).
- For this project, you will need 2 skeins.
- Crochet Hook:
- If you crochet loosely: 5.5mm hook.
- If you crochet tightly: 6mm hook.
- Additional Tools:
- Yarn needle (large enough to thread the cord).
- Stitch markers.
- Scissors.
Abbreviations (US Terminology):
- ch: Chain
- sc: Single Crochet
- sl st: Slip Stitch
- dc: Double Crochet
- dc2tog: Two Double Crochets worked together (decrease)
- st(s): Stitch(es)
- rep: Repeat
Pattern Details:
- Skill Level: Beginner friendly.
- Finished Dimensions:
- Width: ~25.5 cm (10 inches).
- Height: ~29 cm (11.5 inches).
- Strap drop: Adjustable (~40 ch recommended for medium length).
- Gauge: Not essential; maintain even tension.
Pattern Instructions
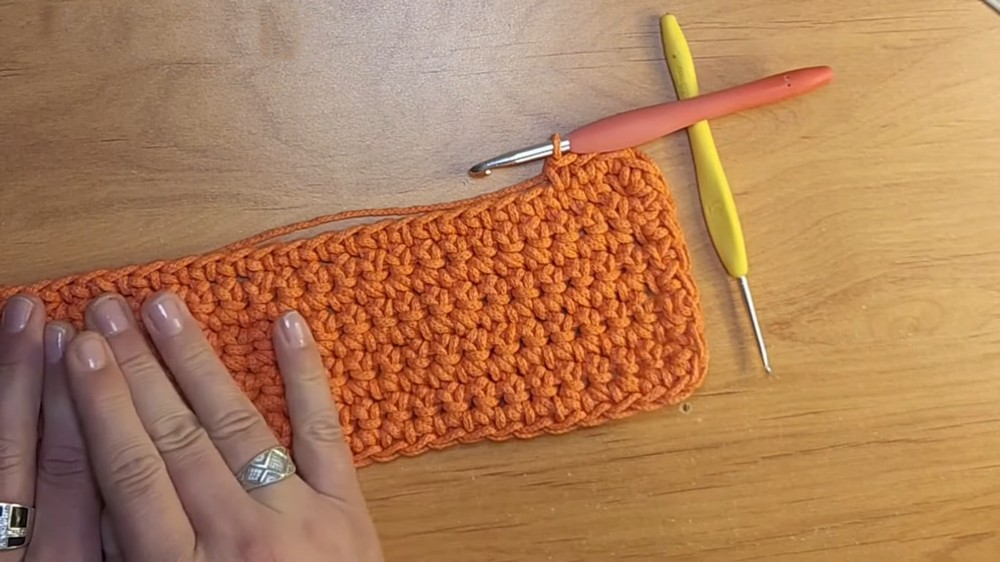
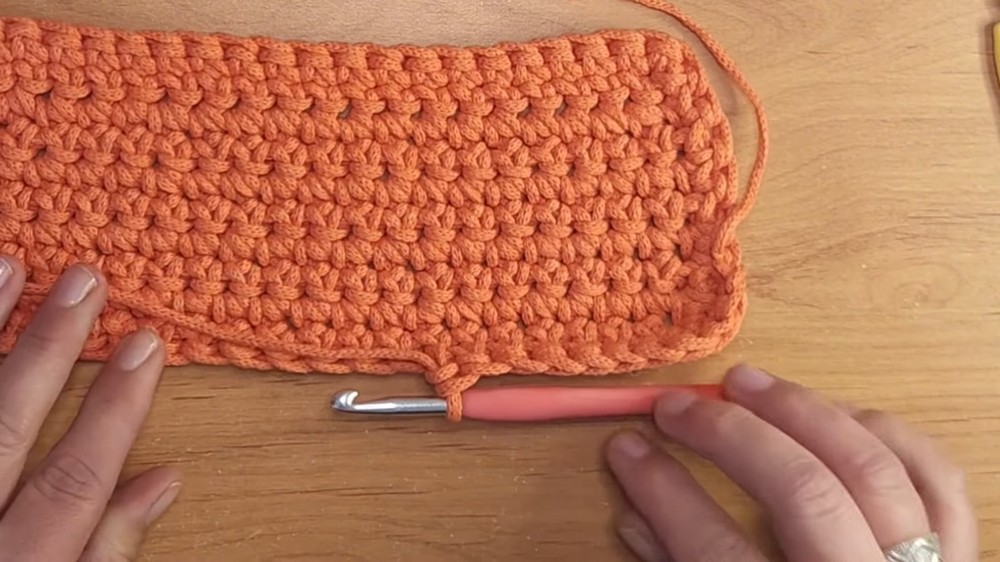
Step 1: Starting the Base
- Foundation Chain:
- Start with a slip knot.
- Chain 24 ch.
- Work in Rows (Flat Base):
- Row 1: Start in second chain from hook. Work sc in each chain along the row for a total of 23 sc.
- Turn your work, ch 1.
- Rows 2–9: Sc across the row, ensuring a total of 23 sc per row. Turn at the end of each row.
- After completing 9 rows, you will have a rectangular base measuring 9 cm by 26 cm.
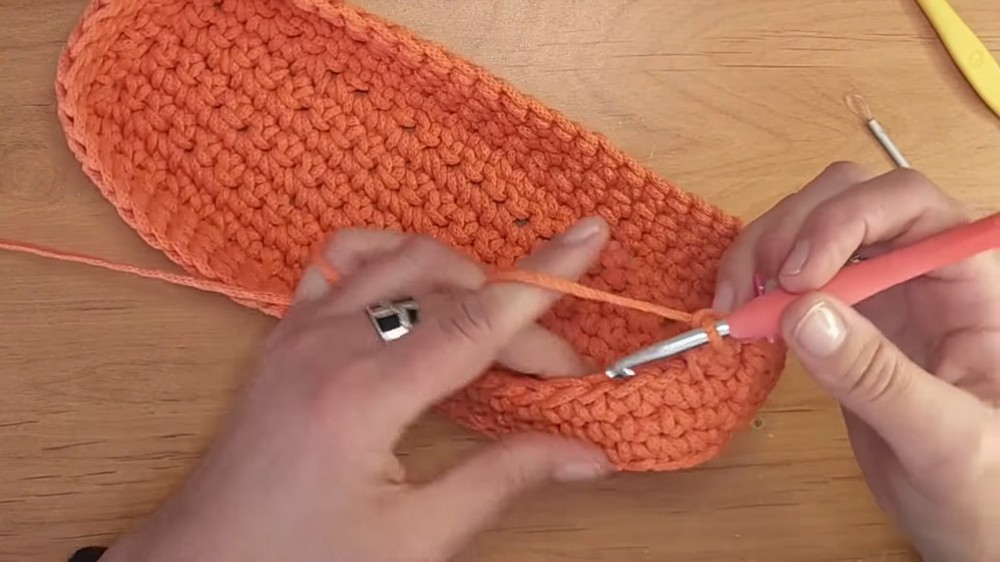
- Work Around the Base Edge (Transition to Rounds):
- Do not fasten off after Row 9.
- Begin working sc around the edges of the rectangle as follows:
- Work 23 sc along each long side.
- Work 9 sc along each short side.
- Place 3 sc in each corner to create rounded transitions.
- You should now have 64 sts total in your round (23 + 9 + 23 + 9).
- Do not fasten off after Row 9.
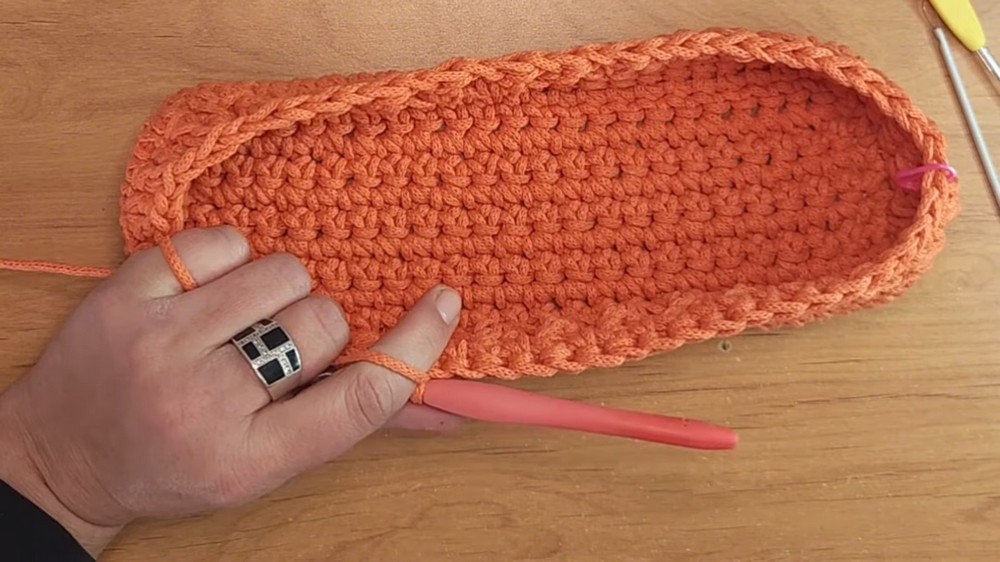
Step 2: Building the Body
- Turn to Work in Rounds:
- Place a stitch marker to indicate the start of your round.
- Round 1: Work sc into each st, picking up both loops of each stitch. Repeat for one complete round.
- Place a stitch marker to indicate the start of your round.
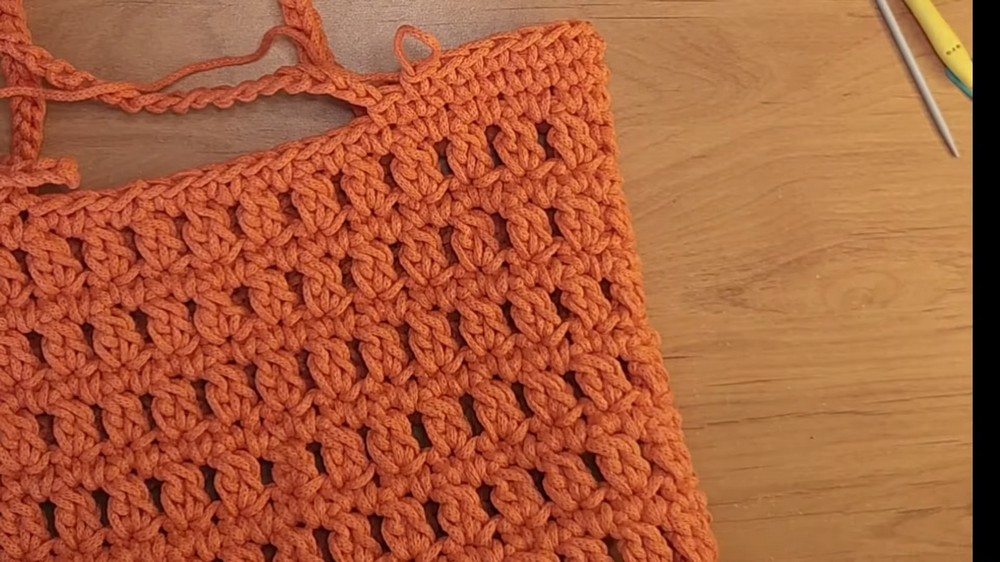
- Begin the Texture Pattern:
- Round 2: Work clustered double crochets as follows:
- Ch 2 (counts as the first half of the dc cluster).
- Work dc2tog into the same st (partially finish two double-crochets, then close them together).
- Ch 1, skip 1 st, and begin the next dc cluster into the following stitch.
- Continue this pattern: (dc2tog, ch 1, skip 1 st) around.
- Ch 2 (counts as the first half of the dc cluster).
- Round 2: Work clustered double crochets as follows:
- Alternate Rounds:
- Round 3: Work sc across all sts, including the ch spaces from the previous round. You should still have 64 sts.
- Repeat Rounds 2 and 3 until the bag measures your desired height.
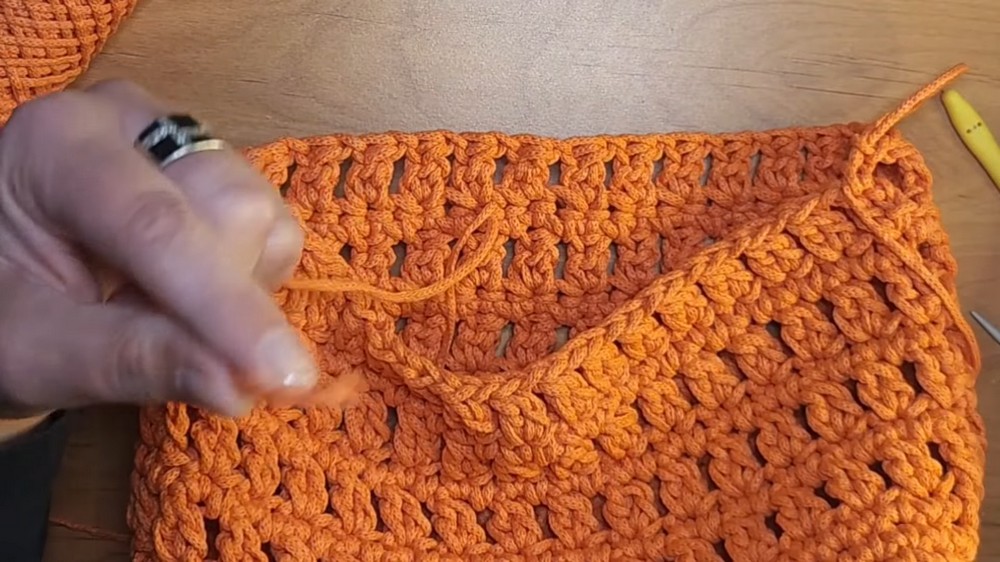
- Suggestion: Work 7 rounds of clusters (14 total rounds if including sc rows).
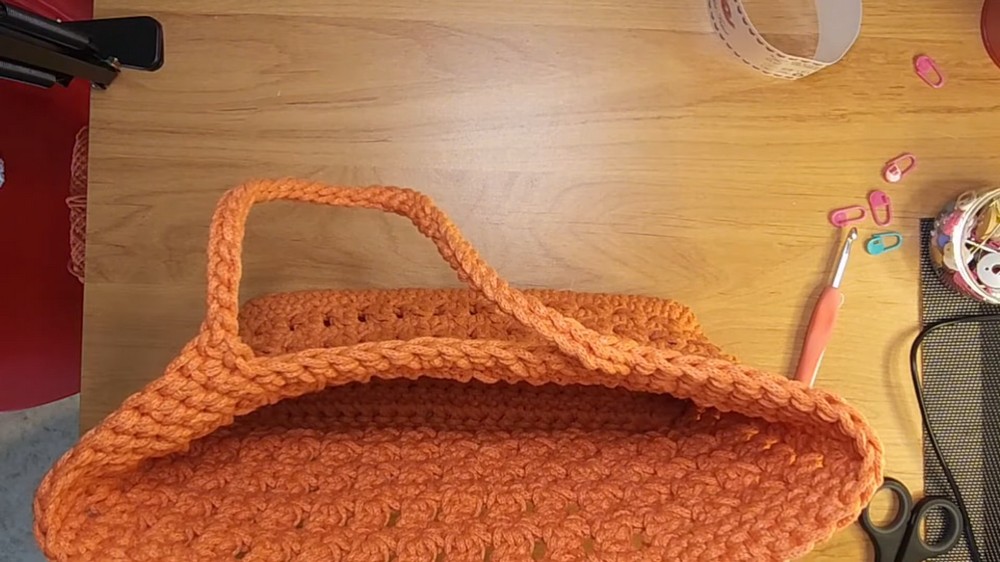
Step 3: Adding the Handles
- Mark Strap Placement:
- After the body is complete, mark two handle positions on each side:
- Place straps starting after the 10th stitch and ending at the 13th stitch.
- This leaves space for a 40 ch strap on each side.
- Place straps starting after the 10th stitch and ending at the 13th stitch.
- After the body is complete, mark two handle positions on each side:
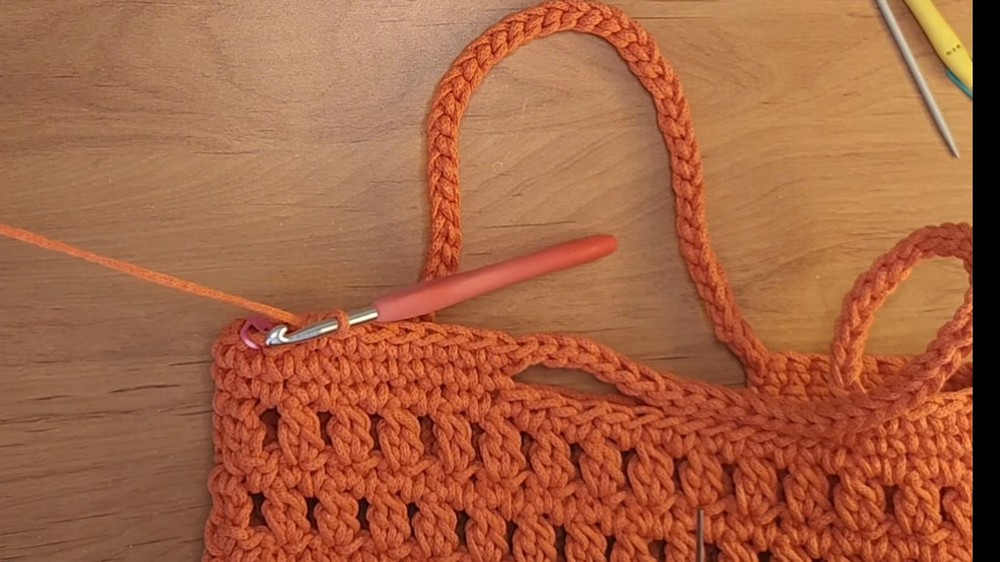
- Create the Handles:
- Begin a new round with sc until you reach the marked spot.
- Work 40 ch for the strap, ensuring even tension.
- Skip the marked stitches and rejoin with sc to complete the round.
- Repeat for the second strap, ensuring symmetry.
- Reinforce the Handles:
- Work sl st along each chain of the handle for sturdiness.
- Continue sc around the rest of the body.
Finishing
- Final Round:
- Work one more round of sc to create a clean edging along the top of the bag.
- Weave in Ends:
- Use a yarn needle to tuck in all loose ends securely.
- Optional Detailing:
- Attach a simple leather tag or crochet embellishment to personalize the bag.
- Attach a simple leather tag or crochet embellishment to personalize the bag.
Care Instructions
- Spot clean with a damp cloth.
- Avoid machine washing, as the cotton cord may lose shape.
- Store flat to prevent unnecessary stretching of the handles.
Final Words and Tips
Congratulations on completing your crochet tote bag. This versatile and lightweight design is perfect for summer outings, the beach, or everyday use. If you'd like variations, consider these ideas:
- Color Changes: Use leftover cord to add stripes or a contrasting handle.
- Custom Sizes: Adjust the base's foundation chain or add more repeats to the body for a larger or smaller bag.
- Closures: Attach a button or drawstring for added security.