Cheerful Free Crochet Chunky Tulip Pattern For Spring Vibes
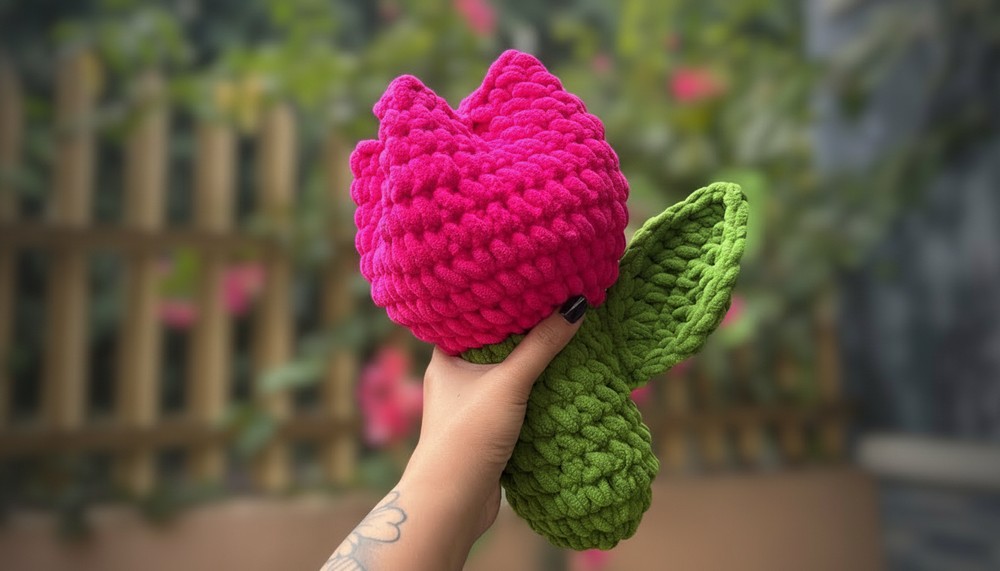
Finish a large and beautiful flower in no time with this Free Crochet Chunky Tulip Pattern that shows you how to build a sturdy green stem and soft petals that look totally awesome.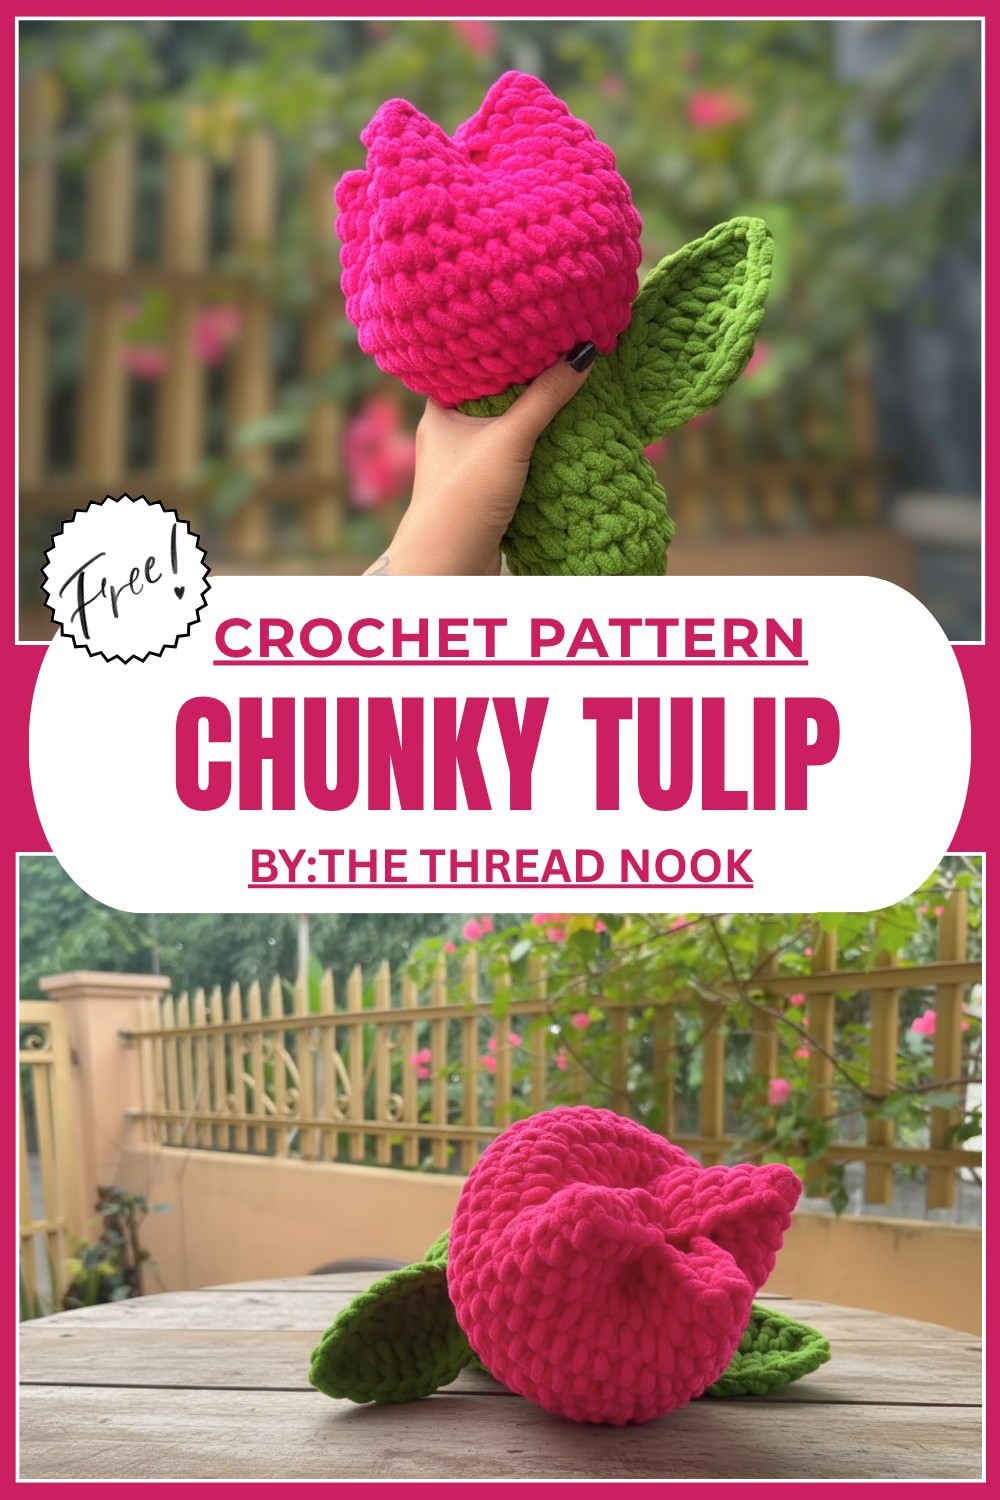
Fast and Free Crochet Chunky Tulip Pattern Everyone Loves
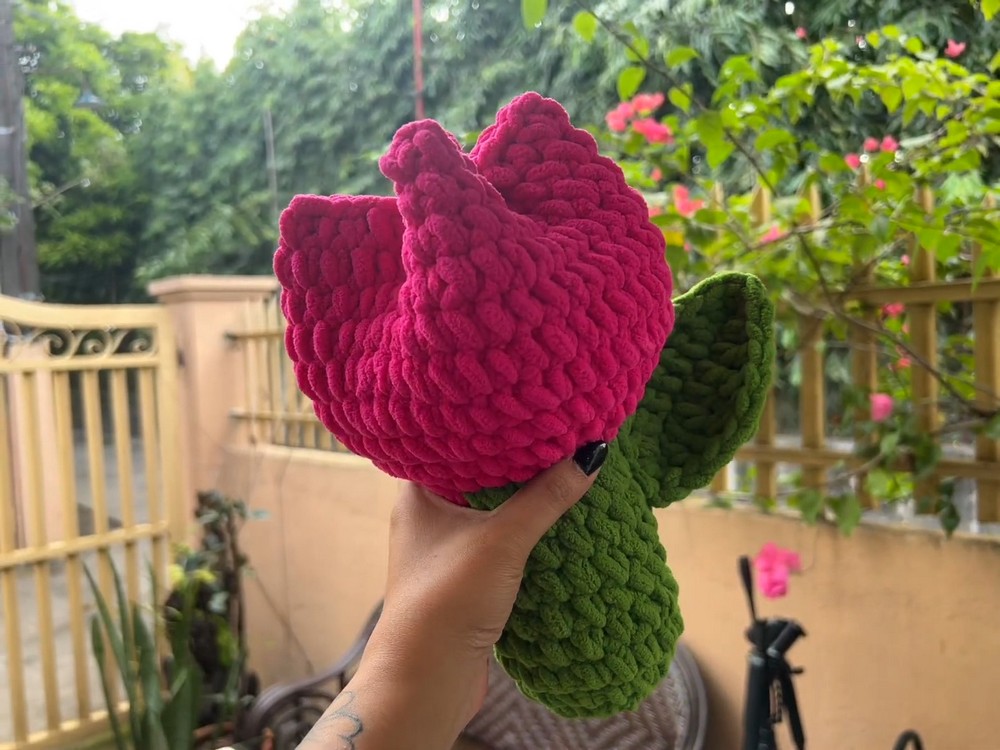
Pic your big fuzzy yarn and get ready to create a flower that never wilts and always shines. This super soft and chunky tulip feels like a warm hug for your hands, with its fluffy petals and thick green stem. You can easily bring this cheerful and bouncy plant to life by following the Free Crochet Chunky Tulip Pattern. Its beauty comes from the thick, cozy stitches that make the tulip look fancy and professional, like it came straight from a fairytale garden.  The squishy shape and bold, vibrant colors are perfect for turning your bedroom into a magical spring oasis. This handmade treasure makes a thoughtful gift for a teacher, a playful home decoration, or a lucky charm for your shelf.
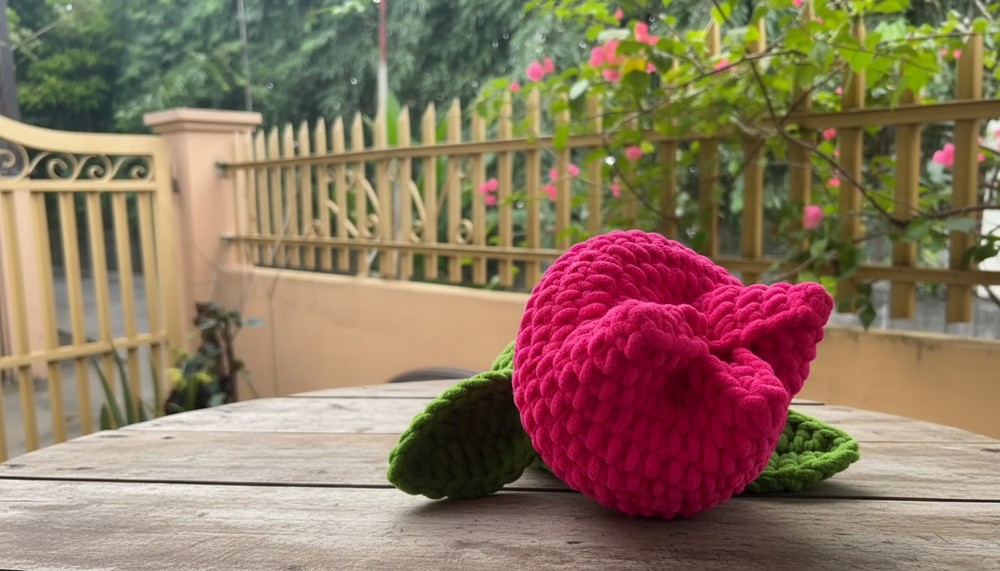
What makes it extra special? The chunky yarn turns it into a durable piece that looks totally awesome in photos. Start today and crochet a tulip that will make everyone smile.
Beautiful Free Crochet Chunky Tulip Pattern
Finished Size
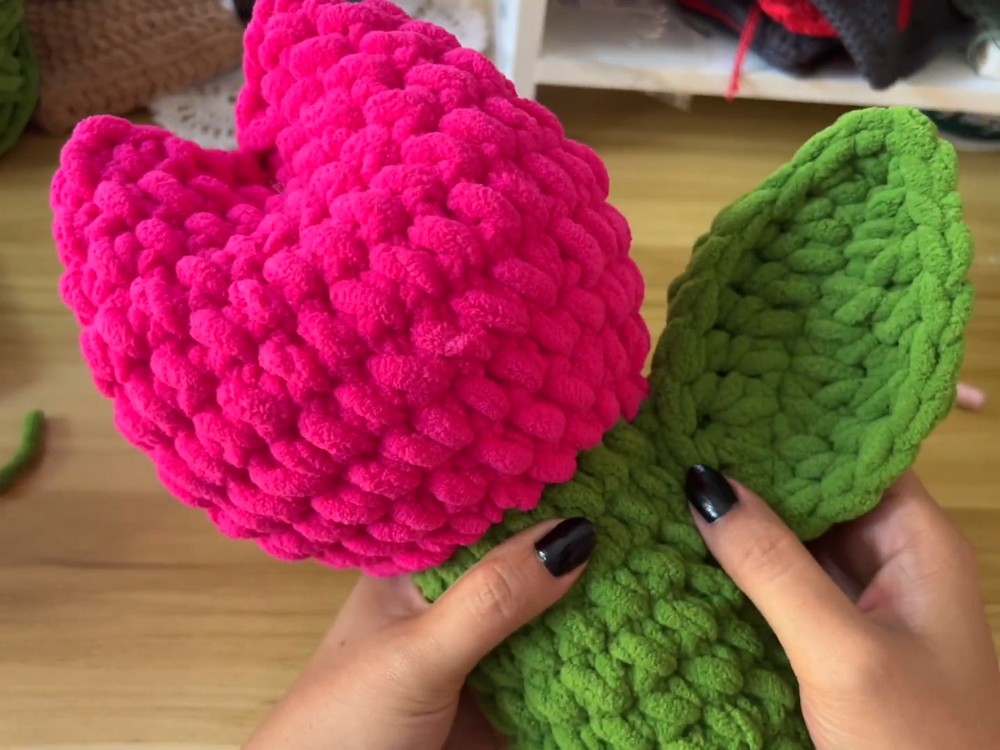
The final tulip measures approximately 8 to 10 inches tall, with varying bulb and leaf proportions depending on stuffing and tension.
Materials Required
- Chunky Chenille Yarn:
- Pink (Tulip Bulb): 100g
- Green (Stem and Leaf): 100g
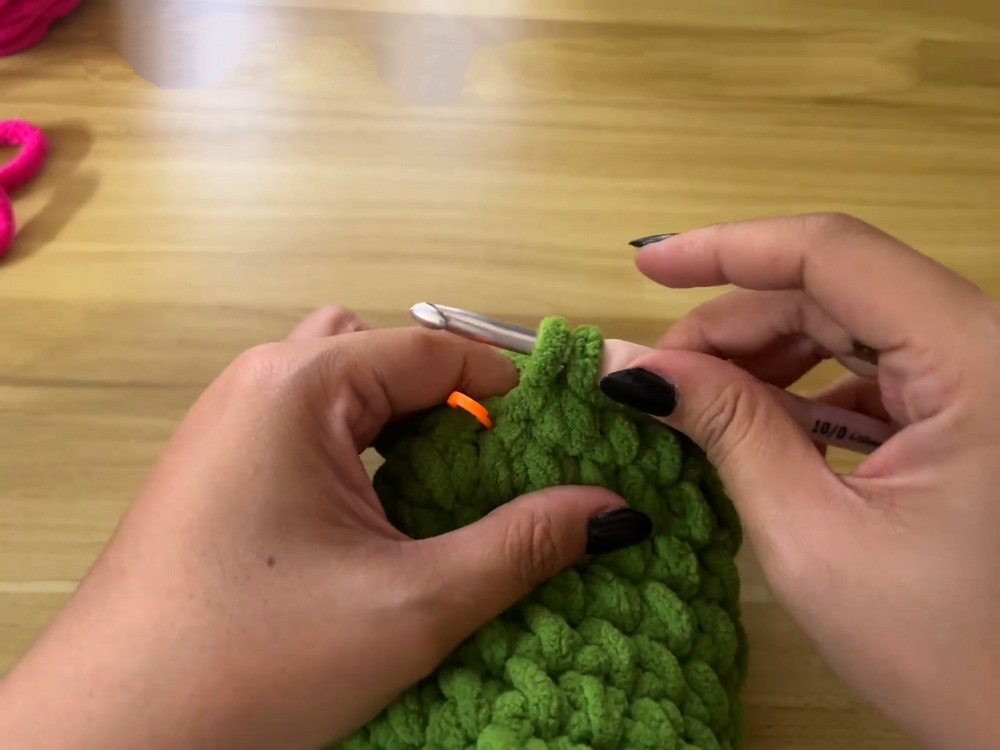
- 6.5 mm Crochet Hook (or 6 mm if needed)
- Stitch Marker
- Yarn Needle
- Pair of Scissors
- Fiber Fill (for stuffing the bulb—amount varies based on fullness desired)
- Thin Wire (for shaping the leaf)
Gauge
Gauge is not critical for this project. However, keep a tight tension to prevent gaps in the bulb or stem stuffing.
Pattern Instructions
Step 1: Create the Stem
- Start with the green yarn:
- Make a magic circle.
- Chain 1 (this does not count as a stitch).
- Round 1:
- Work 6 single crochets into the magic circle. Place a stitch marker in the first stitch of the round to track progress.
- Pull the tail to close the circle.
- Round 2 (Increase Round):
- Work 2 single crochets into each stitch around (total: 12 single crochets).
- Replace the stitch marker in the first stitch of the round.

- Round 3:
- Follow the pattern: 1 single crochet in the first stitch, 2 single crochets in the next stitch, repeatedly (total: 18 single crochets).
- Rounds 4 to 10:
- Work 1 single crochet in each stitch around (no increases). Adjust the length by adding more rounds if desired.
- Work 1 single crochet in each stitch around (no increases). Adjust the length by adding more rounds if desired.
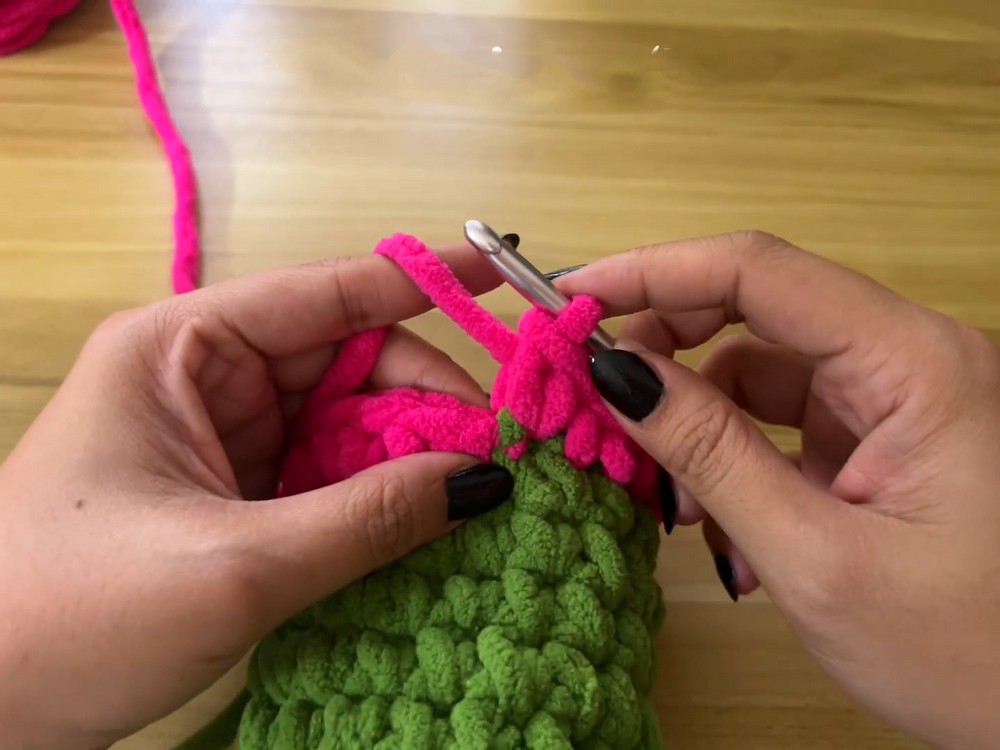
Step 2: Create the Tulip Bulb
- Attach Pink Yarn:
- Attach the pink yarn at the end of Row 10 on the stem.
- Work into the back loop only to give texture.
- Round 11 (Increase Round):
- Follow the pattern: 1 single crochet in each of the first 2 stitches, then 2 single crochets in the third stitch (total: 24 single crochets).
- Follow the pattern: 1 single crochet in each of the first 2 stitches, then 2 single crochets in the third stitch (total: 24 single crochets).
- Round 12 (Increase Round):
- Follow the pattern: 1 single crochet in the first 3 stitches, then 2 single crochets in the fourth stitch (total: 30 single crochets).
- Follow the pattern: 1 single crochet in the first 3 stitches, then 2 single crochets in the fourth stitch (total: 30 single crochets).
- Round 13:
- Increase pattern: 1 single crochet in the first 4 stitches, then 2 single crochets in the fifth stitch (total: 36 single crochets).
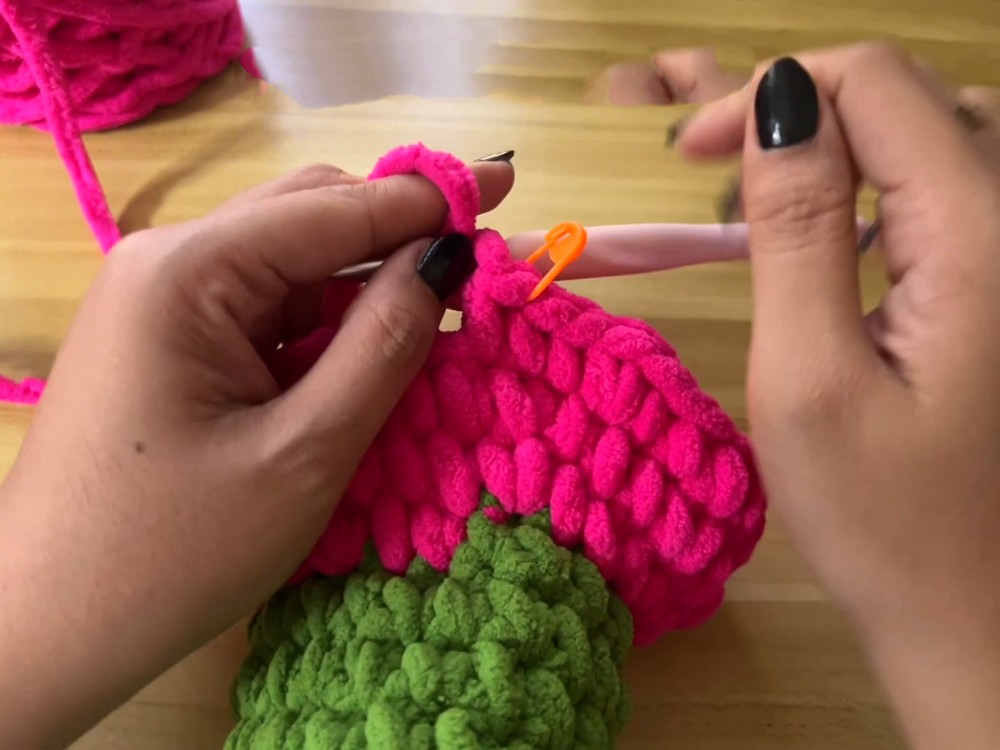
- Rounds 14 to 15:
- No increases; work 1 single crochet in each stitch around.
- Rounds 16 to 20:
- Continue 1 single crochet in each stitch around and do not increase.
- Continue 1 single crochet in each stitch around and do not increase.
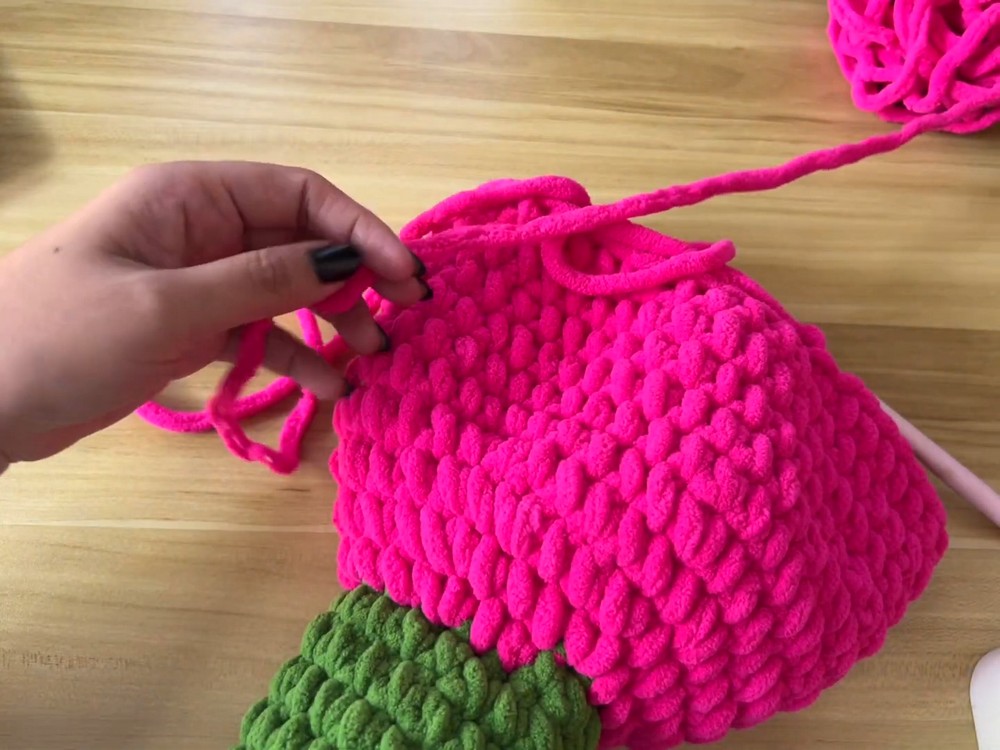
Step 3: Closing the Bulb
- Adjust for Stuffing:
- Before finishing, securely stuff the tulip bulb with fiber fill until it reaches the desired fullness.
- Ensure the bulb shape is even.
- Finish Off:
- Cut a long yarn tail. Use a yarn needle to sew the top of the bulb closed securely.

- Cut a long yarn tail. Use a yarn needle to sew the top of the bulb closed securely.
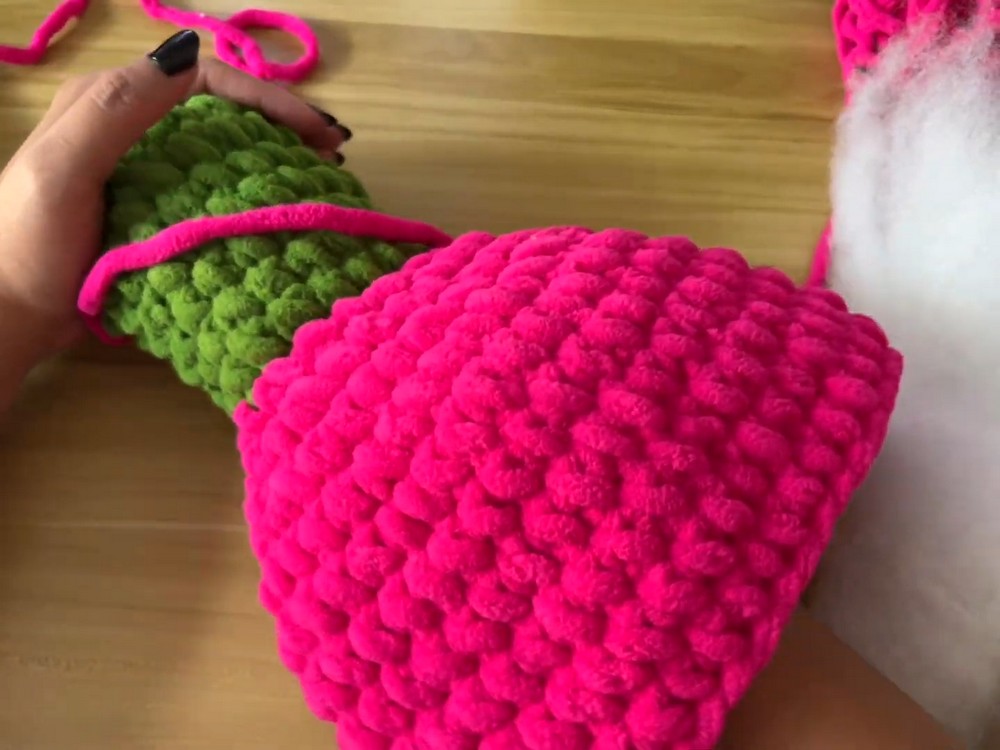
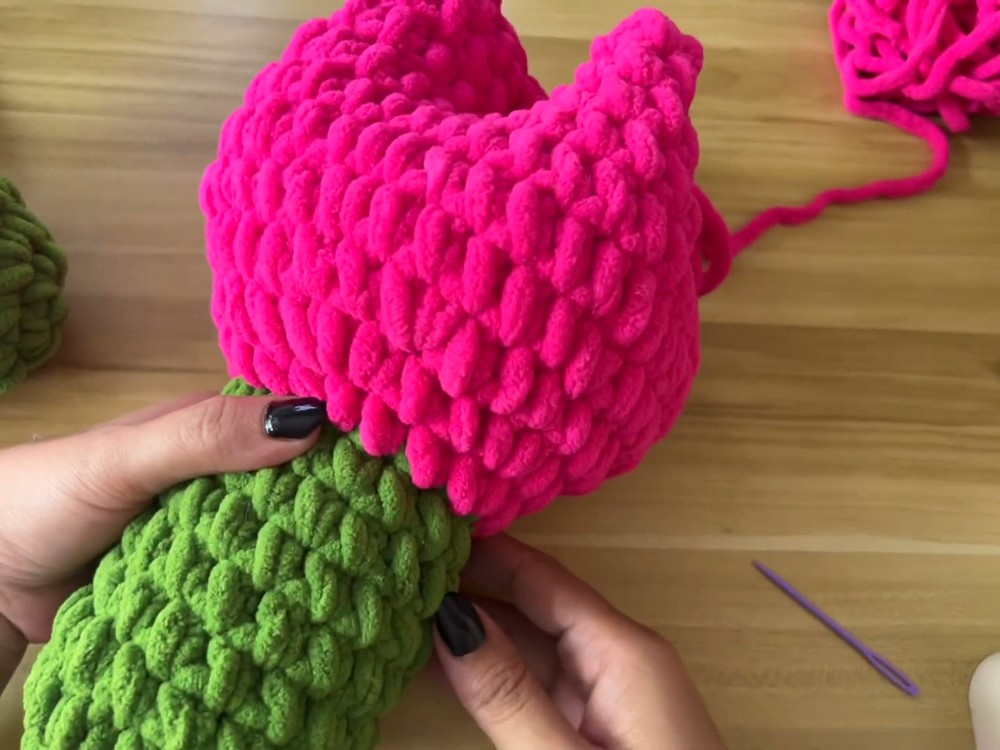
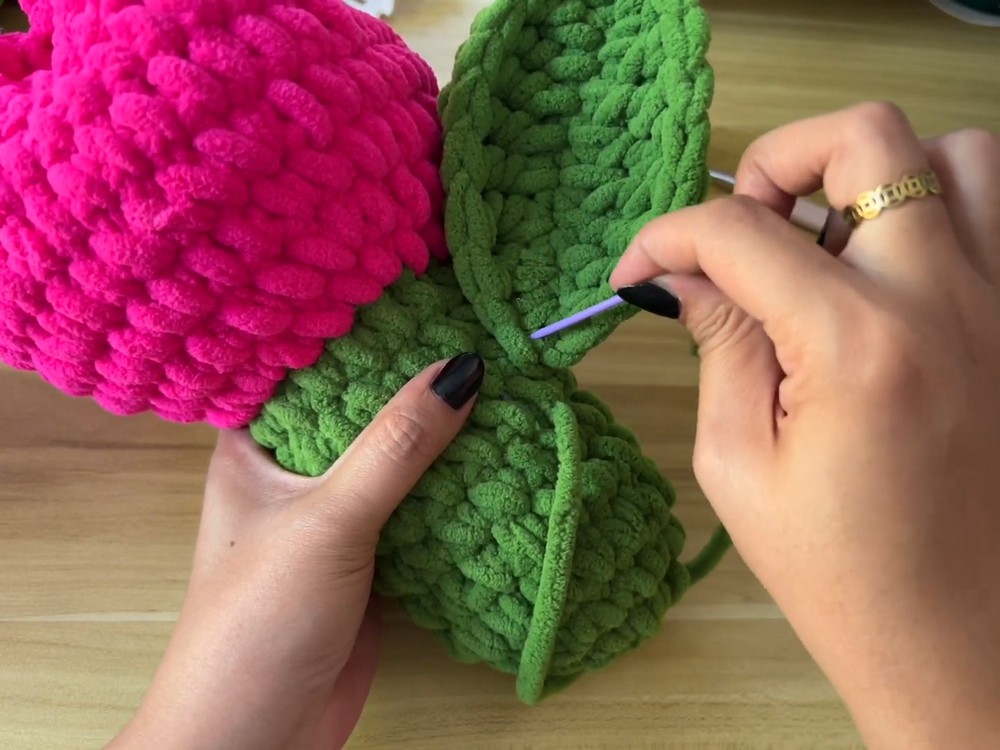
Step 4: Create and Attach the Leaf
- Start with Green Yarn:
- Make a slip knot.
- Chain 10 stitches.
- Work Over the Wire:
- Insert the wire under the chain and crochet over it to keep the leaf sturdy.
- Insert the wire under the chain and crochet over it to keep the leaf sturdy.
- Row 1:
- Working back along the chain:
- 1 single crochet in the first stitch.
- 1 double crochet in the second stitch.
- 1 treble crochet in the next 4 stitches.
- 1 double crochet, 1 half double crochet, then 3 single crochets into the last stitch.
- Turn and work across the other side of the chain by reversing the stitch order.
- Working back along the chain:
- Finishing the Leaf:
- Slip stitch into the first stitch to close the work. Leave a long tail for attaching.
- Attach the Leaf:
- Sew the leaf securely onto the stem using the tail. Position it where it looks best.
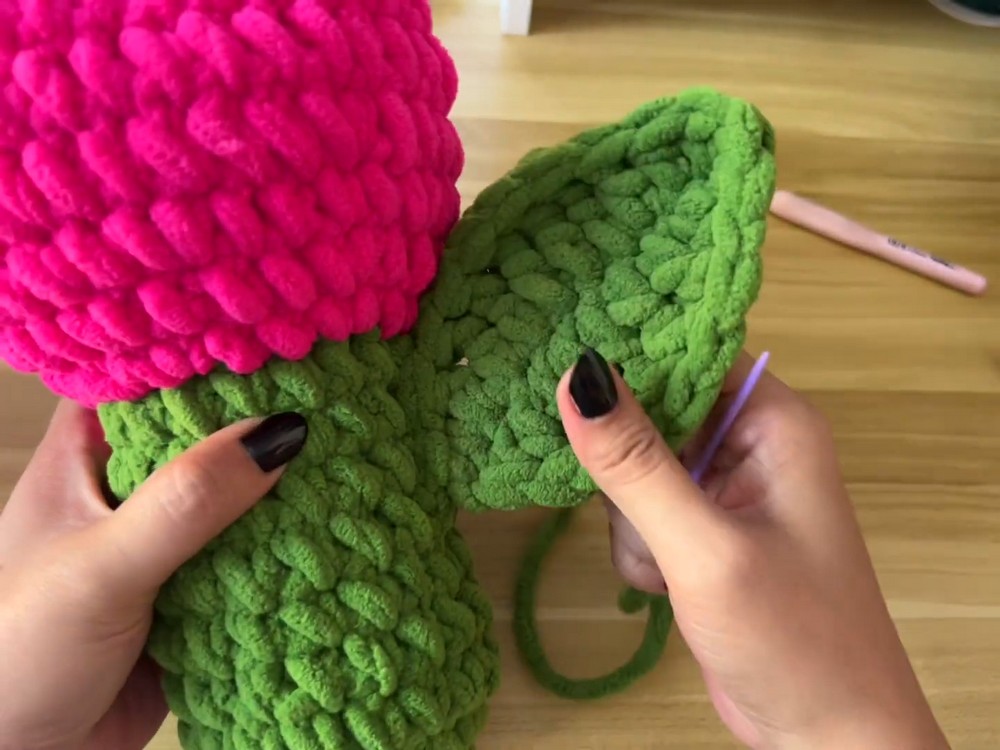
- Sew the leaf securely onto the stem using the tail. Position it where it looks best.
Tips & Customization Ideas
- Change Colors: Experiment with different bulb colors like red, yellow, or white to resemble natural tulip variations.
- Adjust Leaf Size: Make the leaf larger by increasing the number of chains at the beginning and extending the crochet stitches.
- Add Texture: Use additional treble crochet stitches for a textured leaf edge.
- Decorative Modifications: Add embellishments like small crocheted butterflies or beads for a whimsical touch.
Special Techniques and Remarks
- Magic Circle: Essential for creating a secure beginner friendly starting point.
- Back Loop Only Crochet: Used to create texture for the transition from the stem to the bulb.
- Wire Work: Helps shape the leaf and adds sturdiness to the final tulip.
Conclusion
This chunky tulip crochet project is ideal for beginners and seasoned crafters looking for a fun and rewarding experience. Its soft texture, vibrant colors, and handmade charm make it perfect for gifting or home décor. The step by step guide ensures clarity, and the customization options leave room for your personal flair. Enjoy the satisfaction of creating your unique tulip and proudly display it.