
Stylish Free Crochet Bucket Hat Pattern That's Beginner-Friendly
Upgrade your summer look with this free crochet bucket hat pattern that is simple to make, fun to customize, and perfect for staying stylish and cool.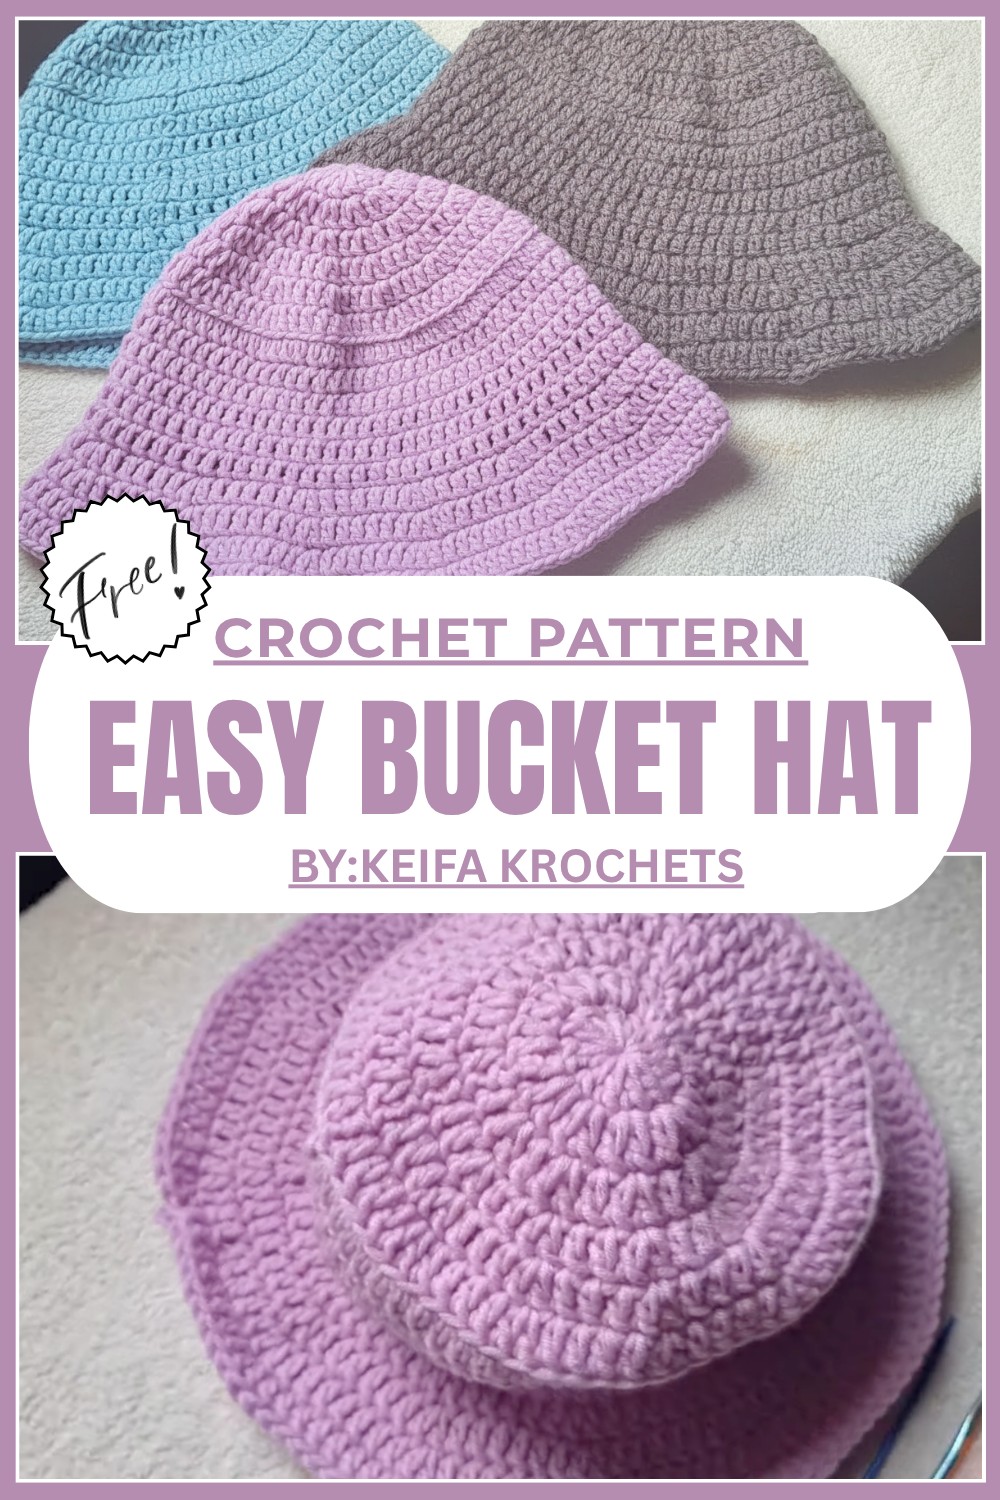
Impress Everyone with This Easy Free Crochet Bucket Hat Pattern
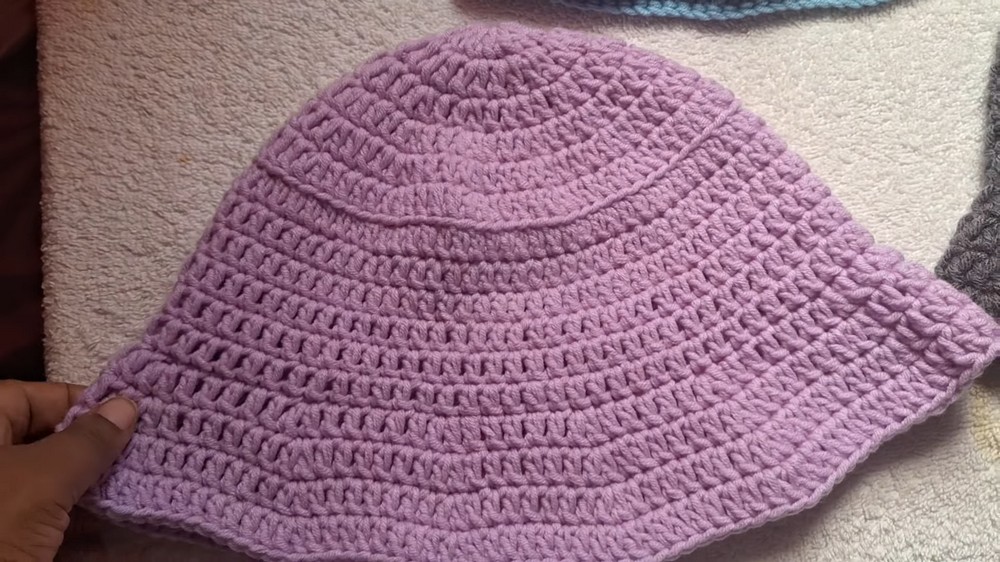
A crochet bucket hat is a fun and simple project that anyone can make with just yarn and a hook. This free pattern uses soft cotton yarn to create a stylish and lightweight hat that’s perfect for sunny days. The design starts with the crown, shaped beautifully using a magic circle technique, and grows into the body to fit snugly on your head. 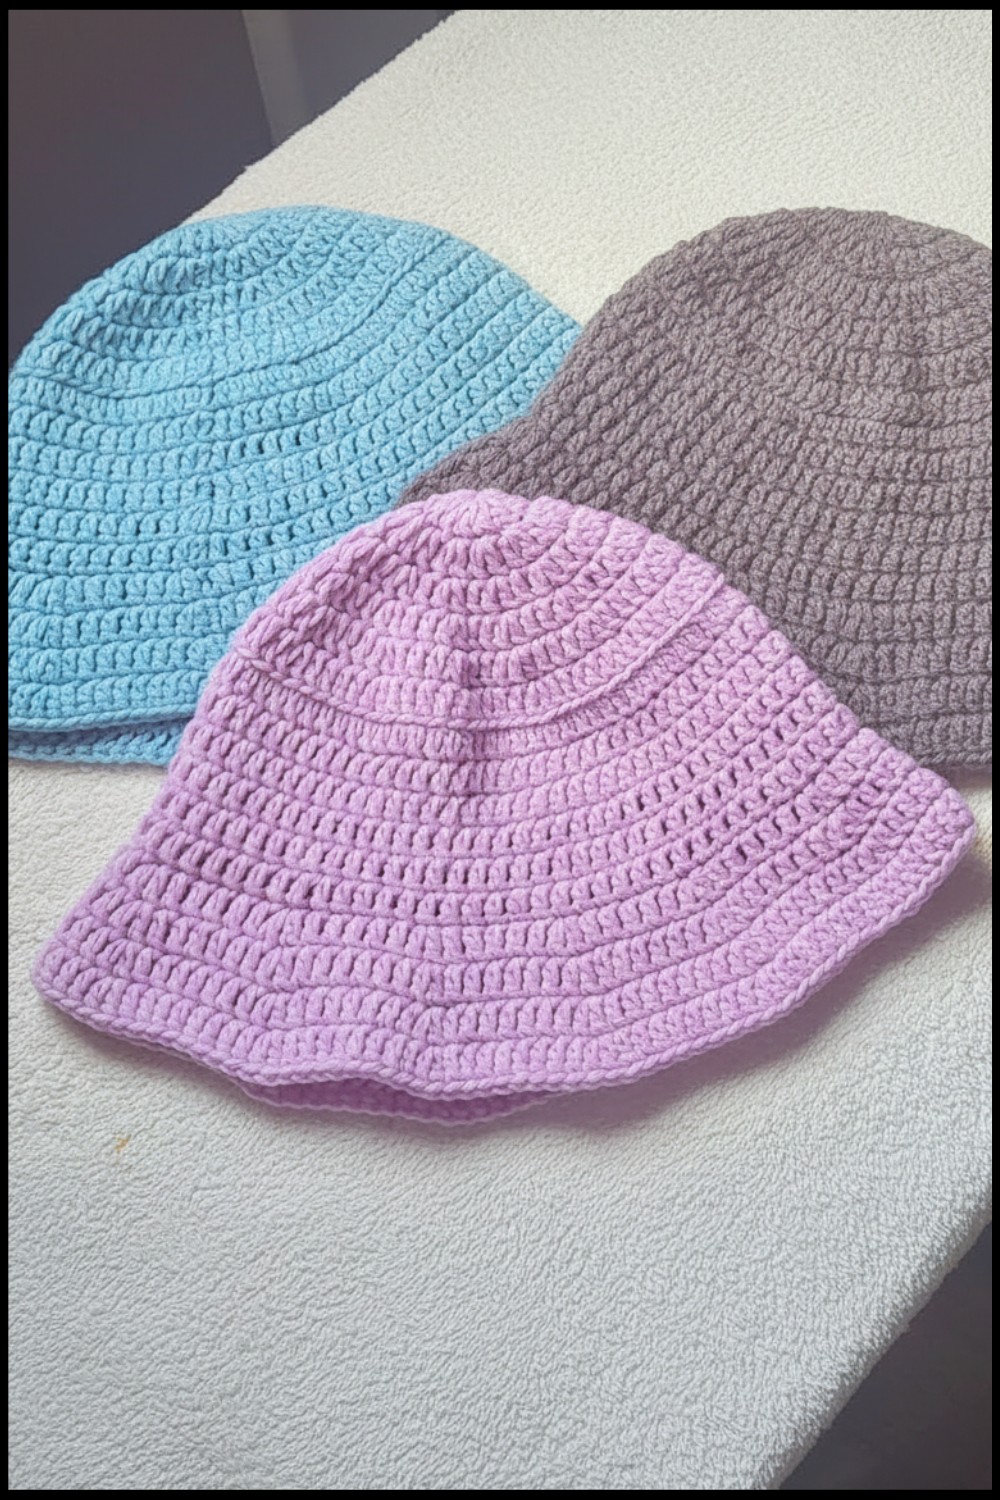 The brim gives it a pretty flare, making it great for shade and fashion. The hat is unique because you can customize the size, colors, and even textures to match your personal style. It’s not just functional but also a trendy accessory that works for kids and adults alike.
Cool Crochet Bucket Hat Pattern
Materials You'll Need
- Yarn: 5 weight cotton yarn (approximately 200g or as needed for your desired size). Choose a soft but sturdy cotton yarn for durability and comfort.
- Crochet Hook: 5 mm hook
- Tapestry Needle: For weaving in ends and creating a clean finish.
- Scissors: For cutting yarn.
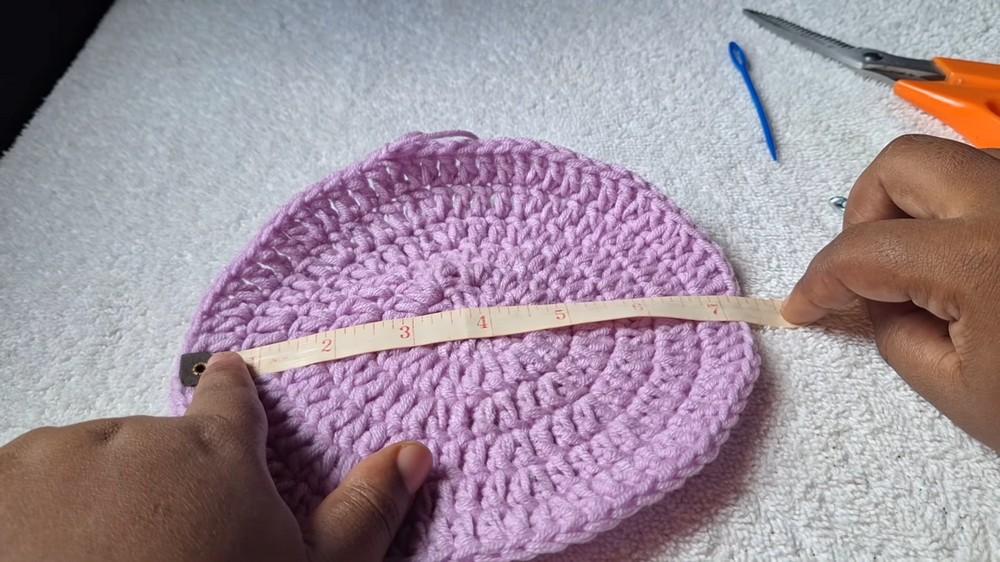
Gauge
Gauge is important for ensuring the final hat fits correctly.
Gauge: 10 double crochet (dc) stitches x 6 rows = 4 inches (10 cm) with a 5 mm hook.
Be sure to create a small swatch to ensure your gauge matches for accurate sizing. Adjust your hook size if necessary.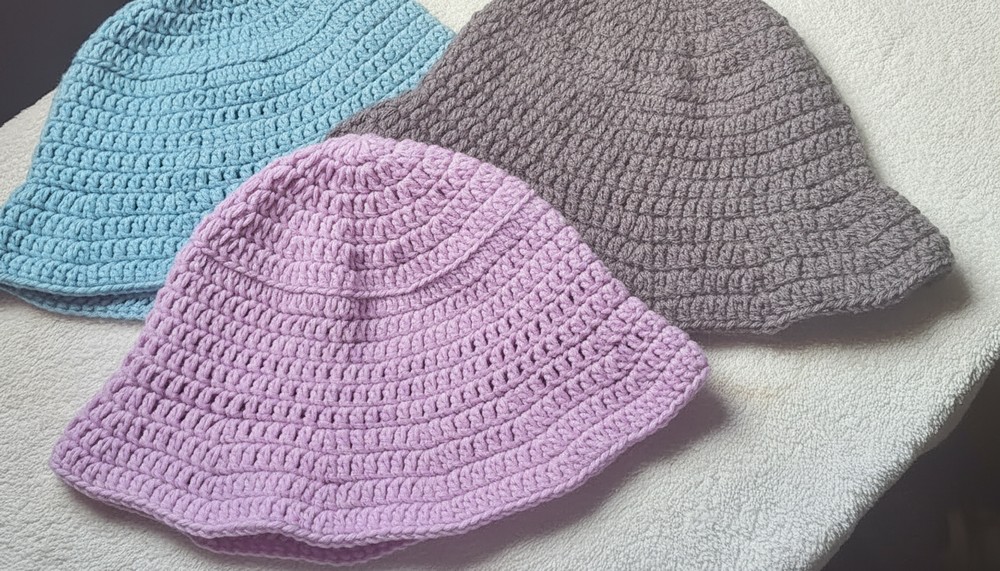
Finished Size
- Small/Child Size: Stop after Row 5 of the crown (circumference: 19–21 inches).
- Standard/Adult Size: Stop after Row 6 of the crown (circumference: 21–23 inches).
For a larger hat size, consider continuing with additional rows in the crown as per the increasing pattern provided in the instructions.
Pattern Overview
The hat is built in three sections:
- Crown: Shaping the top of the hat.
- Body: Creating the straight portion for the head.
- Brim: Adding a flared edge for sun protection and style.
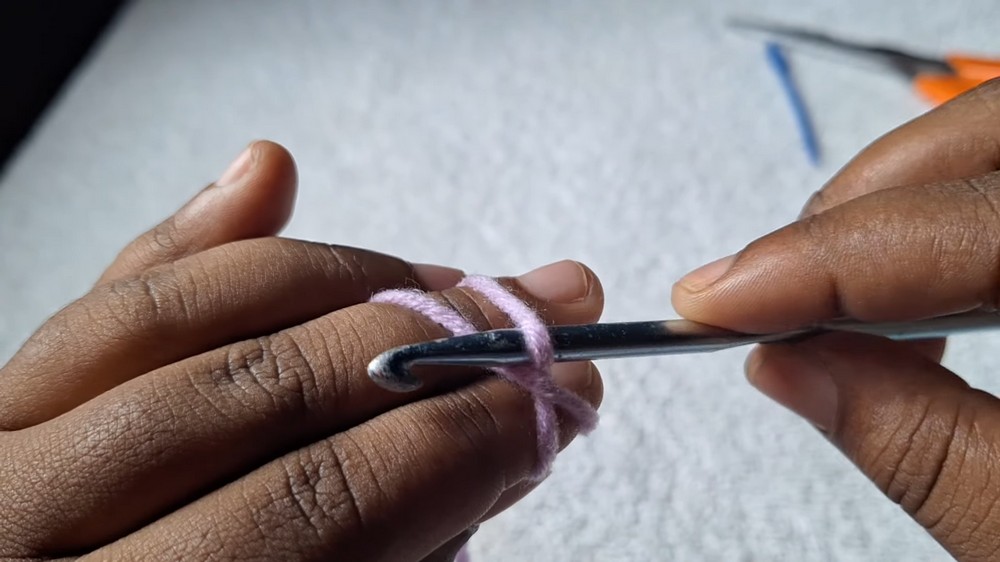
Special Techniques
- Magic Circle (Magic Ring): This creates a tightly closed center for the crown.
- Double Crochet (dc): The primary stitch used in this pattern.
- Back Loop Only (BLO): Adds definition to the body of the hat by creating a subtle ridge at the transition point.
Pattern Instructions
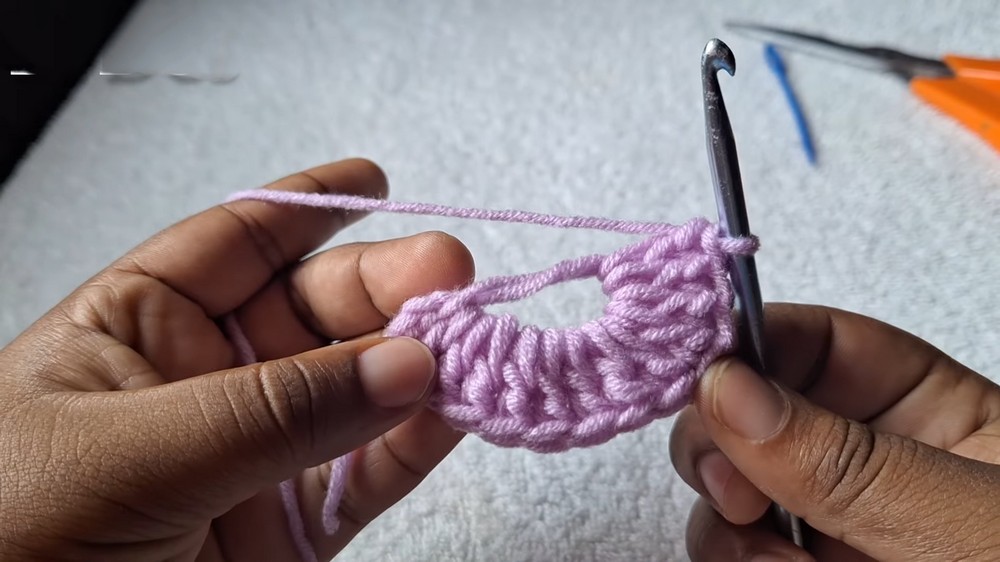
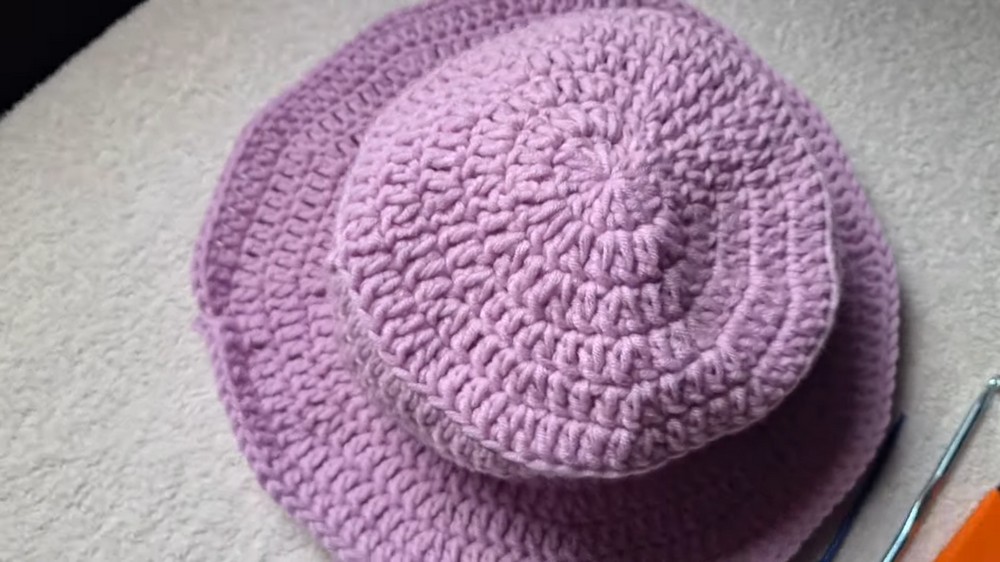
CROWN (Top of the Hat)
The crown is worked in continuous increasing rounds starting with a magic circle.
Row 1:
- Begin with a magic circle.
- Chain 3 (does NOT count as your first stitch).
- Work 12 dc into the magic circle.
- Pull the yarn tail to tighten the circle, closing the gap.
- Finish the row with a slip stitch (sl st) in the top of the first dc.
- Total stitches: 12
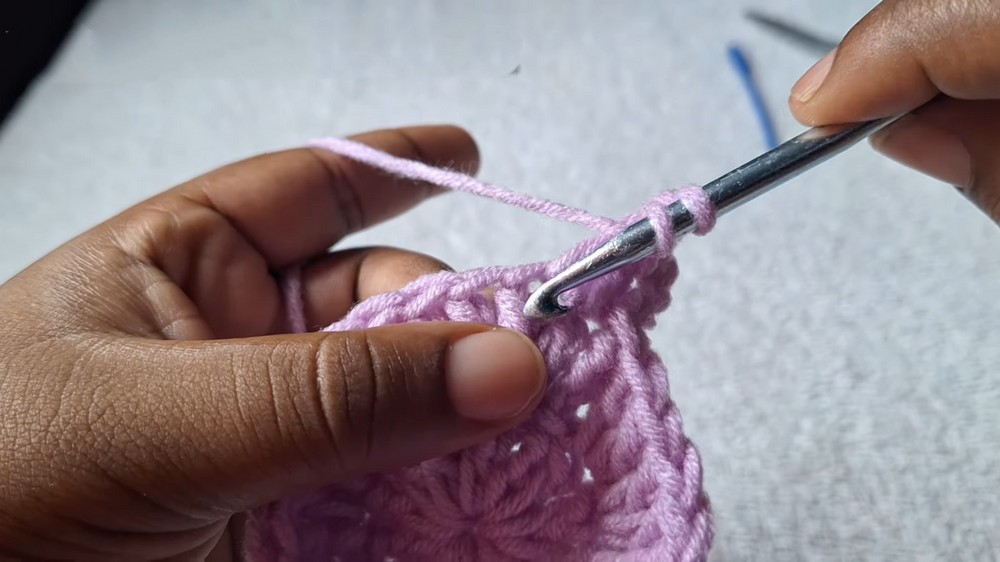
Row 2:
- Chain 3.
- Work 2 dc in each stitch around (increase in each stitch).
- Finish with a sl st in the first dc.
- Total stitches: 24
Row 3:
- Chain 3.
- Work 1 dc in the first stitch, 2 dc in the next stitch. Repeat this pattern around.
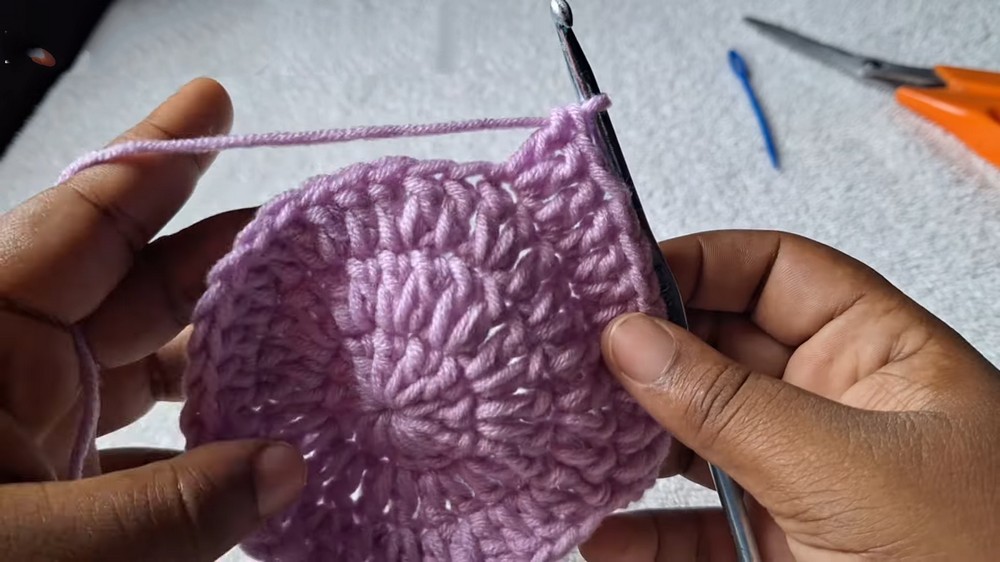
- Finish with a sl st in the first dc.
- Total stitches: 36
Row 4:
- Chain 3.
- Work 1 dc in each of the next 2 stitches, 2 dc in the next stitch. Repeat this pattern around.
- Finish with a sl st in the first dc.
- Total stitches: 48
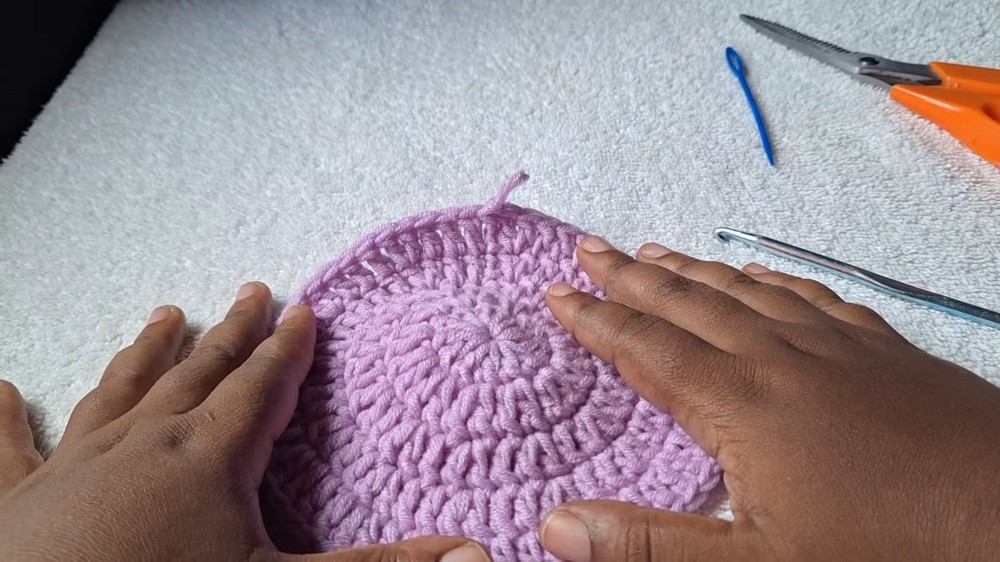
Row 5 (Small/Child Size Stop Point):
- Chain 3.
- Work 1 dc in each of the next 3 stitches, 2 dc in the next stitch. Repeat this pattern around.
- Finish with a sl st in the first dc.
- Total stitches: 60
- Total stitches: 60
Row 6 (Optional for Standard/Adult Size):
- Chain 3.
- Work 1 dc in each of the next 4 stitches, 2 dc in the next stitch. Repeat this pattern around.
- Finish with a sl st in the first dc.
- Total stitches: 72
- Total stitches: 72
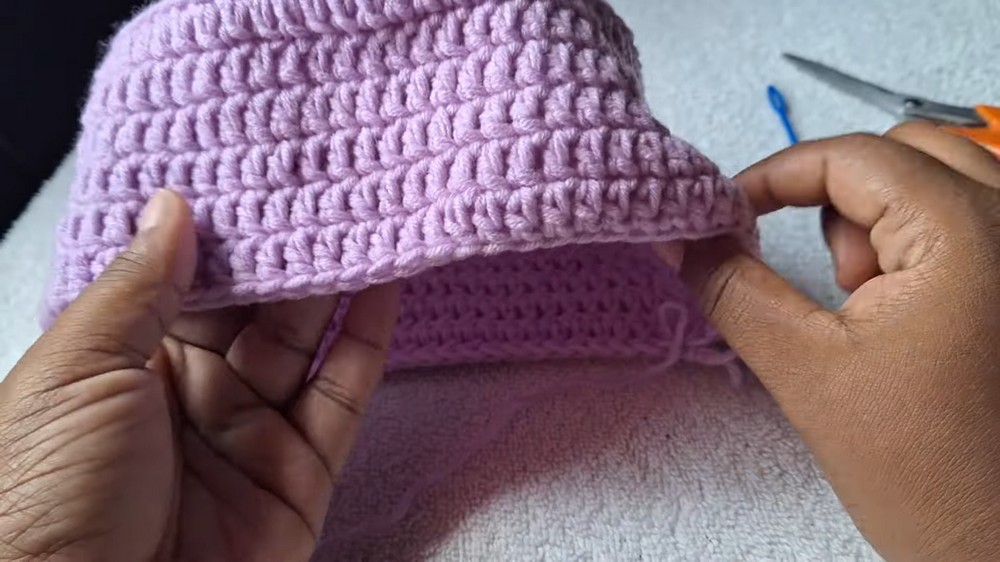
BODY (Main Part of the Hat)
The body is worked in straight rows without additional increases.
Row 1 (Transition Row):
- Chain 3.
- Work 1 dc in the back loop only (BLO) of each stitch around.
- Finish with a sl st in the first dc.
Rows 2–6:
- Chain 3.
- Work 1 dc in each stitch around (through both loops).
- Finish each row with a sl st in the first dc.
- Tip: For longer coverage or a slouchier style, add more rows to the body section.
BRIM
The brim is worked in increasing rounds to create a flared edge.
Row 1:
- Chain 3.
- Work 1 dc in each of the next 5 stitches, 2 dc in the next stitch (increase). Repeat this pattern around.
- Finish with a sl st in the first dc.
- Total stitches: 84
- Total stitches: 84
Row 2:
- Chain 3.
- Work 1 dc in each of the next 6 stitches, 2 dc in the next stitch. Repeat this pattern around.
- Finish with a sl st in the first dc.
- Total stitches: 96
Row 3:
- Chain 3.
- Work 1 dc in each of the next 7 stitches, 2 dc in the next stitch. Repeat this pattern around.
- Finish with a sl st in the first dc.
- Total stitches: 108
- Total stitches: 108
Row 4:
- Chain 3.
- Work 1 dc in each of the next 8 stitches, 2 dc in the next stitch. Repeat this pattern around.
- Do not sl st to finish; instead, pull out the yarn and cut the work.
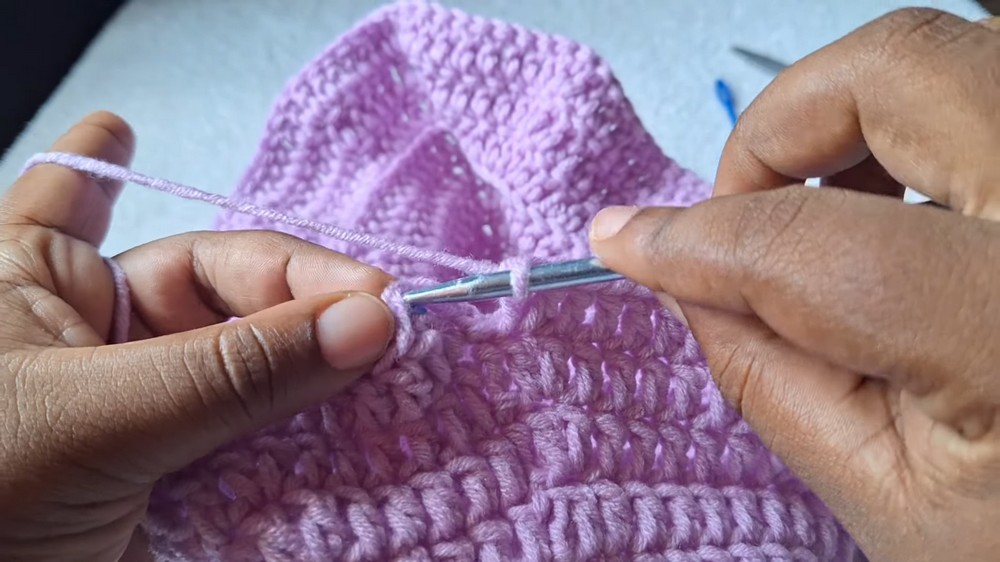
FINISHING & WEAVING IN ENDS
- Thread the yarn tail onto a tapestry needle and carefully sew the stitches together for a seamless finish.
- Weave in all remaining loose ends to ensure a clean look.
Customization Ideas
- Colors: Use variegated or ombre yarn for a unique visual effect. You can also alternate colors between the body and the brim for a two tone design.
- Texture: Add a row of front post/back post double crochet stitches to create a textured ridge.
- Extra Coverage: Add more rows to the body or the brim for a longer hat or a wider brim.
- Embroidery: Customize your hat with crocheted flowers, appliques, or embroidery for added personality.
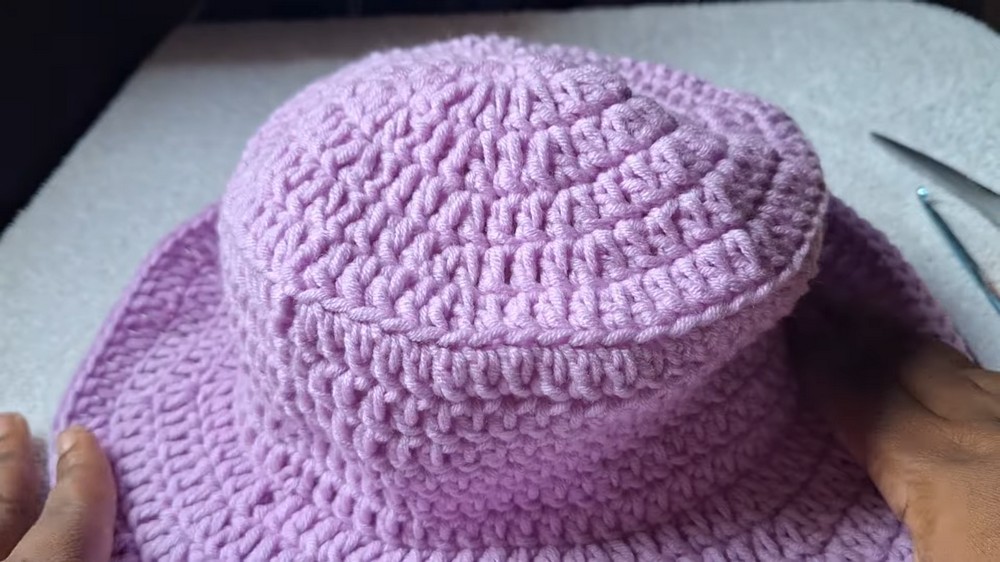
Conclusion & Final Remarks
Your crochet bucket hat is now complete! This versatile piece is perfect for sunny days, adding both comfort and style to any outfit. It can be sized up or down for kids or adults, allowing you to create matching hats for family and friends. Pair it with your favorite outfit, or gift it to someone special!
Important Notes:
- Ensure your tension remains consistent throughout to achieve a uniform look.
- Give the finished hat a gentle wash and block it as needed to set the shape perfectly.
