Stunning Free Crochet Granny Blue Sweater Pattern That’s So Cozy
Show your great skills by making a soft and stylish sweater using this Free Crochet Granny Blue Sweater Pattern to build a wonderful and very unique item that makes you feel so proud.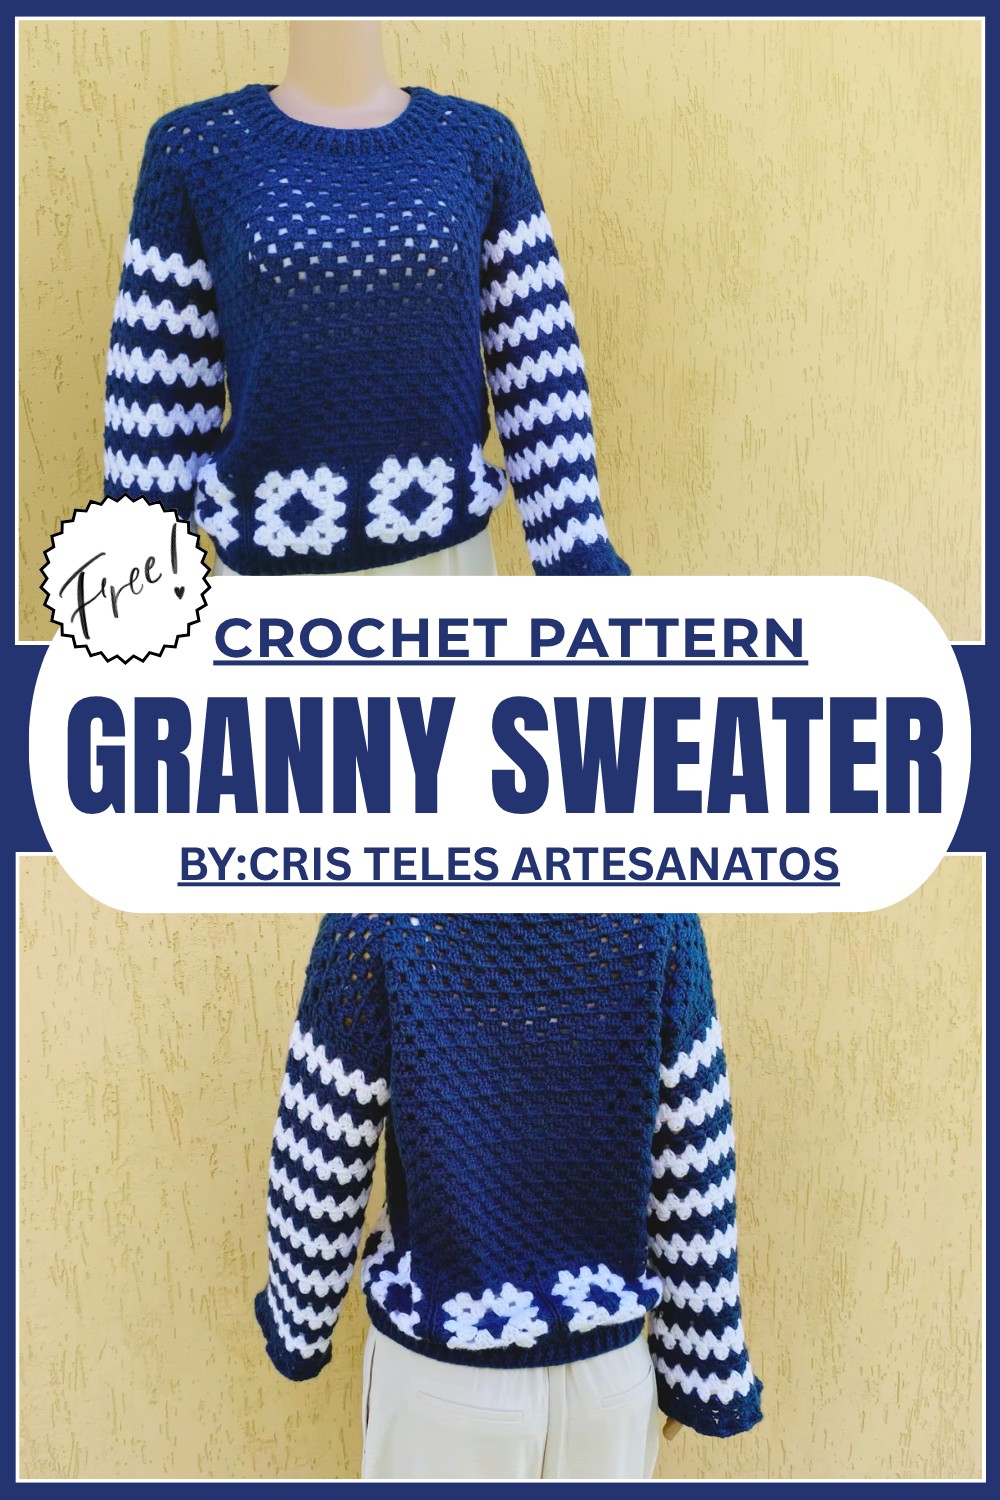
Stay Warm With This Gorgeous Free Crochet Granny Blue Sweater Pattern
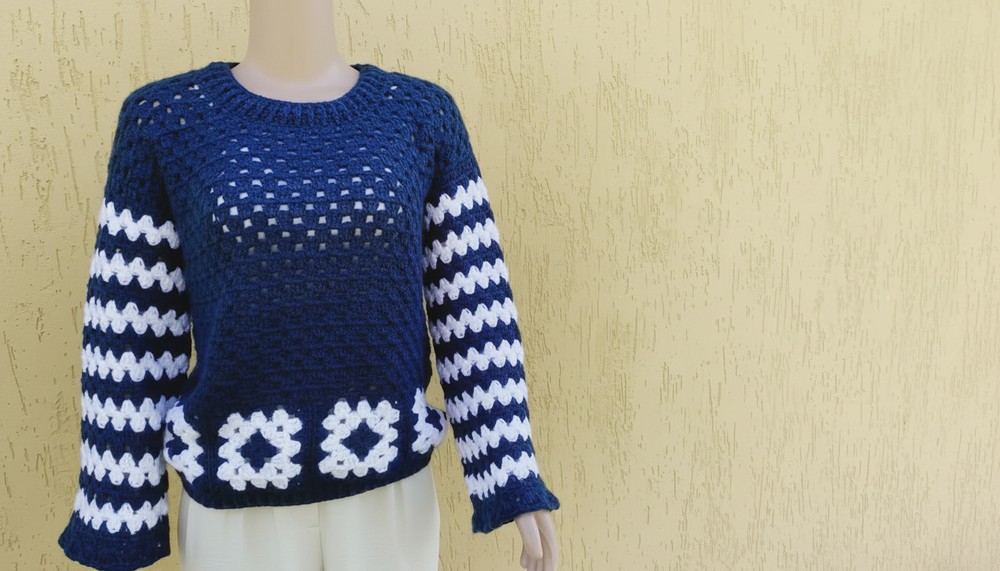
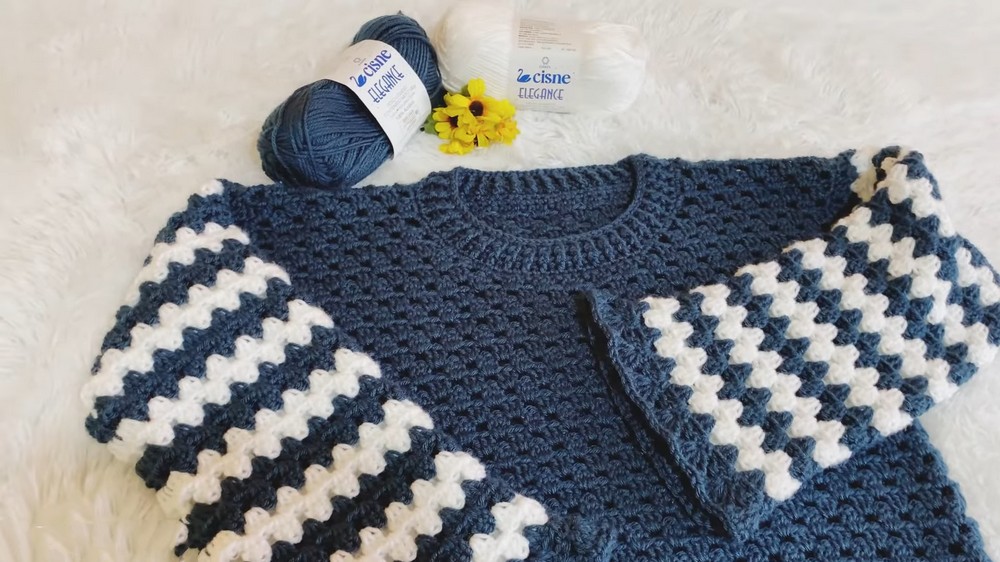
This guide brings you the perfect way to crochet a stunning and cozy masterpiece—the Free Crochet Granny Blue Sweater Pattern. Designed with timeless granny squares, modern striped sleeves, and a charming mix of navy blue and white, this sweater is a blend of elegance and comfort.
Its lightweight and soft feel make it ideal for chilly days, whether you're heading out or relaxing indoors. Featuring neat ribbed cuffs, long sleeves, and a flattering fit, this sweater is truly one of a kind. 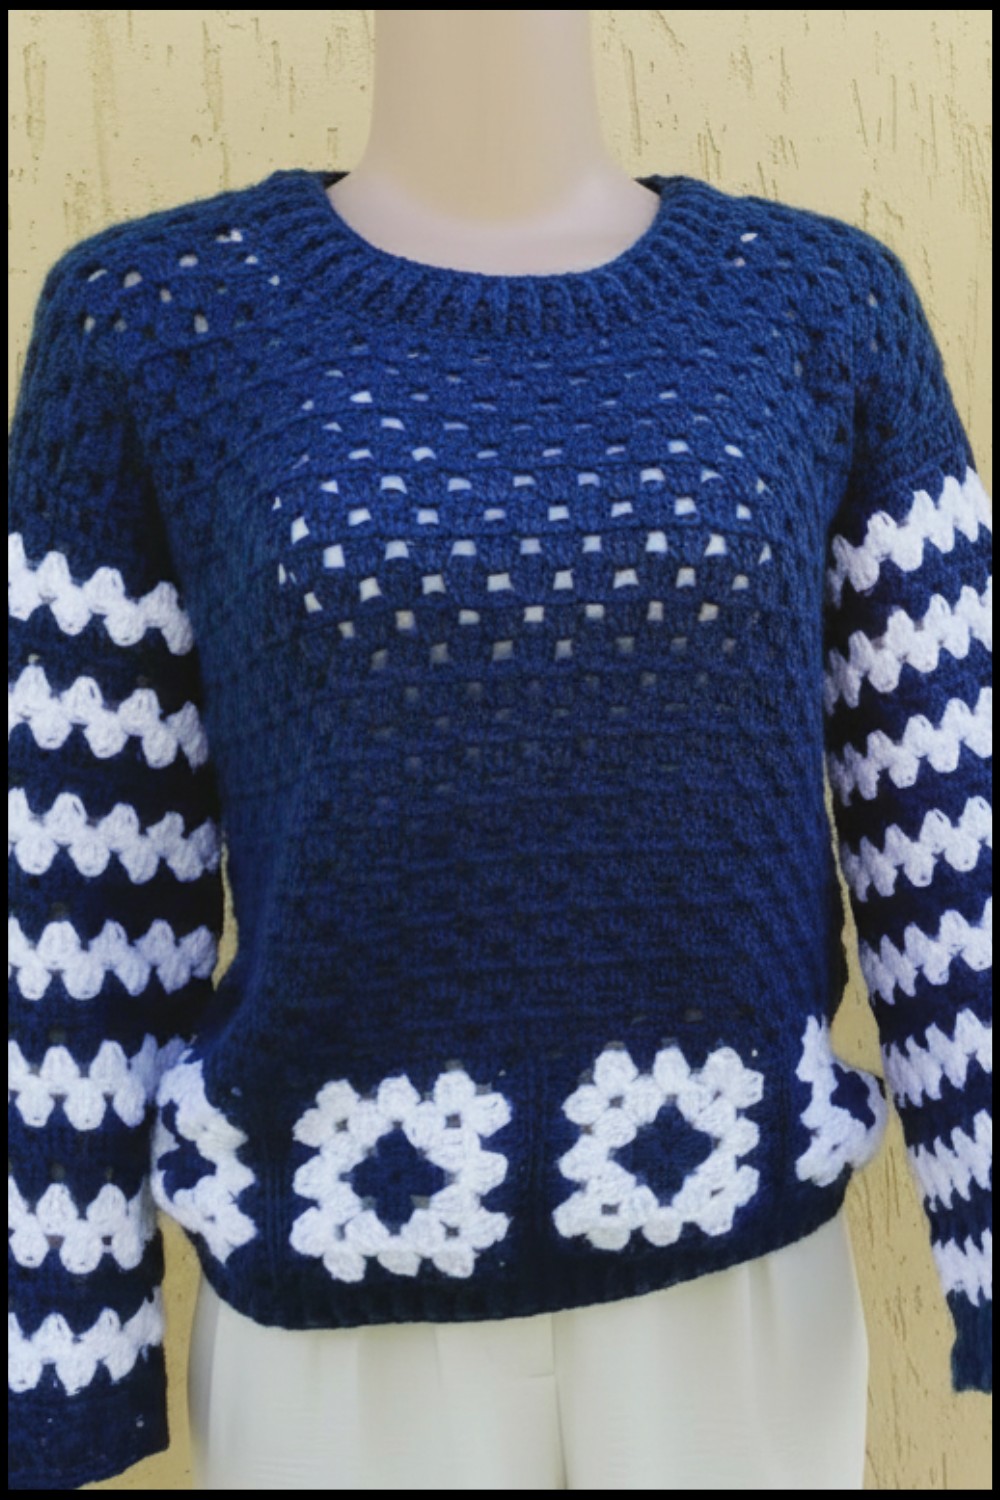 Whether you want to treat yourself or surprise a loved one with a thoughtful handmade gift, this pattern will inspire and delight. Dive into this fun project and crochet your way to creating something truly beautiful today.
Soft Free Crochet Granny Blue Sweater Pattern
Finished Size
- Width: 49 cm
- Total Length: 56 cm
- Armhole Height: 20 cm
- Sleeve Width: 17 cm
- Sleeve Length: 49 cm
- Cuff Width: 22 cm
Materials Required
- Yarn:
- Cisney Elegance yarn (100% acrylic, tex 550, 100g/180m).
- Main color: Dark Navy Blue (Color code: 01 870).
- Secondary color: White (Color code unspecified).
- Tip: You can substitute yarn with similar texture and gauge as needed.
- Cisney Elegance yarn (100% acrylic, tex 550, 100g/180m).
- Crochet Hooks:
- 6.0 mm hook (for larger sections).
- 4.5 mm hook (for edging and finishes).
- 2.0 mm hook (optional, for securing loose threads).
- Additional Tools:
- Tapestry Needle (for sewing and weaving in ends).
- Scissors.
- Measuring Tape.
Gauge
- 12 cm x 12 cm square after blocking.
- 3 points high (using the "Granny Square" method) = approximately 3 cm.
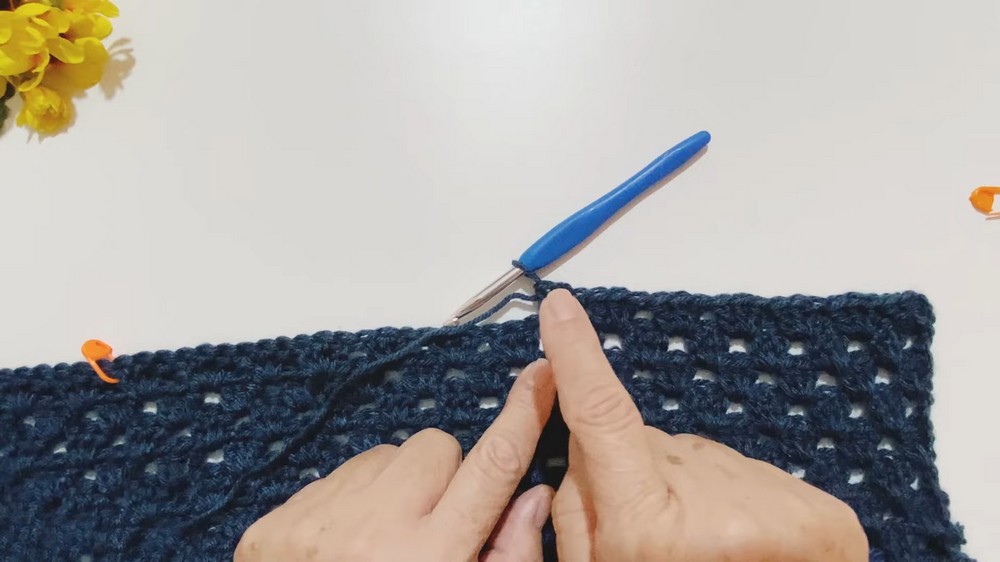
Pattern Instructions
Part 1: Granny Squares (Main Body Design)
The base of this design includes "Granny Squares" assembled for the sweater panels.
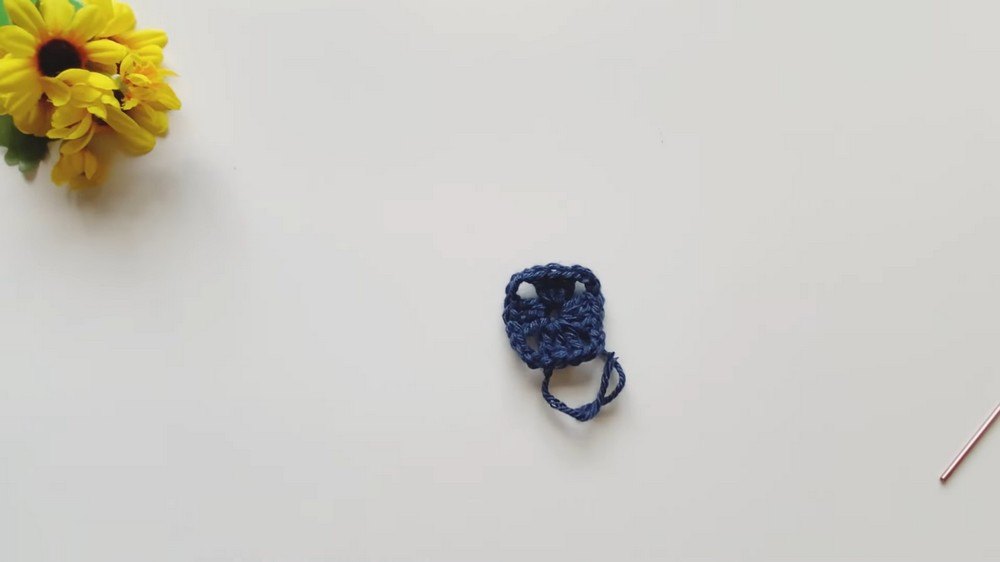
- Foundation: Create a Magic Ring.
- Wrap yarn around your finger and form a loop. Insert your hook into the loop and pull up one loop.
- Chain 2 to start.
- First Round:
- Work into the ring:
- Crochet 3 double crochets (dc), Chain 3 (forms a corner).
- Repeat: 3 dc, Chain 3 three more times.
- Pull the ring closed tightly and slip stitch into the first chain to join the round.
- Work into the ring:
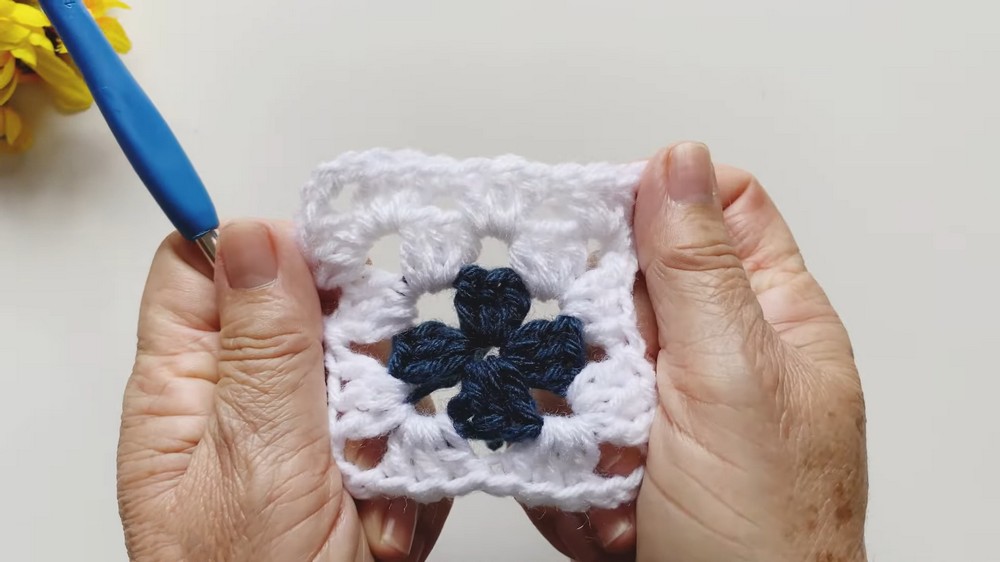
- Second Round (White Rounds):
- Attach white yarn to any corner space.
- Work 3 dc into the corner space, Chain 3, and continue along the edges:
- Skip previous groups and only crochet into the corners with 3 dc, Chain 3.
- Slip stitch into the beginning chain to finish.
Tip: Omit chain intervals between edge blocks for a tighter square fabric.
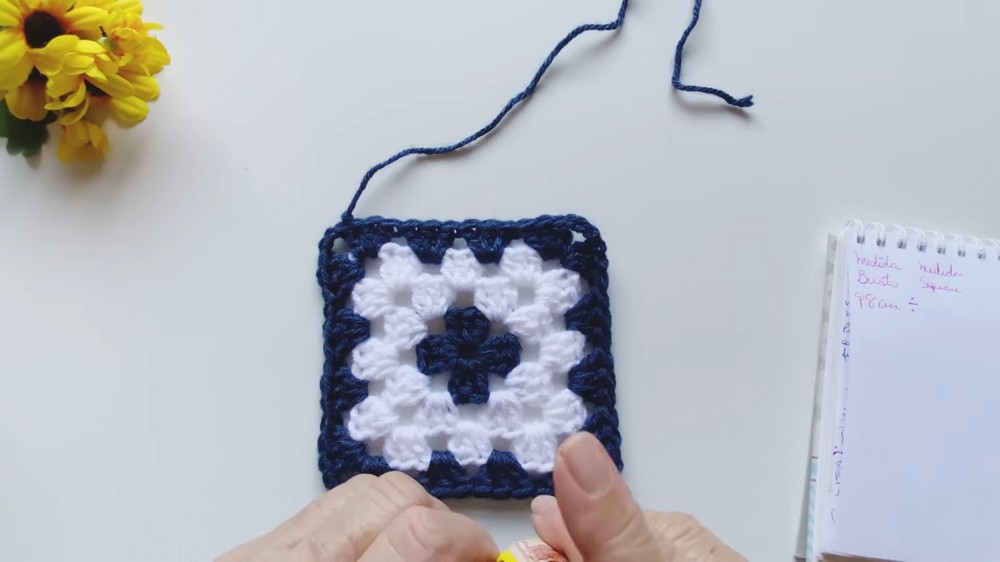
- Subsequent Rounds:
- Continue alternating colors: dark navy blue and white yarn.
- Expand with additional Granny Square rounds until the square measures 12 cm x 12 cm.
- Finish by weaving in loose yarn ends.
- Quantity of Squares:
- To determine the number of squares:
- Measure bust circumference (e.g., 98 cm).
- Divide by square width (12 cm): 98 ÷ 12 = 8 squares.
- Measure bust circumference (e.g., 98 cm).
- Prepare an equal number of squares for both the front and back panels.
- To determine the number of squares:
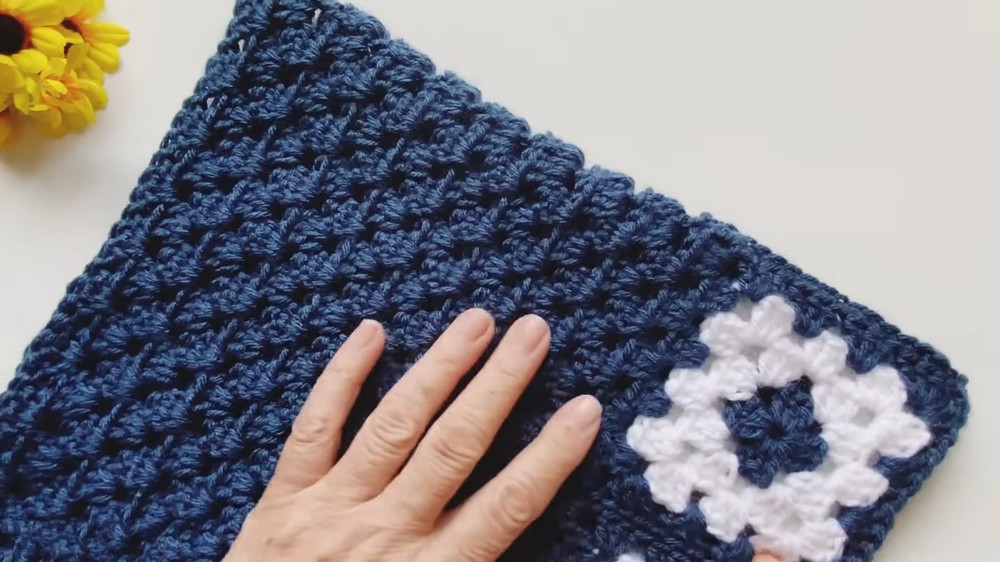
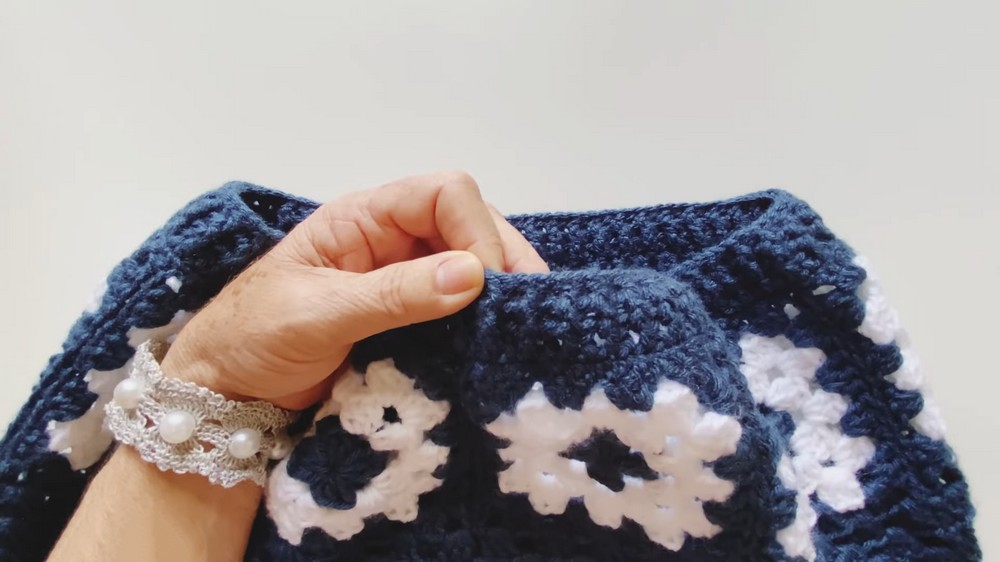
- Square Assembly:
- Place squares right sides facing for a clean seam finish.
- Use a tapestry needle to whipstitch edges:
- Match single loops to preserve neatness.
- Avoid tight stitches to prevent buckling.
- Place squares right sides facing for a clean seam finish.
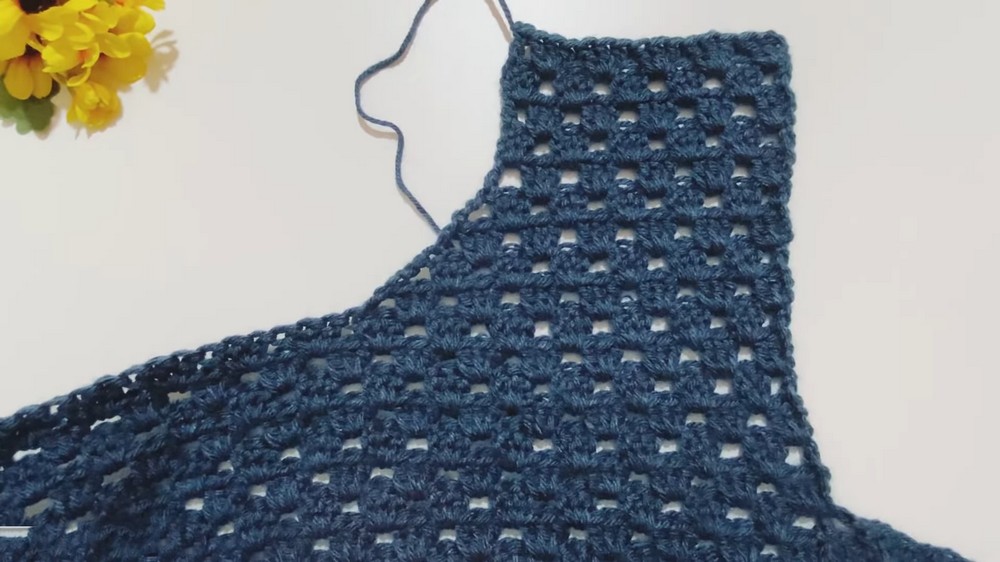
Part 2: Sweater Panels
Front Panel:
- Begin crocheting squares into vertical rows. Once they’re assembled:
- Make the bust and body panels by stitching squares together.
- Switch to working circular rows around the base structure:
- Work with 3 dc blocks without intervening chains for a seamless texture.
Shaping the Armholes:
- Work armhole sections by transitioning from Granny Square panels into individual length extensions for the sleeves.
- Bind off 7 squares at the neckline for shaping. Adjust accordingly for smaller or larger sizes.
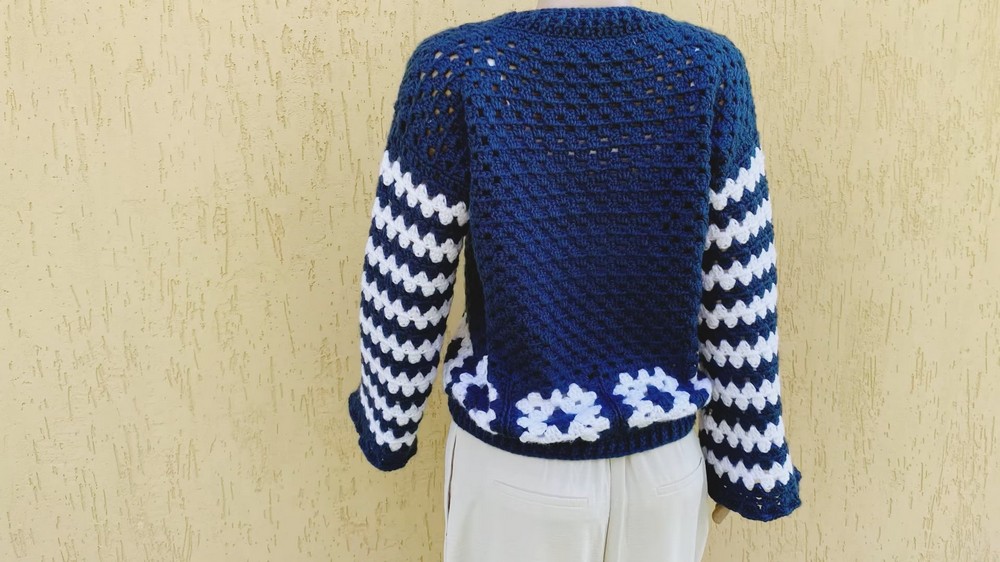
Back Panel:
Repeat similar procedures but ensure symmetry across armhole openings. Assemble panels by whip stitching the shoulder seams.
Part 3: Sleeves
- Attach yarn at the armhole edge.
- Crochet two rounds in dark navy blue, alternating with two rounds in white.
- Work sleeve rounds until they reach 49 cm in length.
- Finish sleeve cuffs with alternating front post and back post stitches to create ribbing.
Part 4: Neckline
- Begin neck edging using a 4.5 mm hook.
- Work single crochet rounds (approx. two stitches per row).
- Complete with two rounds of post reinforced stitches for a structured finish.
Part 5: Bottom Hem
- Edge body hemline with single crochet rounds.
- Add ribbing using post reinforced stitches.
- Finish with slip stitched trim for a crisp lower edge.
Customization Ideas
- Alternate Colors: Experiment with pastel tones for versatility.
- Extended Lengths: Add rows for an oversized sweater.
- Embroidery: Decorate squares with contrasting embroidery patterns for added detail.
Special Techniques
- Magic Ring: Seamlessly cohesive startups for Granny Squares.
- Switching yarn colors: Ensures neat edges when working stripes or panel changes.
- Post Stitches: Provides ribbed texture for cuffs and necklines.
Conclusion and Remarks
The Grand Blue Sweater is a sophisticated project suitable for intermediate crocheters. Its structured combination of Granny Squares and seamless transitions ensures a polished and durable garment. This sweater is perfect for layering during fall and winter or as a statement piece for colder days.
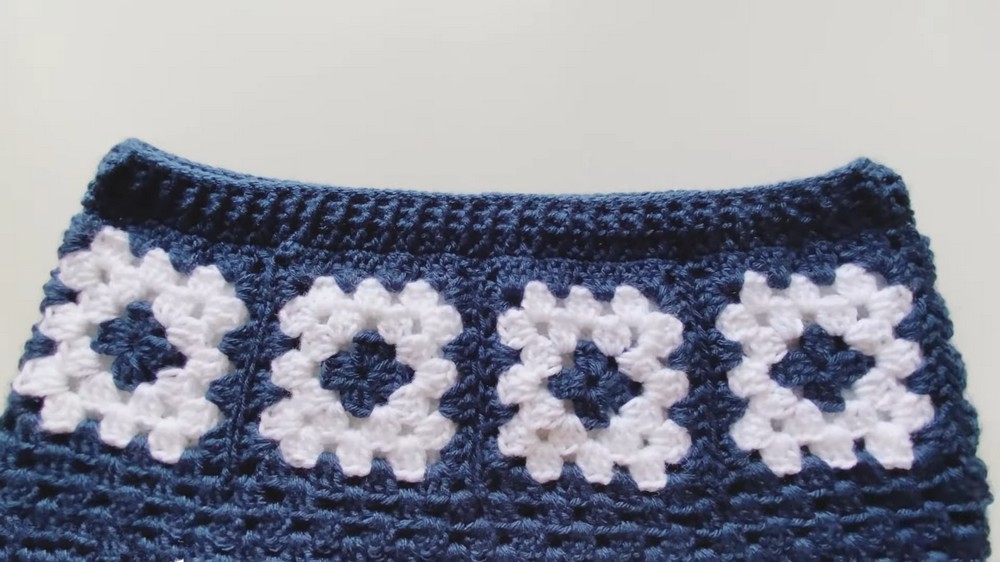
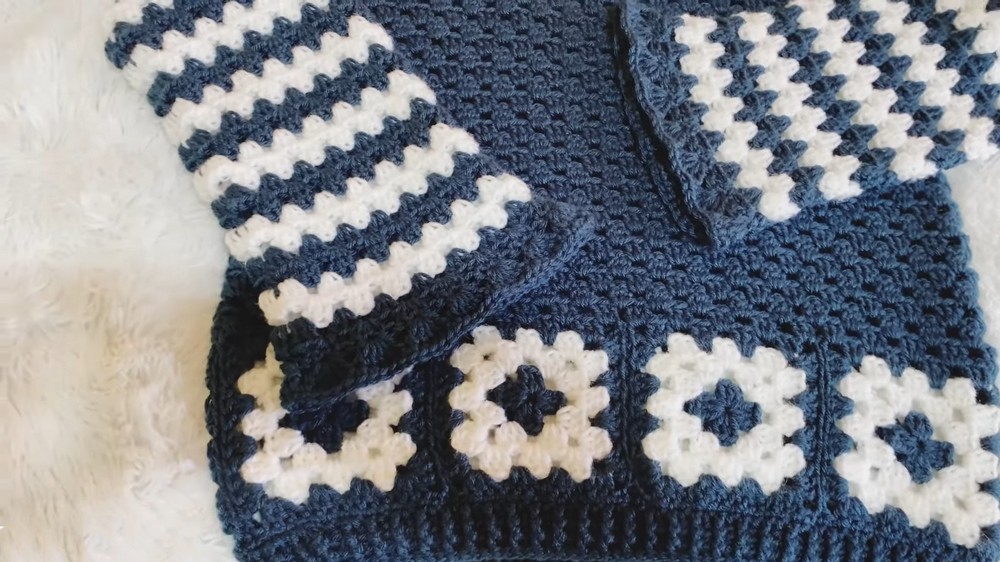
Final Look
The sweater features a timeless crochet motif with clean edges and even assembly. Its fitted sleeves contrast beautifully against the bold geometric Granny Square construction, resulting in a gratifying crochet masterpiece suitable for a variety of occasions.