Bright Free Crochet Chunky Bucket Hat Pattern For Cozy Looks
Look like a famous star by making a bulky and heavy Crochet Chunky Bucket Hat that stands up tall and stays in place while you hang out with your friends on a very chilly afternoon.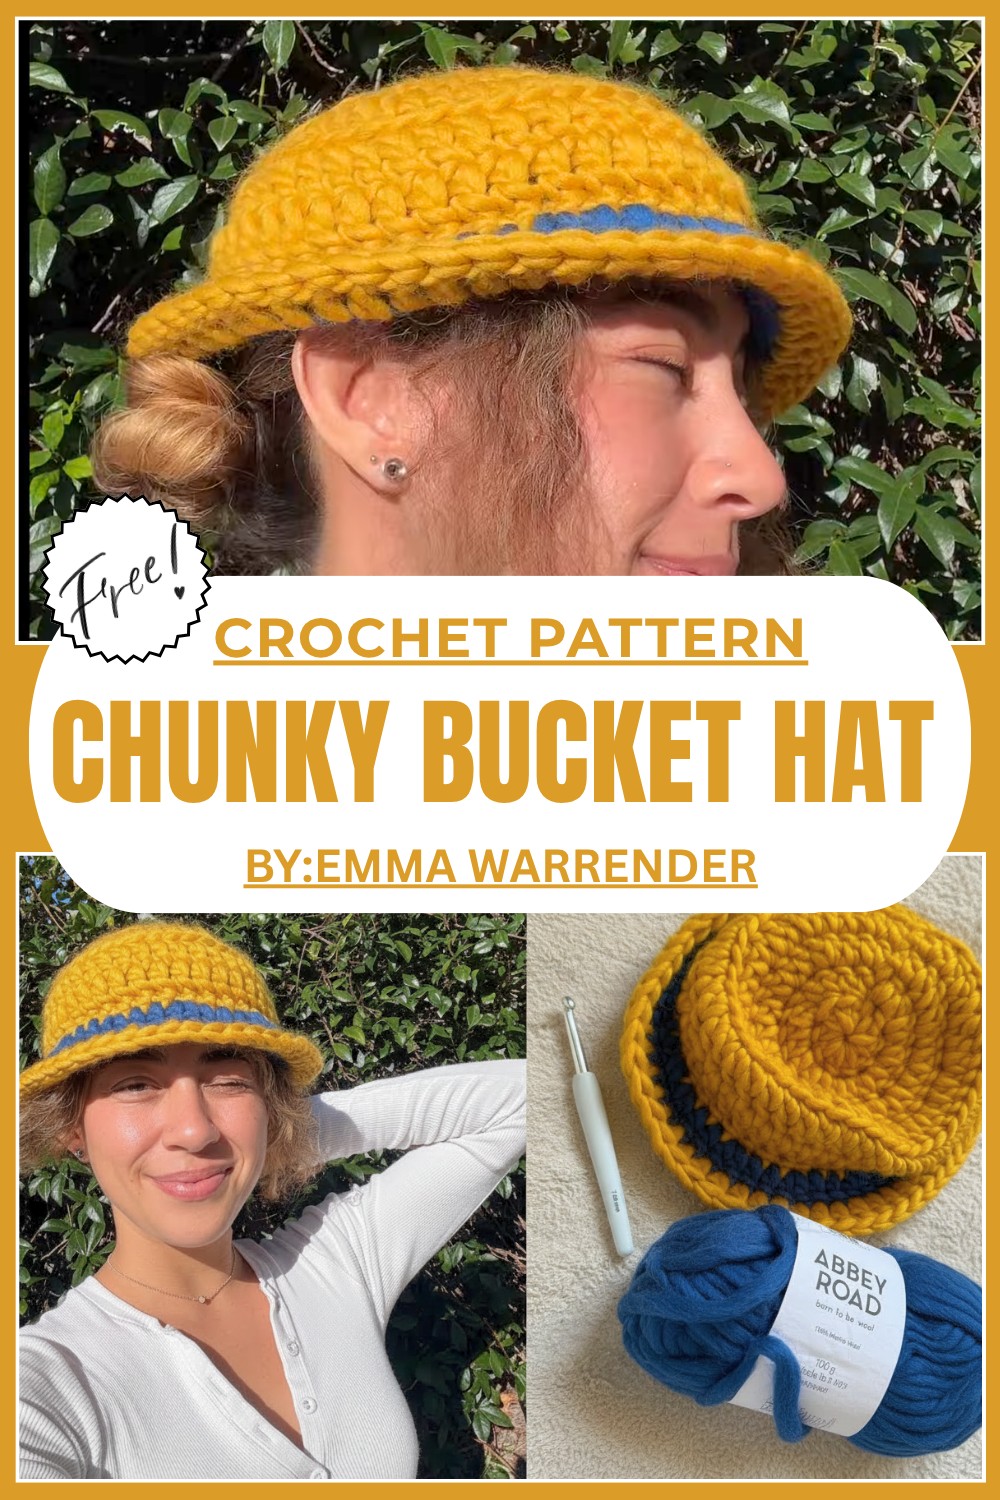
Free Crochet Chunky Bucket Hat Pattern for Warm Stylish Days
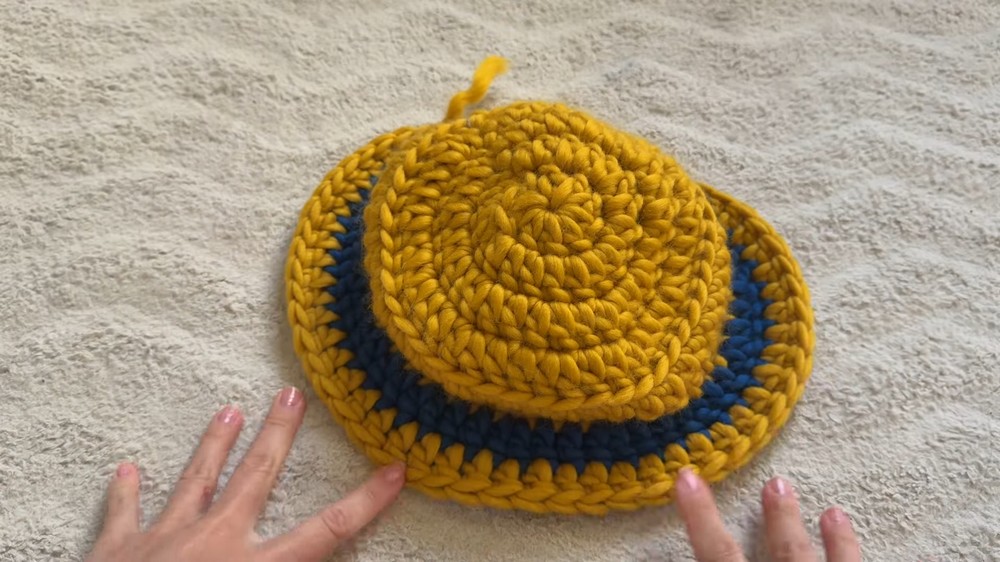
Whether you make it for yourself or as a gift, it's sure to bring joy and warmth. The Free Crochet Chunky Bucket Hat Pattern is an easy and fun project perfect for anyone to try, even if you’re new to crocheting. Made with soft, chunky yarn, this hat is both cozy and super stylish, providing just the right amount of comfort and charm.
Its unique design features a smooth top and a gently flared brim that gives it a modern yet timeless look. You can personalize your hat with bright colors, playful stripes, or keep it simple with one classic shade. Perfect for chilly weather or as a year round fashion statement, this hat is practical, stylish, and surprisingly easy to make. 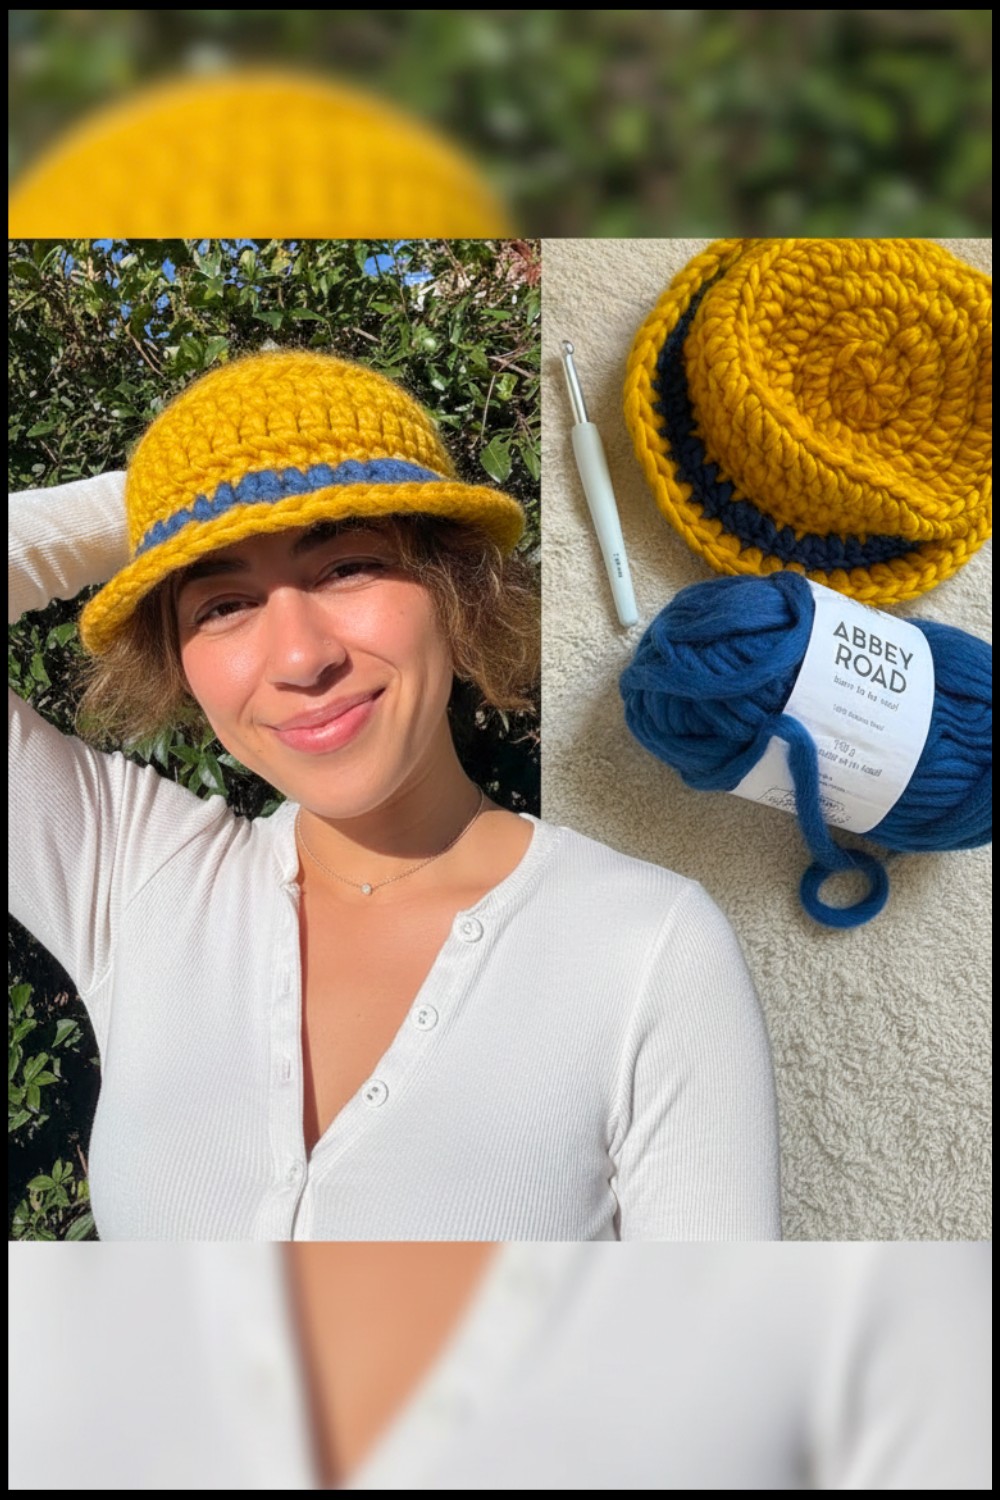 It’s the ultimate accessory that’s trendy, functional, and lovable—so grab your yarn and crochet hook and get started on this beautiful project.
Graceful Crochet Chunky Bucket Hat Pattern
Materials Needed
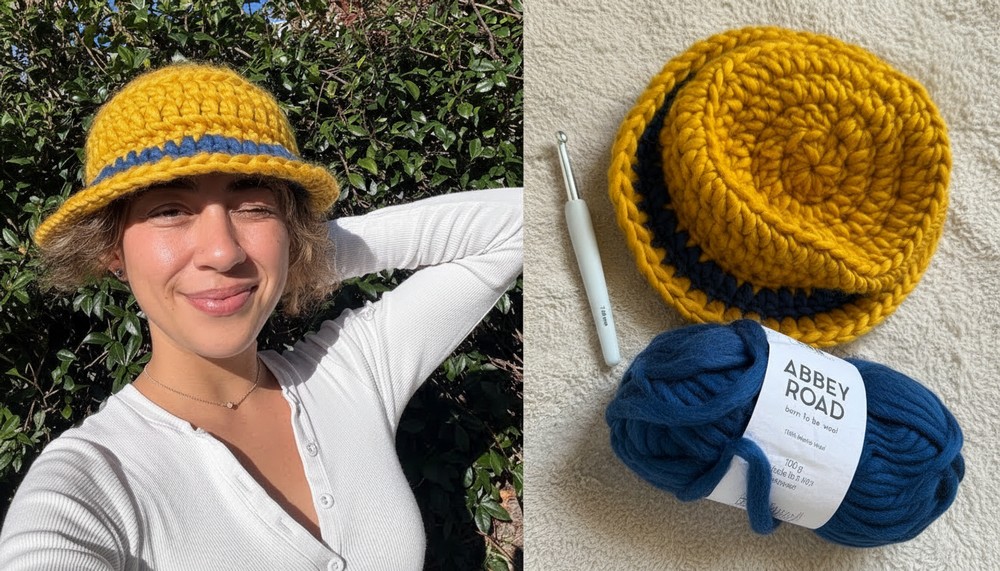
- Yarn: Abbey Road “Born to be Wool” (or any standard worsted weight yarn). Two colors:
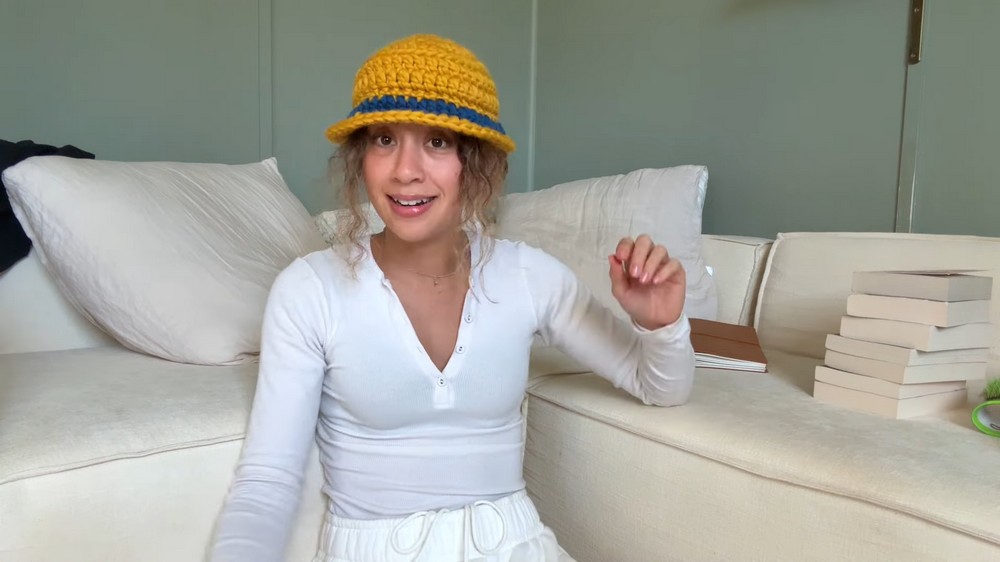
- Main Color (MC): Yellow
- Secondary Color (SC): Blue (or any contrasting color for the brim stripe)
- Crochet Hook: 7 mm (adjust size if you prefer a tighter or looser fit).
- Stitch Marker: A bobby pin or a proper crochet stitch marker to mark rounds.
- Scissors: For cutting yarn.
- Tapestry Needle: For weaving in ends.
Special Techniques
- Magic Circle: A loop to begin your hat crown without leaving an open hole.
- Color Changes: Switching yarn colors without tying knots to ensure a clean transition.
- Back Loop Only Crochet: Used to create a ridge for the brim.
- Increases: Placing two stitches in the same stitch to expand the circle size.

Step by Step Instructions
1. Start with the Crown
- Create a magic circle: Wrap the yarn around your fingers to form a loop, insert the hook into the loop, and pull through the yarn.
- Chain 2 (counts as your first double crochet).
- Work 9 more double crochets into the magic circle (for a total of 10 stitches including the chain). Ensure you count carefully.
- Pull the tail of the magic circle tightly to close the gap.
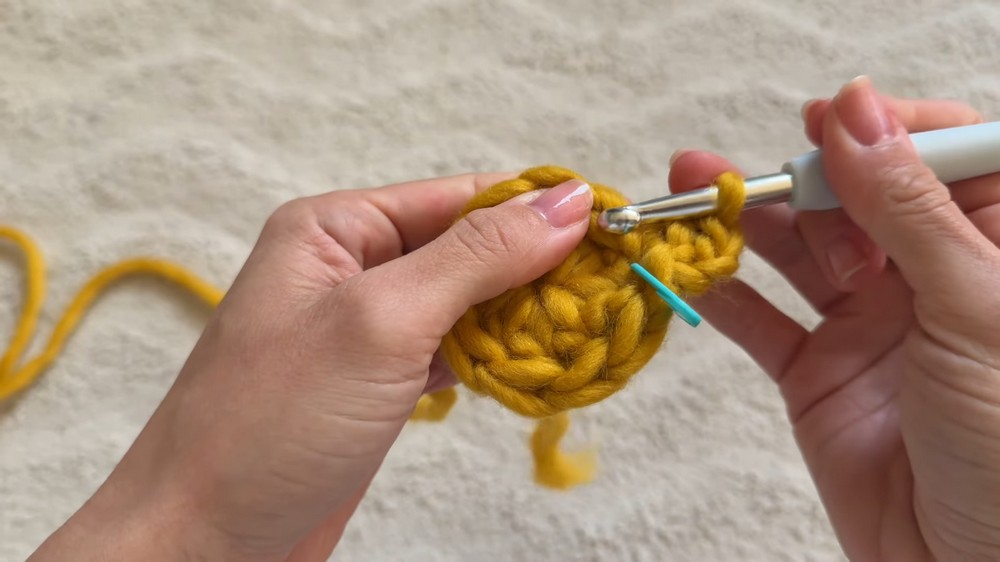
- Insert your hook into the top of the chain 2, yarn over, and slip stitch to connect the round. (10 stitches).
2. Increasing the Crown
This section creates the circular top of the hat. Each round involves incremental increases.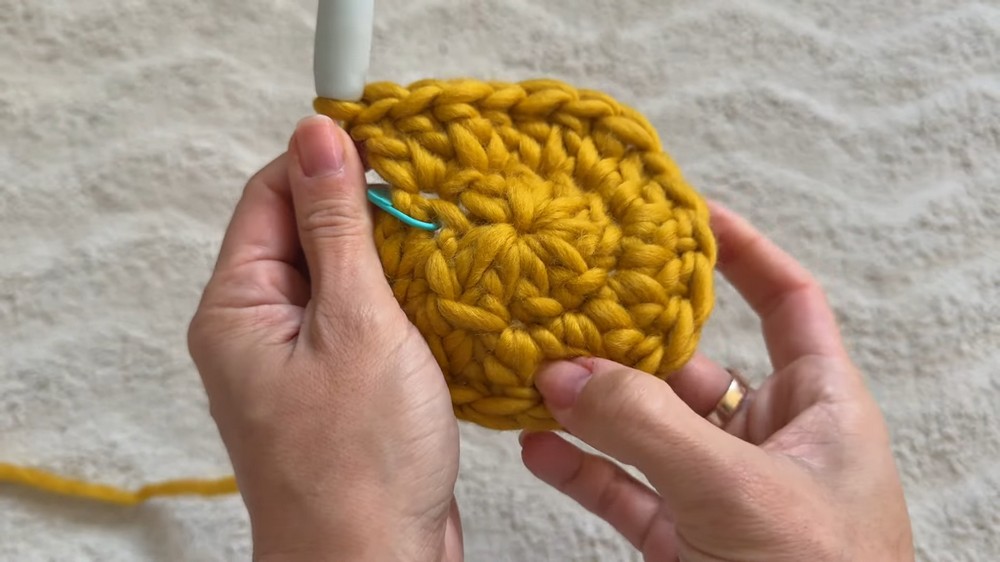
Round 2:
- Chain 2 (counts as a double crochet), place your stitch marker in the first stitch.
- Work two double crochets into each stitch around for a total of 20 stitches. Slip stitch to the starting stitch to connect the round.
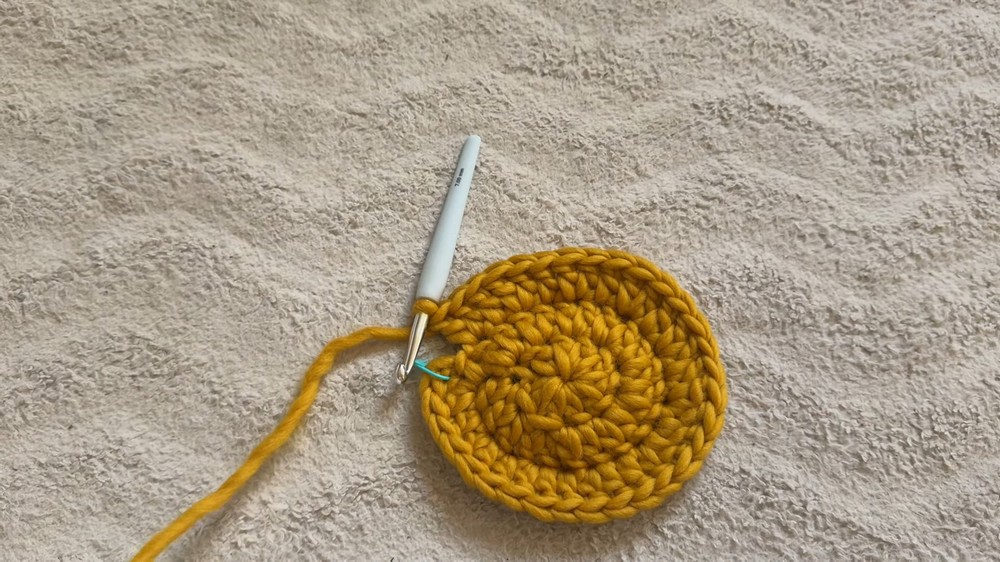
Round 3:
- Chain 2 and place a stitch marker.
- Work one double crochet in the first stitch and two double crochets in the next stitch (increase every second stitch). Repeat this pattern until the end of the round. Slip stitch to connect. (Total: 30 stitches).
Round 4:
- Chain 2 and place a stitch marker.
- Work one double crochet each in the first two stitches, and an increase in the third stitch (2 single stitches, then an increase). Repeat around. Slip stitch to the starting stitch to connect. (Total: 40 stitches).
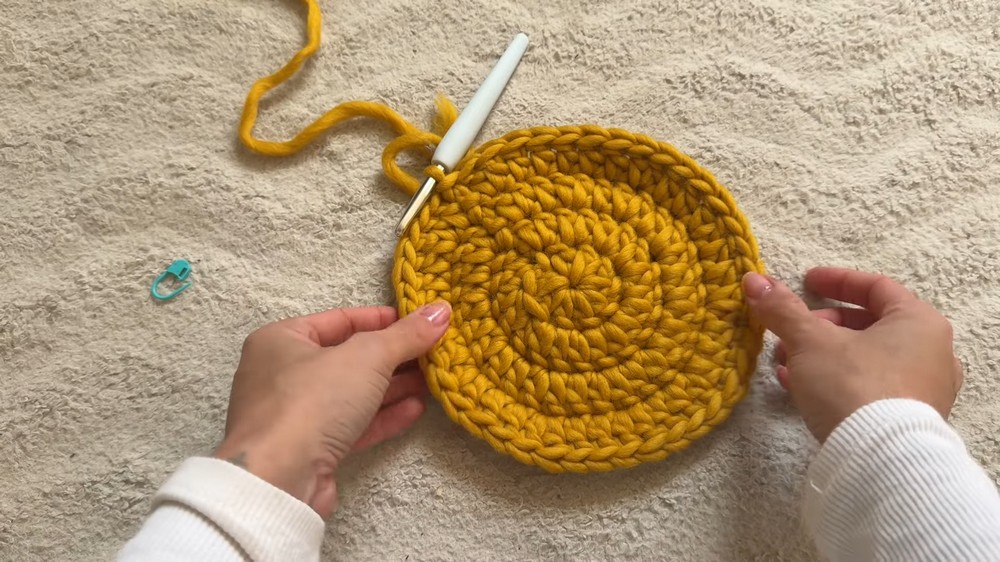
Subsequent Rounds (Optional): Continue increasing as needed:
- Round 5: Increase every 4th stitch (50 stitches).
- Round 6: Increase every 5th stitch (60 stitches), and so on.
- Test the sizing by placing the circle over your head. Stop increasing once the crown covers the top of your head.
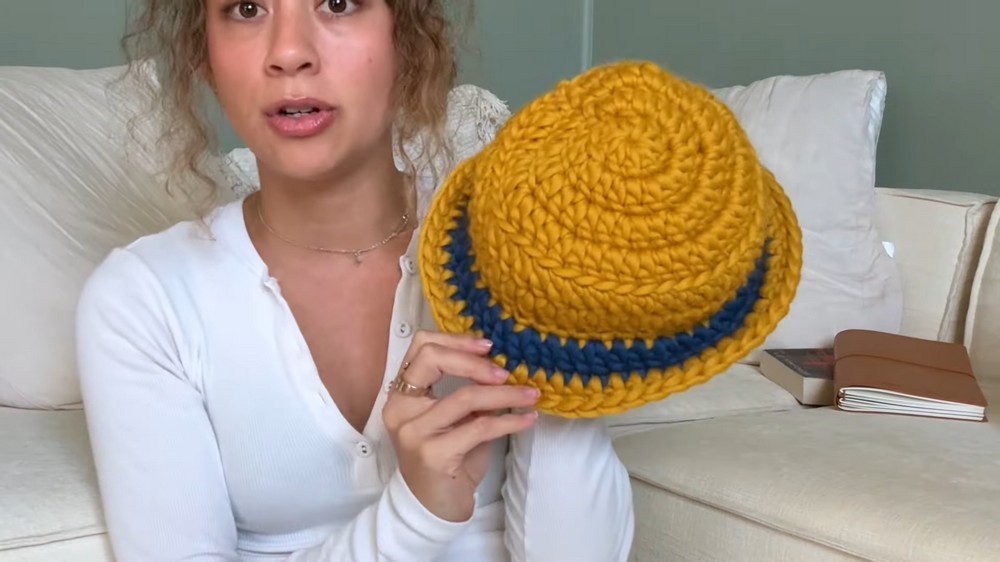
3. Transition to Edges
Once the crown is the desired size, you will work to bring the hat edges downward.
- Chain 2 and place the stitch marker.
- Work double crochets in each stitch around, but only in the back loops of the previous round. This creates the ridge that helps the hat start curving downward.
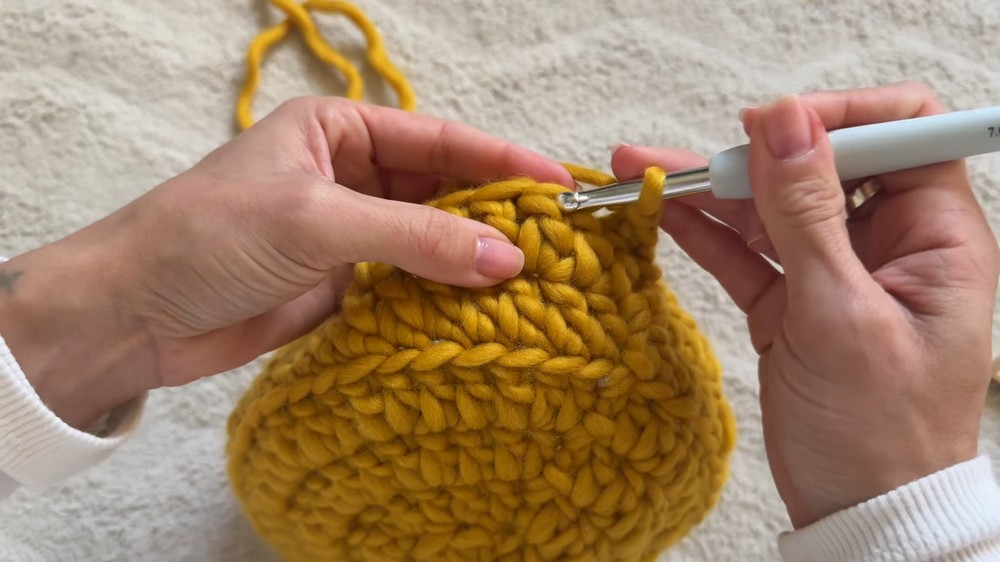
4. Creating the Hat Body
For the main body of the hat:
- Resume crocheting through both loops (no more back loop stitches).
- Work several rounds of double crochet stitches (no increases) until the hat reaches the desired depth (crown to the top of the ear).
5. Adding the Brim & Color Change
The brim adds a stylish finish and includes a contrasting color stripe:
a. Preparing for the Color Change:
- To add a small stripe of the main color, switch to single crochets in the front loops only for one round.
- Once complete, slip stitch to connect the round and prepare for the color change.
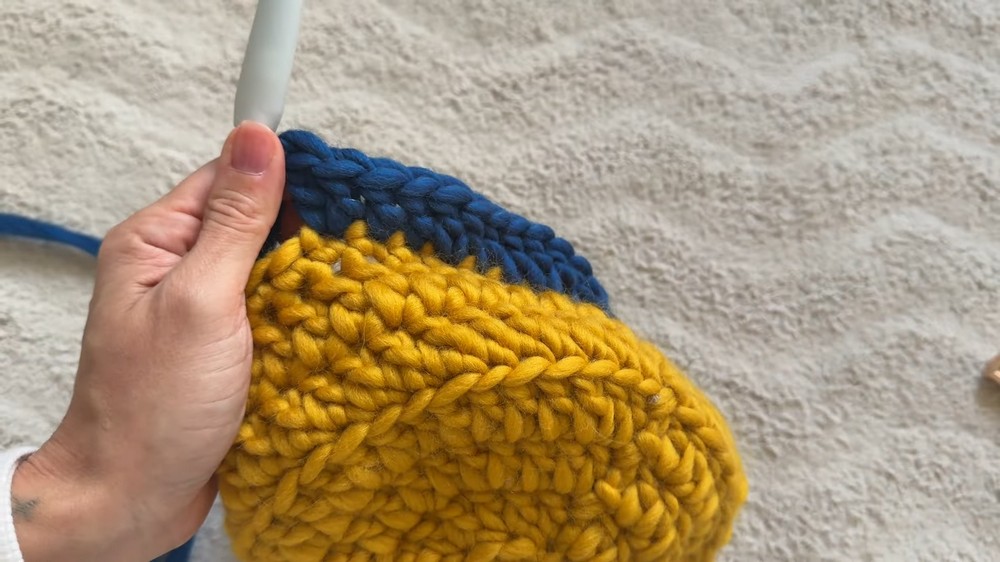
b. Changing Colors:
- Cut the main color yarn, leaving a tail for weaving.
- Attach the secondary color and tighten with a knot.
- Start with a chain of 2 and work normal double crochets (through both loops).
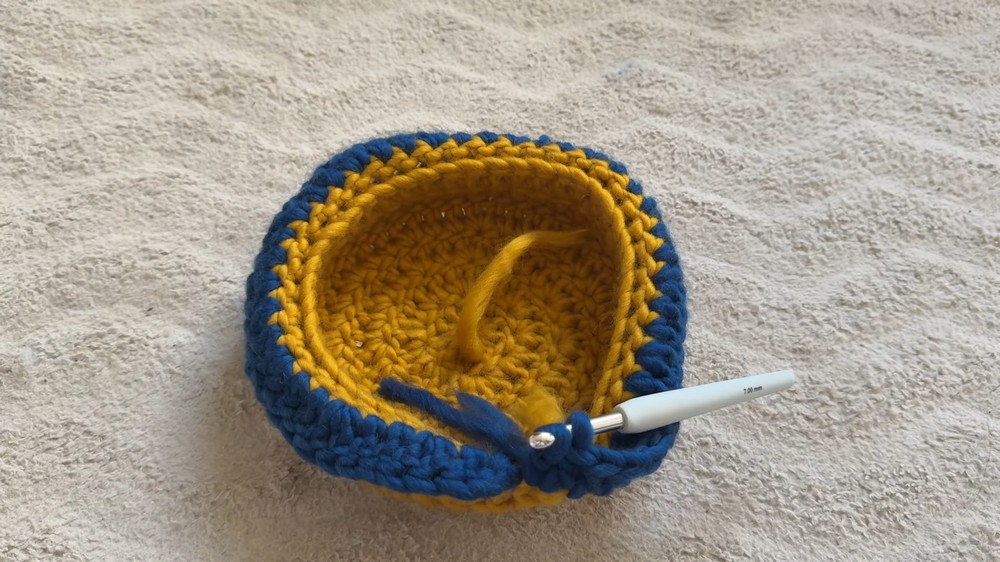
c. Expanding the Brim:
To widen the brim, work increases at regular intervals:
- In every third stitch, place two double crochets (increase).
- Continue this increase pattern until the brim reaches the desired size.
Finishing the Hat
- After completing the brim, slip stitch to finish the last round.
- Cut the yarn and pull through the final loop to secure.
- Use a tapestry needle to weave in all yarn ends securely, including color change tails.
Final Words & Tips
- Blocking the Hat: To give the hat a professional finish, gently steam or wet block the hat to flatten the brim and shape it properly.
- Care Instructions: Hand wash the hat with cold water and lay flat to dry to ensure the yarn retains its shape and softness.
- Adjusting Sizing: Test the hat as you crochet to ensure a proper fit. For a looser or tighter fit, adjust the hook size or yarn weight.
- Experiment with Colors: Try different color combinations to make unique hats for various outfits or occasions.
This bucket hat is cute, beginner friendly, and amazingly versatile. Whether you choose neutral tones or vibrant shades, this hat is sure to become a favorite accessory.