Sung Free Crochet Braided Bikini Top Pattern To Look Amazing
Hook your own stunning crochet braided bikini top with this free pattern, perfect for adding a fun and Innovative touch to your summer look.
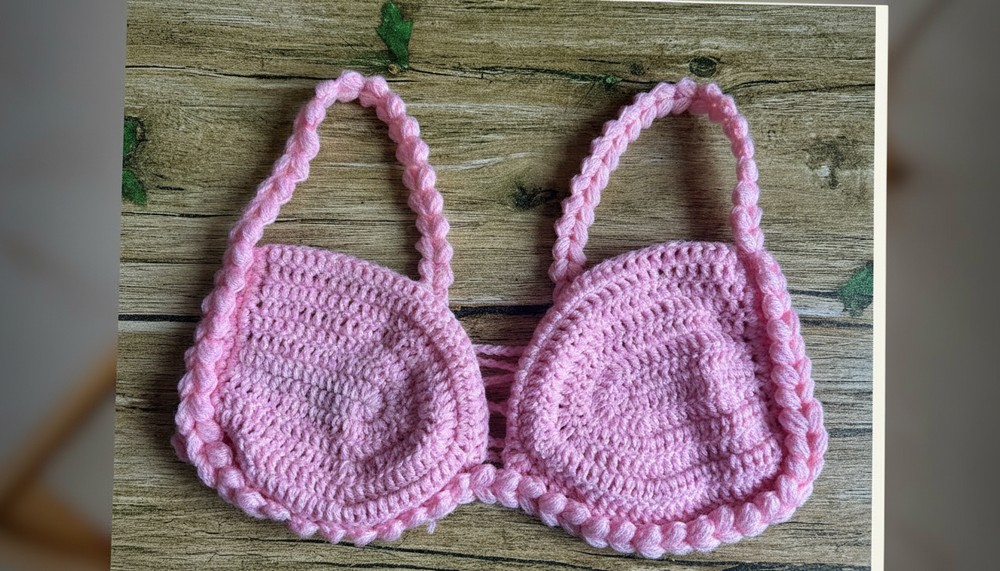
Soft Free Crochet Braided Bikini Top Pattern You’ll Want to Use Forever
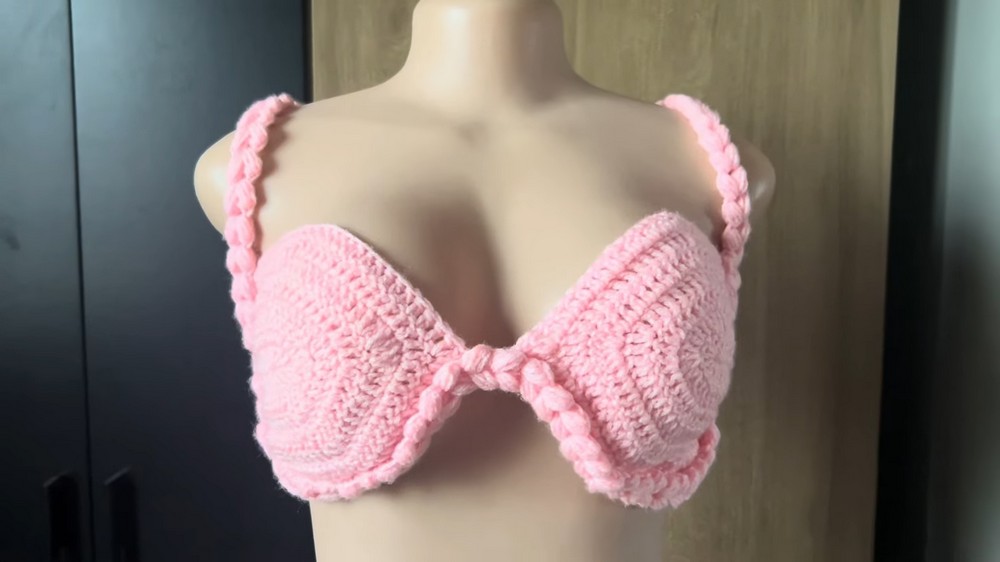
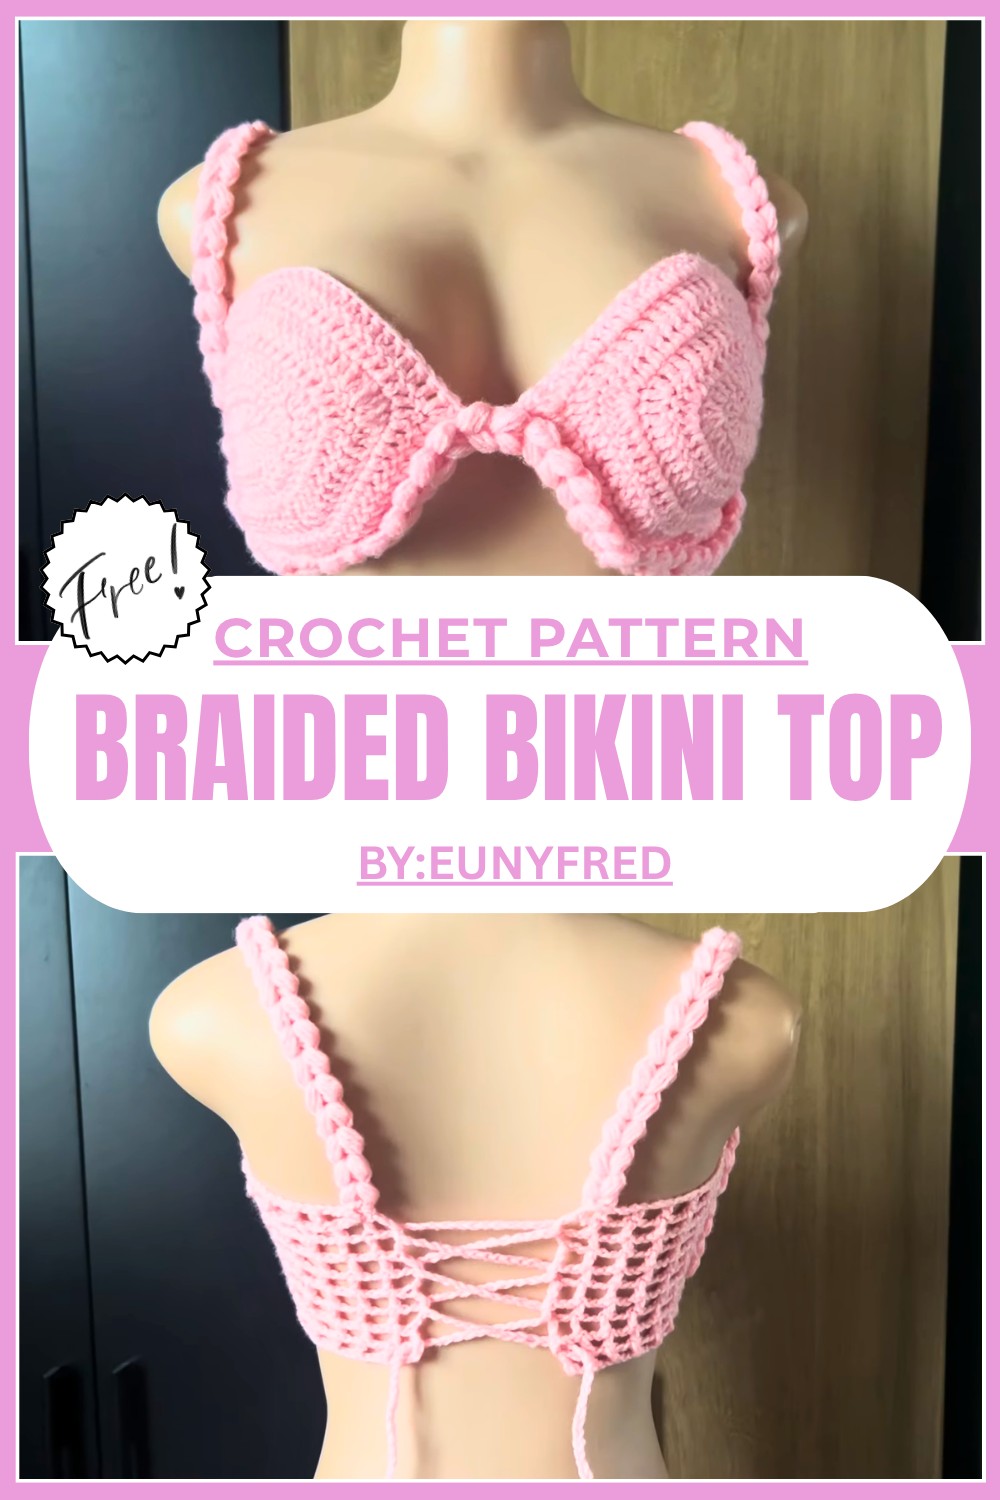
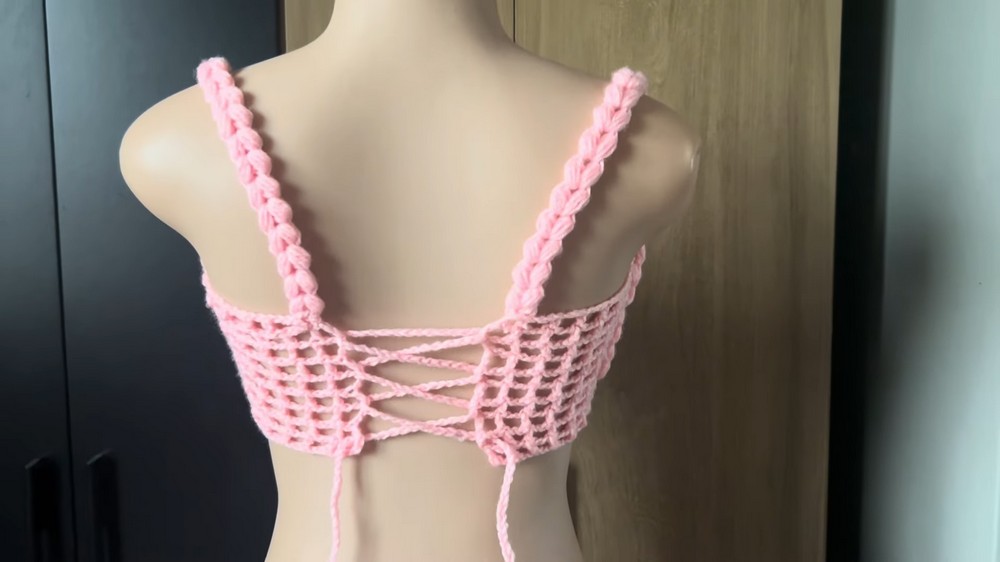
Whether you're gifting it or wearing it yourself, this pattern is a fun way to add handmade charm to your summer wardrobe. This "Free Crochet Braided Bikini Top Pattern" lets you create a stunning and trendy bikini top using soft yarn and easy crochet techniques. Its braided rope design gives a unique, stylish touch, while the curved cups ensure a comfortable and perfect fit. The back features beautiful crisscrossed straps that make it stand out. This pattern is perfect for beach days, pool parties, or even casual summer outfits. 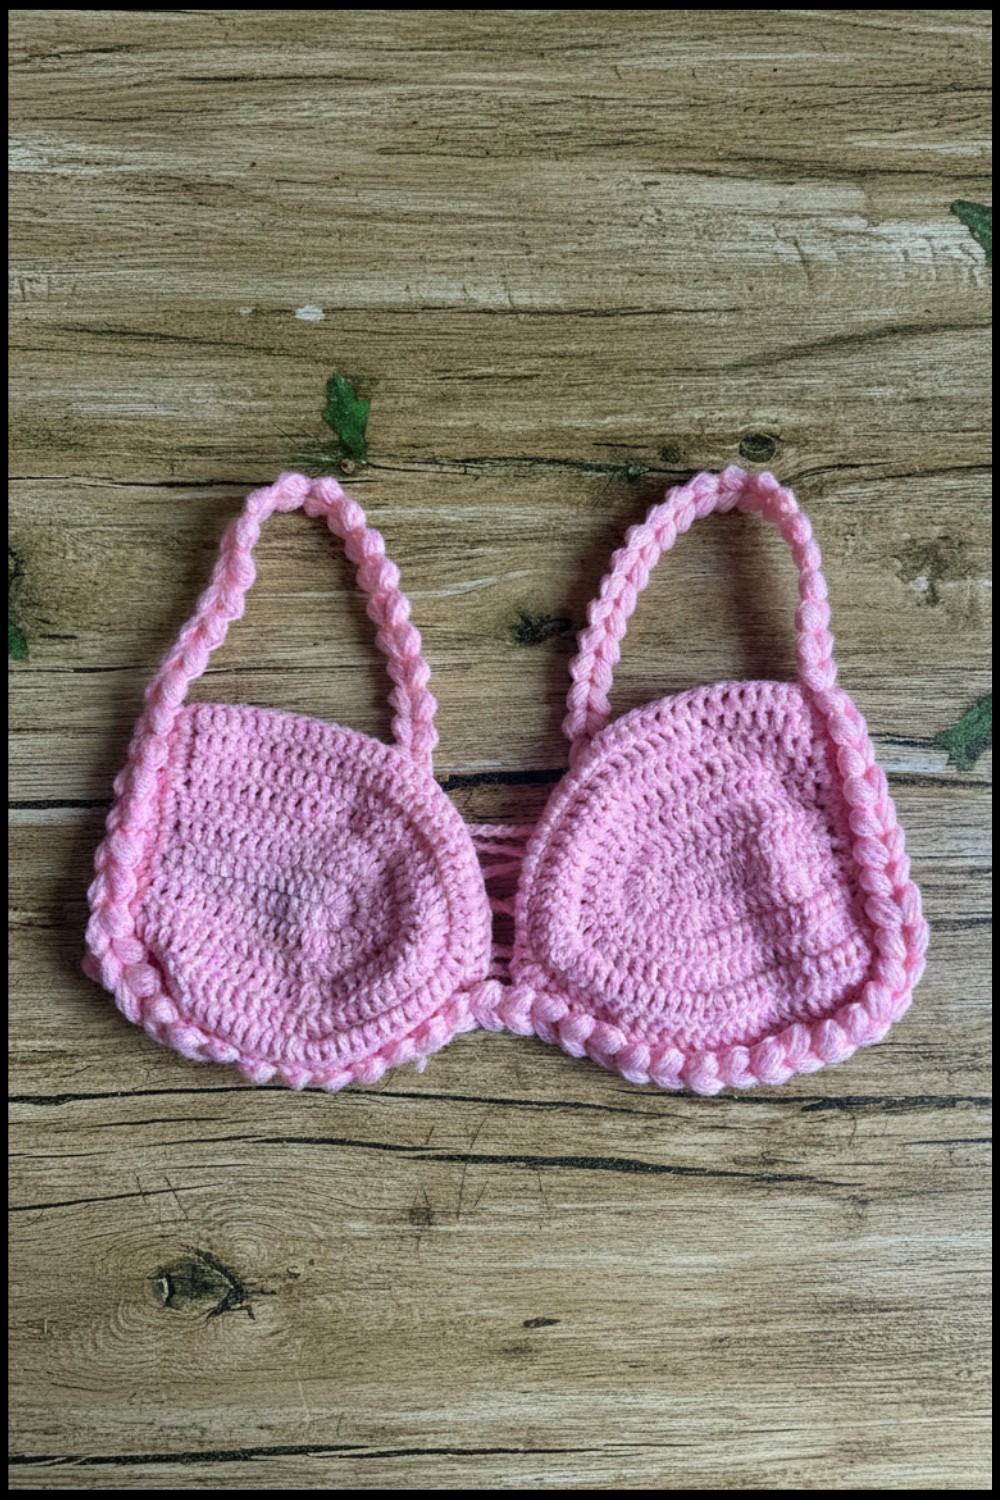 With just simple tools and a bit of creativity, you can crochet this eye catching bikini top and impress everyone with your skills. It’s a fun and relaxing project for beginners and crochet lovers alike.
Chic Crochet Braided Bikini Top Pattern
Materials Needed
- Yarn: Acrylic yarn of your choice. The video uses leftover Red Heart yarn, but any similar yarn can be used. Ensure the thickness matches the desired firmness.
- Crochet Hook: 3.5 mm crochet hook (adjust the hook size as per your preference; downsizing may prevent extra spaces, 5 mm hook was recommended for this yarn but reduced for this project).
- Scissors: For cutting yarn.
- Darning Needle: For sewing and weaving ends.
- Stitch Markers (optional): To hold parts in place during assembly.
Techniques Used
- Slip Knot: For starting the chain.
- Foundation Chain: Base chain in which stitches are worked.
- Double Crochet: Worked throughout the piece.
- Increase: Adding multiple stitches in a single point for shaping.
- Single Crochet: Used for edge work.
- Mesh Crochet: Openwork stitch pattern for the back straps.
- Cluster Stitch: Used for the braided rope design.
Instructions
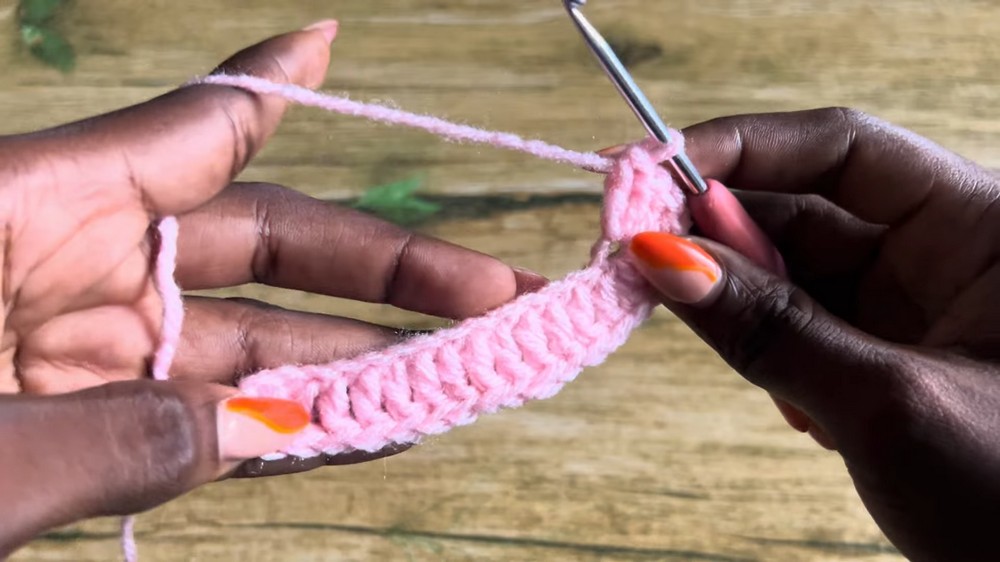
Step 1: Beginning the Triangle Cup
- Create a slip knot and chain 15 stitches. Add 2 additional chains for lifting the row.
- Start with double crochet stitches by working into the 4th chain from the hook. Continue double crocheting all the way across the foundation chain.
- Into the last chain of the row, work 7 double crochet stitches to create a curve for the cup.
- Rotate the piece to work along the opposite side of the foundation chain. Double crochet into each stitch across this side, ensuring you have 14 double crochet stitches excluding the final 7 stitches you added on the curve.
Step 2: Building Up Rows for the Cup
- Row 2: Chain 2 to turn, skip the first stitch, and double crochet across 14 stitches. At the curve, work increases as follows:
- Into the first stitch of the curve, make 2 double crochets.
- Into the peak (middle stitch of curve), make 3 double crochets.
- Continue mirroring the pattern back down the curve, ensuring symmetry.
- End the row with 14 double crochets on the straight edge.
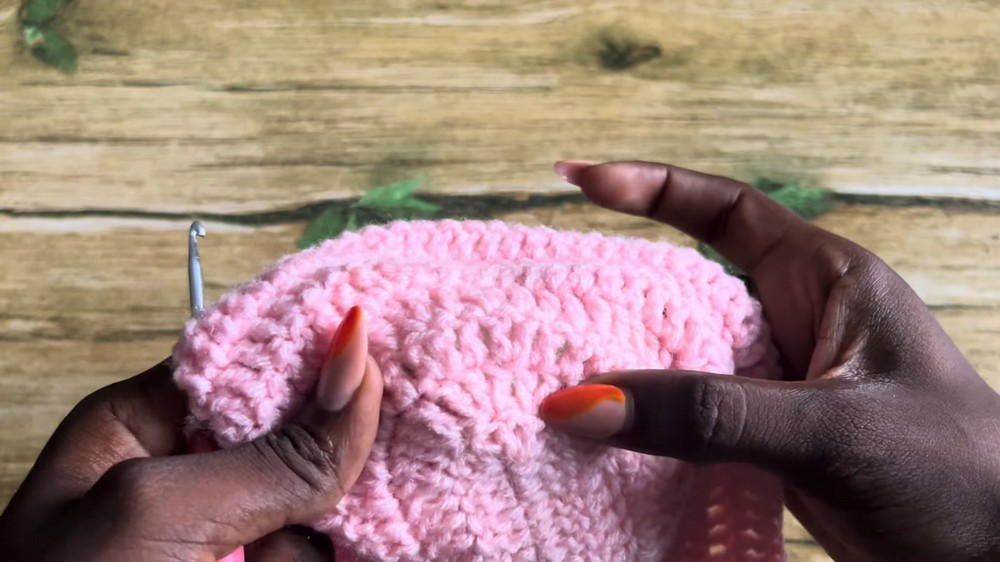
- Row 3 and Row 4: Repeat the same process while increasing as specified for shaping the curve.
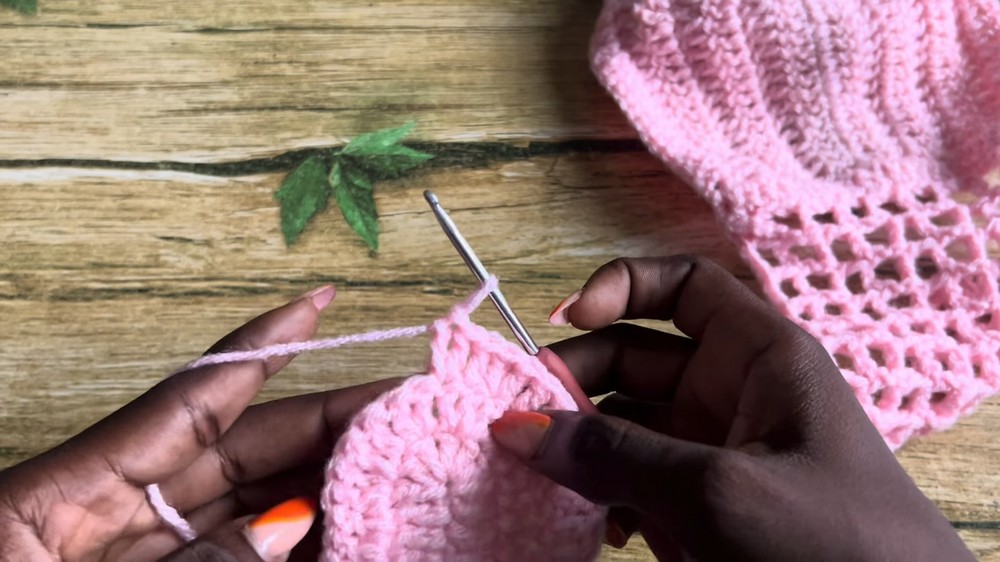
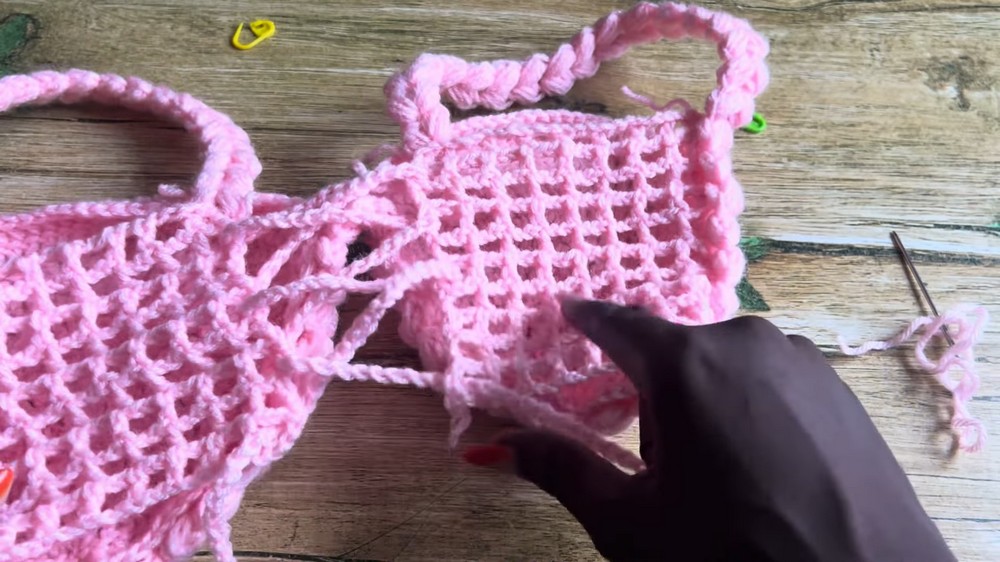
Step 3: Adding the Mesh Back
- After completing the required number of rows for the cup (according to the desired size), create mesh work for the back straps.
- Mesh Technique:
- Chain 20 (or a length suitable for your back measurement).
- Skip 5 chains and insert double crochet into the next chain.
- Chain 2, skip 2 chains, and double crochet into the next chain.
- Repeat this pattern until you reach the end of the row.
- At the end, slip stitch into the third stitch of the cup to secure.
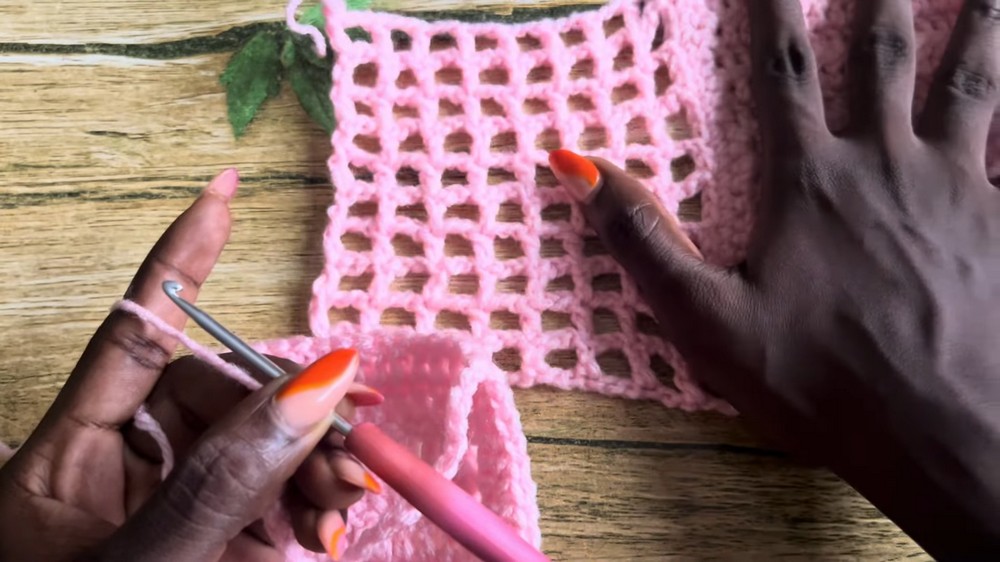
- Chain 2, turn, and work mesh rows by placing double crochets into the mesh spaces from the previous row.
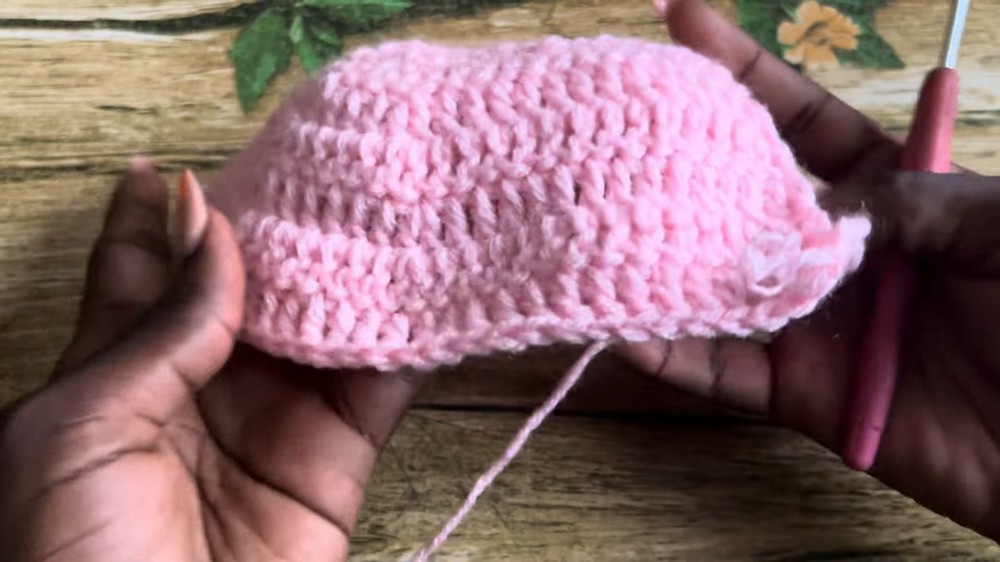
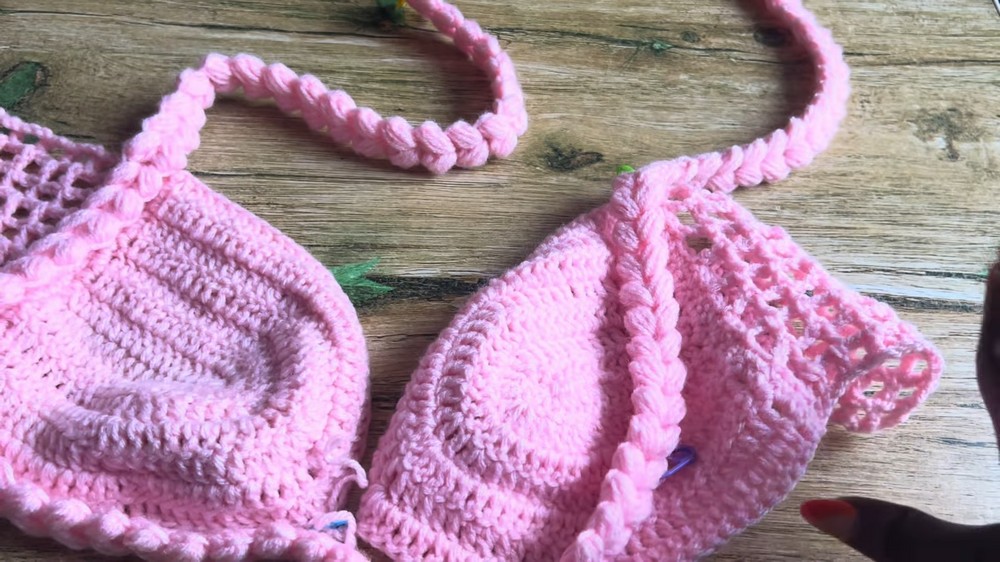
Step 4: Finishing the Cup Edges
- Add single crochet stitches around the entire edge of the cup to create a clean and sturdy finish.
- Work evenly, making smooth singles along the curved edges and straight sides.
Braided Rope Strap
- Start with a slip knot and chain 4.
- Yarn over and insert into the last chain to create clusters:
- Yarn over and pull through to form the first loop.
- Repeat this process 4 times to create the rope cluster.

- Chain 1 and turn your work. Insert into the new loop formed by turning, and repeat cluster making methods until your rope reaches the desired length for tying at the back.
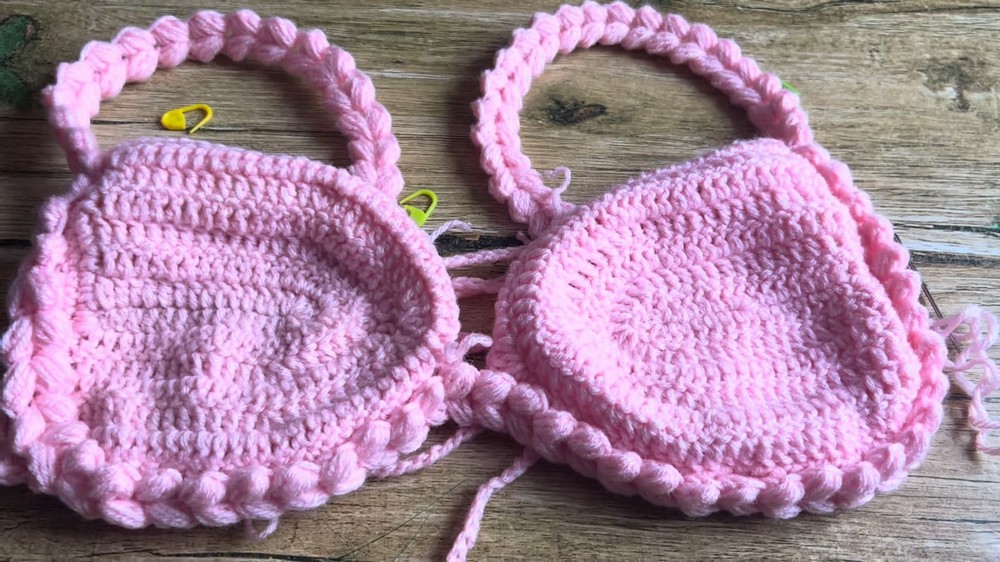
Assembly
- Use stitch markers to attach straps securely to the edges of the bikini cup.
- Sew the braided rope straps to the crochet cups at the designated attachment points using a darning needle.
- Weave in loose ends to ensure a clean finish.
Finishing Touches
- Ensure all parts of the bikini top are securely fastened and symmetrical.
- If the mesh parts look uneven, add single crochet stitches for additional refinement.
- Test the fit of the bikini top by adjusting the rope straps for your desired support. Ensure your braided rope length complements your body shape.
Final Words and Tips
- Customization: Adjust foundation chains for different sizes:
- Small: Start with 12 chains.
- Medium: Start with 15 chains.
- Large: Start with up to 20 chains.
- Yarn Choice: Softer yarn could make handling easier. Red Heart yarn used in this tutorial feels stiff, and you may want to opt for more pliable options.
- Count Carefully: Ensure even stitches by counting consistently on both sides.
- Maintenance: Handwash the bikini gently in cold water to maintain the integrity of the stitches.
Enjoy crocheting your trendy rope bikini top and pairing it with a matching bottom for a complete look.