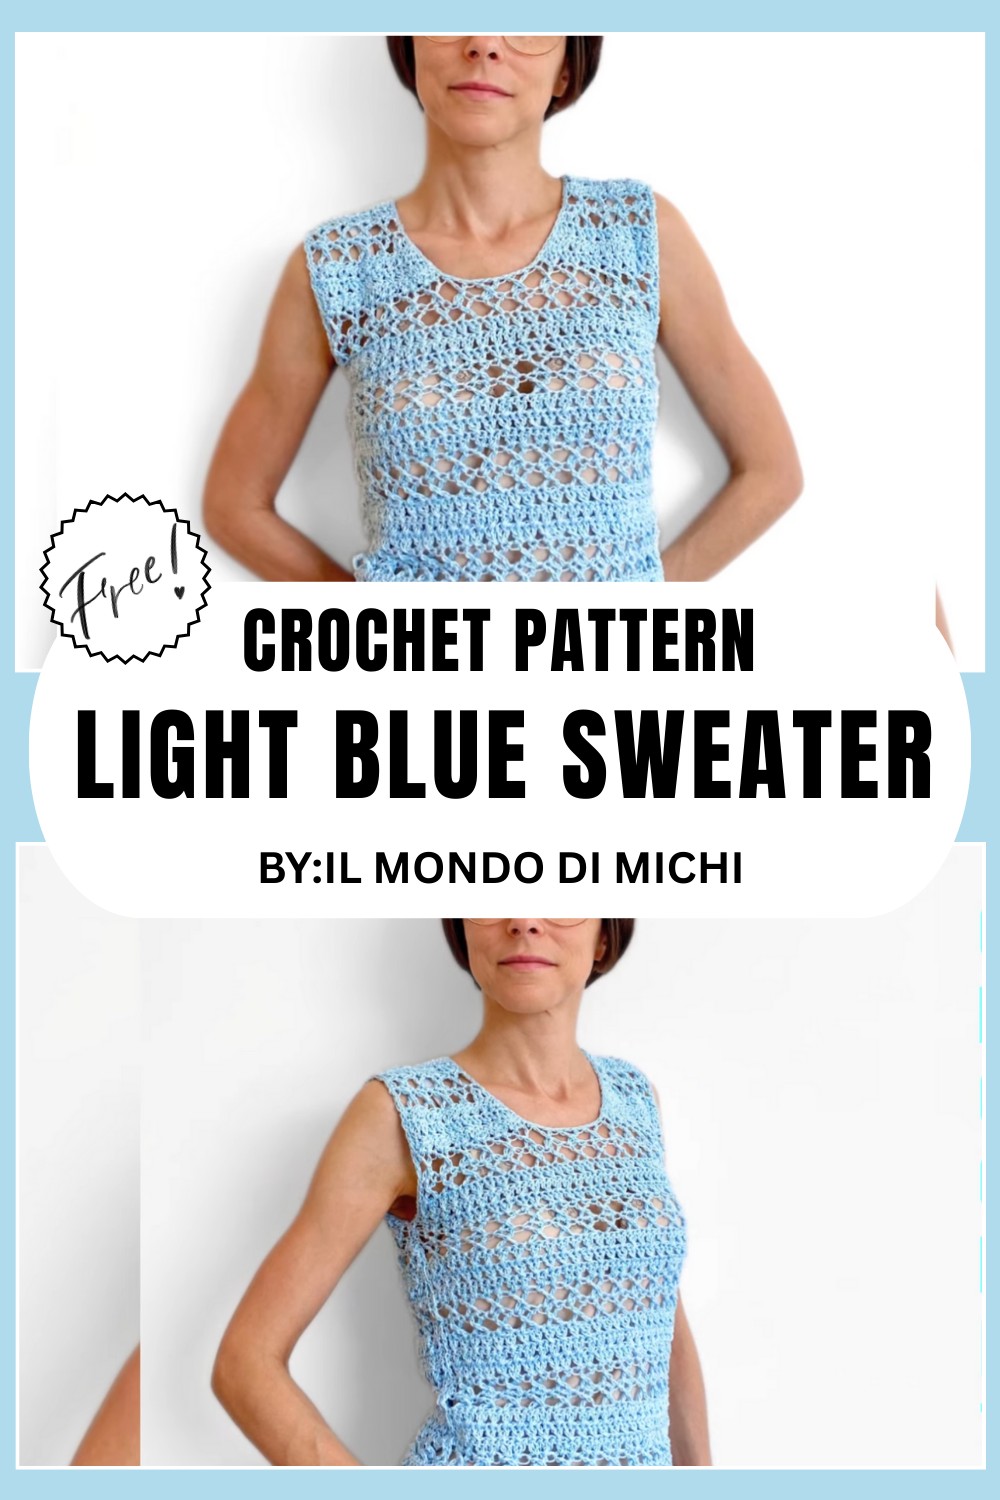
Soft Crochet Light Blue Sweater Pattern Ideal For Wearing In Winter
Cozy up instantly with this adorable Crochet Light Blue Sweater Pattern, perfect for adding a soft, stylish handmade touch to your wardrobe today.
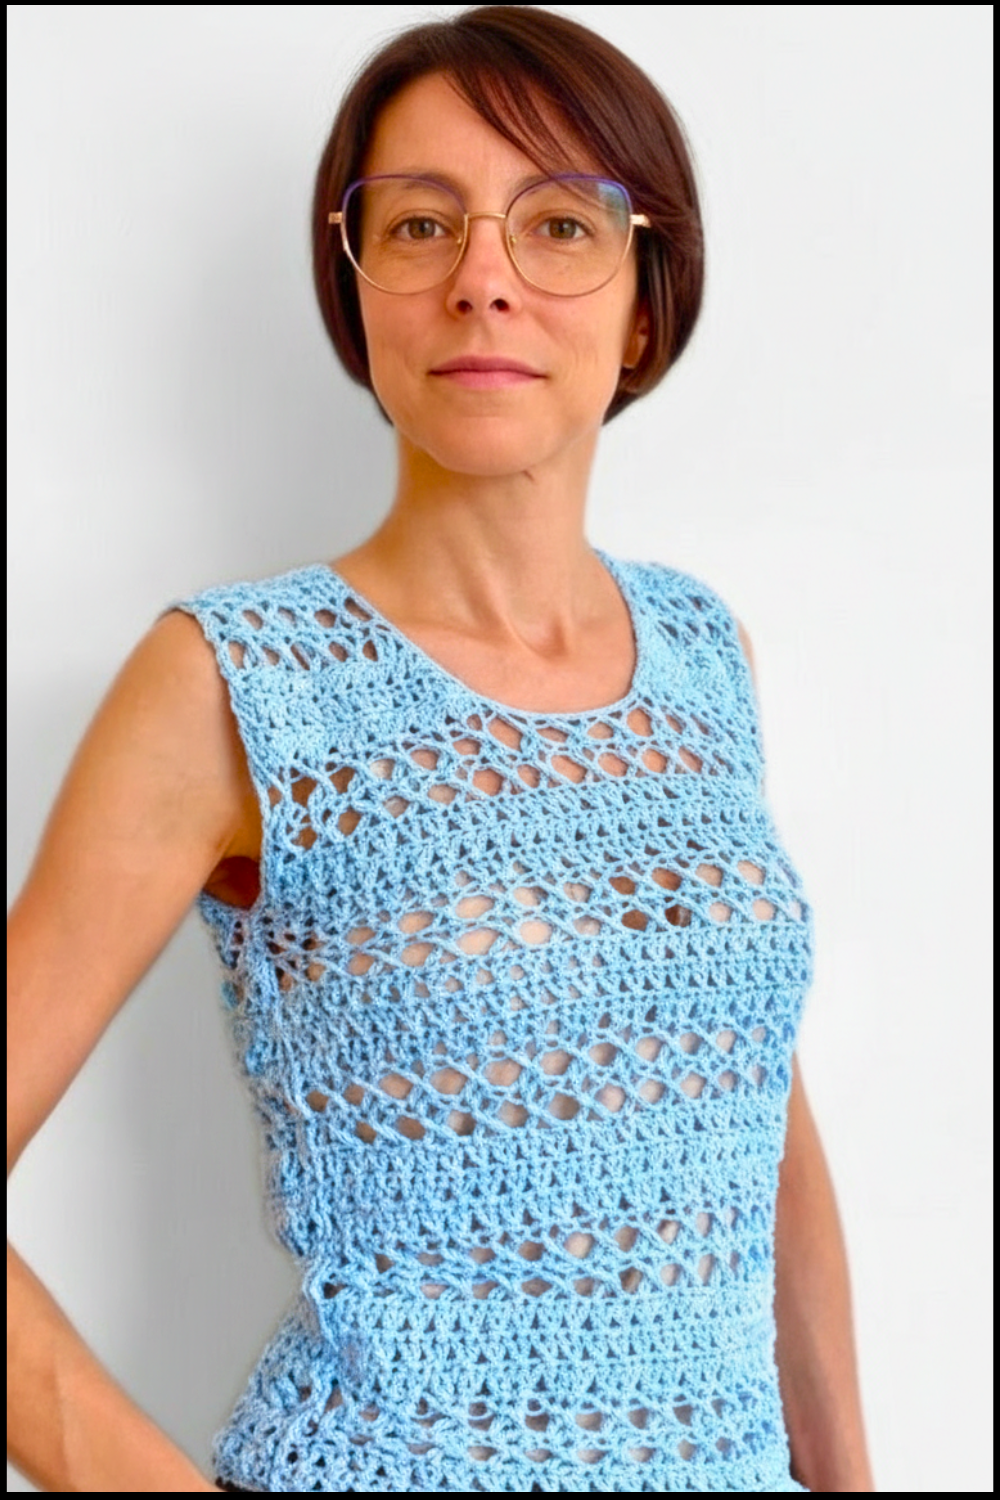
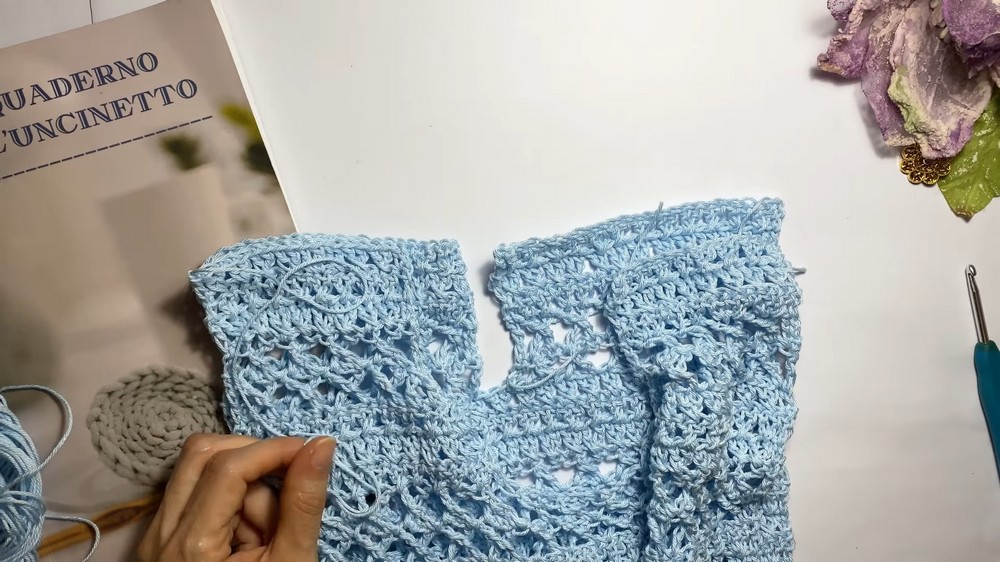
Wearing something soft, stylish, and handmade on a chilly day! This light blue sweater is not just a piece of clothing but a display of timeless beauty. Its calming color reminds you of clear skies, making it perfect for creating a peaceful, cozy vibe.
Hug of Softness in Every Stitch
The hand-crocheted details make this sweater a standout piece, while its softness makes it feel like a warm hug. Whether as a gift or for yourself, this sweater is a blend of creativity, comfort, and function. Great for both casual outings and more polished occasions, this sweater pairs beautifully with jeans, skirts, or leggings, giving you flexibility in your wardrobe. Lightweight yet cozy, it’s perfect for layering in colder months or wearing on its own when it’s cool outside.
Supplies Needed:
- Yarn: Soft and thin cotton yarn (170g for size S, each 50g = 125m).
- Hook: 4 mm crochet hook.
- Extras: 1 button for closure, a tapestry needle, scissors.
- Optional: Stitch markers for neckline and seam alignment.
Difficulty Level:
Intermediate to Advanced
Stitch Glossary (US Terminology):
- Ch: Chain
- SC: Single Crochet
- DC: Double Crochet
- Tr: Triple Crochet
- Sl St: Slip Stitch
- Dec: Decrease (combining stitches)
- St(s): Stitch(es)
General Notes:
- Work the project in two panels (front and back) that will be sewn together later.
- This pullover is sleeveless by default, but sleeves can be added if needed.
- The stitch sequence requires multiples of 8 + 2 foundation chains.
Instructions:
Step 1: Creating the Base
- Foundation Chains: Crochet a multiple of 8 + 2 chains to match your desired width. Keep chains loose to prevent tight edges.
- Base Row: Work 1 DC in the last chain from the hook and continue working DC across the foundation row.
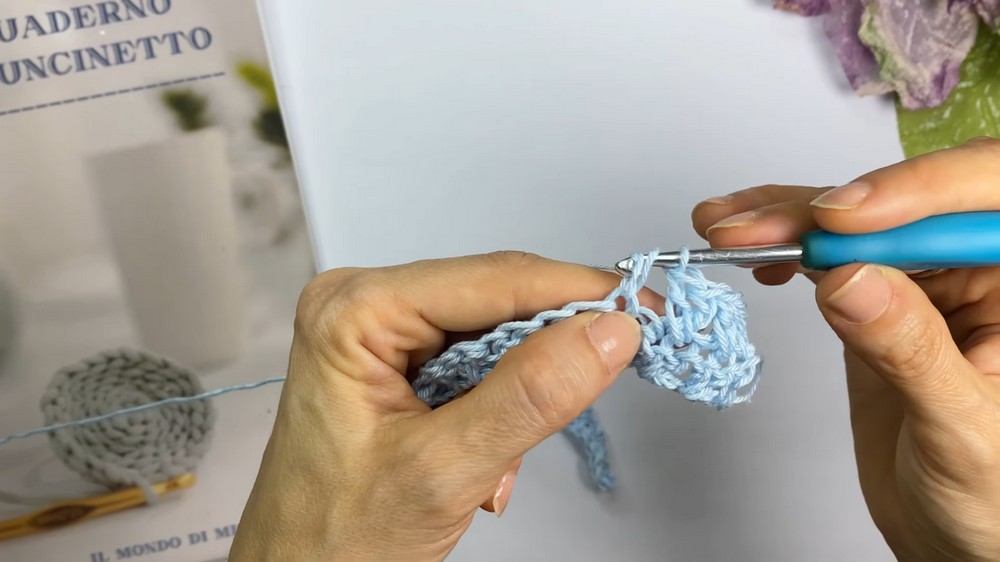
Step 2: Crossed Stitch Design
- Row 1:
- Start: Ch 3 (counts as the 1st DC).
- Skip 1 St, work 1 DC in the next St, then return to the skipped St and work 1 DC (this creates the "crossed DC").
- Repeat: Follow this pattern across the row. End the row with a DC in the last St.
- Row 2–3: Repeat Row 1 to complete three rows of crossed double crochets.
- Row 4: Switch to Triple Crochet (Tr):
- Ch 4 (counts as the 1st Tr). Skip 3 Sts and work 1 Tr into the 4th St.
- Cross: Ch 2, return to the first skipped St, and work 1 Tr from back to front (crossed Tr).
- Repeat this pattern to the end of the row.
- Row 5: Repeat Row 4.
Repeat Row 1 through Row 5 (three rows of crossed DC followed by two rows of crossed Tr) until the body reaches the desired length.
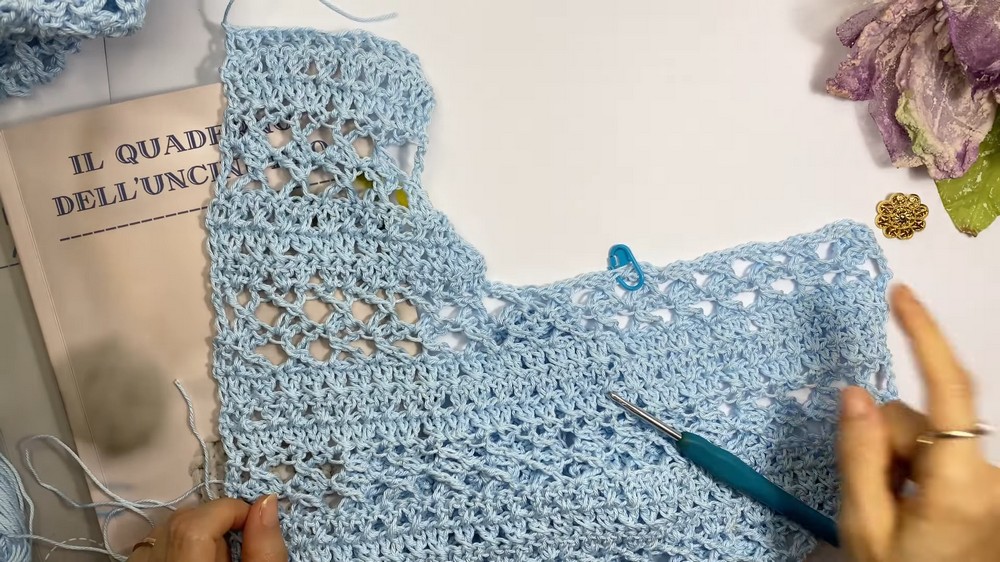
Step 3: Shaping the Neckline
- Front Panel:
- Divide the panel at the neckline (e.g., leave 7 cm unworked in the center).
- Work each side separately, starting each row with a decrease to taper the neckline.
- Continue the pattern until the desired height is achieved.
- Back Panel:
- Repeat the same steps as the front panel. For the back, create a shallow neckline by leaving a small opening in the center.
Step 4: Assembly of Panels
- Use a tapestry needle to join the front and back panels at the shoulders and sides using whip stitches, mattress stitches, or your preferred method.
- Attach a button loop to the back neckline by chaining 6 and securing it with a slip stitch to form the buttonhole.
Step 5: Final Edges
- To enhance the armholes and neckline, crochet a round of Slip Stitches around them. Ensure the stitches are loose to maintain flexibility.
- Weave in all loose thread ends using a tapestry needle.
Summary:
The patterned pullover is a stylish and functional item, perfect for a variety of occasions. The alternating rows of crossed double and triple crochets provide a textured and visually appealing fabric. Customize by adjusting the neckline depth, adding length, or incorporating sleeves for different styles.
Corrections:
Double-check your stitch counts when working the crossed patterns to ensure symmetry across rows. Block the fabric after completing the panels to smooth out any uneven stitches.
Helpful Tip:
For a more polished look, use matching yarn for the seams and edges. Blocking the finished piece will also make the neckline and armholes look clean and even.