
Stunning Free Crochet Spiral Sweater Pattern To Inspire Your Creativity
Turn your favorite colors into a fashionable spiral sweater with this Free Crochet Spiral Sweater Pattern designed to help you build a cozy, stylish piece all on your own.
Free Crochet Spiral Sweater Pattern That Turns Heads
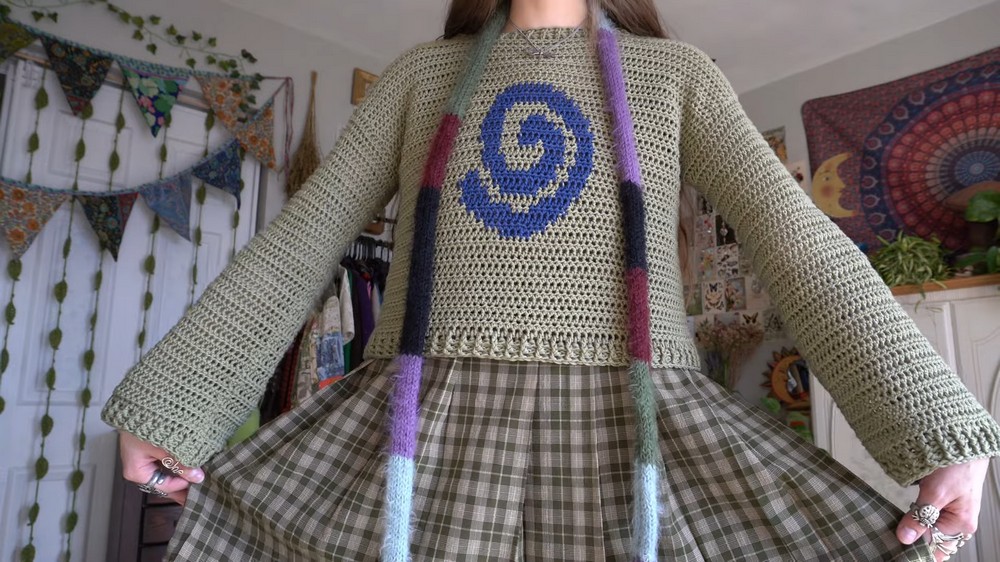
Twirl into a world of color and comfort by making a magical top with your own hands using this Free Crochet Spiral Sweater Pattern. This pattern turns a simple two color graph into a stunning spiral design right at the center of your sweater. With its cozy and stylish dropped shoulder fit, this sweater is both fashionable and super comfy to wear. You can choose your favorite colors to make it unique, making it perfect for showing off your personality.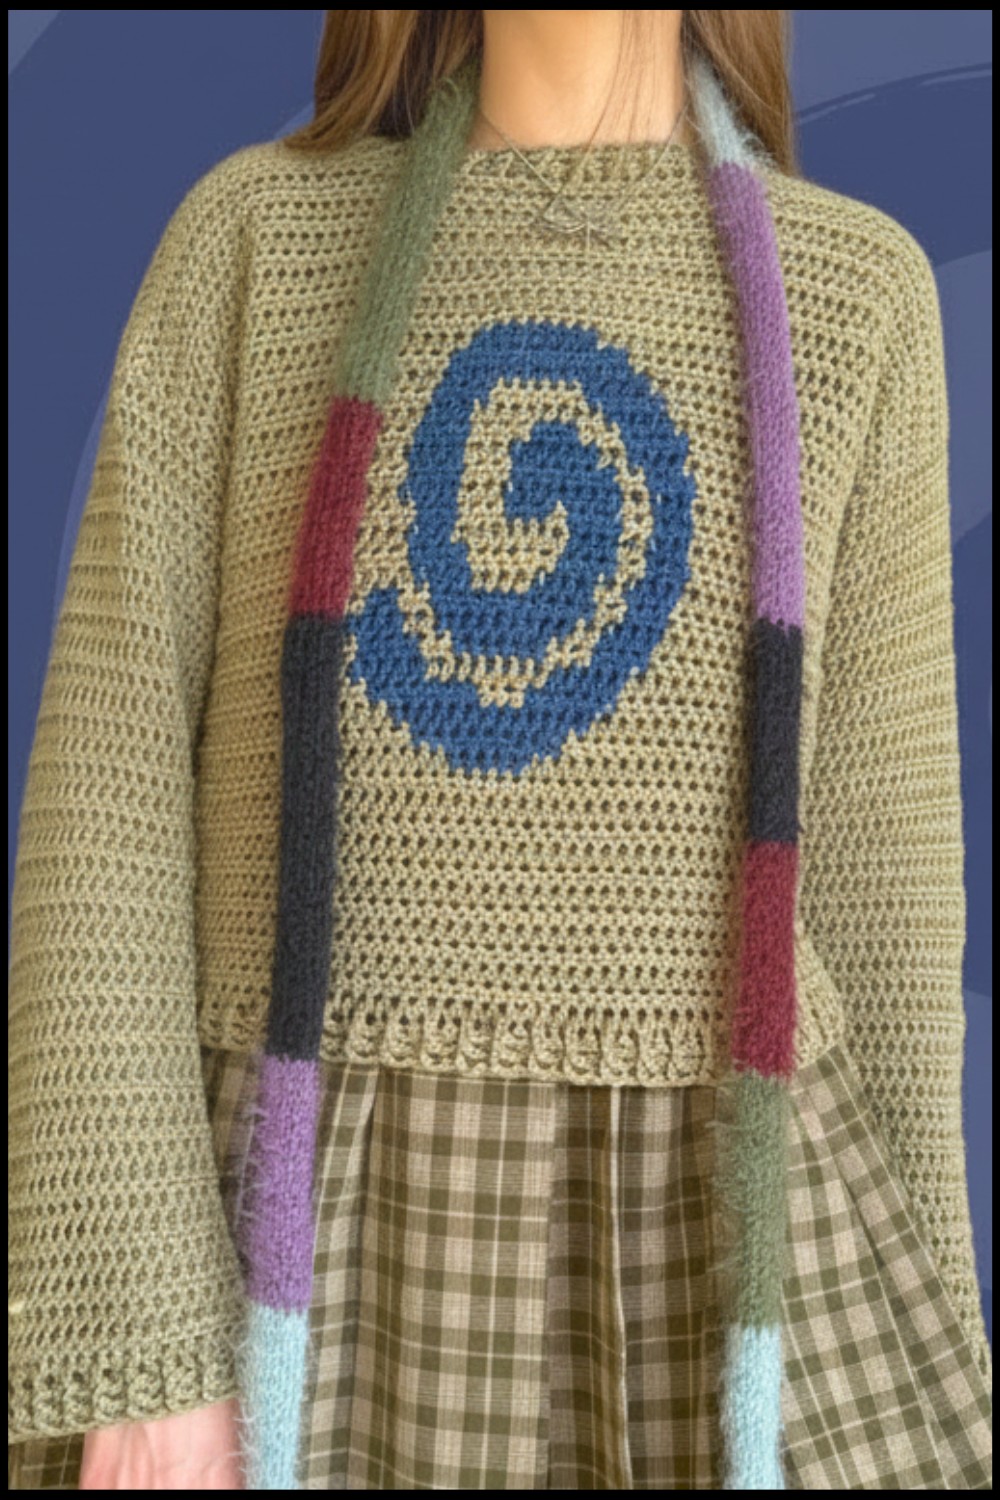 The ribbed edges on the neckline, sleeves, and bottom add a neat and polished look. It’s warm, trendy, and versatile, making it a great addition to your wardrobe or a thoughtful handmade gift for someone you love.
Crochet Spiral Sweater Pattern
Materials Needed:
- Yarn:
- Primary Color (green was used in the video).
- Secondary Color (blue/white for spirals).
- Choose worsted weight yarn such as Hobie Twister Solid XL Yarn.
- Hook:
- 6.5 mm crochet hook for the body.
- 5.5 mm crochet hook for ribbing.
- Tapestry needle (for seaming and weaving ends).
- Stitch markers (optional but helpful for marking key points like armholes and neckline).
- Measuring tape (for sizing).
- Graph Pattern:
- Download and reference your desired graph. A spiral pattern is linked in the transcription for inspiration.
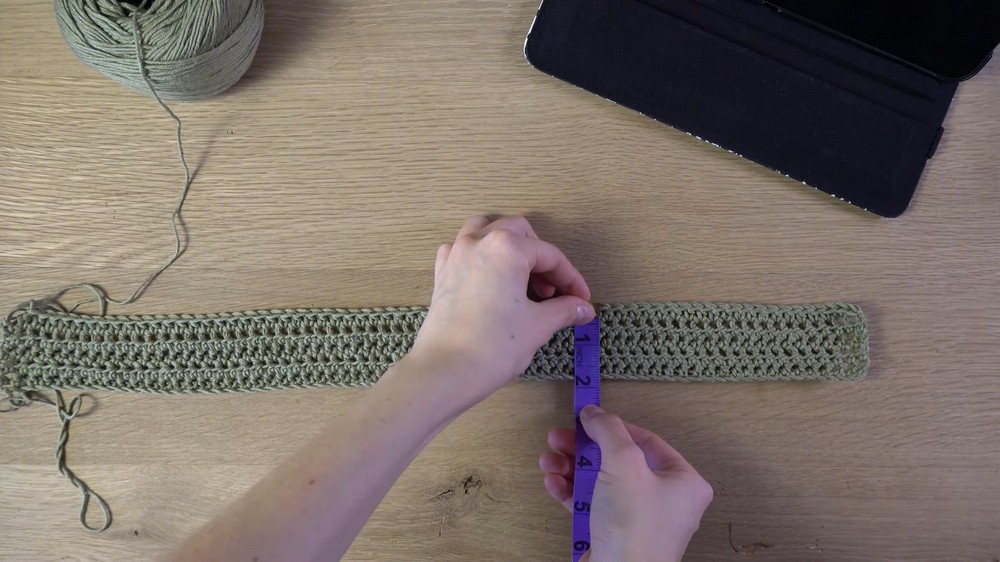
Gauge:
5 rows of half double crochet (HDC) = ~2 inches
66 chains = approximately shoulder to shoulder measurement
Ensure you adjust your gauge based on your yarn and hook to match the appropriate finished measurements.
Finished Size:
The example sweater measured approximately 25 inches long, with room for customization in width, length, and ribbing.
Pattern Instructions:
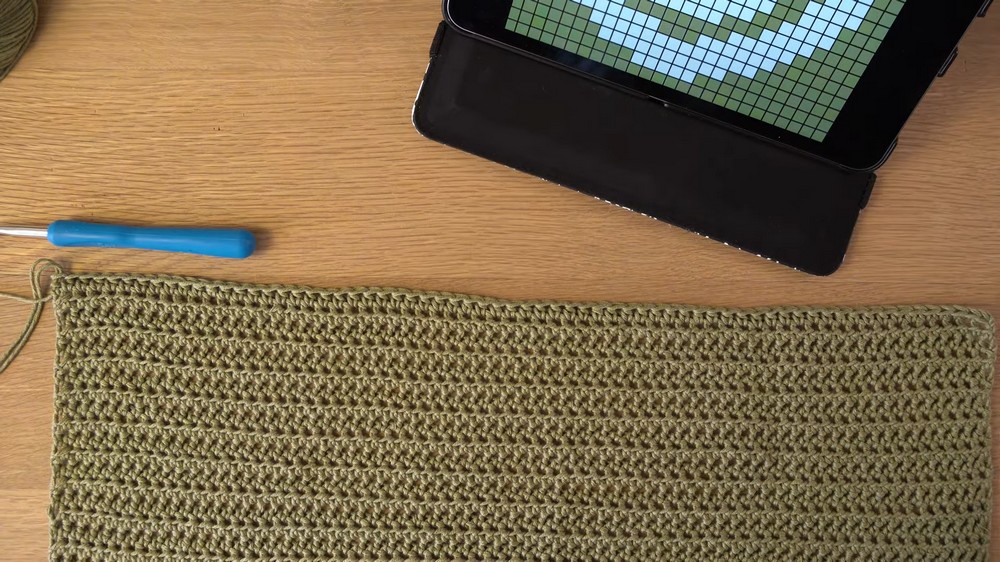
Step 1: Create the Front Panel
Foundation Chain:
- Chain 66 + 2 (extra chain for turning).
Body Setup (Base Rows):
- Begin the first row in the third chain from the hook. Work half double crochet (HDC) stitches across the chain (total = 66 HDCs).
- Chain 2 at the end of the row (does not count as a stitch), turn your work, and repeat until you have completed 30 rows.
- Optional: Adjust the number of rows to suit your desired sweater length.
- Optional: Adjust the number of rows to suit your desired sweater length.
Step 2: Adding the Spiral Graph
Follow the downloaded spiral graph pattern. Reference it row by row, marking which rows you’ve completed as you progress.
Key Tips for Graph Crochet:
- Attach the Secondary Color (Blue):
- Begin color changes by completing the final stage of the HDC stitch with the new color.
- Example: On the last pull through of the current stitch, drop the old yarn and pull through with the new color.
- Work left to right or right to left depending on the graph row direction. Use chain 2 and turn your work after finishing each row.
- Count stitches to maintain accurate placement of the design within the sweater.
Graph Specific Adjustments:
- Start by working 20 HDCs in the primary color for the side of the panel before starting the graph.
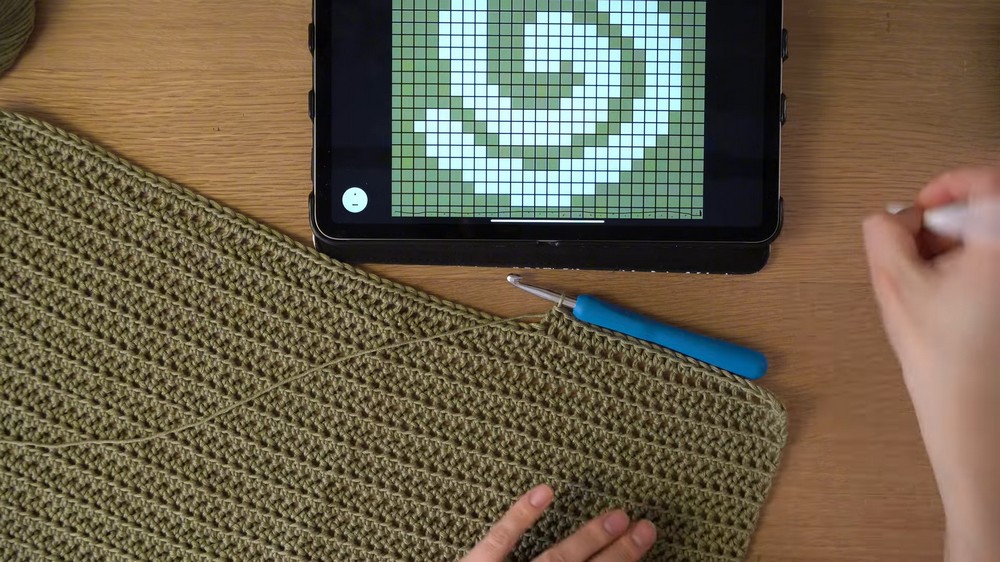
- Work across 26 stitches with color changes according to the graph pattern for the spiral.
- Finish the row with 20 HDCs in primary color again for the other side of the panel.
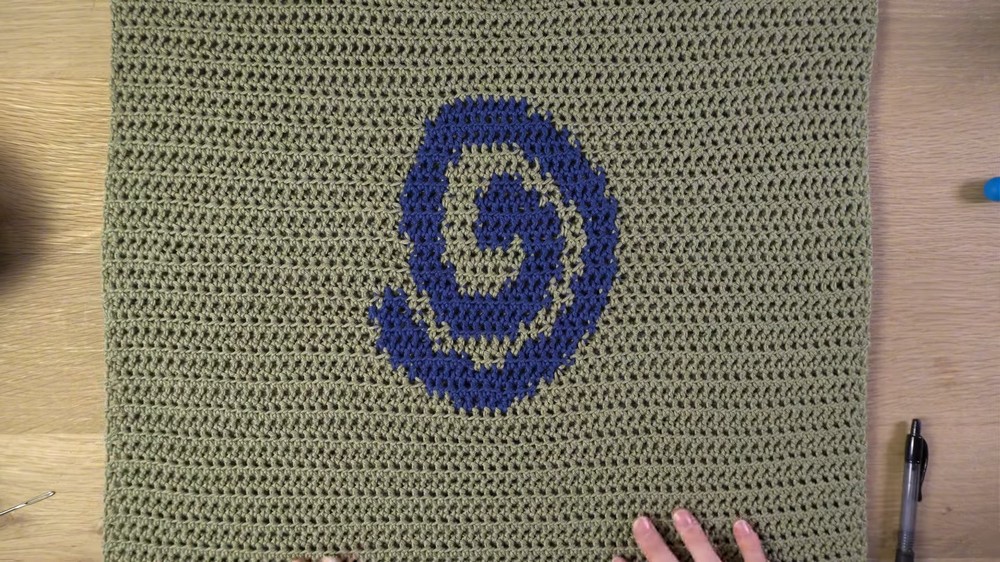
Repeat Until Spiral Is Complete:
Continue working the graph pattern row by row while maintaining proper color changes. Ensure the spiral centers neatly within the panel.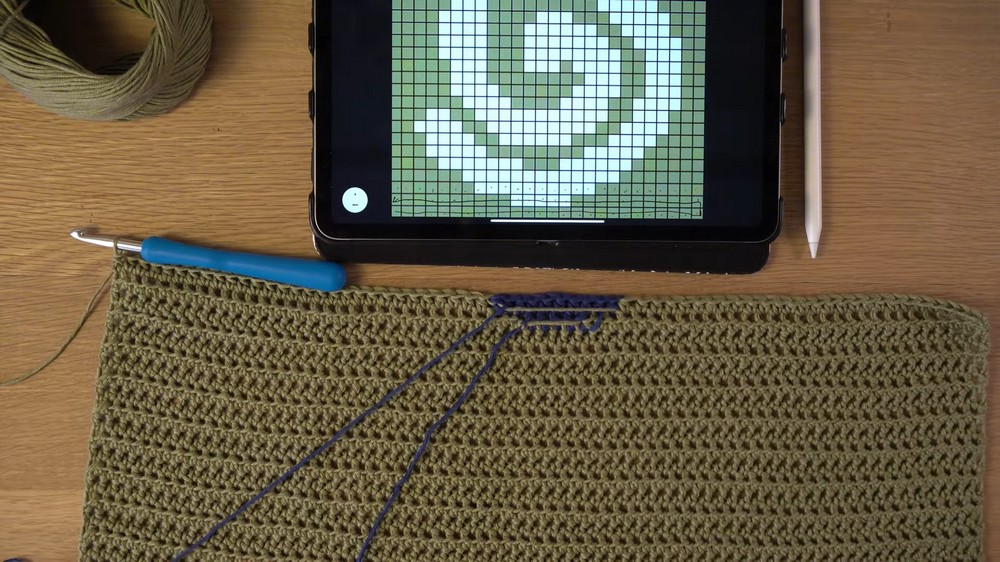
Step 3: Add Top Rows After the Graph
Once the spiral graph is finished, work 10 additional rows of solid HDC stitches across to create spacing before the neckline.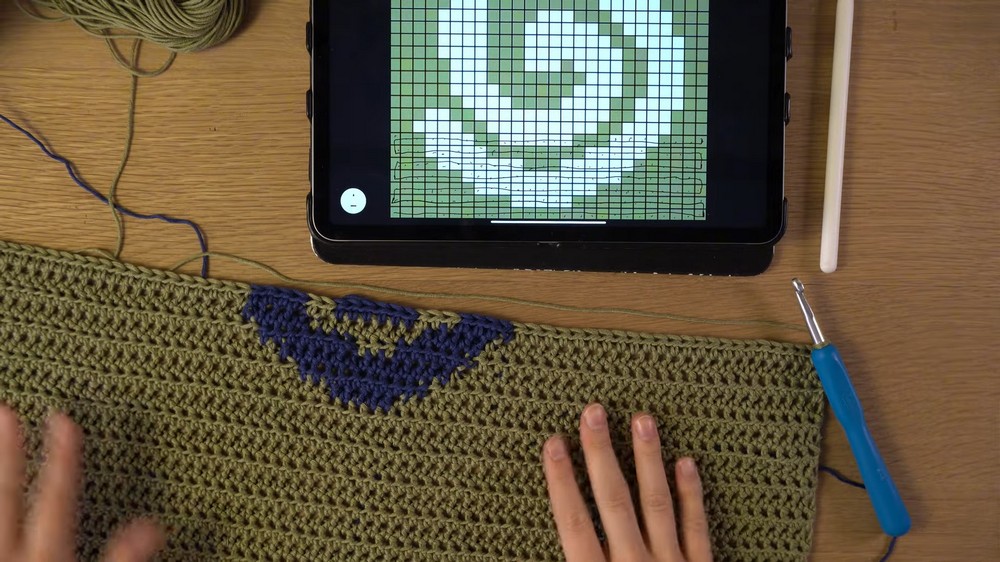
Step 4: Shoulder Panels
- Use stitch markers to mark a neck hole of approximately 6 inches wide at the top center of the sweater.
- Work one shoulder panel on each side of the neck hole:
- Crochet 22 HDCs across (or the number of stitches allocated for your shoulder panel).
- Chain 2, turn your work, and work 1 HDC in every stitch for 4 rows in total.
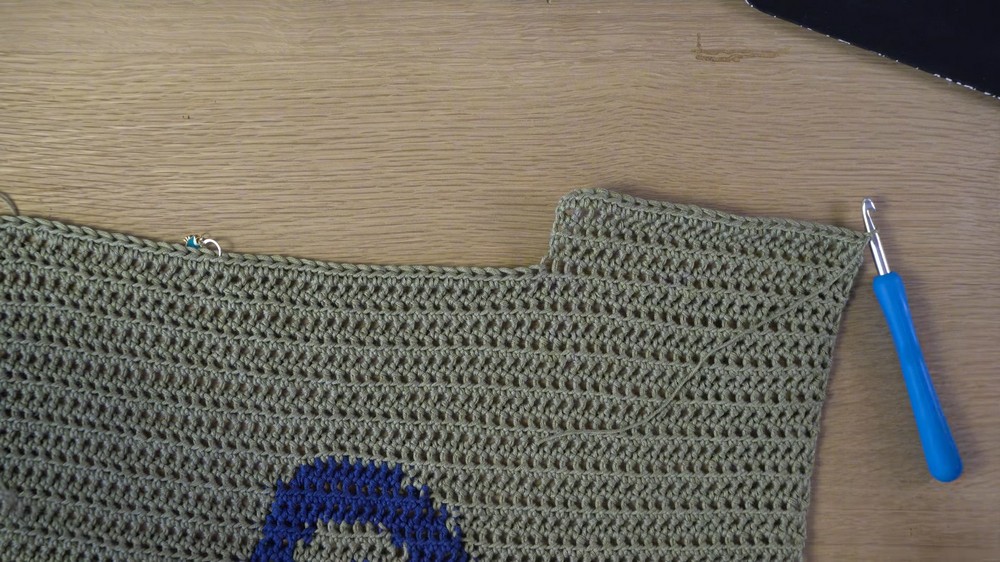
- Fasten off and repeat for the second shoulder panel.
Step 5: Back Panel
- Follow the same steps as the front panel excluding the graph design.
- Work 66 stitches for the width and 63 rows for the length, finishing with shoulder panels identical to the front.
Step 6: Assemble the Sweater
Shoulder Seaming:
- Turn both panels with the wrong side facing outward.
- Use a tapestry needle and whip stitch along the outer edges of the shoulder panels to seam the two pieces together.
Side Seaming:
- Seam the sides of the sweater with whip stitches until reaching the armhole markers (7–8 inches down from shoulder seam). Leave the armholes unseamed.
Step 7: Ribbing
Neckline Ribbing:
- Attach yarn along the neckline edge using a 5.5 mm hook.
- Work 1 double crochet (DC) in every stitch around the neckline.
- For the second row, alternate front post double crochet (FPDC) and back post double crochet (BPDC) stitches to create a ribbing effect.
- Repeat for 2 rows or more if desired for thicker ribbing.
Bottom Edge Ribbing:
Repeat the same ribbing technique across the bottom edge of the sweater, using the larger 6.5 mm hook if preferred.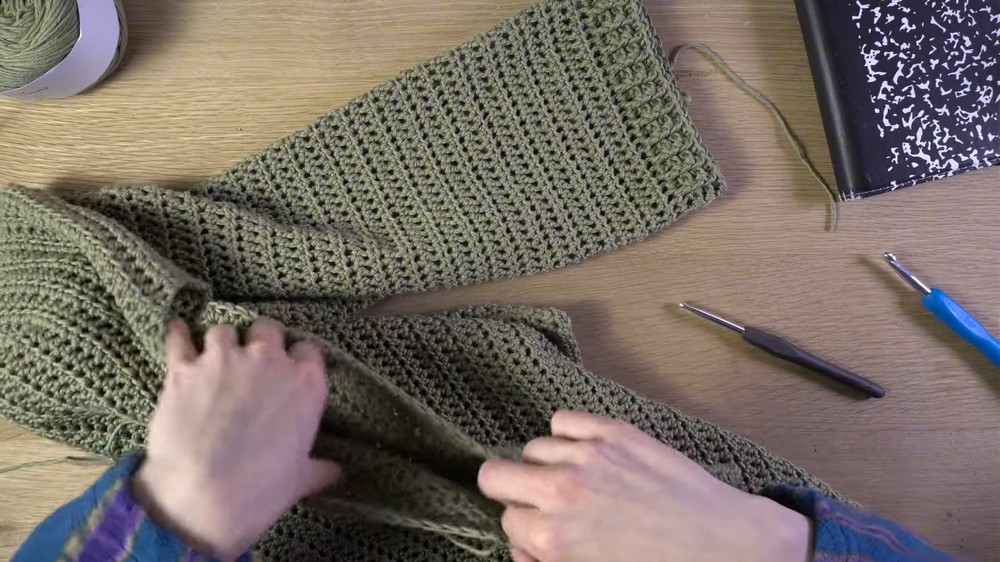
Sleeve Ribbing:
- Attach yarn to the armhole edge, beginning in the sleeve's “armpit” area.
- Work HDC in every stitch to create the sleeves, turning your work every row to ensure symmetry.
- Example sleeve had 50 stitches per row and measured 7.5 inches long.
- Work ribbing at the cuff using the same FPDC and BPDC technique for 2 rows.
Special Techniques:
Color Changes for Tapestry Crochet:
Maintain loose tension when switching yarn colors to avoid puckering. Ensure the carried yarn is neatly tucked along the stitches.
Customization Ideas:
- Pattern Options: Choose graph designs such as animals, abstract shapes, or geometric patterns for the sweater center.
- Sleeve Length: Customize sleeve length by adding or reducing rows.
- Fit: Adjust chain count and starting rows to accommodate wider or more fitted sweater sizes.

Conclusion and Final Look:
Once completed, you’ll have a vibrant, stylish sweater that showcases your creativity and skills. Style it with dresses, jeans, or scarves for various occasions. The ribbed edges and spiral design make this sweater truly unique.
Important Remarks:
- Take your time with the graph design. Accuracy will make the spiral pop.
- Make sure to measure frequently during the process to ensure proper fit.
- If adjustments are needed, don’t hesitate to unravel and rework sections. Crocheting is all about trial and error.
