Cozy Free Crochet Cardigan Pattern For A Trendy Handmade Look
Wrap yourself in comfort with this free crochet cardigan pattern that helps you create a soft and warm outfit you will love to wear every day.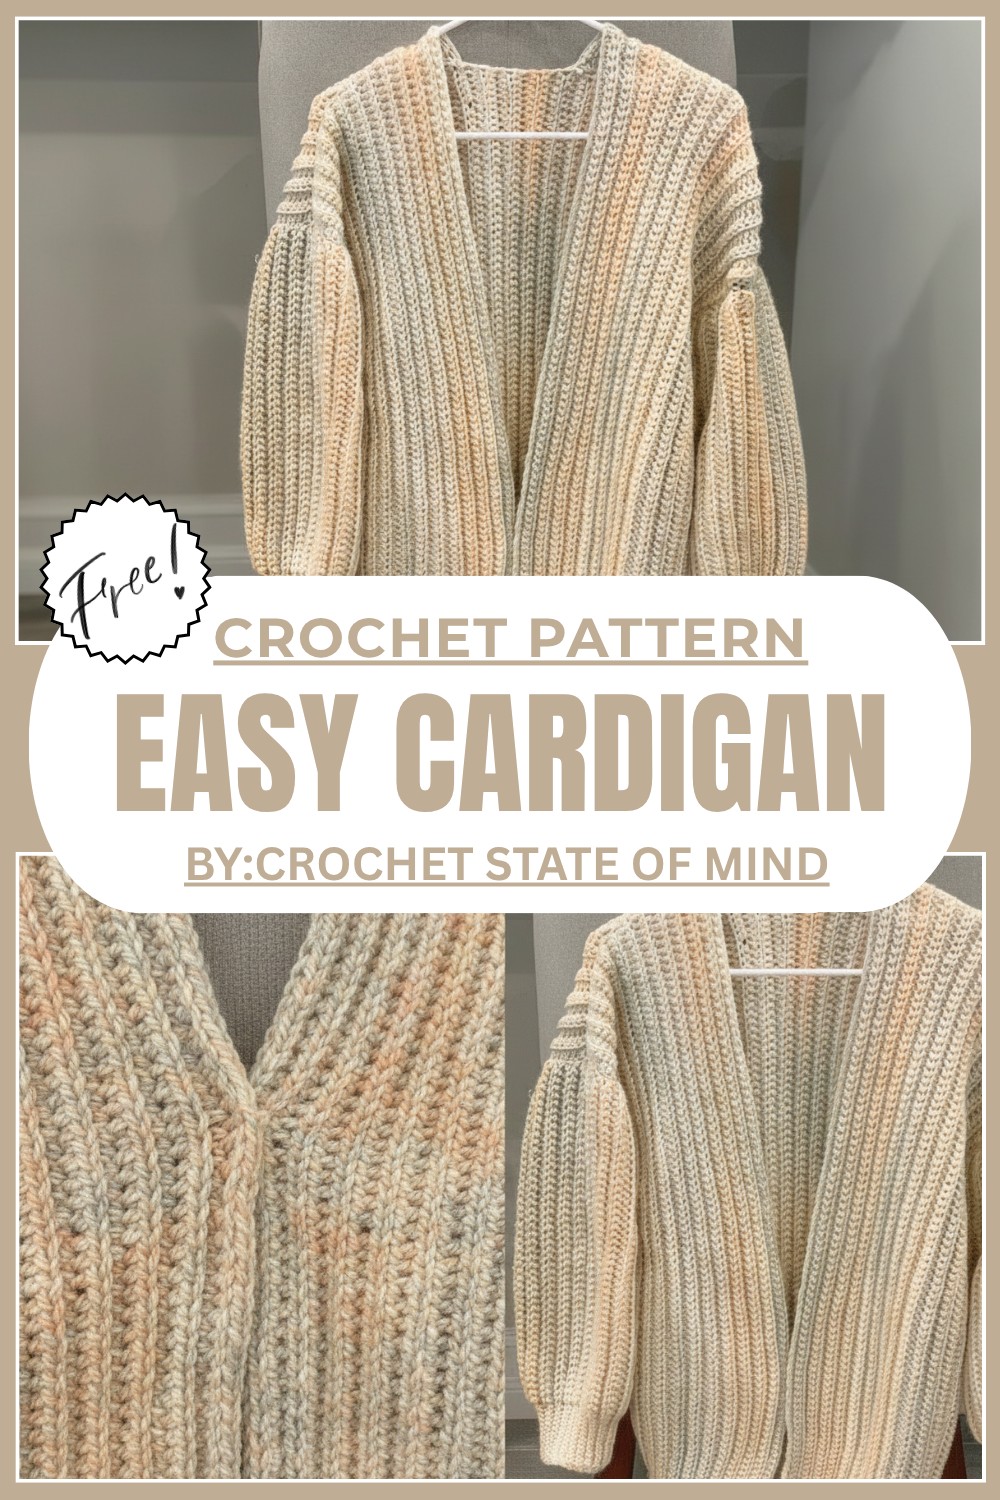
Quick Free Crochet Cardigan Pattern for Everyday Wear
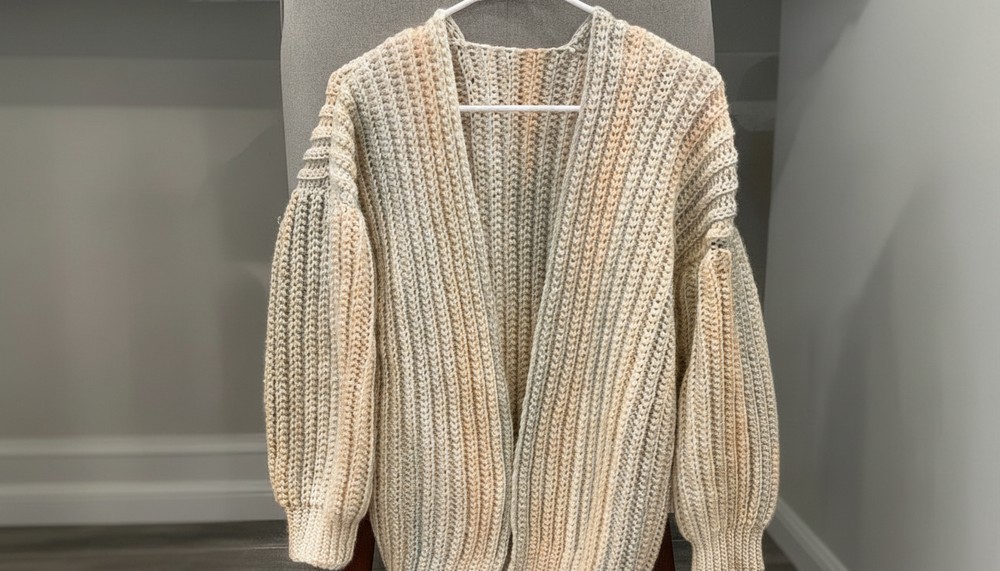
Wrap yourself in the warmest, coziest hug by crocheting your very own sweater with this Free Crochet Cardigan Pattern. A beautiful jacket that feels like a soft, fluffy cloud, perfect for layering over any outfit to keep you warm and stylish. This cardigan’s simple and modern design is easy to make and adds a smart, fashionable touch whether you’re at school, home, or out with friends.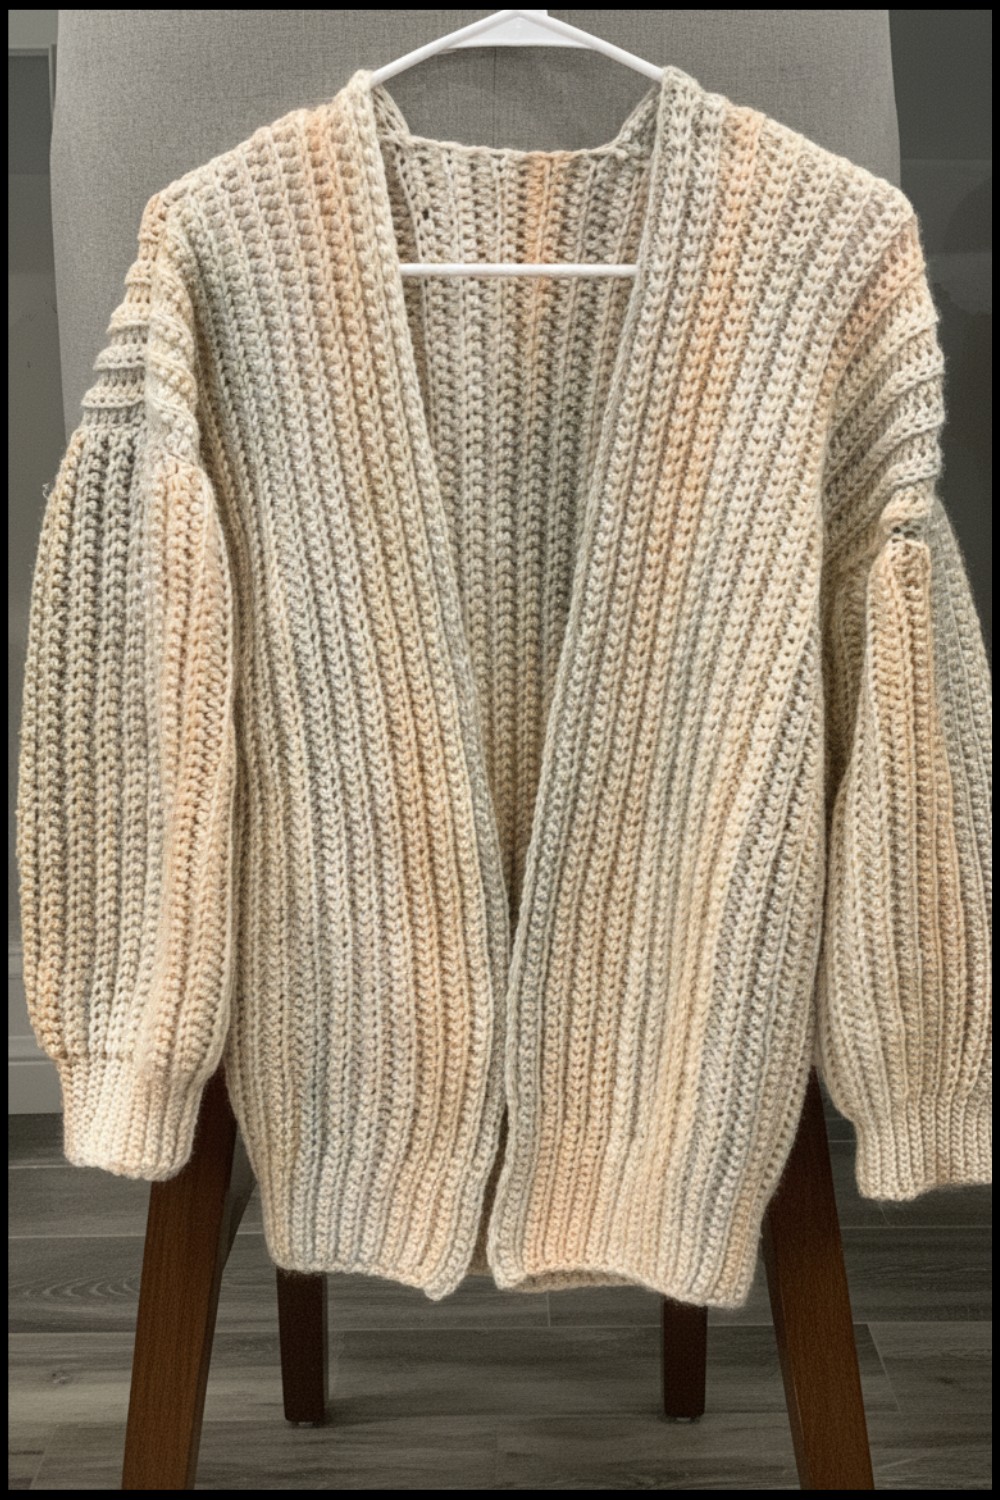 With its wide, comfortable shape, you can move, play, or even lounge around in total freedom while staying snug. The sturdy yet soft texture of this cardigan is made to last, giving you a handmade piece you’ll be proud of.
Use it for chilly mornings, cozy nights, or surprise a loved one with this heartfelt gift. Even beginners can complete this stunning cardigan quickly—and it’s so much fun to make. Show off your creativity with this must make pattern.
Materials Needed:
- Yarn:
- 2 skeins of Caron Blossom Cakes Yarn in the color Yak Club.
- Yarn specifications: Medium 4 weight, cotton blend.
- Hook:
- Recommended hook size: 5mm.
- Hook used in this pattern: 6mm crochet hook.
- Additional Items:
- Darning needle (for sewing and weaving in ends).
- Pair of scissors.
- Stitch markers.
- Measuring tape (to ensure accuracy as this design is made to measure).
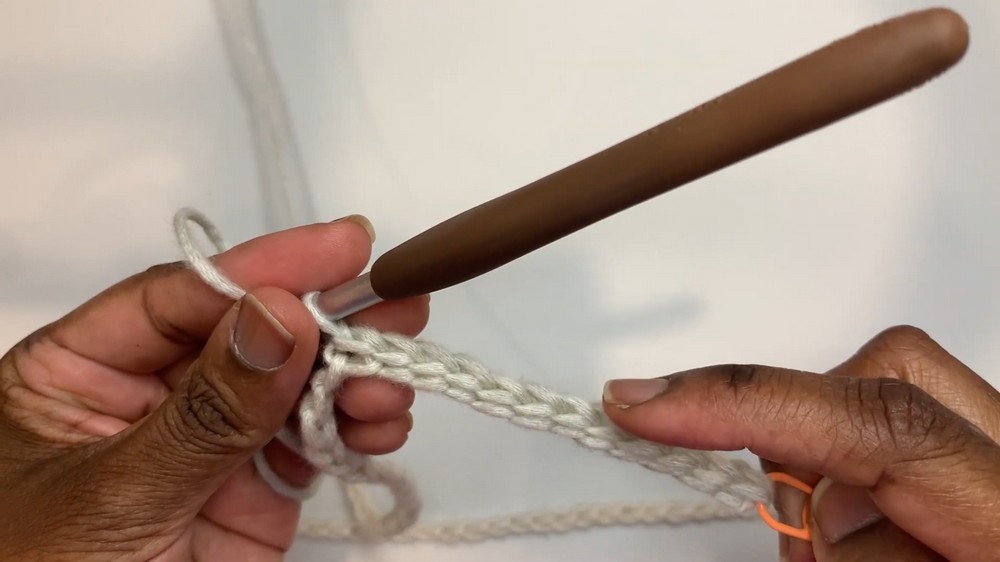
Special Techniques Used:
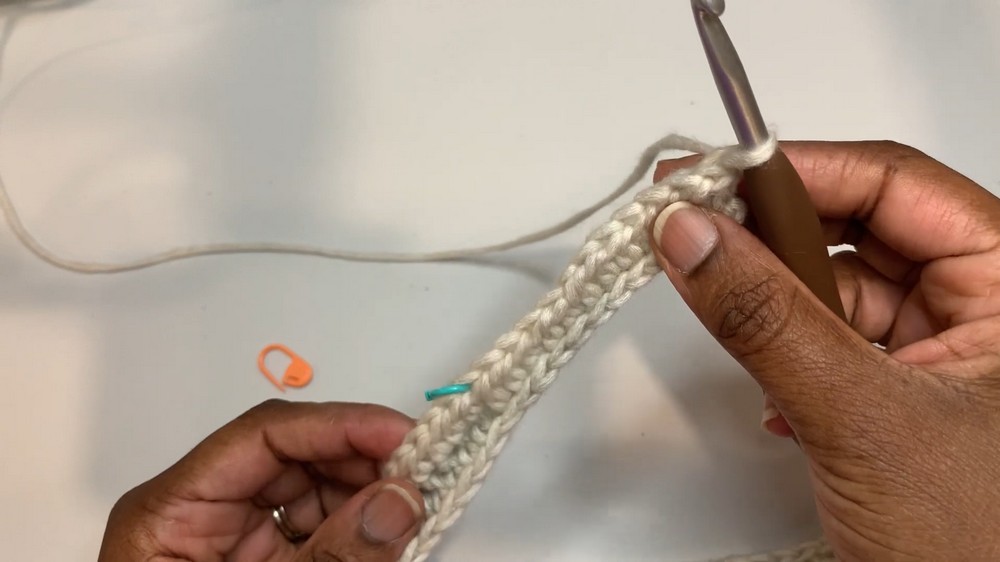
- Slip Knot and Foundation Chain: Start your project with a slip knot and chain the required number of stitches.
- Slip Stitch (SL ST): Used for creating ribbing sections and seams.
- Half Double Crochet (HDC): Used as the main stitch for the body and sleeves of the cardigan.
- Working in the Back Bumps or Loops: Ensures a clean edge and ribbing effect.
- Made to Measure: This pattern is customizable, so ensure accurate measurements when creating your foundation chain.
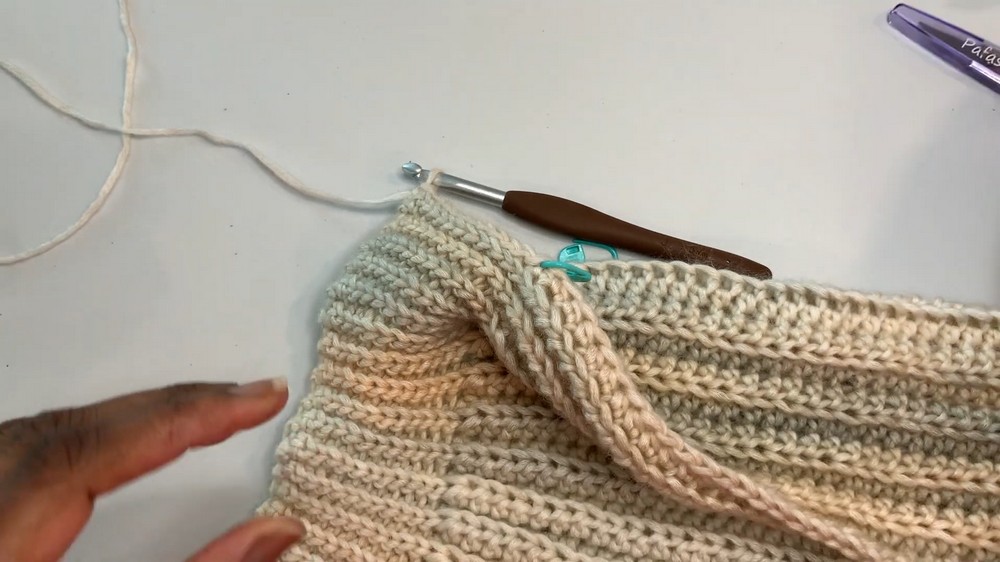
Pattern Instructions
Step 1: Back Panel
- Foundation Chain: Make a slip knot and chain 90. This chain represents the length of the cardigan.
- Row 1:
- Starting in the second chain from your hook, work into the back bumps.
- Crochet 12 slip stitches (SL ST) for the ribbing.
- Place a stitch marker in the first SL ST to indicate the beginning of the row.
- After the ribbing, continue with 77 half double crochet stitches (HDC) across.
- You should have 12 SL STs and 77 HDCs in total for Row 1.
- Row 2:
- Turn your work, but do not chain 1.
- Begin with an HDC into the first stitch.
- Continue working HDC stitches across for a total of 89 stitches.
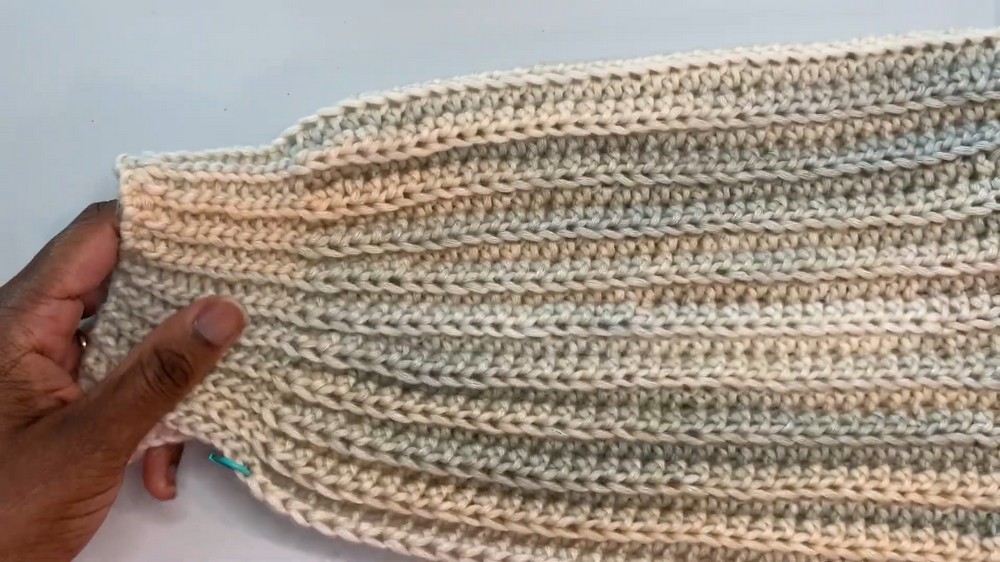
- Rows 3–60:
- Alternate between Row 1 and Row 2 (ribbing and HDC rows) until you complete 60 rows in total.
- Alternate between Row 1 and Row 2 (ribbing and HDC rows) until you complete 60 rows in total.
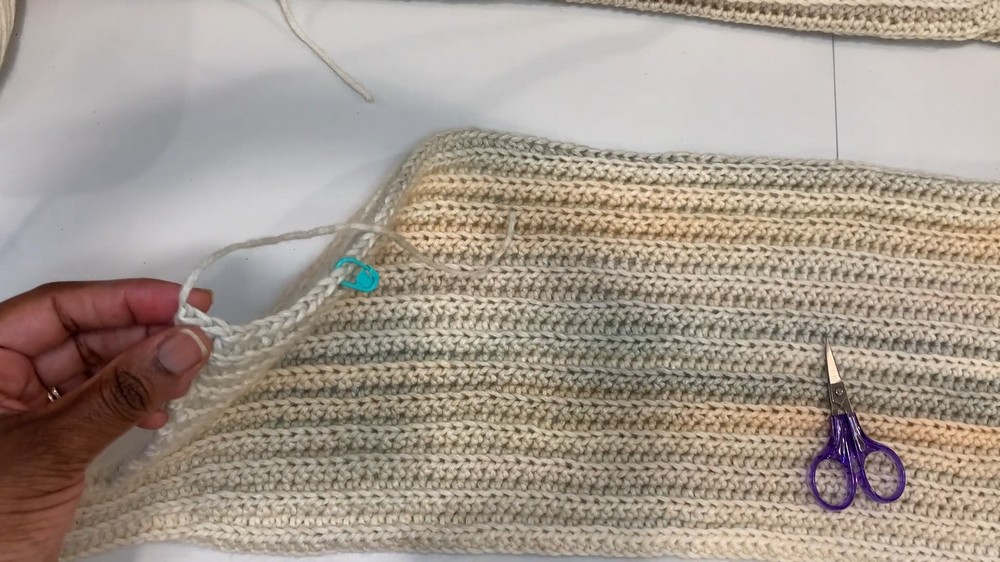
- Fasten Off: Cut the yarn and fasten off securely.
- At the end of the back panel, you should have a rectangular piece of fabric.
Step 2: Front Panels
- Foundation Chain: Begin with a slip knot and chain 90 to match the length of the back panel.
- Row 1:
- Begin in the second chain from the hook, working into the back bumps.
- Crochet 12 SL STs for the ribbing and place a stitch marker in the first stitch.
- Continue with 77 HDCs. You should have 12 SL STs and 77 HDCs in total for Row 1.
- Row 2:
- Turn your work, do not chain 1. Work HDCs across for all 89 stitches.
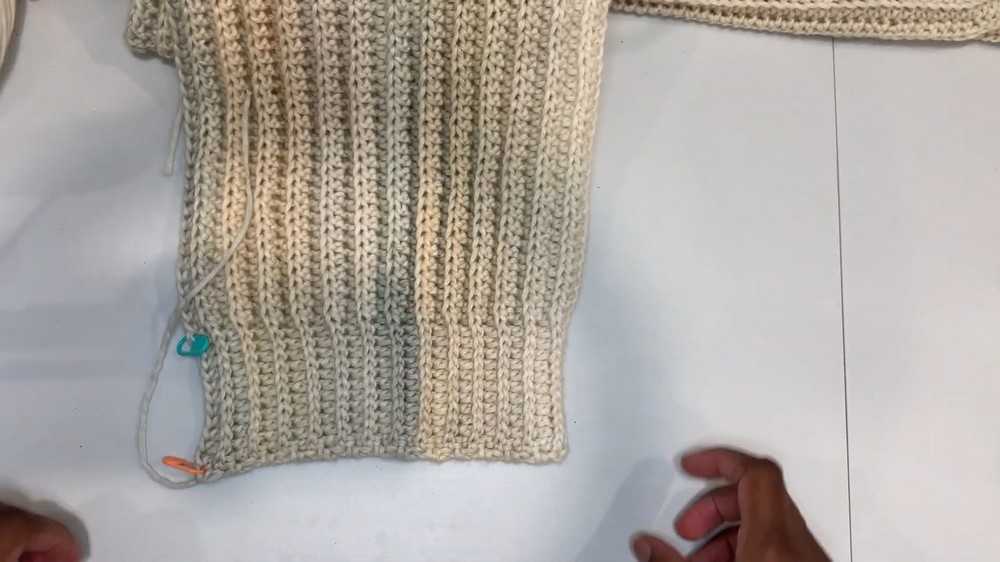
- Rows 3–26:
- Alternate between Row 1 and Row 2 for 26 rows in total. This creates the first front panel.
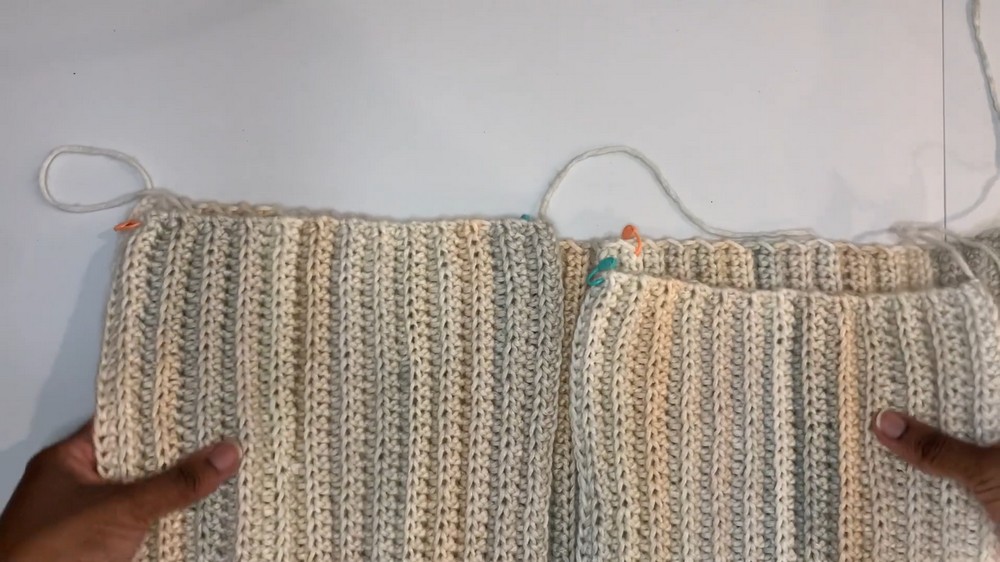
- Fasten Off: Repeat these steps to create the second front panel, ensuring both panels are identical in length and rows.
Note: The back panel (60 rows) is divided into two front panels (26 rows each). The remaining 8 rows (4 inches) are left for the neckline space.
Step 3: Sleeves
- Foundation Chain: Begin with a slip knot and chain 59. This chain determines the length of the sleeve.
- Row 1:
- Work along the chain as follows:
- 12 SL STs for the ribbing.
- 46 HDCs in the back bumps.
- You should have 12 SL STs and 46 HDCs in total for Row 1.
- Work along the chain as follows:
- Row 2:
- Turn your work, do not chain 1. Work HDCs only for the entire row. Total: 58 HDCs.
- Rows 3–42:
- Alternate between Row 1 (ribbing and HDC) and Row 2 (all HDC) until there are 42 rows in total.
- Fasten Off: Repeat these steps to create the second sleeve, ensuring both sleeves are identical.
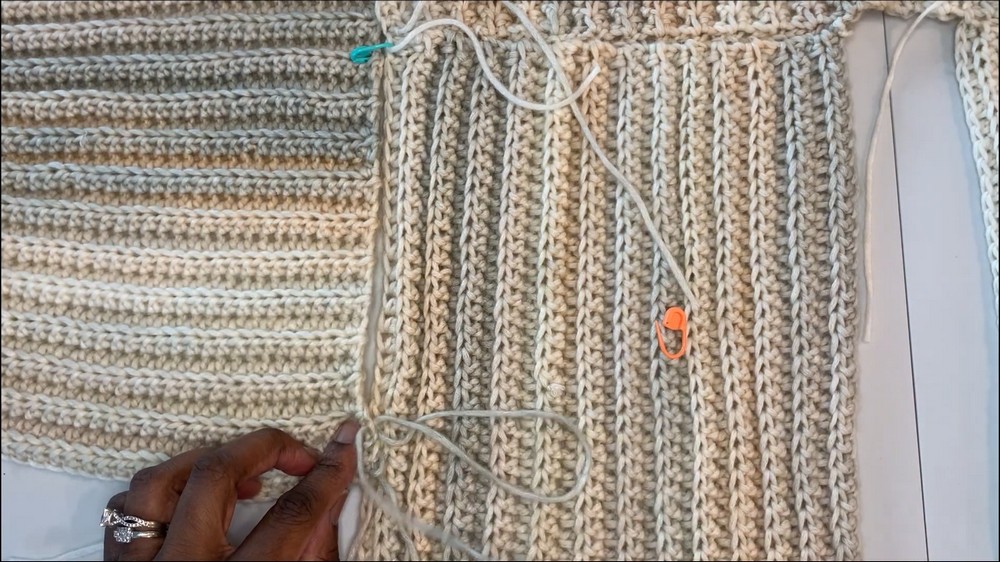
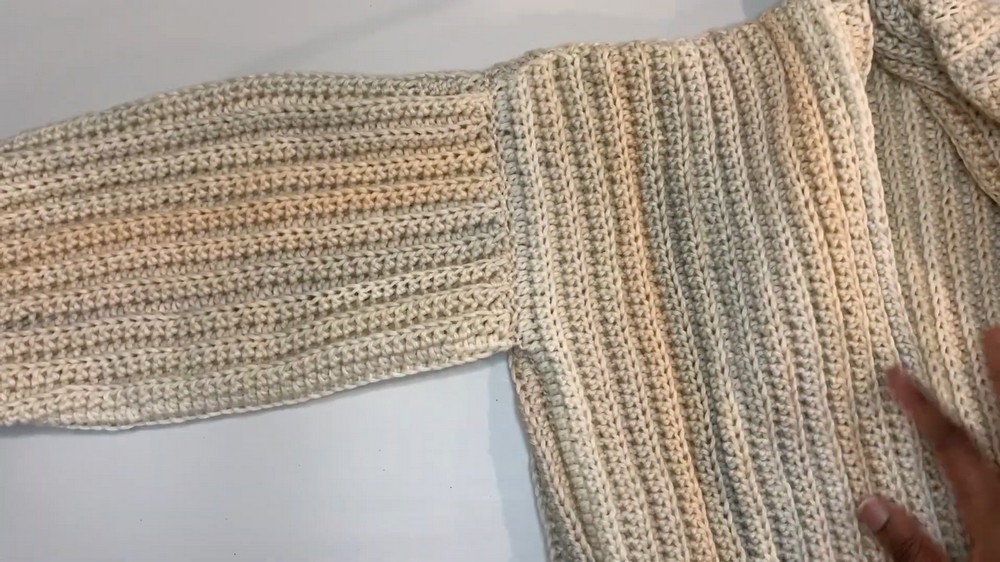
Step 4: Joining the Cardigan
Joining the Panels at the Shoulders:
- Place the back panel flat with the wrong side facing up.
- Align the two front panels on top of the back panel, ensuring the shoulders line up.
- Use a darning needle and the whip stitch method to join the front panels to the back panel at the shoulders.
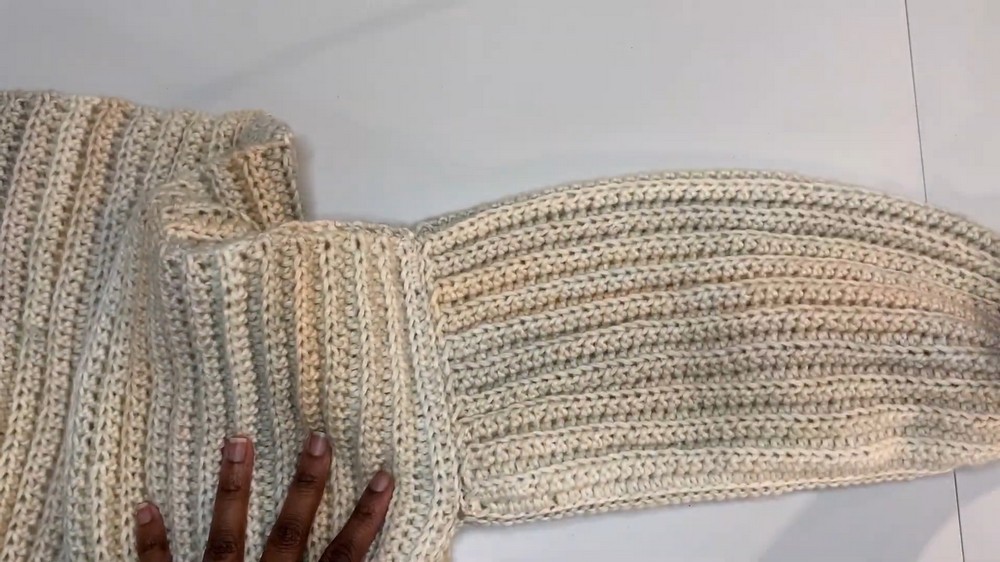
Joining the Sleeves:
- Place each sleeve perpendicular to the body panels.
- Ensure the center of the sleeve aligns with the shoulder seam.
- Use a darning needle and the mattress stitch method to join each sleeve to the body.
Joining the Sides:
- Fold the cardigan in half along the shoulder seams (inside out).
- Starting at the underarm, join the sleeve seams and the side seams of the cardigan using the slip stitch method.
- To do this, insert your hook into the back loop of one stitch and the front loop of the stitch behind it. Continue slip stitching down the length of the cardigan.
Step 5: Finishing Touches
- Weaving in Ends: Using a darning needle, weave in all loose ends to secure your work and give a clean finish.
- Optional Neckline Border: If desired, add a border around the neckline using single crochet or HDC stitches to create a polished edge.
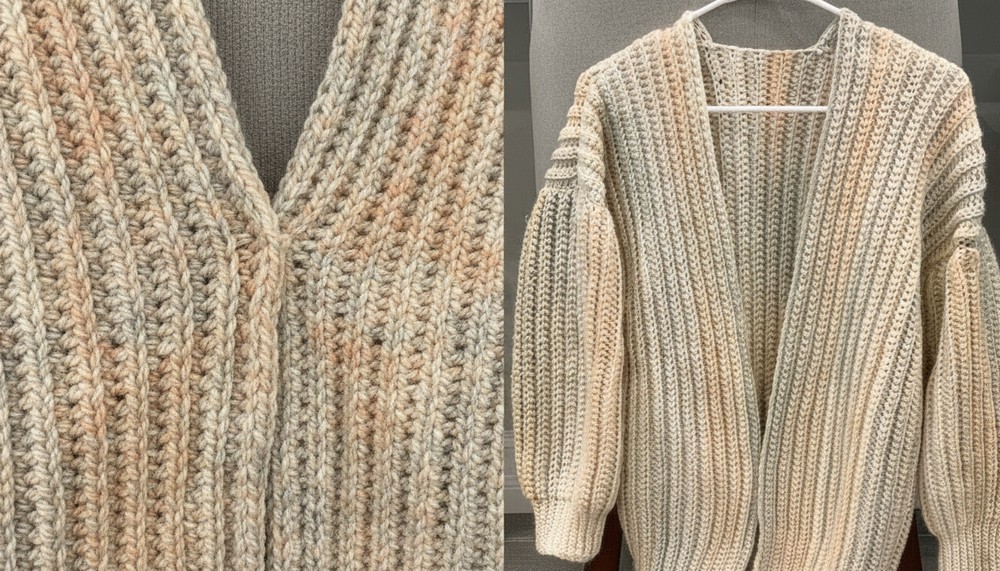
Final Words
Congratulations on completing your crochet cardigan, This simple yet elegant design is perfect for layering and can be customized in size, color, and style.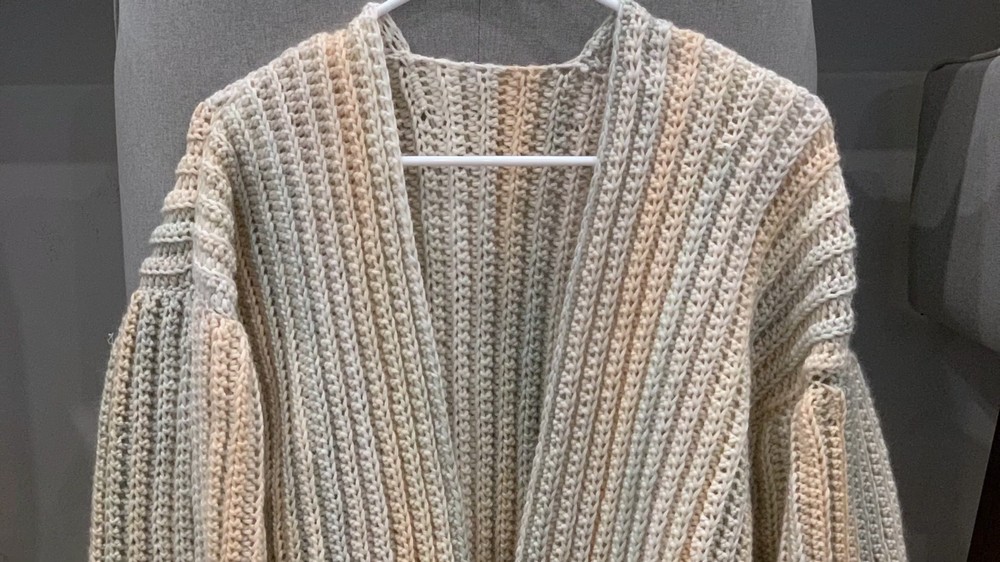
Tips to Maintain Your Cardigan:
- Washing: Hand wash or machine wash on a gentle cycle in cold water. Lay flat to dry to maintain the shape.
- Storage: Fold the cardigan to prevent stretching, especially if made with cotton blend yarn.
- Customization: Feel free to experiment with different yarn colors, decorative borders, or even adding buttons for a unique touch.