Useful & Pretty Free Crochet Cell Phone Holder Pattern For Your Needs
Follow Free Crochet Cell Phone Holder Pattern to make an amazing holder that keeps your phone safe and stylish wherever you go.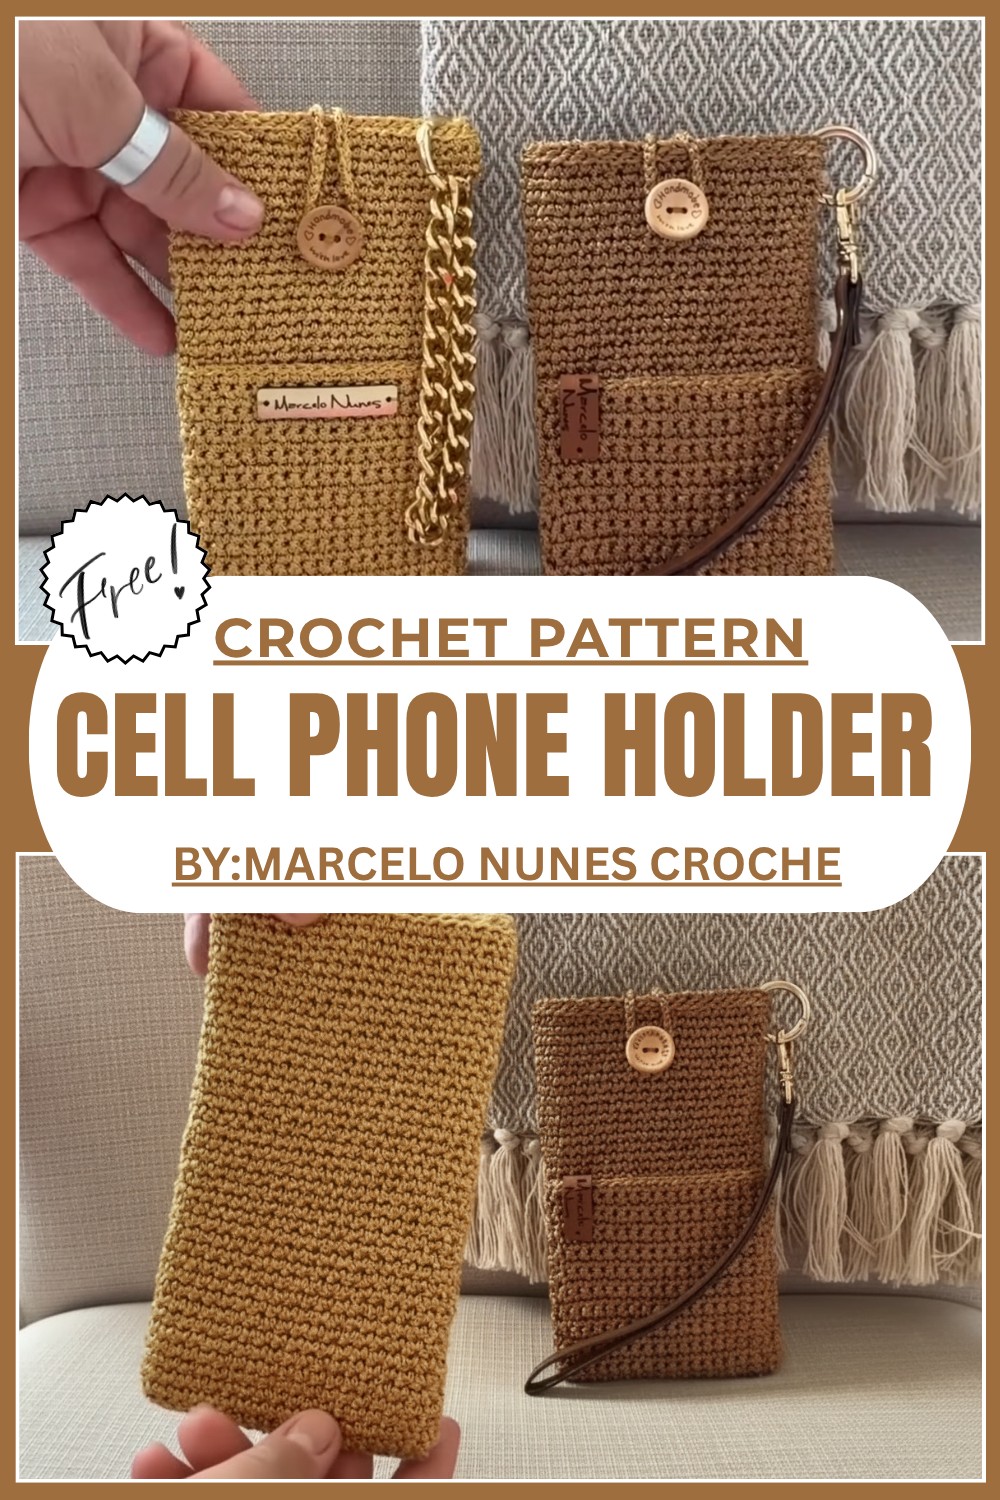
Make a Free Crochet Cell Phone Holder to Organize and Protect Your Device
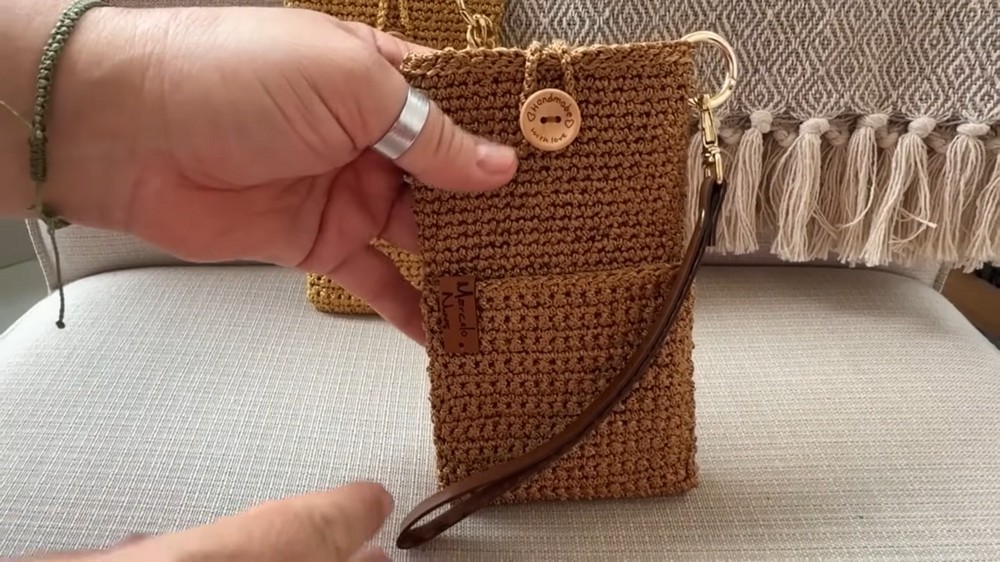
Looking for a simple and fun project that’s both beautiful and useful? The “Free Crochet Cell Phone Holder Pattern” is perfect for everyone, especially beginners interested in making something practical and stylish. This crochet holder is made to keep your phone safe, organized, and easy to carry.
It features a handy pocket where you can store small accessories like earbuds or keys. The design is compact yet elegant, with a button closure and a loop that ensures your phone stays secure inside. Made using soft yet durable yarn, the holder has a smooth, shiny finish that makes it look unique and cute.  It’s lightweight, easy to carry, and includes a strap for added convenience. With clear instructions and simple techniques, you can create this adorable phone holder for everyday use. It’s a perfect gift idea and a great way to combine creativity with function.
Functional Crochet Cell Phone Holder Pattern
Materials Needed
- Yarn: EuroRoma Brilhante (Biodegradable Polyester Yarn)
- Color: Beige (or preferred color choice)
- Hooks:
- 3.5 mm crochet hook (for the base and body of the case)
- 4 mm crochet hook (for finishing)
- Accessories:
- Stitch marker
- Sewing needle and matching thread
- Tapestry needle
- Button (for closure)
- Articulated ring
- Strap or wrist handle (optional)
- Iron on or sewable label (optional)
- Other Tools:
- Scissors
- Lighter (to seal yarn ends)
- Optional: Small drop of glue to secure yarn ends
Abbreviations
- ch: chain
- sc: single crochet
- sl st: slip stitch
- BLO: back loop only
Special Techniques
- Yarn Seal: Use a lighter or glue to seal the yarn ends to prevent fraying, especially for the EuroRoma Brilhante yarn.
- BLO Stitch: For textured designs, work single crochet stitches in the back loop only, leaving the front loop exposed for a raised effect.
- Working in Continuous Rounds: Do not join and turn at the end of rounds but work spirally to create a seamless case. Use a stitch marker to track the beginning of each round.
Pattern Instructions
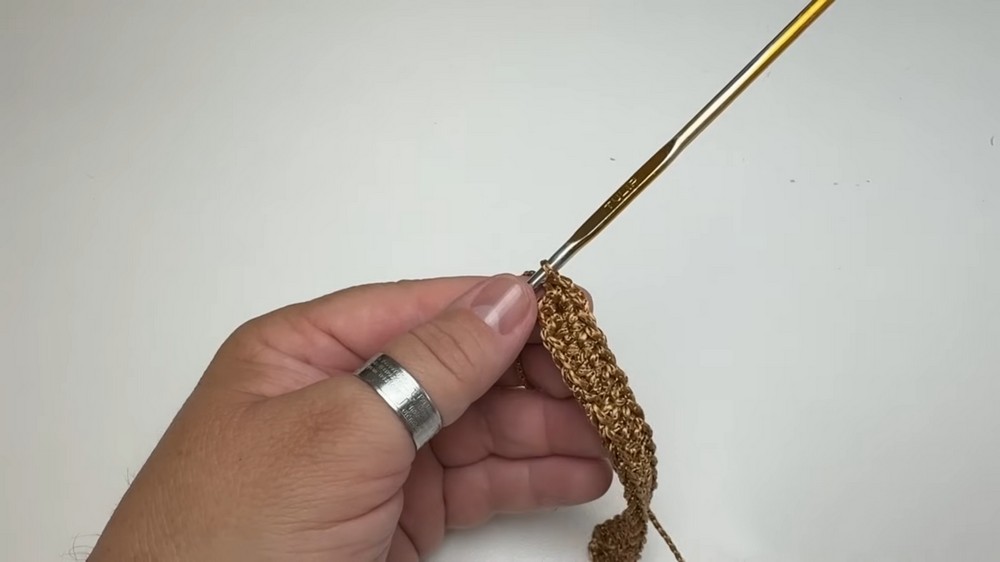
1. Base of the Case
- Start with a Slip Knot: Using the 3.5 mm hook, make a slip knot.
- Foundation Chain: Create a chain of 20 ch (or adjust according to the item’s size). Ensure the chain is slightly loose to allow for flexibility.
- First Row:
- Skip the first chain from the hook.
- Starting in the second chain, work 1 sc in the BLO of each chain across.
- At the end of the row (last chain), work 3 sc in the same stitch to create a rounded corner.
- Continue Rounds:
- Rotate the piece to work along the opposite side of the chain. For the other side, work sc in each stitch, ensuring to hide the starting tail by working over it.
- In the chain where 3 sc was made earlier, work 3 sc more to complete the rounded corner.
- Mark the Round End: Use a stitch marker to note the starting stitch.
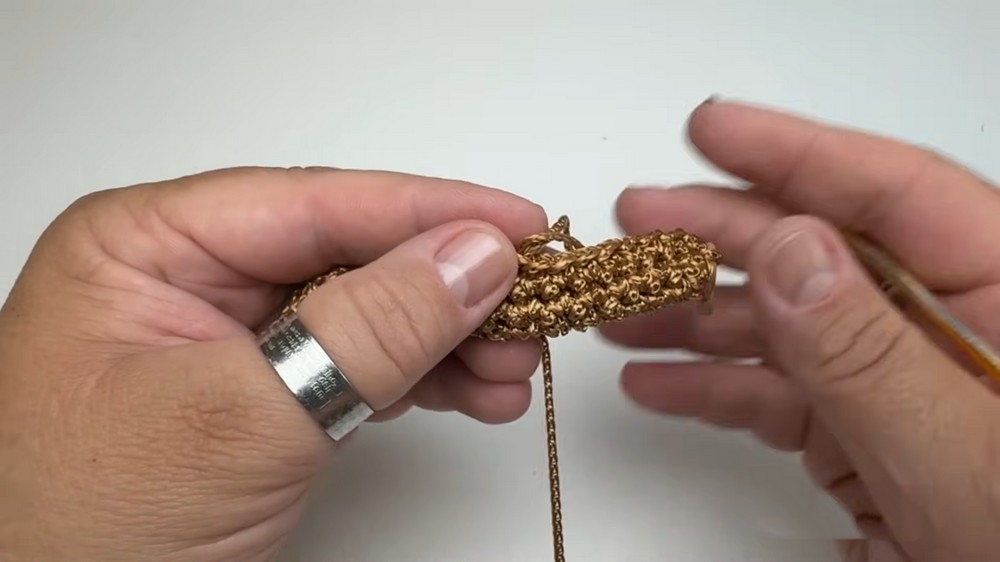
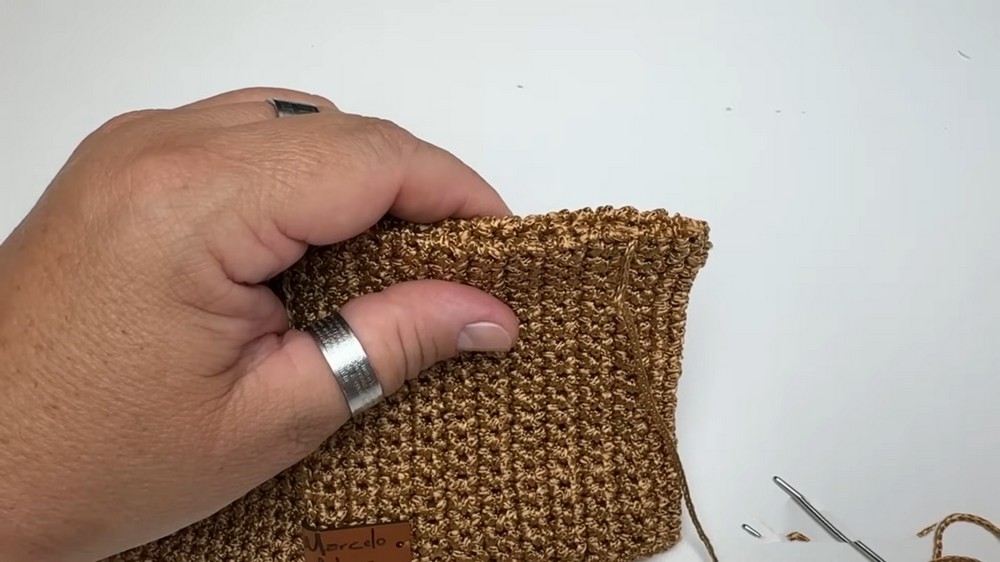
2. Main Body of the Case
- Work in Continuous Rounds:
- Continue working sc in each stitch with no joins or breaks.
- Ensure the stitches are evenly placed along the sides.
- Build Height: Work for 37 rounds or until the case reaches the desired height.
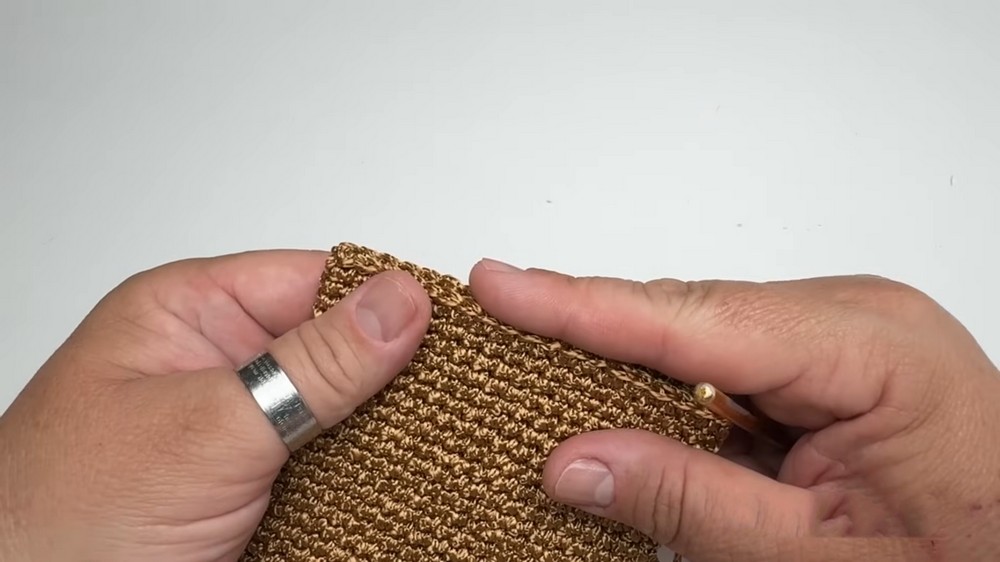
- Shape and Adjust: Stop when the case is flush with the height of your phone or item, leaving room for a closure flap.

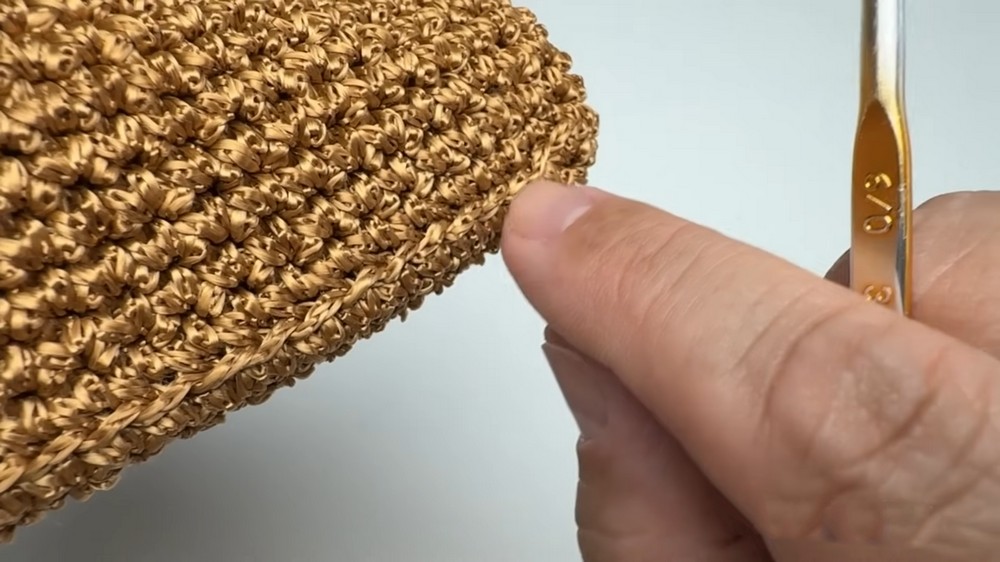
3. Finishing Rounds
- Switch to the 4 mm crochet hook for the finishing rounds to avoid tight stitches.
- Finishing Rounds:
- Work 2 rounds of sl st in BLO to create a sleek edge.
- Use a stitch marker to track the start of each round.
- Chain Loop for Closure:
- Stop mid round where the button loop will be positioned.
- Create a chain of 30 ch (or adjust based on button size).
- Join the chain to the same stitch where it originated with a sl st, forming the loop for the button.
- Continue: Complete the remaining sl st around the case to finish the border. Fasten off and weave in yarn tails.
4. Adding the Front Pocket
- Locate the Front Loops: Identify the 19 front loops left from the BLO in the first few rounds.
- Work the Pocket Base:
- Attach the yarn to the first loop and work sc across the 19 loops.

- Make sure to hide the yarn tail as you go.
- Attach the yarn to the first loop and work sc across the 19 loops.
- Height of the Pocket:
- Turn and continue working in rows of 19 sc for 21 rows (or adjust height as needed).
- Cast Off: Leave a long yarn tail (approximately 80 cm) for sewing the sides.
5. Sew the Pocket
- Fold the pocket up to align with the base of the case.
- Using the tapestry needle and the yarn tail, sew the sides of the pocket to the case. Ensure firm and even stitches to hold it securely.
- Weave in ends and seal with a lighter or glue.
6. Attach the Button
- Align the closure loop and determine the placement of the button below the loop.
- Sew the button securely to the case using a matching thread and needle.

7. Final Assembly
- Attach the articulated ring to the side of the case.
- Add a wrist handle or strap to the ring if desired.
- Optional: Attach a decorative label to the pocket or case for a polished look.

Finishing the Pattern
- Check all ends to ensure they are securely hidden.
- Lightly block the case if needed to perfect the shape.

Final Words
Congratulations on completing your crochet case with a pocket, This versatile accessory is both functional and stylish, making it ideal for personal use or as a thoughtful gift. The elegant texture of the EuroRoma Brilhante yarn provides a refined finish, while the pocket enhances its practicality.
Tips for Maintaining the Pattern
- Yarn Care: Ensure the yarn is sealed at all ends to avoid fraying.
- Customizations: Adjust the dimensions and colors to suit different devices or preferences.
- Washing Instructions: Gently handwash using mild detergent to maintain the case’s structure and shine.
- Storage: Keep the case in a dry place to preserve its quality.
Enjoy your fashionable and functional crochet piece.