
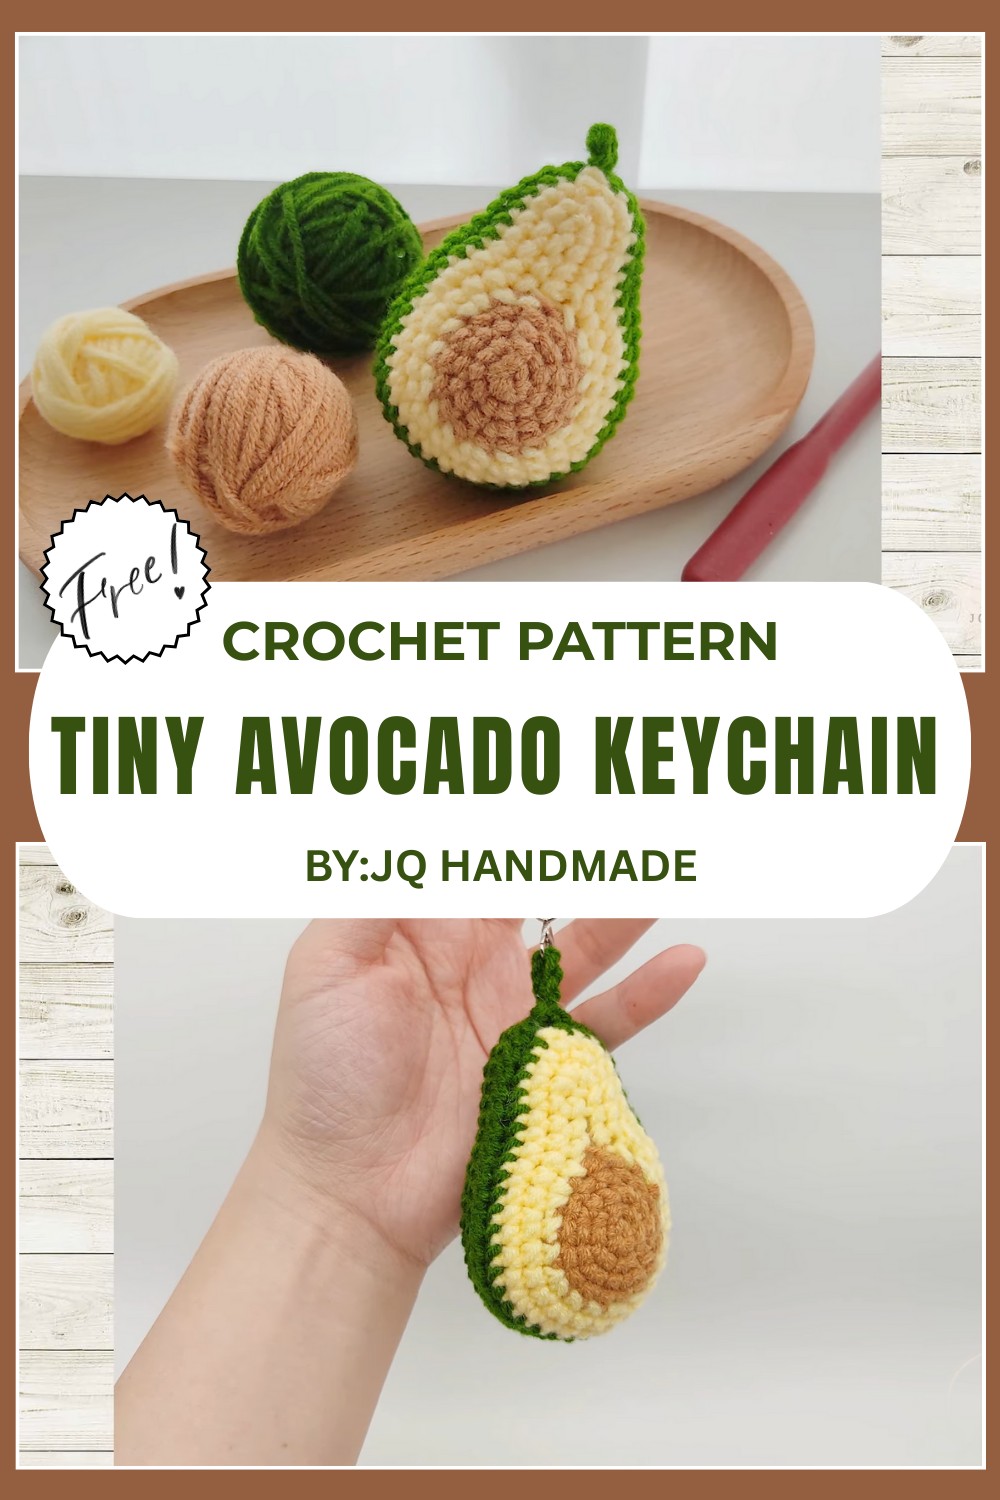
Cute Crochet Avocado Keychain Pattern Bringing Smiles
Spruce up your accessories with the Crochet Avocado Keychain Pattern for a cute playful keychain that adds charm and personality to your keys or bag.
Add a splash of whimsy to your everyday essentials with this free crochet avocado keychain pattern! This charming little project is easy to make, making it perfect for both beginners looking for a quick win and experienced crocheters in need of a creative break.
Eye Catching Crochet Avocado Keychain Pattern Perfect for Gifts
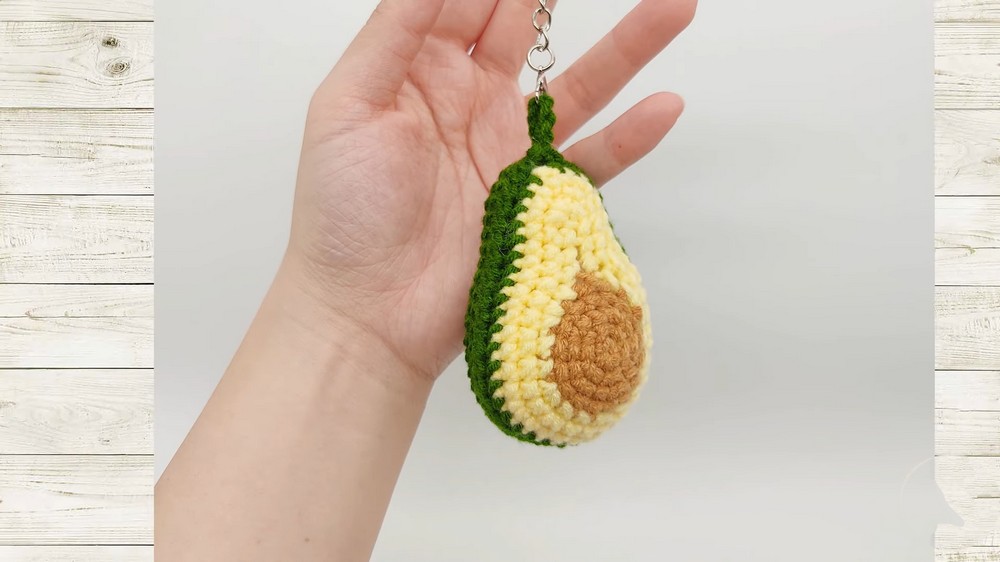
From its cute seed detail to its vibrant peel, this mini avocado is designed to brighten up your keys, bags, or even serve as a thoughtful handmade gift. The pattern is simple yet fun, with endless options for personalization. It’s a delightful way to use your leftover yarn and create something truly unique and lovable.
Materials Needed
- Yarn:
- Four-ply yarn in three colors:
- Light brown (seed)
- Yellow (avocado flesh)
- Green (avocado peel/back)
- Cotton yarn is recommended for durability.
- Four-ply yarn in three colors:
- Crochet Hook:
- 3 mm crochet hook
- Additional Tools:
- Scissors
- Yarn needle
- Stitch markers (optional; helpful for beginners)
- Fiberfill stuffing (for shaping the avocado)
- Metal keychain loop or clip (optional, for turning into a keychain)
Skill Level
Beginner-friendly. Assumes knowledge of basic crochet stitches and working in the round.
Abbreviations (US Terms)
- ch: Chain
- sc: Single crochet
- sl st: Slip stitch
- inc: Single crochet increase (2 sc in the same stitch)
- st(s): Stitch(es)
- yo: Yarn over
Special Notes
- The avocado consists of two separate panels: front and back, worked in rounds.
- The front panel includes a seed in light brown and multiple color changes (yellow and green).
- The back panel is worked entirely in green yarn for simplicity.
- Always join rounds using a slip stitch into the first stitch and begin new rounds with a chain stitch.

Gauge
Gauge is not critical for this project. Focus on maintaining consistent tension to ensure both pieces are similar in size.
Finished Measurements
Approximately 2.5–3 inches (6–7.5 cm) tall, depending on yarn thickness and stuffing.
Pattern Instructions
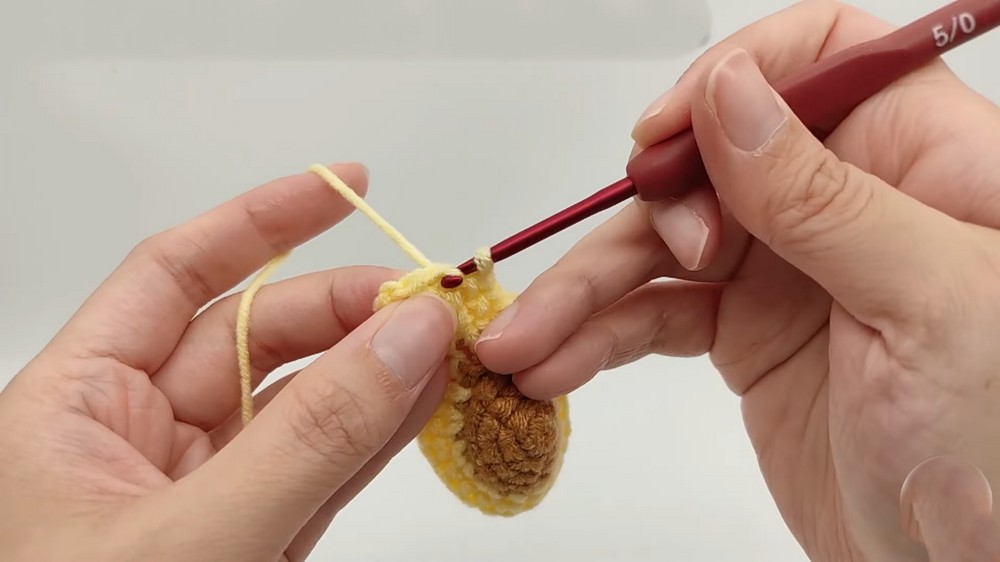
Front Piece (Multicolor)
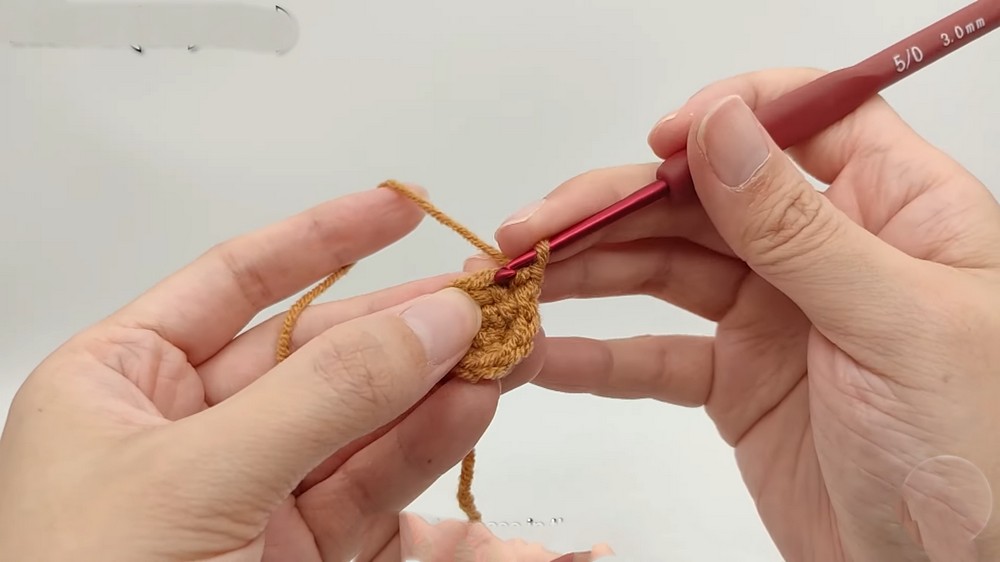
Light Brown Yarn - Seed
Round 1:
- Begin with a magic ring.
- Wrap the yarn around your finger, insert the hook, pull up a loop, and chain 1 to secure.
- Make 5 sc into the magic ring.
- Tighten the ring and join with a sl st into the first sc. (5 sts)
- Tighten the ring and join with a sl st into the first sc. (5 sts)
Round 2:
- Ch 1 to start.
- Work 5 sc increases (2 sc in each st).
- You will have 10 sts at the end.
- Join with a sl st into the first sc.
Round 3:
- Ch 1 to start.
- Work 1 sc, 1 inc in each pattern repeat around.
- Repeat this pattern 5 times for a total of 15 sts.
- Join with a sl st into the first sc.
Round 4:
- Ch 1 to start.
- Work 15 sc evenly (1 sc in each st).
- Join with a sl st into the first sc.
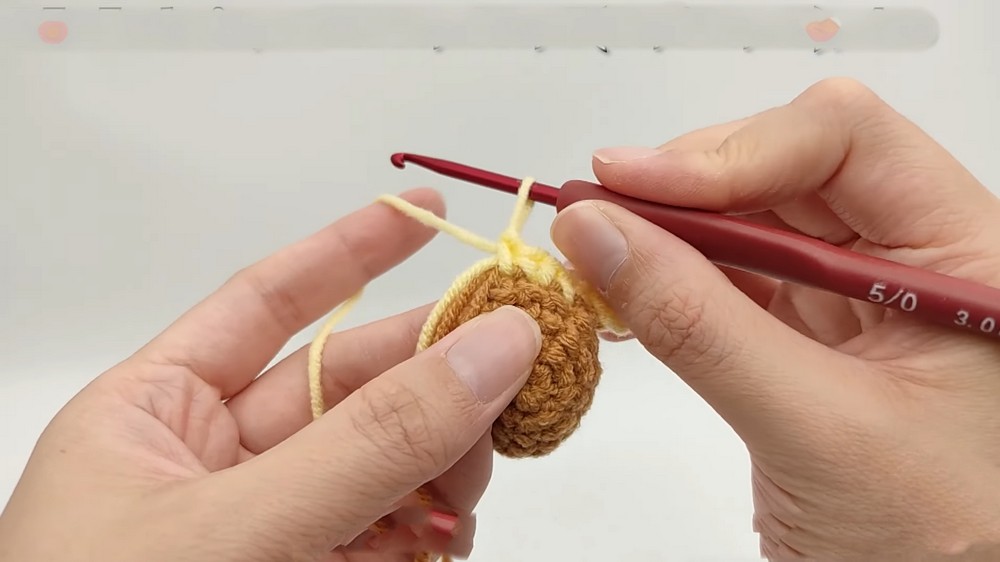
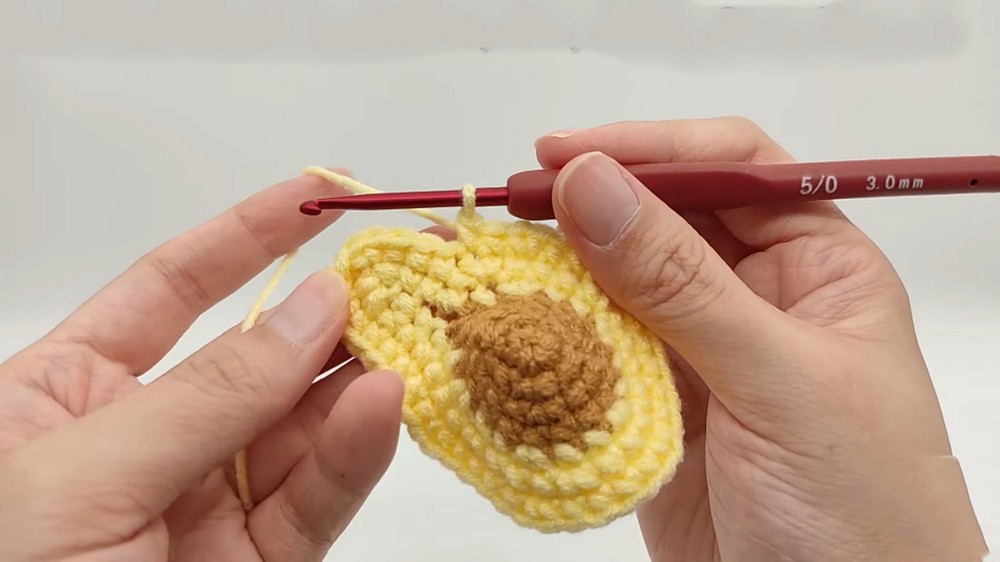
Yellow Yarn - Avocado Flesh
Round 5:
- Change to yellow yarn. Begin with a ch 1.
- Make 4 ch (to create a short stem shape).
- Reverse direction: Work 4 sc along the chains.
- Then continue around the circle, working:
- 1 sc, 1 inc in each repeat.
- Repeat 5 times.
- Work 4 sc along the stem chains to finish.
- Join with a sl st into the first sc.
Round 6:
- Ch 1 to start.
- Work 1 inc, 3 sc.
- Continue around the circle: Work 3 sc, 1 inc and repeat.
- At the end, work 3 sc and 1 inc in the stem portion.
- Join with a sl st.
- Join with a sl st.
Round 7:
- Ch 1 to start.
- Work 1 sc, 1 inc with 2 sc in each repeat (5 times).
- In the stem section, work 3 sc, 1 inc to finish the round.
- Join with a sl st.
- Join with a sl st.
Green Yarn - Avocado Peel
Round 8:
- Change to green yarn and begin with ch 1.
- Work 1 sc in each st around (total: 42 sc).
- Cut the excess yellow yarn after a few stitches.
- Join with a sl st.
- Fasten off and secure yarn end.
Back Piece (Uniform Green Yarn)
- Use green yarn throughout.
- Follow steps for Rounds 1–3 from the front piece. Skip Round 4 (single crochet row).
- Begin Round 5 directly.
- Complete Rounds 5–8 (same pattern as the front).
Final Round for Back:
- Add one additional round of 42 sc for the back piece.
- This adds extra thickness to the back.
- Fasten with ch 8 at the end to leave extra yarn for sewing the back piece.

Assembly Instructions
Step 1: Sew the Two Pieces Together
- Place the front and back pieces together, wrong sides touching.
- Using a yarn needle and the excess yarn from the back piece, stitch the outer loops of the two pieces together.
- Insert the needle into the outer loops only for a clean, invisible seam.
- Leave a small gap as you work.
Step 2: Stuffing
- Insert fiberfill stuffing through the remaining opening.
- Shape the stuffing gently to make a rounded avocado appearance.
- Be careful not to overstuff, as this may distort the shape.
Step 3: Completing the Seam
- Continue sewing the remaining stitches closed after stuffing.
- Add extra stitches to secure the seam.
- Weave in all yarn ends using the needle and trim excess yarn.
Step 4: Attach Keychain (Optional)
- Sew or attach a metal keychain loop to the top center of the avocado.
- Ensure the loop is tightly attached and secure before use.
Customization Ideas
- Colors:
- Use vibrant shades for the peel (green).
- Create fun variations for the seed like pink, purple, or metallic yarn.
- Size:
- Use thicker yarn or a larger hook to make a larger avocado plush.
- Decorations:
- Embroider a smiley face or eyes to give the avocado a fun, personalized look.
Tips for Success
- Keep Tension Consistent: Uneven stitches may result in lopsided pieces.
- Use Stitch Markers: Mark the beginning of each round for an easier time keeping track of rows.
- Seaming: Use the wrong side (back stitches) to create a neat seam while sewing the pieces together.
- Stuff Securely: Ensure there are no gaps in the stuffing before finishing the seam.
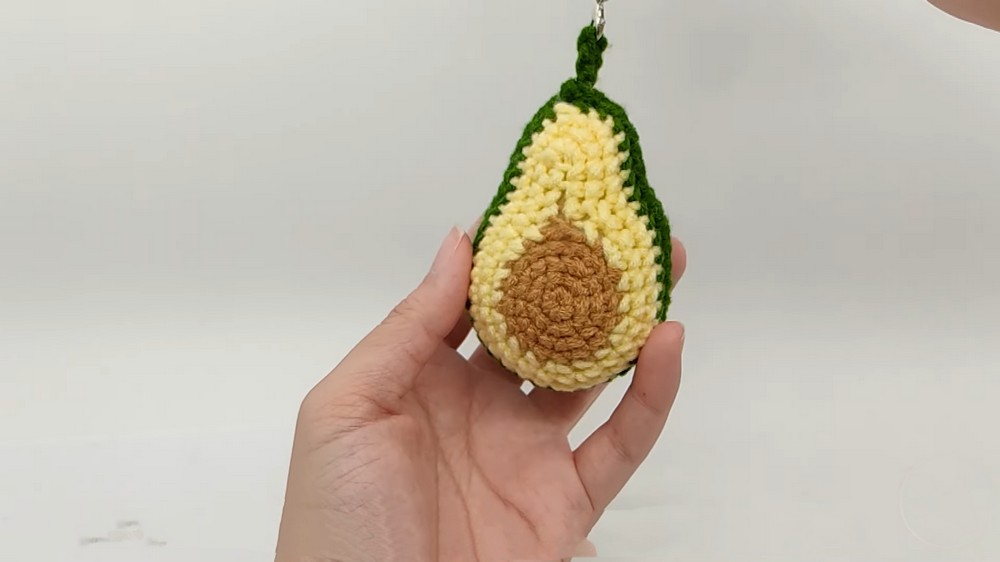
Conclusion
Your crochet avocado keychain is complete! This adorable project makes a great gift and a fun addition to your keyring, backpack, or purse. The texture of the seed, colorful avocado flesh, and neatly stitched peel bring this design together beautifully.
Keep practicing your stitches and try experimenting with different sizes and colors to create a set of unique avocados.
Pattern Correction
- Ensure accurate yarn changes when transitioning between colors. Check stitch consistency when joining pieces to avoid uneven edges.