
Light Free Crochet Twisted Top Pattern To Use For Daily Casual
Stay cool in style with this free crochet twisted top pattern that gives you a comfortable and fashionable look perfect for summer days.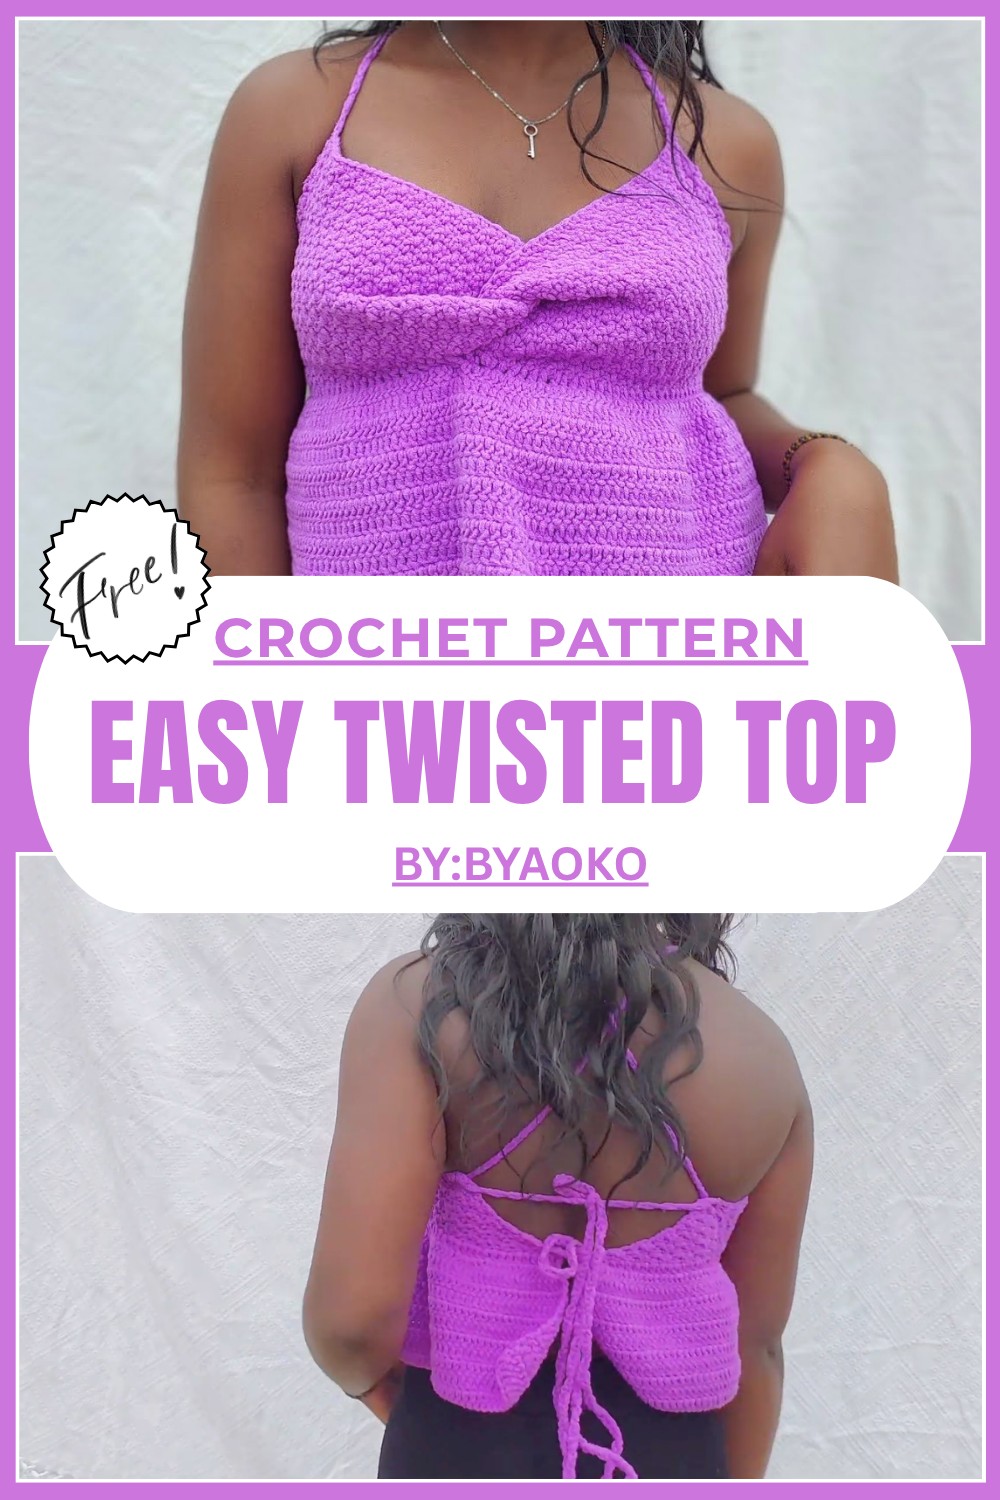
Find Your Next Favorite Free Crochet Twisted Top Pattern
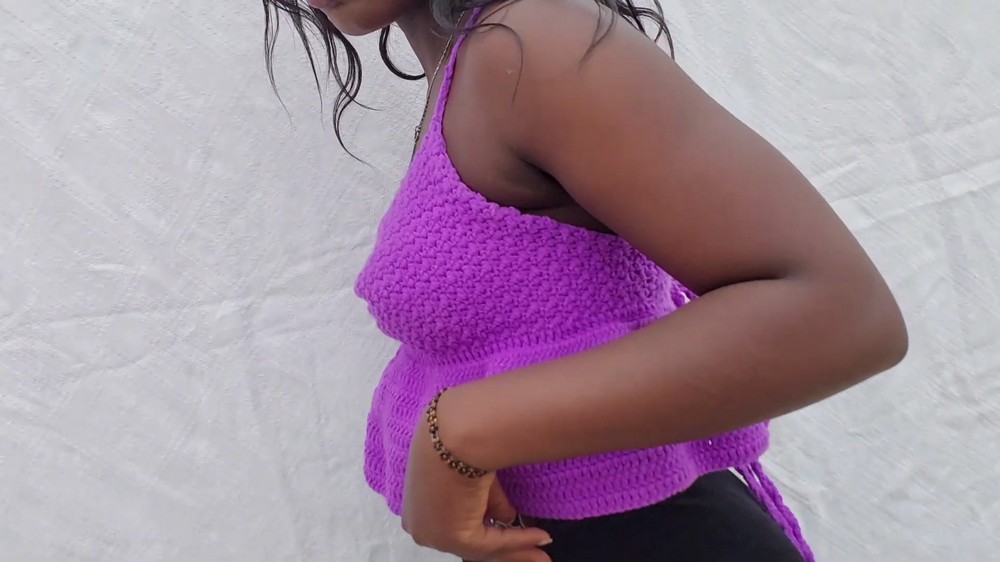
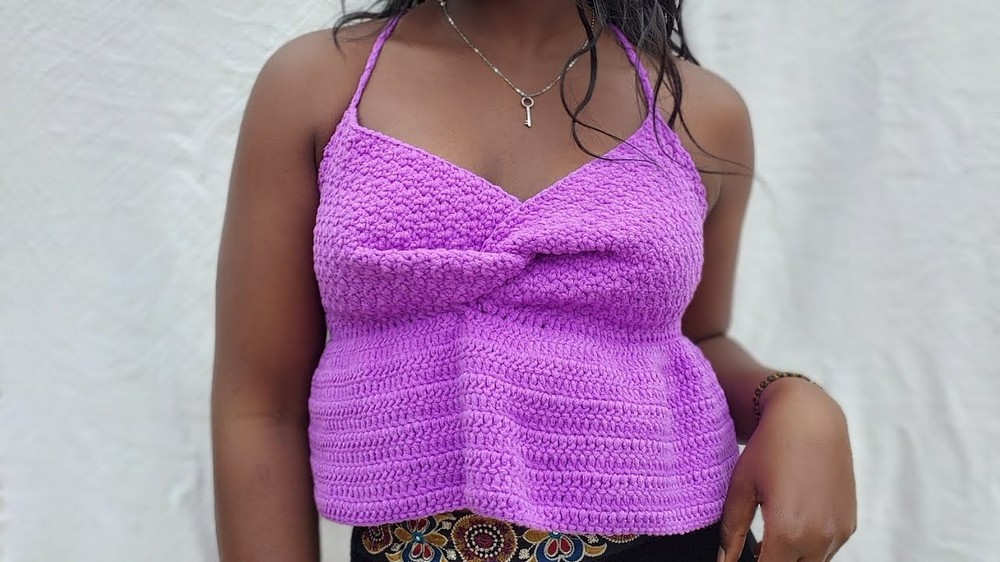
Turn a simple ball of yarn into a stylish, modern shirt you’ll be proud to wear with this Free Crochet Twisted Top Pattern. This stunning shirt stands out with a unique twist at the front that gives it a trendy and smart look. The soft stuff drapes perfectly, providing both comfort and elegance. It features a light and cozy texture that feels amazing on your skin while looking stylish enough for outings with friends. 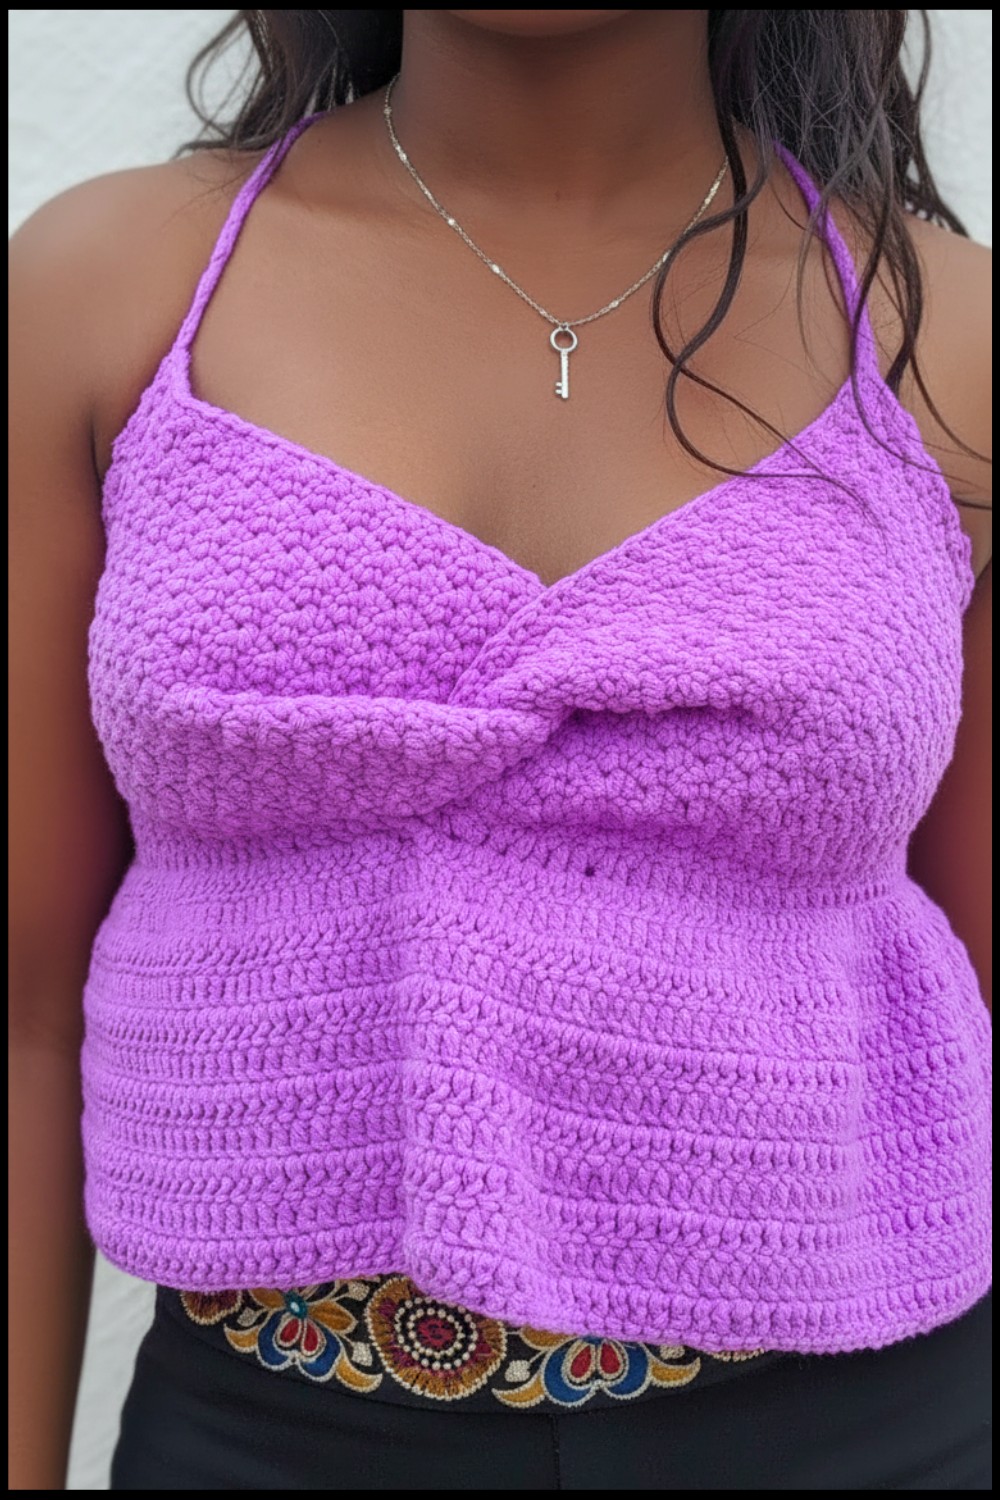 Whether you wear it to a summer picnic or for a casual dinner, this top will let everyone admire your talent. This shirt is more than just clothing; it’s your very own handmade treasure.
Materials Needed
- Yarn: 200g of medium weight (worsted) yarn (approximately 560 meters).
- Hook: 3.5mm crochet hook.
- Measuring tape.
- Darning needle for joining and weaving in ends.
- Scissors for trimming yarn.
Step by Step Instructions
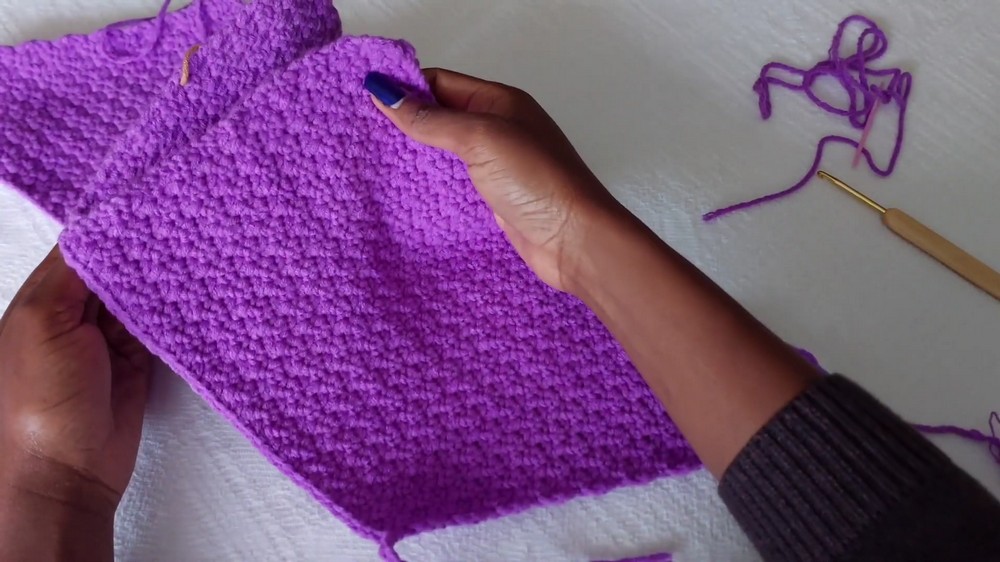
1. Preparing the First Bralette Cup:
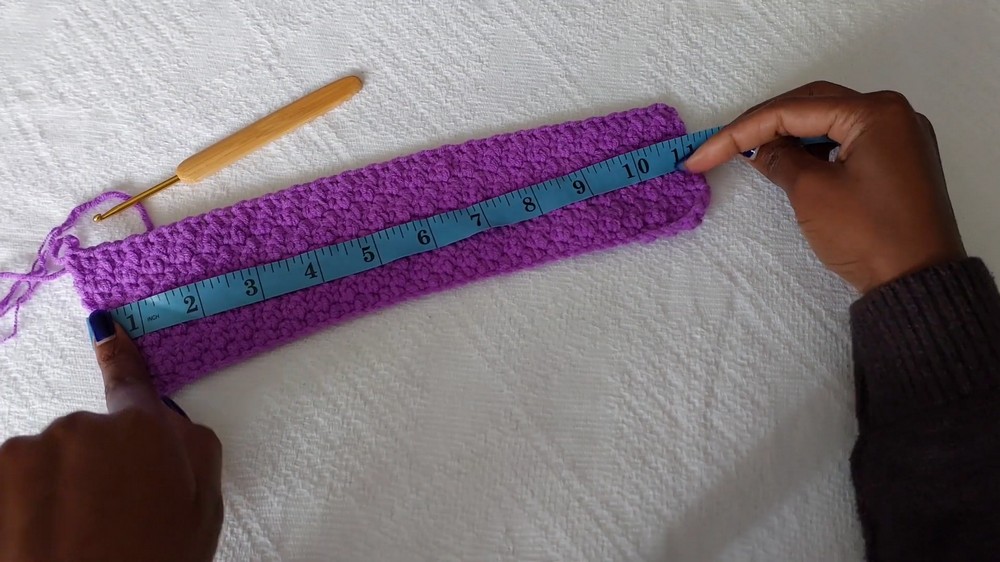
- Measurement: Start by measuring from your underarm over the top of your bust to your cleavage point. For a medium size, use about 10 inches length for this measurement.
- Slip Knot & Foundations Chain: Begin with a slip knot and chain according to the desired measurement. Ensure the total number of chains is a multiple of 2 plus 1 extra chain. For example, chain 49.
- Row 1:
- Skip the first chain from the hook.
- In the second chain: make a single crochet.
- In the next chain: make a double crochet.
- Alternate between single and double crochet until the end of the row. Ensure you start with a single crochet and end with a double crochet.
- Row 2 Onward:
- Chain 1, turn your work.
- Continue alternating single crochet and double crochet, ensuring that:
- Single crochet is made over double crochets from the previous row.
- Double crochet is made over single crochets.
- Repeat these rows until you reach your bust height (e.g., 3 inches).
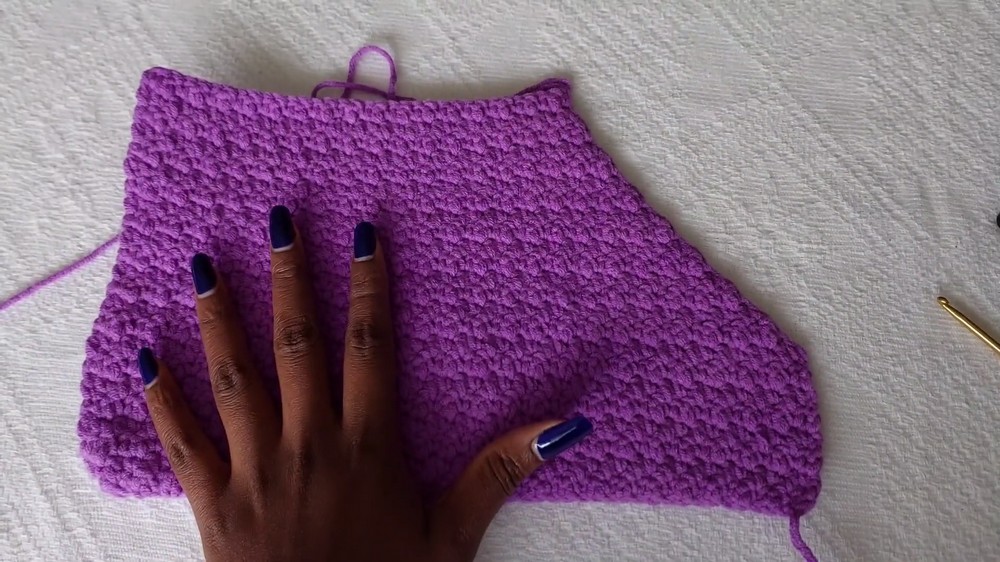
2. Decreasing and Shaping:
- Begin decreasing once your cup reaches the cleavage area.
- On the last stitch of the row, skip the stitch at the end.
- Chain 1, turn your work, and skip the first stitch at the start of the next row.

- Continue alternating the single and double crochet stitch as usual but skip stitches at both ends of the rows.
- Repeat this reduction until the bralette cup is shaped and finished.
3. Second Bralette Cup:
Follow the same instructions above to create the second bralette cup, ensuring both are symmetrical.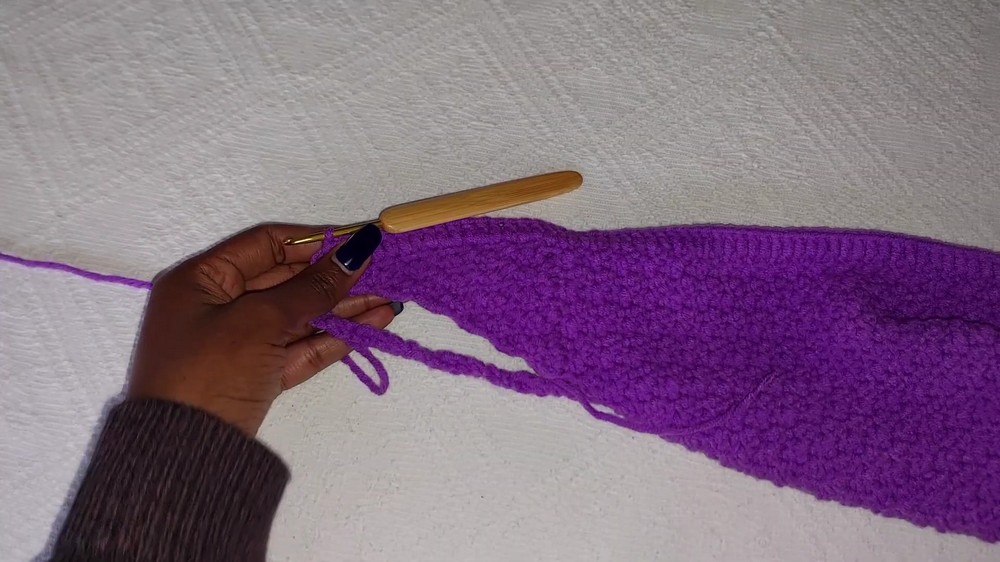
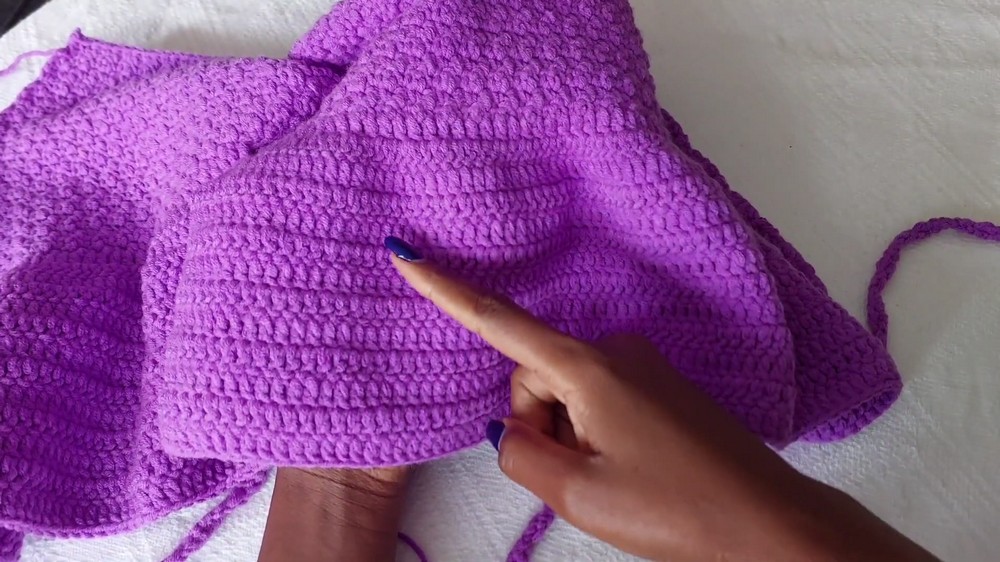
Joining the Cups:
- Preparation: Flip one bralette cup so that its right side faces down while the other remains face-up.
- Use a darning needle to align the cups:
- Match the middle point of one cup with the edge of the other.
- Layer the two cups, ensuring all edges align neatly.
- Secure the Join: Sew through all layers using your darning needle to join the bralette cups into one cohesive piece.
Creating the Waistband:
- Attach the yarn to the lower side of the joined bralette cups.
- Work one row of double crochet stitches from one edge to the other.
- At each cup join, make double crochets between the stitches to strengthen the join.
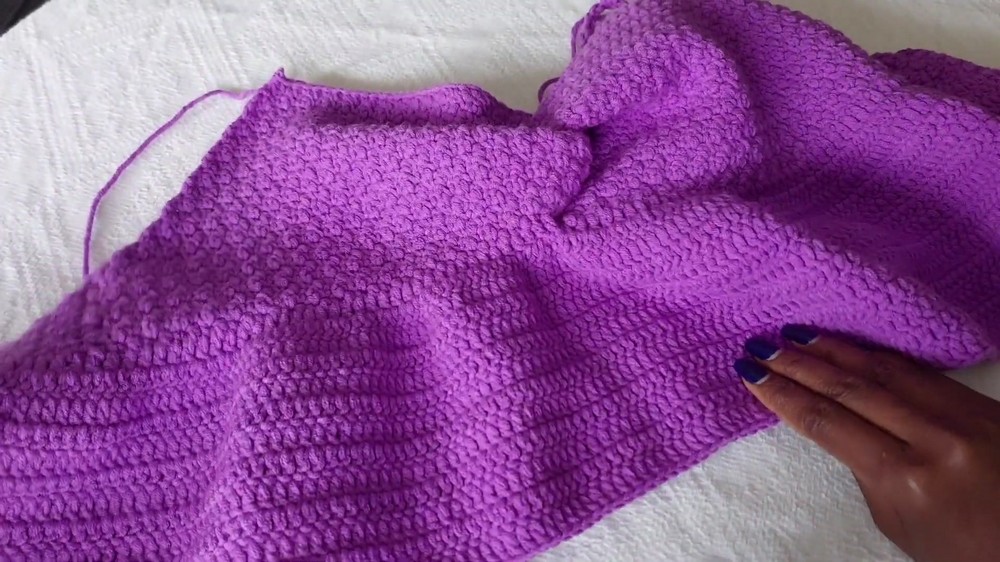
Adding Subtle Ruffles:
- For the first row of ruffles:
- Begin with an increase pattern to form soft waves.
- Chain 2, turn.
- In the first double crochet: place two double crochets.
- In the next stitch: place a single double crochet.
- Alternate between two double crochets and one double crochet until the end of the row.
- Subsequent Rows:
- Continue working rows of double crochet without increasing to maintain the subtle ruffle effect.

- Continue working rows of double crochet without increasing to maintain the subtle ruffle effect.
Creating the Back Strings:
- Long straps (optional): Begin with a chain 2 attached to the top edge of one bralette cup.
- Work one double crochet in the next stitch, chain 2, turn.
- Continue this method until you have long enough straps to cross over and tie securely at the back.
Finishing Touches:
- Weaving in Ends: Use the darning needle to weave in any loose threads for a clean finish.
- Final Join: Ensure all edges are securely sewn. Strengthen the middle point join if needed.
- Blocking: Lightly block the finished top to smooth out stitches and increase drape.
Tips to Maintain the Pattern:
- Gauge: Consistently check your gauge to ensure the top fits as planned. Adjust hook size if necessary.
- Yarn Choice: Choose a soft, stretchable yarn for comfort and flexibility. Cotton blends work well.
- Customization:
- Adjust measurements for different sizes.
- Add more rows to the ruffle section for a fuller skirt effect.
- Care Instructions: Hand wash the top in lukewarm water and lay flat to dry to maintain its shape.
Final Words:
This Twisted Peplum Top is a fun and creative project that allows you to showcase your crochet skills while crafting a functional and stylish garment. Perfect for casual outings, summer vacations, or gifting, this design can easily be adapted for various sizes and preferences.