Easy Crochet Emoji Keychain Pattern To Add Joy To Your Day
Create a delightful crochet emoji keychain that adds charm and joy to your keys or bags that's for all skill levels to enjoy crocheting.
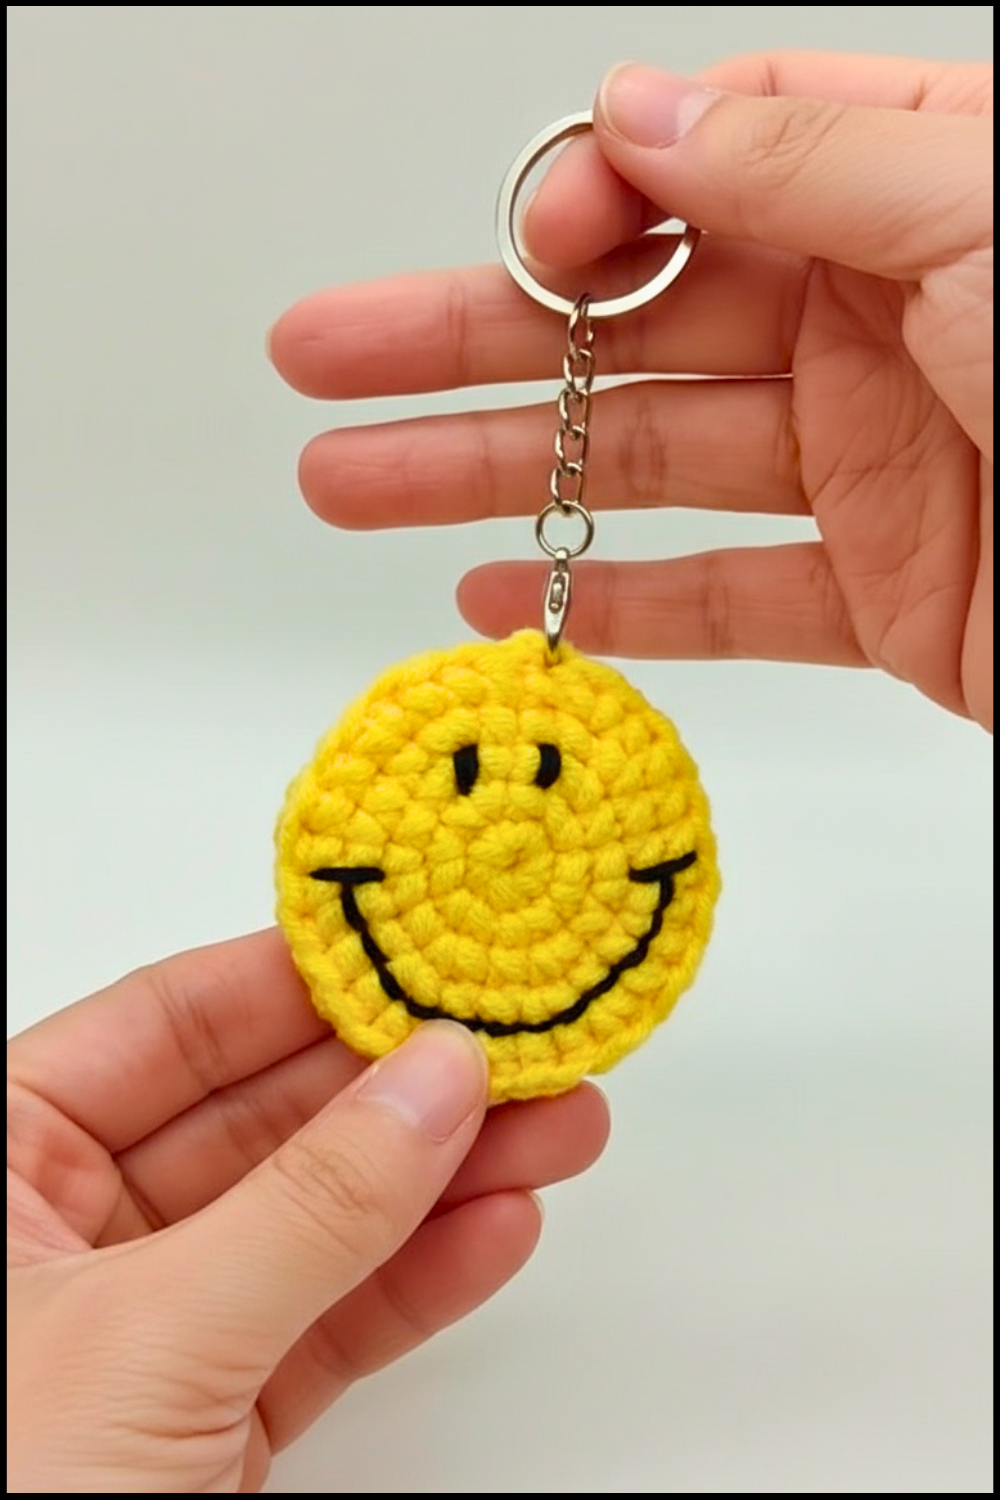
Holding a tiny happy face in your hand that brings a smile every time you see it. This adorable little item can brighten your day and add a touch of fun to your belongings. The crochet emoji keychain pattern creates just that—a small, colorful charm with a cheerful face made from soft yarn. These cute keychains are not only lovely to look at but also very useful.
Quick & Cute Crochet Emoji Keychain Pattern for Any Skill
You can attach them to your keys, bags, or even give them as sweet handmade gifts to friends. With simple stitches and easy steps, the crochet emoji keychain pattern makes crafting this delightful charm a joyful experience. Its bright colors and round shape make it eye-catching and friendly. Whether you are new to crocheting or want a quick, fun project, this pattern is perfect.
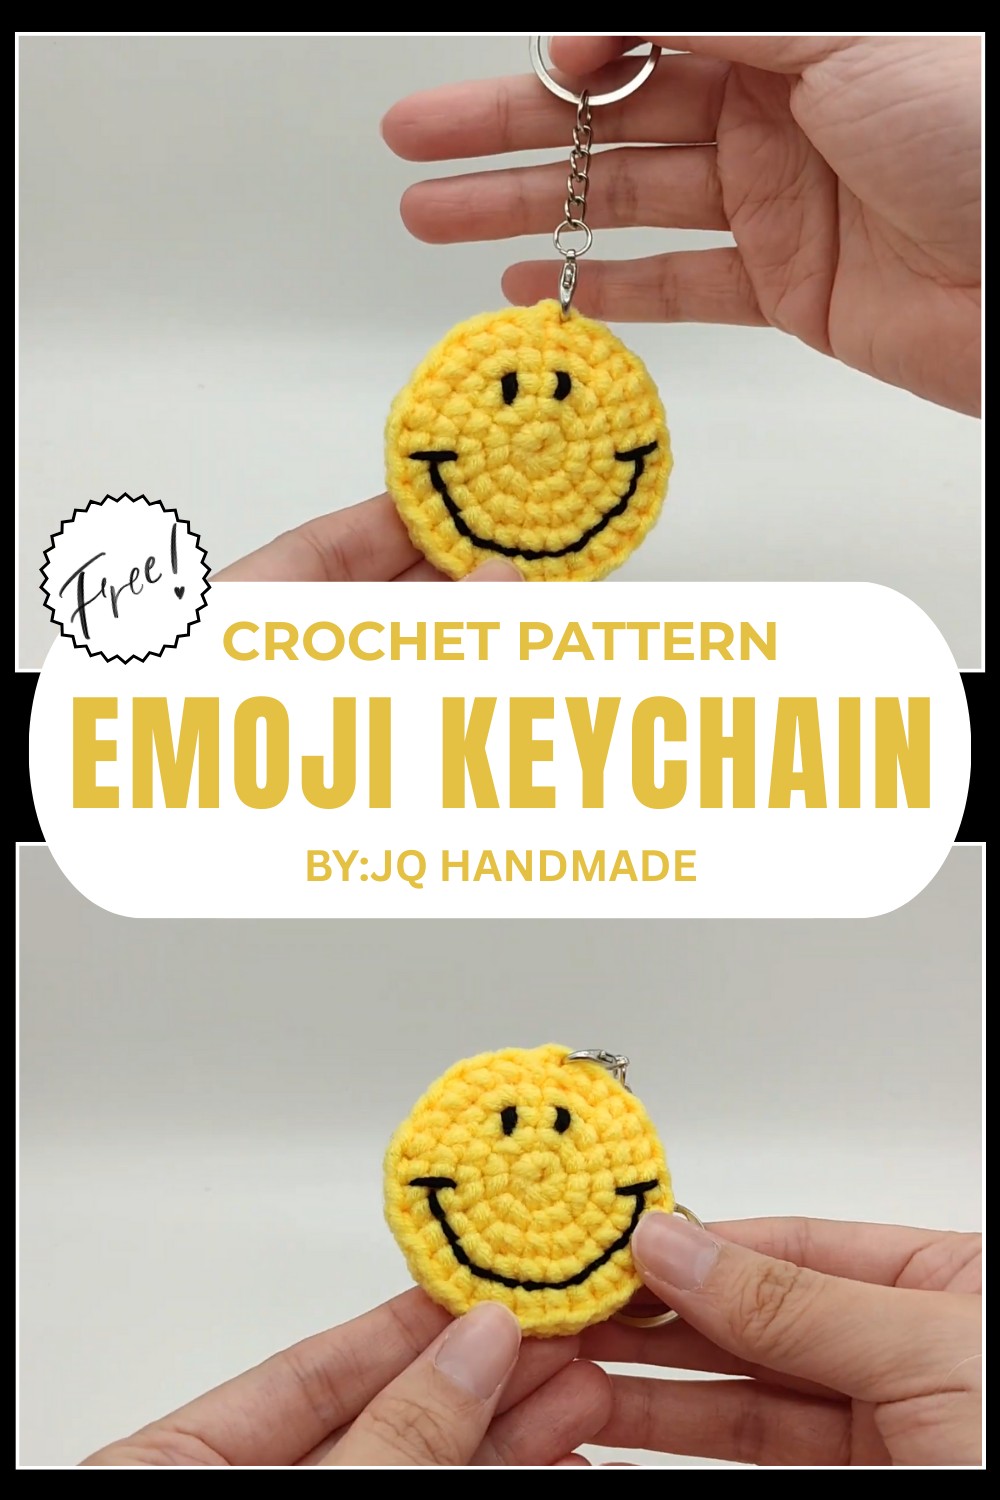
Crochet Emoji Keychain Pattern
Introduction:
Create a fun and adorable crochet emoji keychain with this beginner-friendly pattern. This project uses basic stitches such as magic ring, slip stitch, chain, single crochet, and single crochet increase, making it a perfect starter project for those new to crochet. The final flat circular emoji can be customized with different facial expressions and colors to add personality to your accessories.
Difficulty Level: Beginner
Special Features:
- Easy to follow and quick to make
- Uses essential crochet stitches
- Great practice for magic ring and increases
- Versatile as a keychain or charm
Materials Needed:
- Your choice of yarn (two colors for face and details recommended)
- 2.5 mm crochet hook (or appropriate size for your yarn)
- Stitch marker
- Yarn needle
- Keychain hardware
Pattern Instructions:
Step 1: Setup and Holding Yarn
Hold your crochet hook in your right hand in a pencil grip. Wrap the yarn around your left hand as follows:
- Yarn goes around your little finger, passes between middle and index fingers, comes to the front, and is secured with your thumb and middle finger.
- Use your index finger to control tightness. Repeat the wrap to get comfortable with tension.
Step 2: Make a Magic Ring
- Make a magic ring: form a circle with the yarn crossing it, held with your thumb.
- Insert the crochet hook in the ring, yarn over (yo) and pull through the ring.
- Chain 1 to secure the ring (this step happens alongside the next stitches).
Step 3: Round 1 – Single Crochet in Magic Ring
- Work 6 single crochets (sc) into the magic ring.
- Insert hook into the ring, yarn over and pull through (2 loops on hook).
- Yarn over again, pull through both loops (1 sc made).
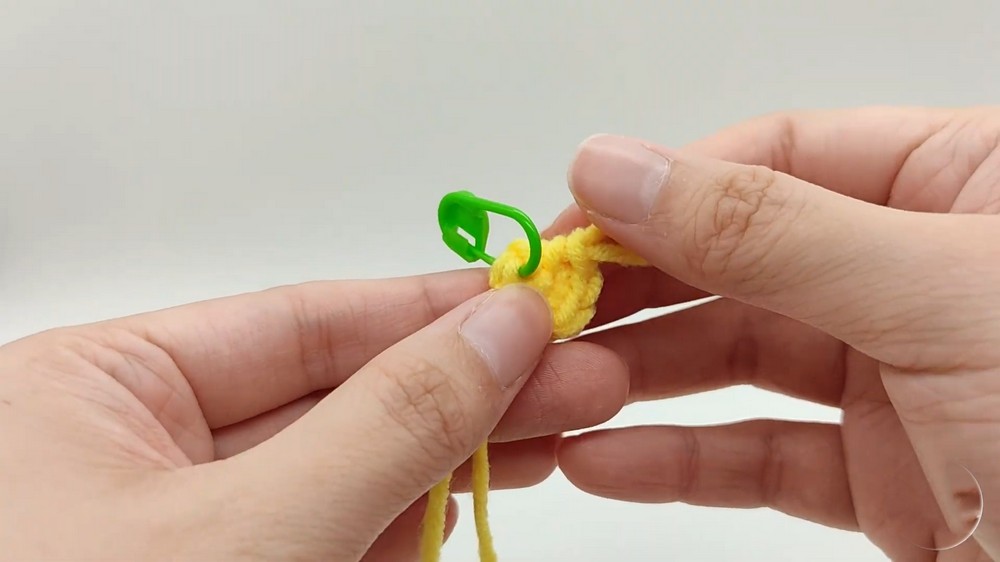
- Place a stitch marker in the first stitch to mark the round’s start.
- Once 6 sc are made, pull the yarn end to close the center tightly.
- Join with a slip stitch (sl st) in the first stitch to complete the round.
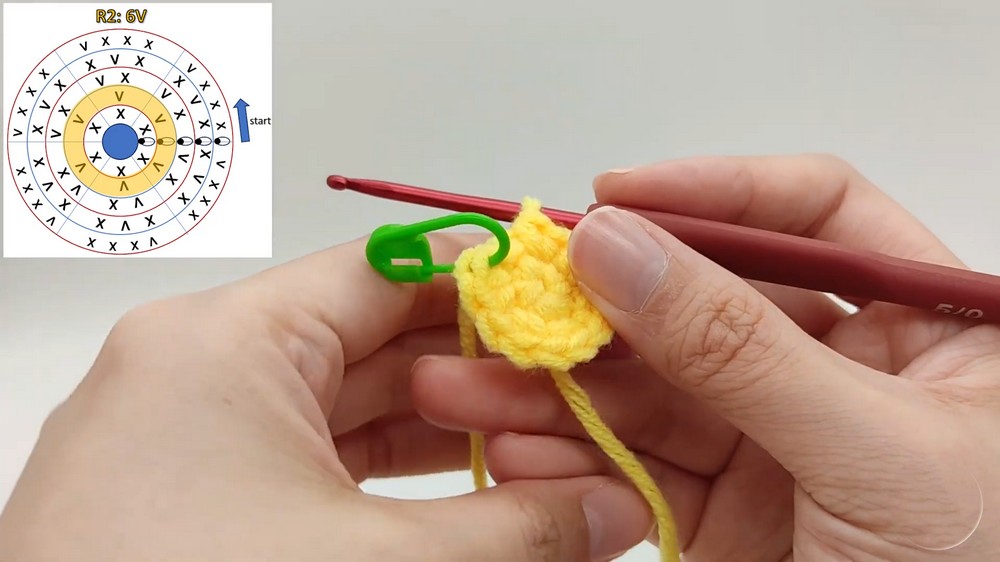
Step 4: Round 2 – Single Crochet Increase
- Chain 1 to start.
- In this round, increase in every stitch: make 2 single crochets in each stitch around.
- Insert hook into a stitch, make 1 sc, then make another sc in the same stitch.
- Repeat this 6 times (once per stitch, doubling the stitch count).
- You will have 12 stitches now.
- Join with a slip stitch to the first stitch.
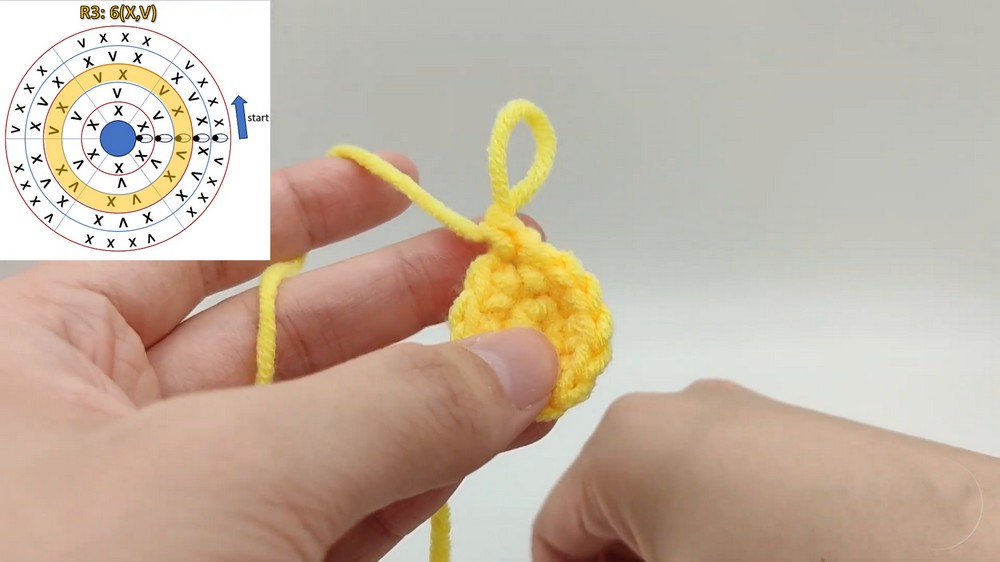
Step 5: Round 3 – Single Crochet and Increase Alternating
- Chain 1 to begin.
- Make 1 single crochet in the first stitch
- Make 2 single crochets in the next stitch
- Repeat this pattern around, alternately increasing your stitches (18 stitches total).
- Join with slip stitch and mark the beginning stitch.
Step 6: Round 4 – Pattern Repeat (X V) × 6
- Chain 1.
- Follow the pattern: X (1 single crochet), V (2 single crochets in next stitch), repeated 6 times total (24 stitches).
- Join with slip stitch at the end of the round.
- Make a chain (optional) to prepare for the next round.

Step 7: Round 5 – Three Singles and Increase (X X X V) × 6
- Chain 1 to start.
- Follow this pattern: 3 single crochets in consecutive stitches (X X X),
- Then increase with 2 single crochets in the next stitch (V).
- Repeat this sequence 6 times total (30 stitches).
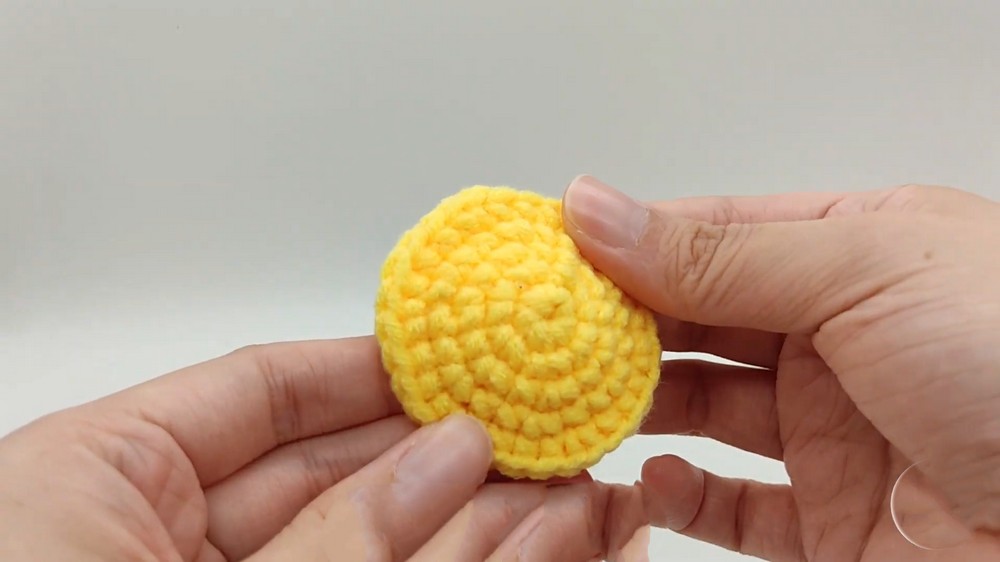
- Join with slip stitch.
- Chain if continuing or fasten off.
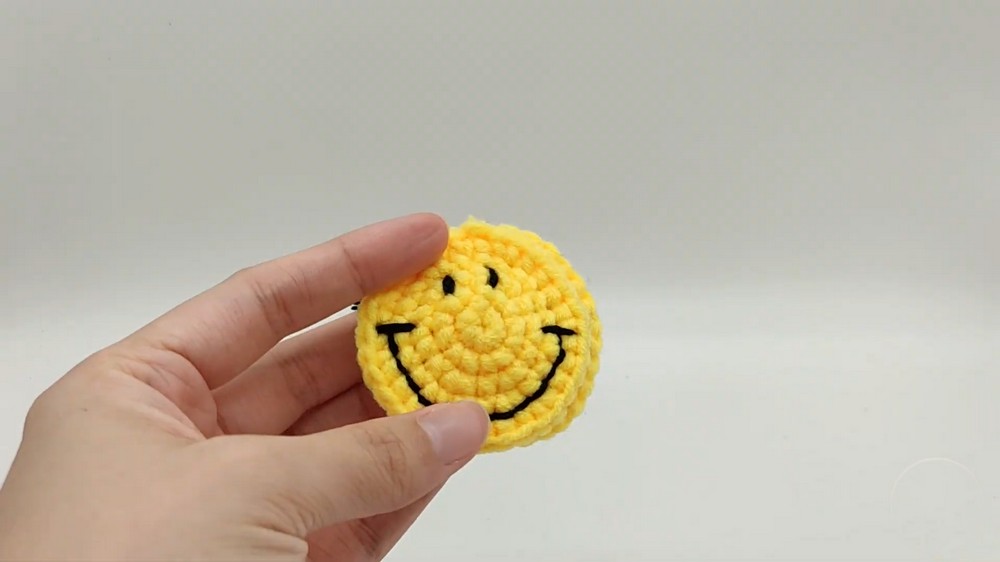
Step 8: Finishing
- Cut yarn and weave in ends neatly.
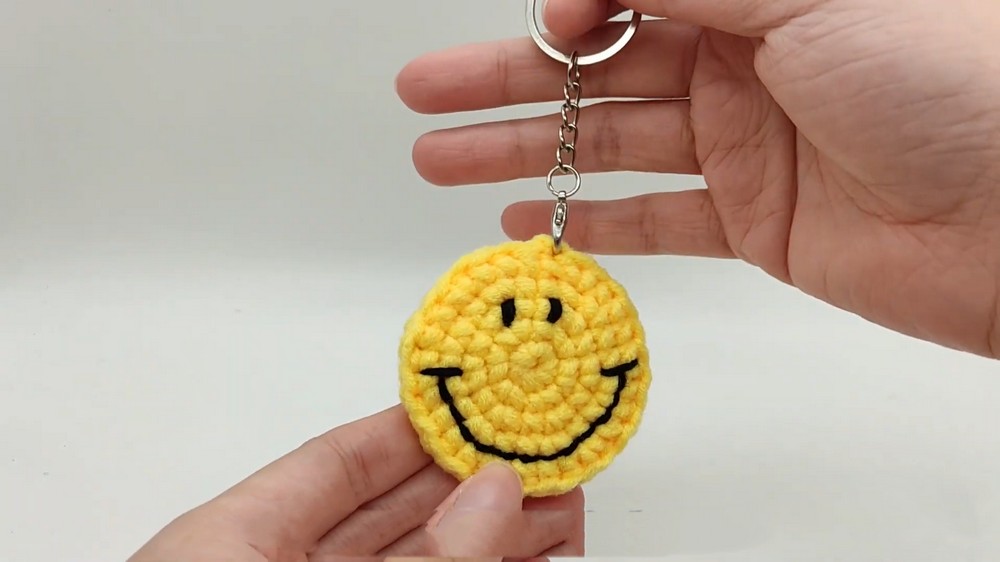
- Using a contrasting color, sew on facial features such as eyes or mouth to make your emoji character.
- Crochet or sew two pieces together back-to-back for thickness.
- Attach your keychain hardware through the top loop or edge.
Tutor’s Suggestions:
- Maintain consistent stitch tension for a smooth circle.
- Use stitch markers every round to keep track of your starting point.
- Add facial features creatively with yarn or embroidery for a personal touch.
- Experiment with yarn colors to create different emoji moods.
Uses:
- Keychains for bags or keys
- Decorative accessories for backpacks
- Personalized gifts for friends and family
- Practice piece for beginners to master circular crochet
Tip:
To get a perfectly flat circle, make sure your increases are evenly spaced and do not forget slip stitches to join rounds tightly. Working back-to-back pieces adds stability for a solid keychain.
Conclusion:
This crochet emoji keychain is a delightful, easy-to-make accessory that helps beginners practice essential crochet skills while creating something cute and practical. Have fun customizing your emoji and show off your handmade charm everywhere!