
Modern Crochet Cape Pattern For A Touch Of Glam
Experience the charm of a stunning crochet cape pattern that adds elegance and versatility to your wardrobe while keeping you cozy and stylish all year round.
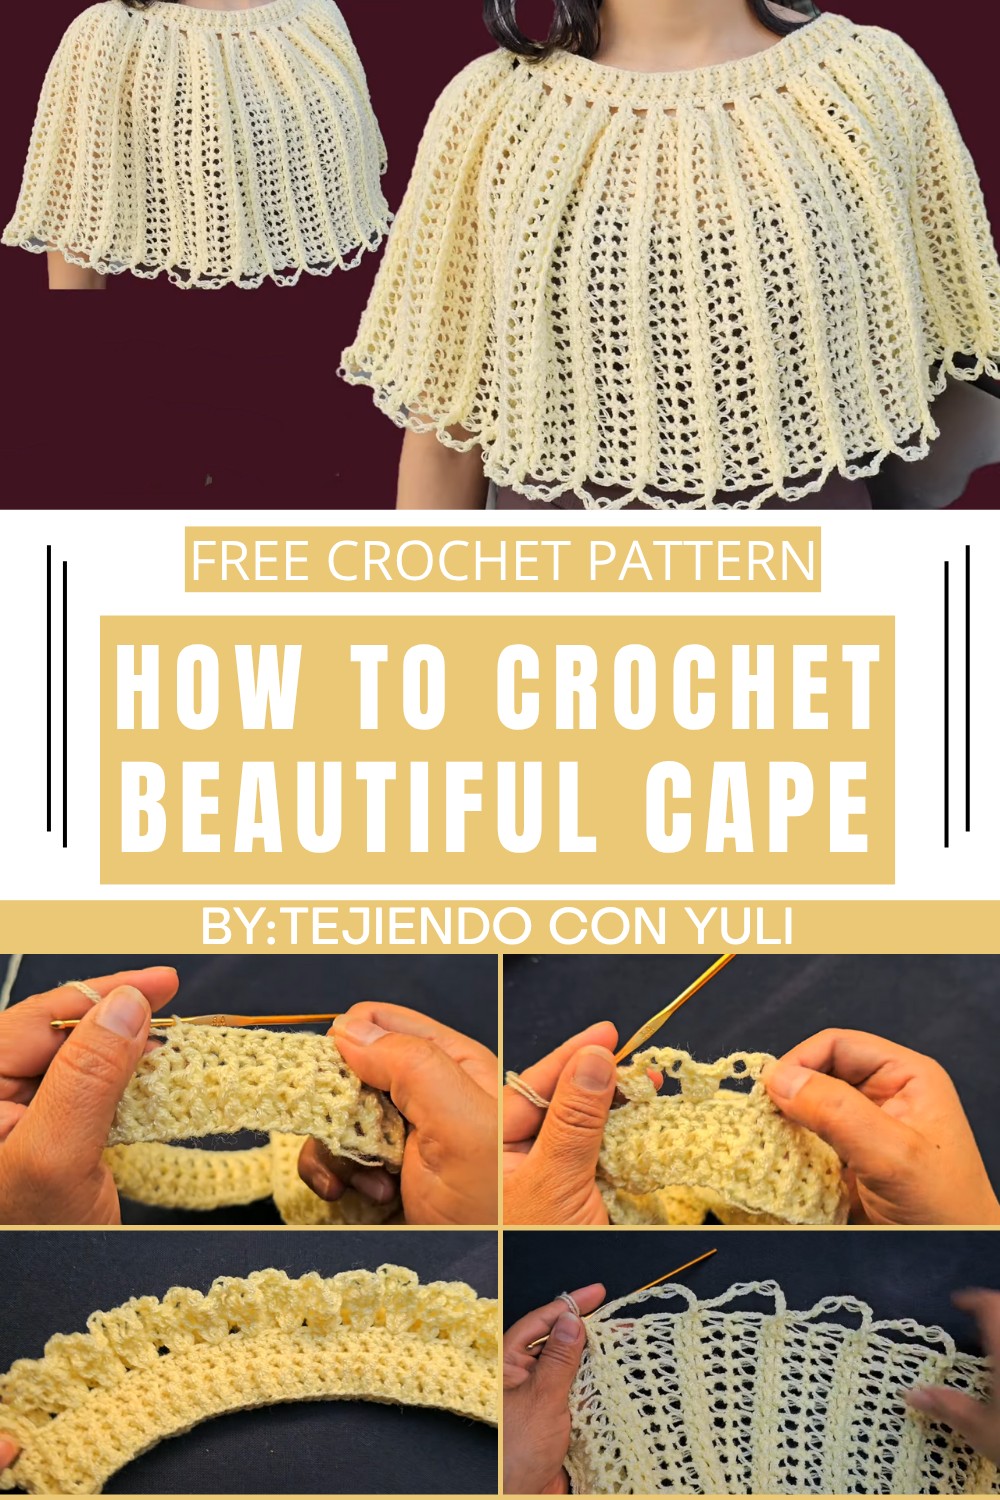
Stylish Crochet Cape Pattern Perfect for Any Weather
There’s something magical about wrapping yourself in a cozy, handmade cape, and this free crochet cape pattern lets you create a stylish, versatile piece perfect for any season. Whether you’re looking for a lightweight layer for breezy evenings or a warm, elegant cover-up for cooler days, this pattern provides endless possibilities.
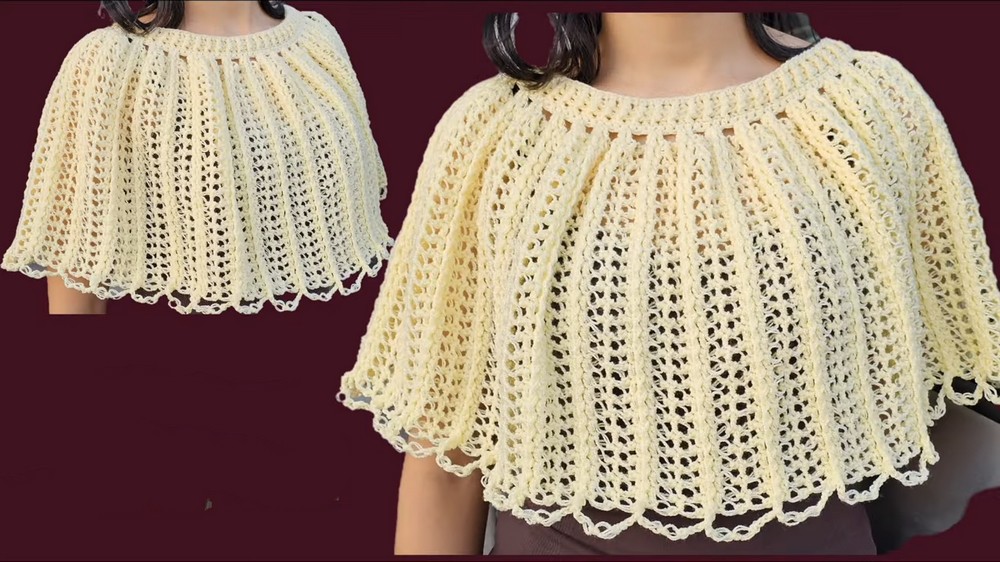
Featuring a design that’s both practical and chic, this crochet masterpiece can suit formal outings or casual wear. With its customizable length, colors, and yarn options, it’s a delightful project for beginners and experienced crocheters alike. Step into comfort and style with this beautiful crochet cape that’s effortlessly unique.
Materials
- Yarn: Crystal Yarn (or any yarn approximately 2 mm in thickness). Note: Yarn is held double for this pattern.
- Optional: You can use a different yarn; adjust hook size based on yarn thickness.
- Crochet Hook: Size 3 mm or 3.5 mm (adjust according to your yarn).
- Scissors
- Tapestry needle (for weaving in ends)
Skill Level
Intermediate to Advanced. Basic knowledge of crochet stitches (chains, double crochet, slip stitch) is required, as well as experience working in the round and creating texture.
Key Abbreviations (US Terms)
- ch: Chain
- dc: Double crochet
- hdc: Half double crochet
- sl st: Slip stitch
- st: Stitch
- yo: Yarn over
Special Notes
- The pattern is worked in the round. You will join each round with a slip stitch unless stated otherwise.
- Seafoam clusters include pulling the yarn through a loop to create a lacy, textured look. These are simple but will require attention for clean execution.
- The cape length is adjustable by adding more rounds. For reference from the video, the total was 25 rounds.
Cape Pattern
Starting the Foundation
- With the yarn held double, create a slipknot.
- Begin with a chain of 120 stitches. (Adjustable depending on the desired width of the neckline.)
- Join the last chain (120th) to the first chain using a sl st to form a circle. This creates the base of the neckline.
Round 1: Double Crochet Foundation Round
- Ch 3 (counts as the first dc).
- Work 1 dc in each ch around. You should have 120 dc in total.
- Join with a sl st to the top of the starting chain.
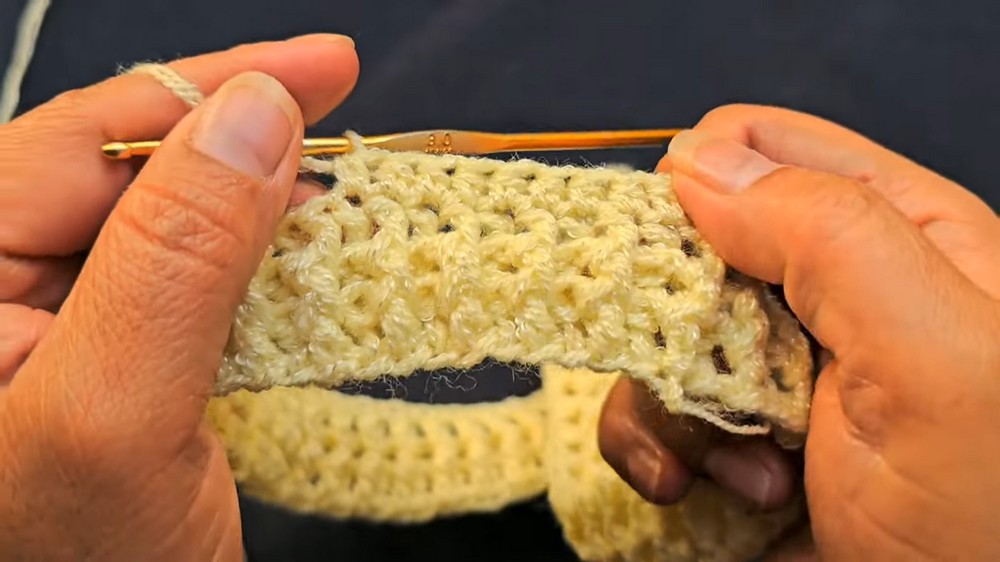
Round 2: Alternating Front and Back Post Double Crochet
- Ch 3 (counts as first stitch).
- Work a front post double crochet (FPdc) around the next dc of the previous row. Then work a back post double crochet (BPdc) in the next dc.
- Repeat FPdc, BPdc around the entire round.
- Join with a sl st to the top of the starting chain.
This creates texture by alternating front and back post stitches.
Round 3: Continue Alternating Posts
- Ch 3 (counts as the first dc). Work another round of textured stitches by repeating:
- FPdc where the post is a FPdc of the previous row.
- BPdc where the post is a BPdc from the previous row.
- Repeat this alternating pattern around.
- Join with a sl st to the top of the starting ch.
Round 4: Half Double Crochet Round
- Ch 2 (does not count as a st).
- Work 1 hdc into each stitch around. You should have 120 hdc in total.
- Join with a sl st to close the round.
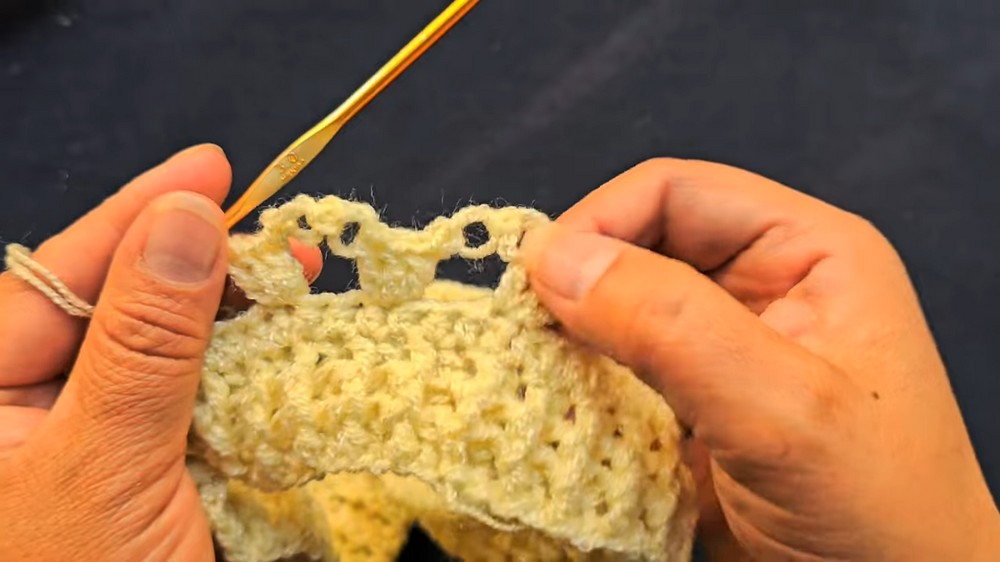
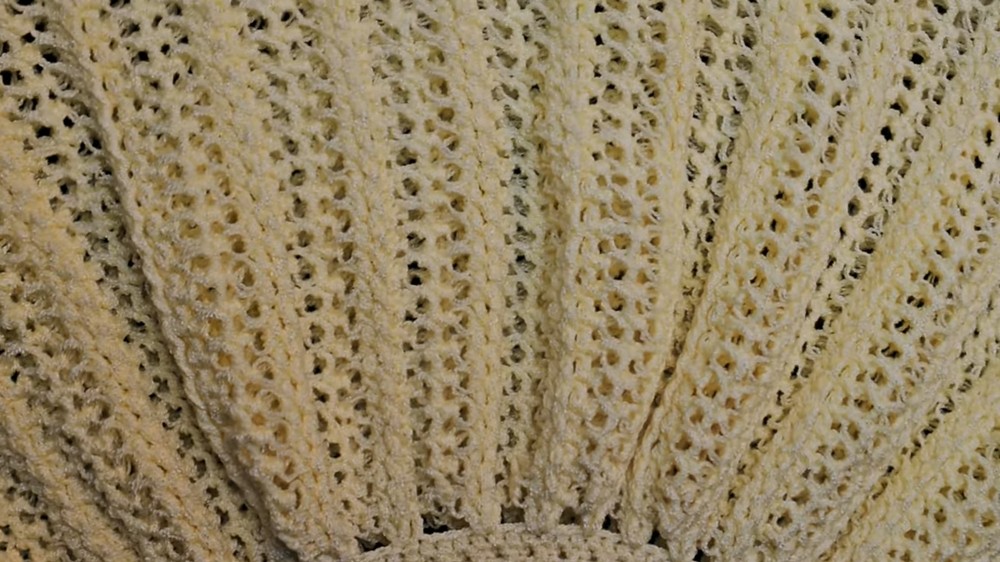
Round 5: Begin Seafoam Stitch
- Ch 3 (counts as first dc).
- Work 2 dc in the same stitch (creating a 3-dc cluster).
- Work a "seafoam stitch" in the following way:
- Pull up a loop (larger than normal) on your hook.
- Insert the hook from behind the next dc and pull up another loop.
- Yarn over and draw through the loops to complete a seafoam knot.
- Skip 2 stitches, and in the next, work 3 dc (forming your next dc cluster).
- Repeat the pattern: Seafoam knot, skip 2 sts, 3 dc in the next st, around the entire round.
- Join with a sl st to the top of the starting ch.
Rounds 6–25: Continue Seafoam Pattern
- For each round, alternate between working 3-dc and seafoam knots. Ensure that the dc clusters are positioned between the clusters of the prior round to create a staggered effect:
- To align the clusters properly, work 3 dc at the center of the seafoam space from the previous round.
- Continue repeating these rounds until the cape reaches your desired length. The described cape uses 25 rounds.
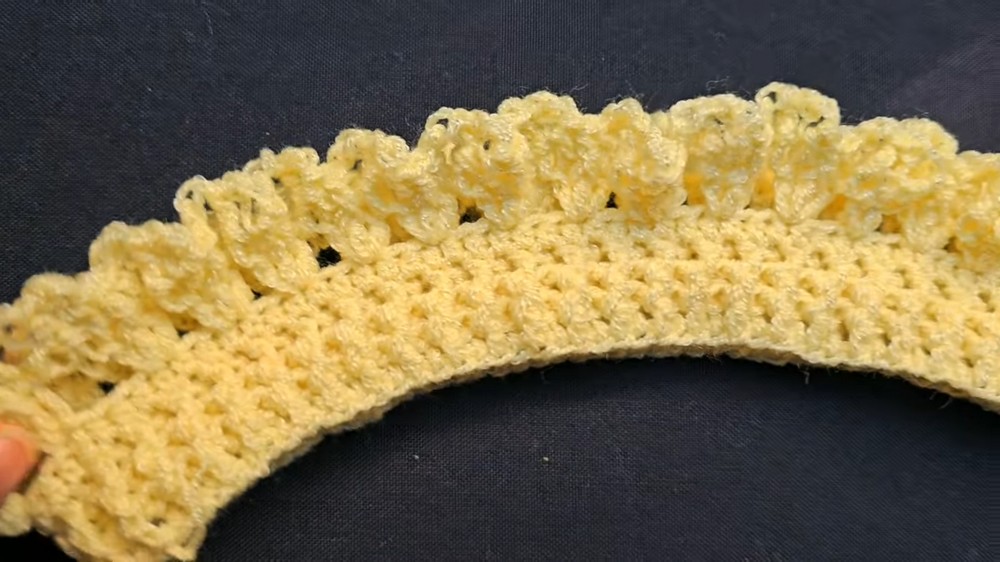
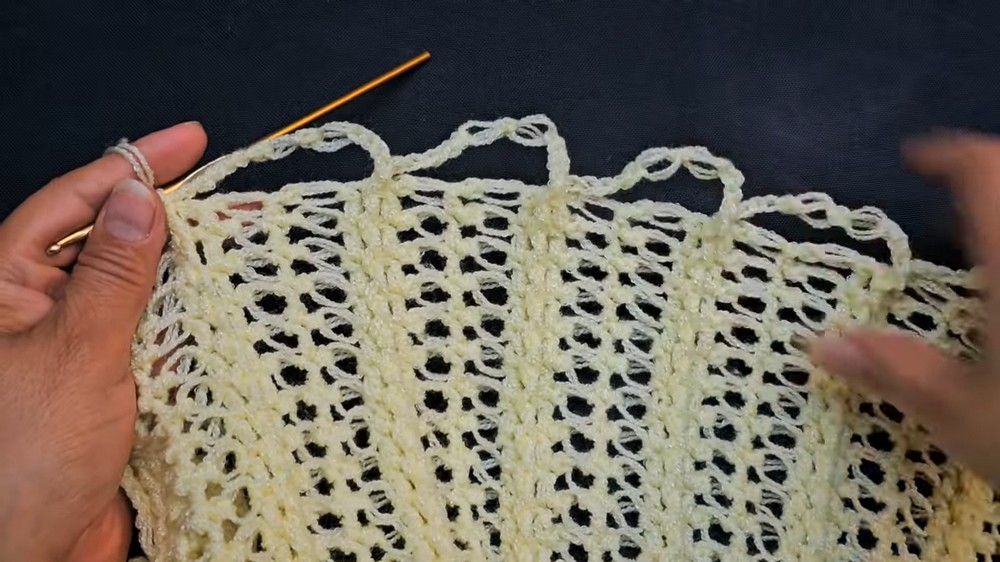
Final Round
- Work a finishing edge using 5-ch picot stitches:
- Ch 5, sl st into the top of the last completed st to form a loop.
- Repeat this picot stitch every few stitches (adjust frequency to create a pleasing edge) while using slip or single crochet stitches in between.
- Fasten off and weave in the ends using a tapestry needle. Your cape is now complete!
Conclusion
Your Seafoam Elegance Crochet Cape is now complete! It’s a beautiful accessory that works as a cozy wrap or stylish layering piece. Feel free to get creative with your color choices, yarn types, and the overall length of your cape to make it uniquely your own.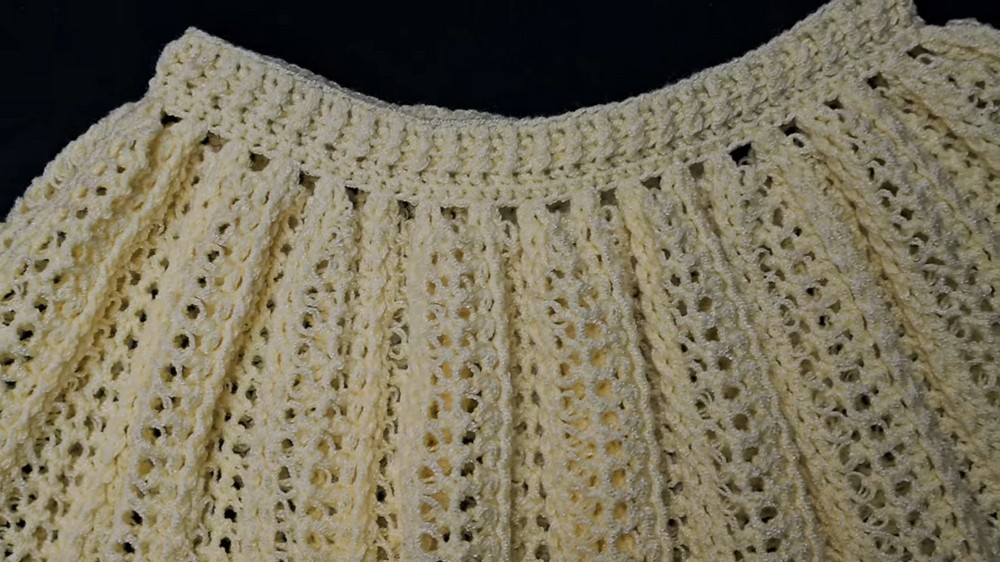
Pattern Correction
If your stitch count at the end of any round doesn’t quite match (for example, if you have extra or fewer stitches leftover), adjust by skipping an extra stitch during the next round or working into the closest available stitch. Small adjustments won’t significantly affect the pattern appearance.
Tip
- For a more fitted neckline, reduce the number of starting chains in multiples of 3.
- Additional seafoam rounds will make the cape longer and flowier; for a cropped capelet, simply reduce the number of rounds.
- Block your finished piece to define the seafoam pattern and give it a polished, professional finish.