
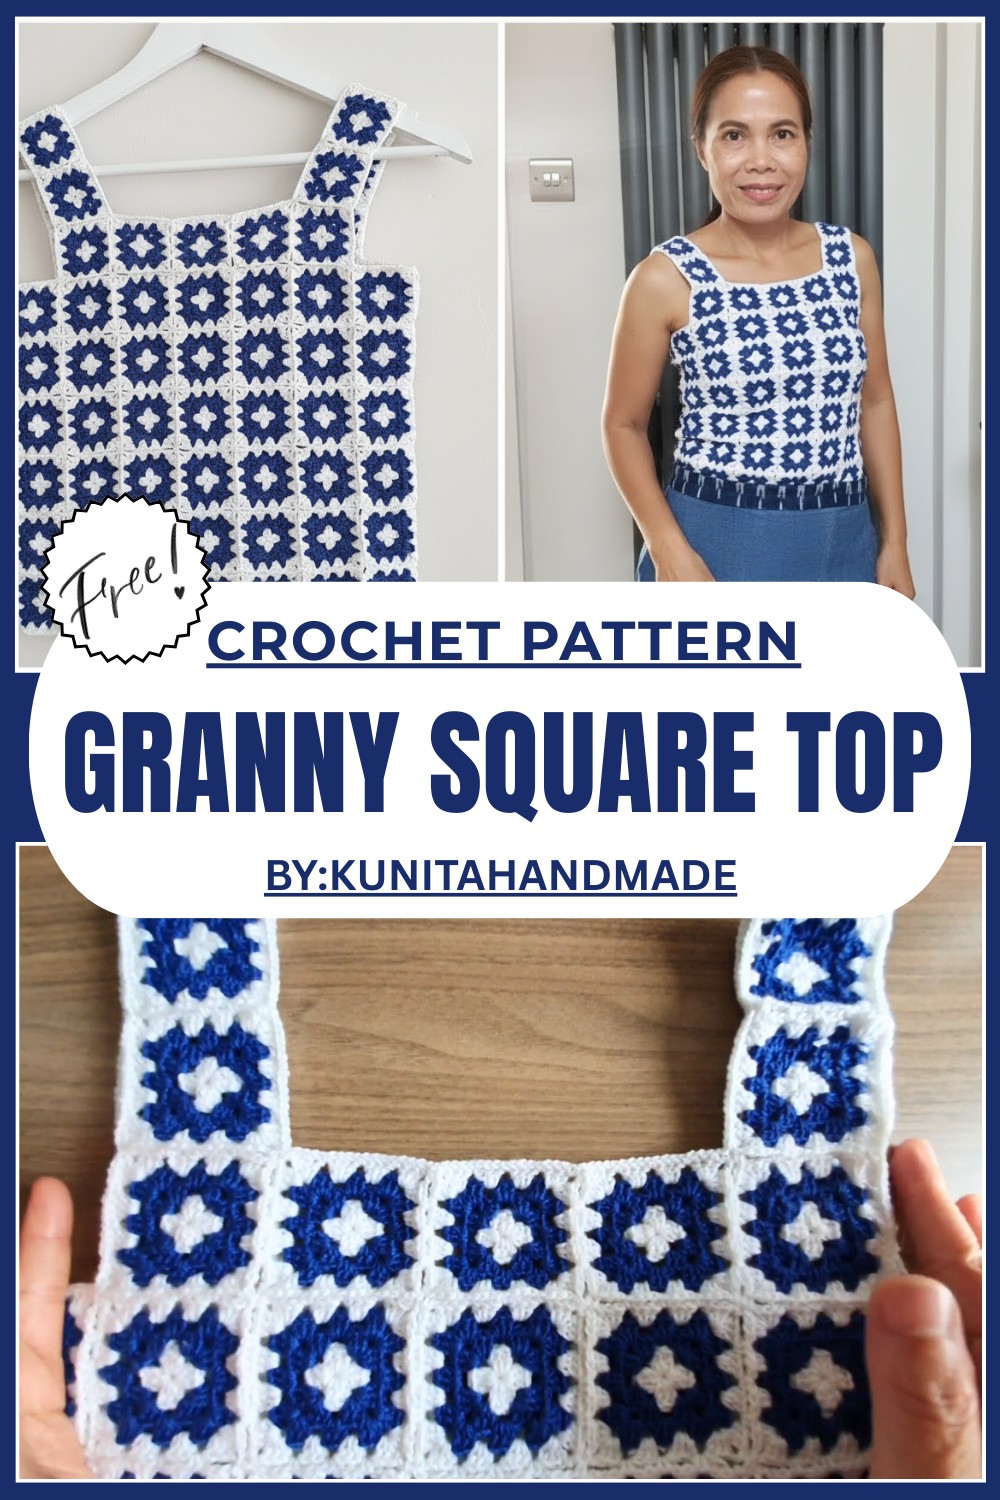
Cozy Crochet Granny Square Top Pattern For Warm & Stylish Looks
Rock vibrant vibes with this charming crochet granny square top pattern that's perfect for adding warmth and colorful fun to your wardrobe.
This lovely top brings a touch of classic charm with its colorful, square-shaped patches all joined together. Each square is like a little piece of art, creating a bright and cheerful look that stands out in any crowd. The top feels soft and comfortable, perfect for wearing on sunny days or cool evenings. Its breathable fabric lets air flow freely, keeping you fresh and happy wherever you go.
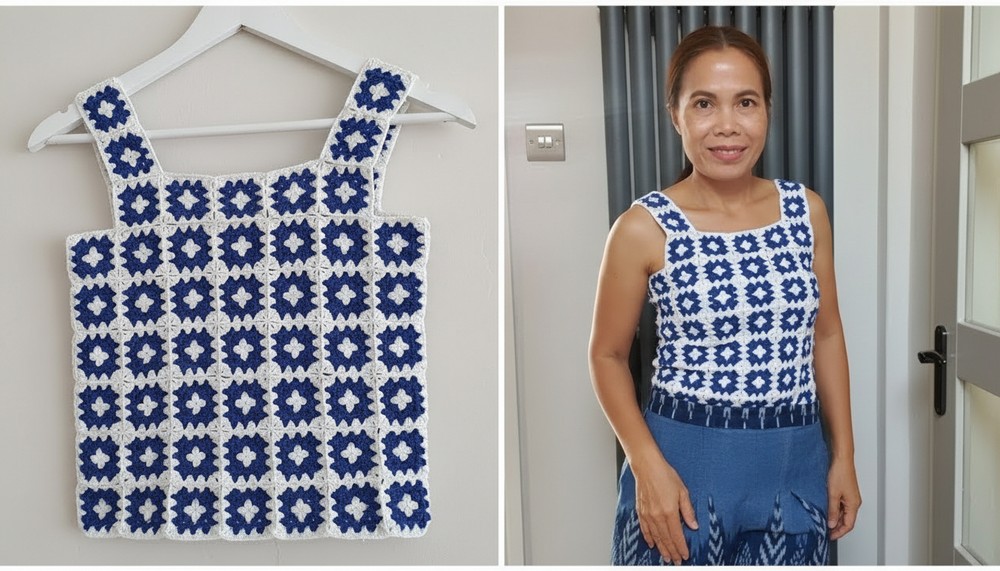
Handmade Granny Square Top to Add Flair to Your Style
You can wear it with jeans, shorts, or even skirts, making it a great choice for many occasions, from casual walks to festive gatherings. The handmade feel of the squares adds a warm, friendly vibe, making you feel cozy and stylish at the same time. Light and easy to wear, this top is a wonderful way to add color and fun to your wardrobe, brightening your day with every wear.
Granny Square Crochet Top Pattern
Special Features
- Classic granny square motifs with customizable size and color
- Yarn colors can be mixed for unique designs
- Easy joining of squares for a one-piece look
- Slightly higher front neckline and lower back design for modern fit
- Perfect for beginners or anyone wanting a detailed granny square garment
Level of Difficulty
Beginner to Intermediate:
- Familiarity with chain (ch), slip stitch (sl st), double crochet (dc), and single crochet (sc)
- Basic shaping and perimeter crochet
- Joining motifs with neat edges
- Managing tension and color changes
Materials Needed
- Cotton yarn in at least two colors (approx. 200 grams per color for the shown size)
- Crochet hook size 1.5 mm or suitable for your yarn
- Yarn needle
- Stitch markers (optional)
- Tape measure
Step-by-Step Crochet Pattern
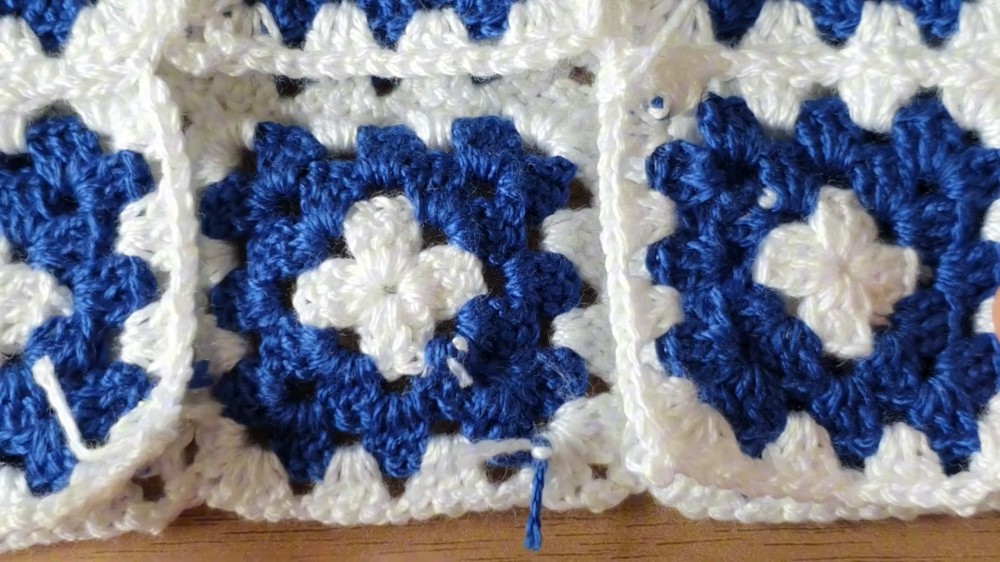
Step 1: Make Magic Ring and Round 1 of Granny Square
- Create a magic ring or slip knot.
- Chain 5 (counts as part of first cluster and beginning chain).
- Join with a slip stitch to form a ring (or magic circle).
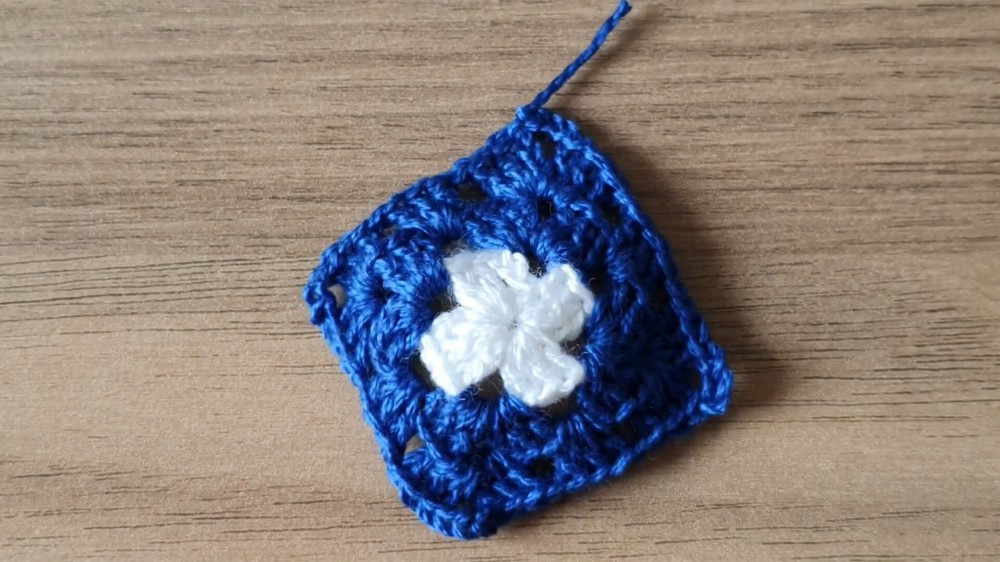
Step 2: Form the First Cluster in Magic Ring
- Chain 3 (counts as first dc).
- Make 2 double crochets (dc) into the ring.
- Chain 3 (corner space).
- Make 3 dc into the ring.
- Chain 3.
- Repeat above (3 dc, ch 3) two more times for four sides of the square.
- Chain 3 and join with slip stitch to the top of initial chain 3.
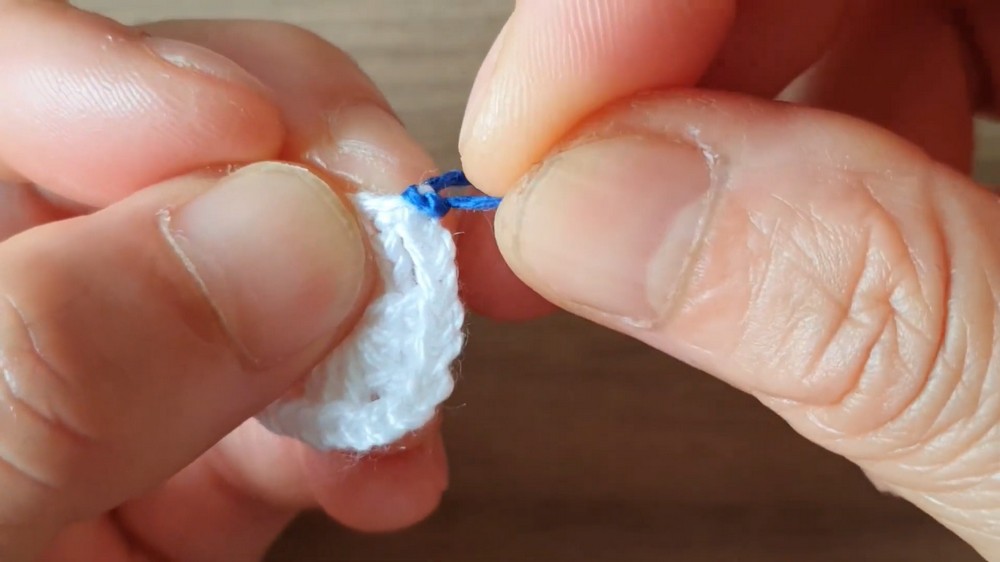
Step 3: Close Round 1 and Change Color
- Fasten off the round.
- Join the second yarn color by pulling it through any corner space.
- You can use your preferred method for joining colors, ensuring neat transitions.
Step 4: Round 2 of Granny Square with New Color
- Chain 3 (counts as first dc).
- Make 2 dc in the same corner space.
- Chain 1.
- In the same corner space, make 3 dc, then chain 3 for the corner.
- Move to next corner: repeat 3 dc, ch 1, 3 dc, ch 3 in each corner.
- Chain 1 between clusters on sides (observe pattern of 3 dc, ch 1).
- Join round with slip stitch to top of starting chain 3.
Step 5: Continue Following Rounds
- Repeat crocheting around the square following the established pattern:
- 3 double crochets in each chain space along sides with chain 1 in between
- 3 double crochet, 3 chain corner, 3 double crochet in corners
- Add as many rounds as desired for size.
- Finish each round with slip stitch and change yarn colors as preferred.
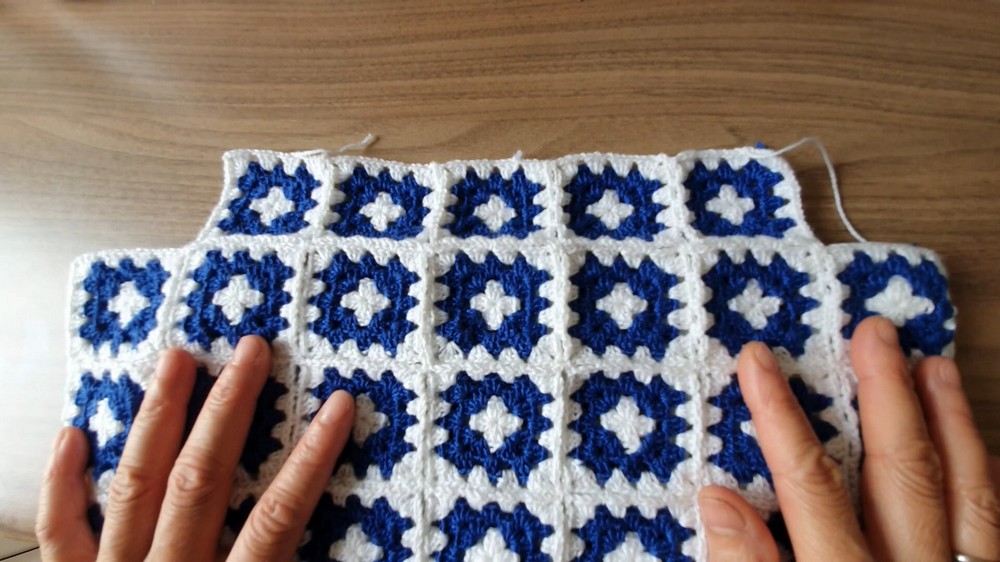
Step 6: Create Desired Number of Granny Squares
- For your size, calculate how many granny squares you need to cover the bust measurement.
- Example: For 32-inch bust, approximately 14 squares of 2–2.2 inch each.
- Use an even number of squares for symmetrical joining front and back.
Step 7: Joining Granny Squares
- Place granny squares wrong sides together.
- Join squares by slip stitching or single crocheting through corresponding stitches along adjacent edges.
- Alternate joining at corners and sides for stability.
- Work the join on the inside for clean seams.
Step 8: Shape Neckline and Sleeves
- To create the neckline, adjust height by reducing number of granny squares at top front edge.
- Use half granny squares or stitch counts to shape strap and neck areas.
- Join upper squares accordingly to create shoulder straps.
- Optionally crochet additional chains or rows to lengthen straps.
Step 9: Edging the Top
- Crochet single crochet (sc) all around the armholes, neckline, and bottom edges for a polished finish.
- Optionally add decorative rows in contrasting color or texture.
Step 10: Final Finishing
- Weave in all ends securely with a yarn needle.
- Block the garment gently to shape and size.
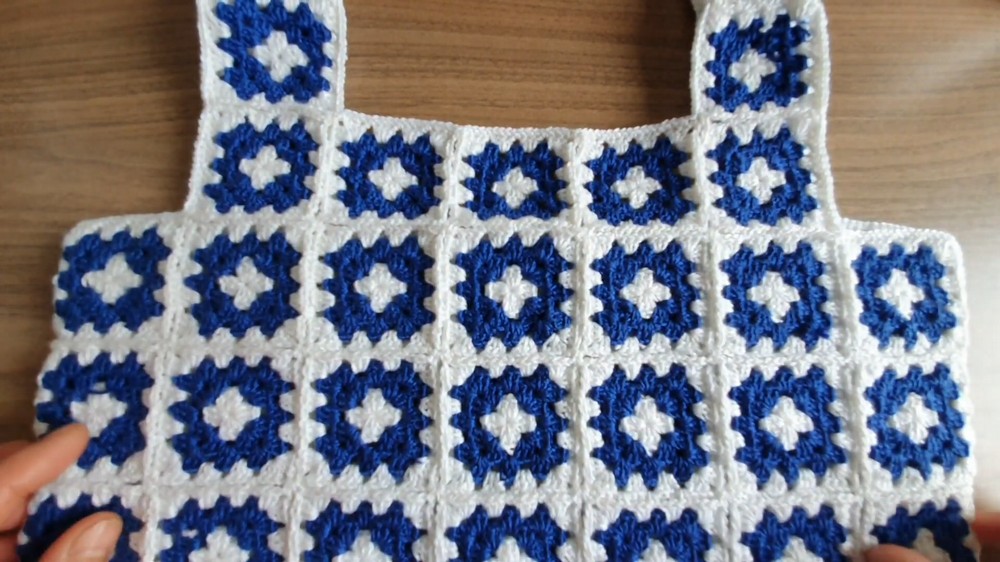
Conclusion
You’ve now created a versatile, stylish granny square top perfect for warm weather or layering. This project showcases the beauty of simple granny squares combined with practical garment construction. Feel free to customize with colors, sizes, and edging styles to make this top uniquely yours.
Tutor’s Suggestions
- Measure your granny squares frequently for accurate sizing.
- Try color combinations in small swatches before committing to all squares.
- Joining on the wrong side preserves the neatness of the right side.
- Adjust the number of granny squares and rounds to fit your body comfortably.
Tip
For a seamless look, block your granny squares before joining and after finishing assembly, which helps squares align properly and the garment sit smoothly.