
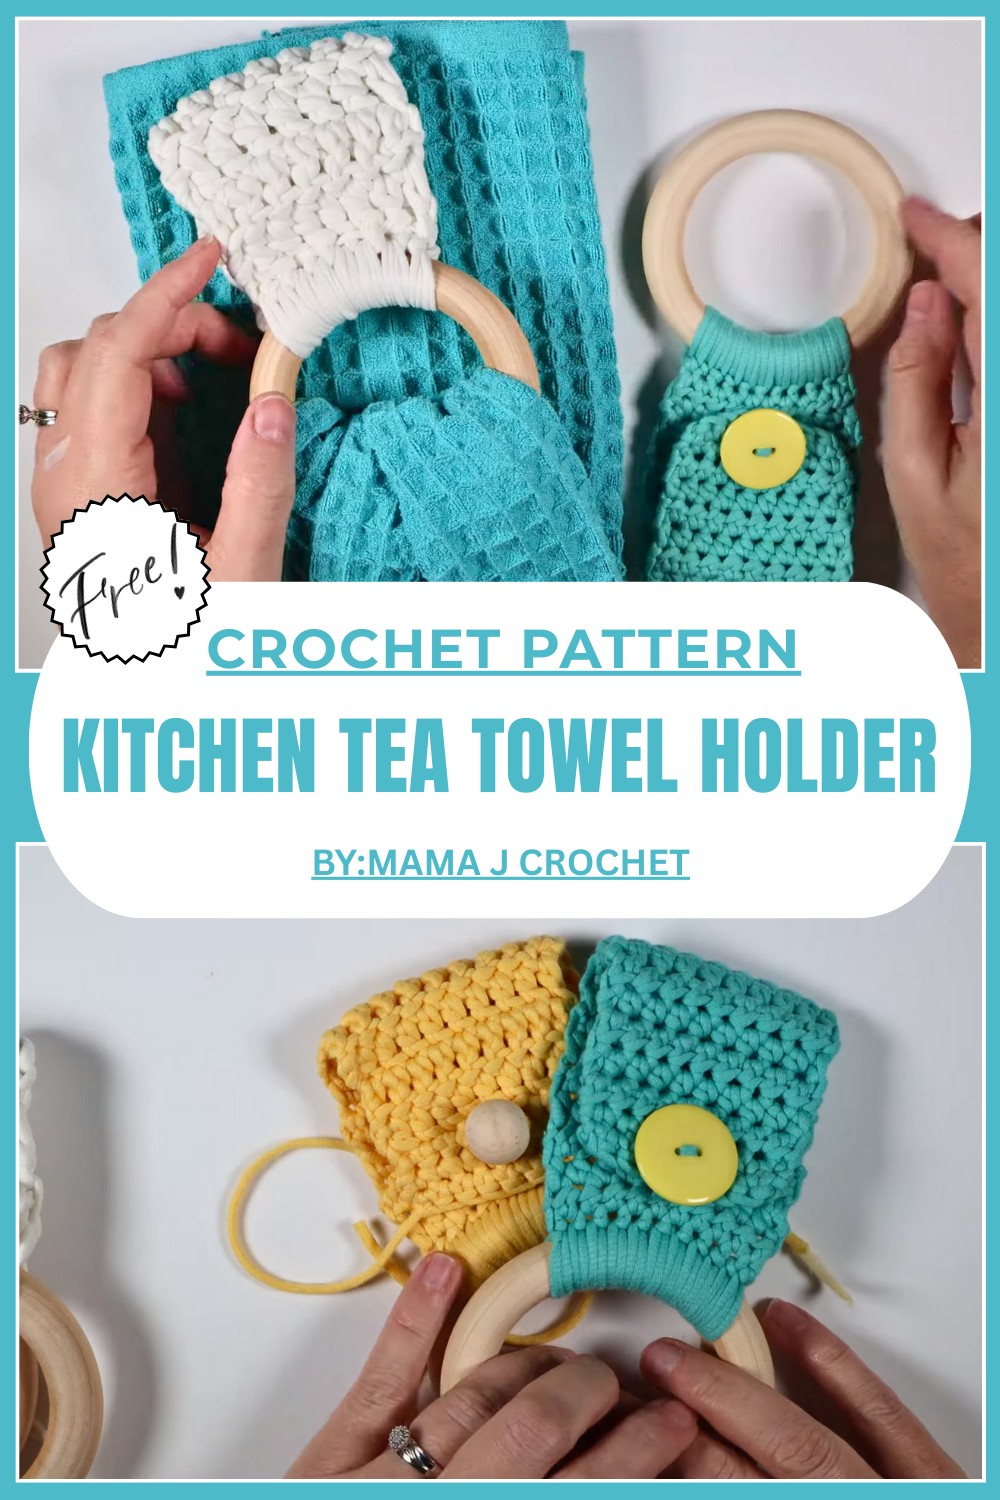
Free Crochet Tea Towel Holder Pattern That Blends Beauty & Use
Keep your kitchen tidy and charming with this easy crochet tea towel holder pattern that adds a cozy touch while holding towels securely and neatly.
A small, useful item in the kitchen keeps tea towels neat and easy to find when needed. The crochet tea towel holder pattern helps hold towels so they stay clean and close by. Made with soft yarn and gentle loops, this holder adds a warm, friendly touch to the kitchen space. It keeps tea towels hanging securely, making drying hands or dishes simple.
Small Crochet Tea Towel Holder Pattern That Shines
The colors and texture bring a cozy feeling that fits well in many kitchen styles. This holder stops towels from falling or getting lost, making it practical and convenient. Whether it hangs on a hook or a handle, the crochet tea towel holder keeps the kitchen organized and pleasant every day. Even small items like this can brighten the kitchen and make everyday tasks more enjoyable.
Crochet Tea Towel Holder Pattern
Materials
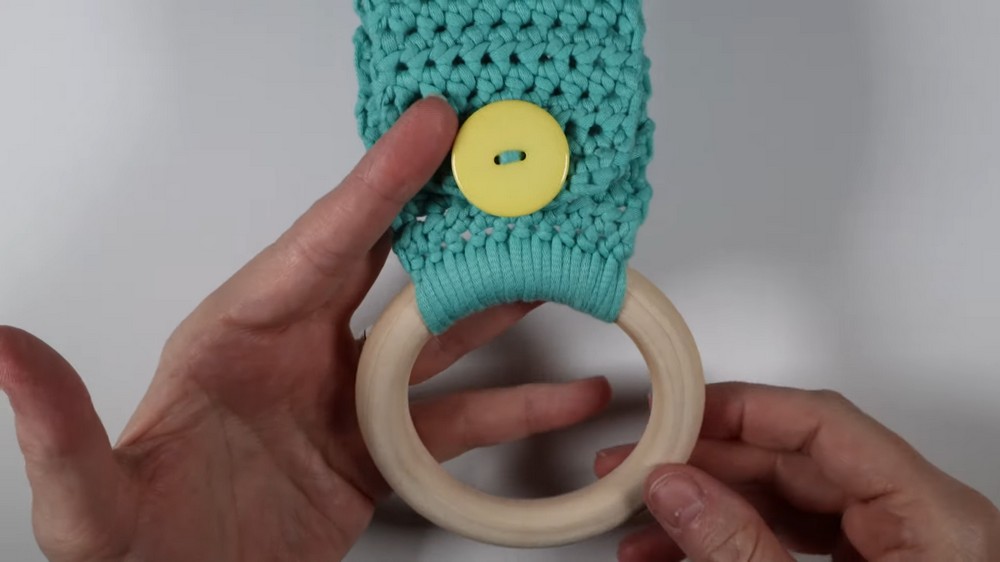
- 4-inch wooden ring(s) (available on Amazon or craft stores)
- Size 6 mm crochet hook (recommended for Bernat Maker Home Dec yarn; adjust hook size based on yarn used)
- Bernat Maker Home Dec yarn or basic T-shirt yarn
- Scissors
- Yarn needle for weaving in ends
- Needle and thread for sewing buttons/beads
- Stitch markers (optional)
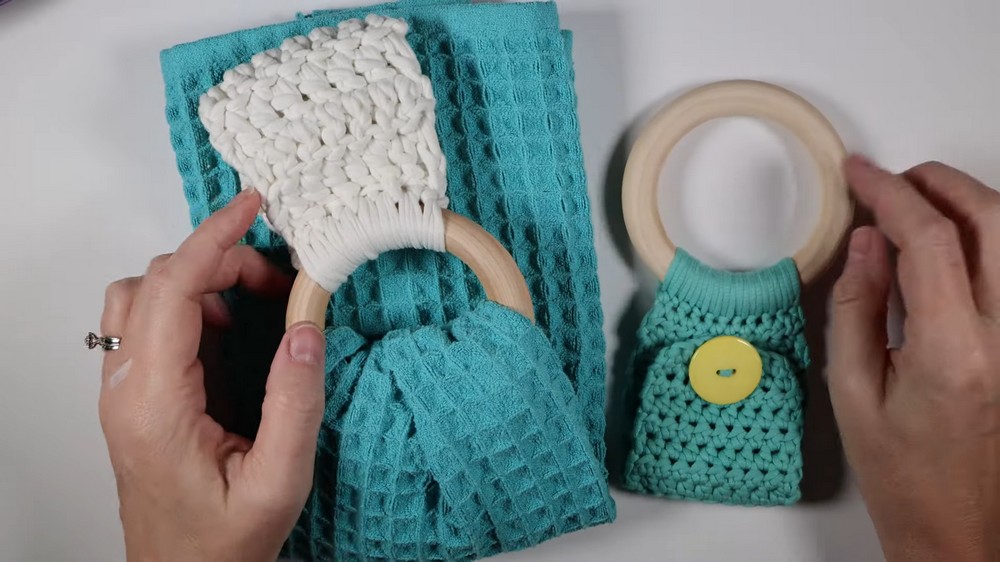
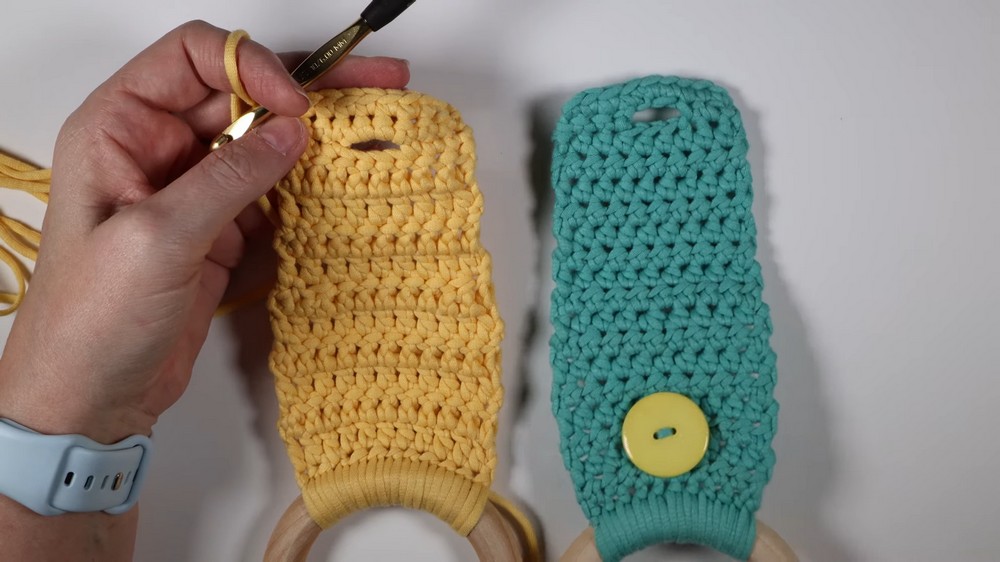
Special Features
- Two styles: single ring with button/bead closure and double ring with sewn closure
- Uses basic stitches suitable for beginners
- Customizable by changing yarn, hook size, and embellishments
- Practical kitchen accessory with rustic, handcrafted charm
Difficulty Level
Beginner — requires basic knowledge of half double crochet, double crochet, decreases, increases, and simple sewing techniques.
Pattern Steps
Step 1: Prepare Your Ring
- Sand the inside of your wooden ring to smooth any rough spots.
- Optional: Paint or stain your ring and allow it to fully dry before crocheting.
Step 2: Create Slip Knot and Attach Yarn
- Make a slip knot by looping your yarn and pulling through, then place slip knot on your hook.
- Hold both yarn strands and bring yarn behind and through the loop to form the slip knot.
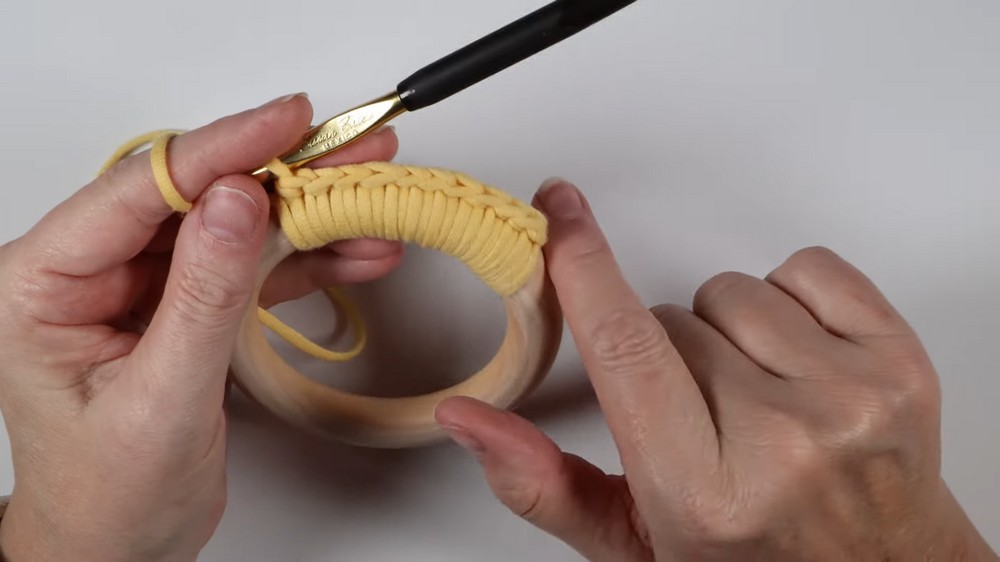
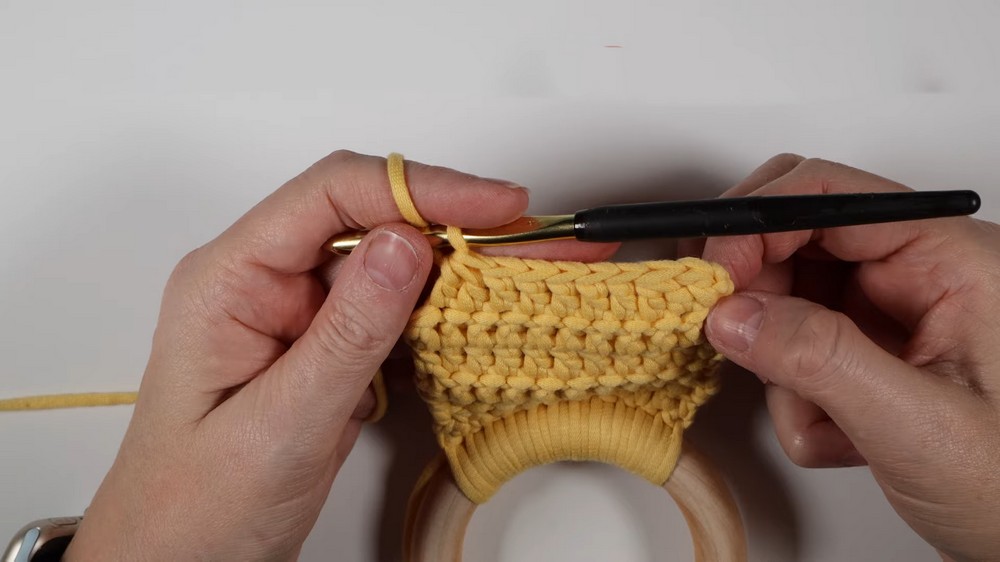
Step 3: Round 1 – Half Double Crochet (hdc) Around Ring
- Insert your hook under the slip knot loop on the ring.
- Yarn over and pull through the loop on the ring.
- Yarn over and pull through all loops on the hook to complete the first half double crochet (hdc) on the ring (this may feel awkward at first).
- Work a total of 11 half double crochets evenly spaced around the ring.
- Keep your tail tucked under as you work this first round.
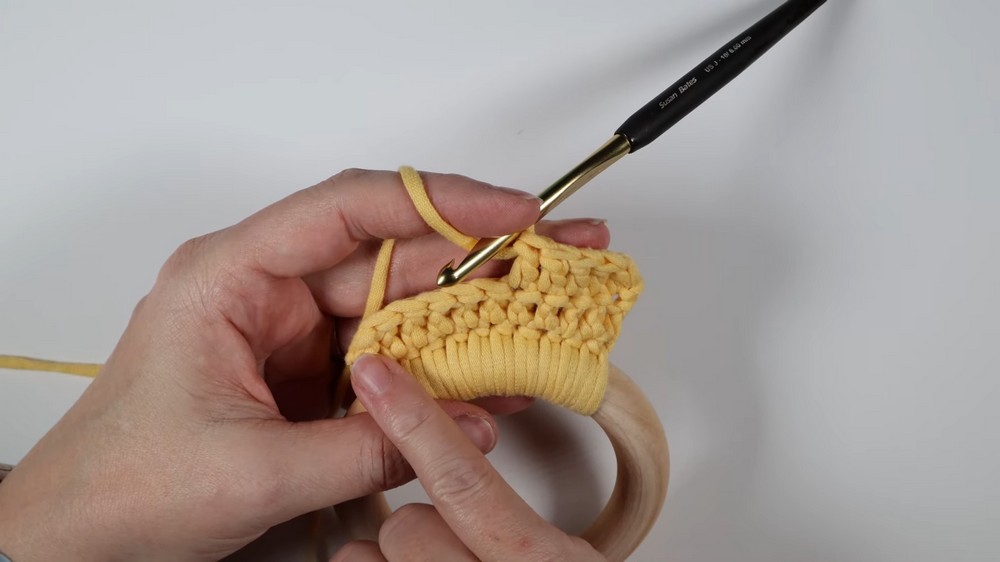
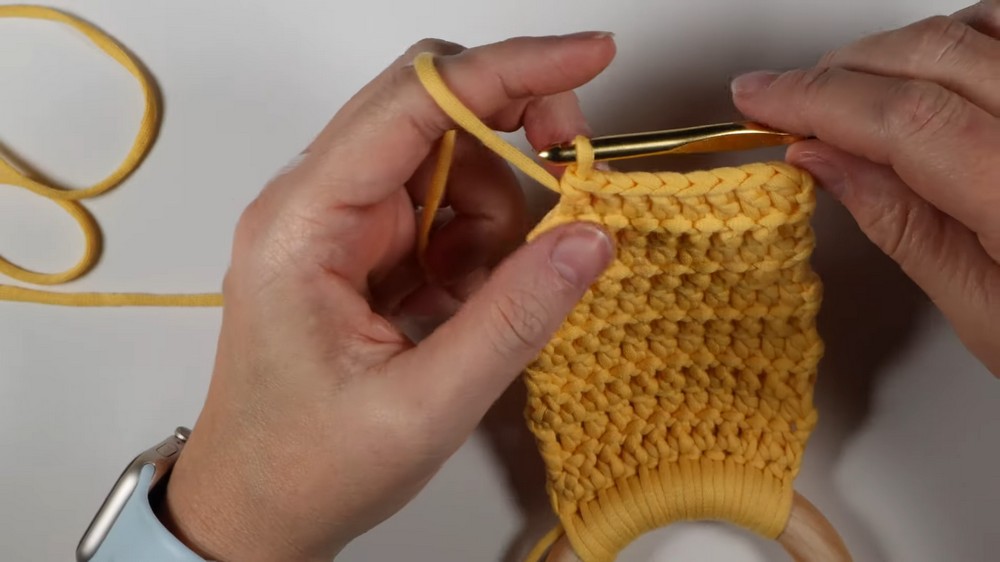
Step 4: Rows 2 to 6 – Double Crochet (dc)
- Chain 1 (counts as first dc).
- Work double crochet stitches (dc) in each of the 11 stitches around.
- Turn your work at the end of each row.
- Use stitch markers if desired to keep track of your rows and stitch count.
- Complete a total of 5 rows of 11 dc stitches (rows 2 through 6).
Step 5: Row 7 – Decrease to 9 Stitches
- Chain 1 and turn.
- Begin with 1 dc in first stitch.
- Perform a dc decrease (dc2tog) over the next two stitches:
- Yarn over, insert hook into first stitch, yarn over pull through (3 loops on hook).
- Yarn over, pull through 2 loops (2 loops remain on hook).
- Yarn over, insert hook into next stitch, yarn over pull through (4 loops on hook).
- Yarn over, pull through 2 loops (3 loops remain).
- Yarn over, pull through all 3 loops to complete decrease.
- Work 5 dc stitches after the decrease.
- Do a second dc decrease (dc2tog) over two stitches near row end.
- Finish with 1 dc in last stitch.
- You now have 9 stitches in this row.
Step 6: Rows 8 to 11 – Continue with 9 dc Stitches
- Chain 1, turn.
- Work 9 dc stitches on each row for 4 rows, maintaining stitch count at 9 per row.
- These rows taper the holder to fit better around the towel and ring.
Step 7: Row 12 – Create Buttonhole Space
- Chain 1, turn.
- Single crochet (sc) in the first 3 stitches.
- Chain 3 (skip 3 stitches creating a buttonhole).
- Single crochet (sc) in the next stitch.
- Single crochet in last 2 stitches of the row.
- Turn your work.
Step 8: Row 13 – Work Even with Buttonhole
- Chain 1, turn.
- Single crochet in the first 3 stitches.
- Single crochet 3 times into the chain-3 space from previous row (working around the hole).
- Single crochet in the last 3 stitches.

Step 9: Rows 14 and 15 – Finish Holder with Single Crochet
- Chain 1, turn.
- Single crochet across all stitches. Repeat for 2 rows to finish the holder shape.
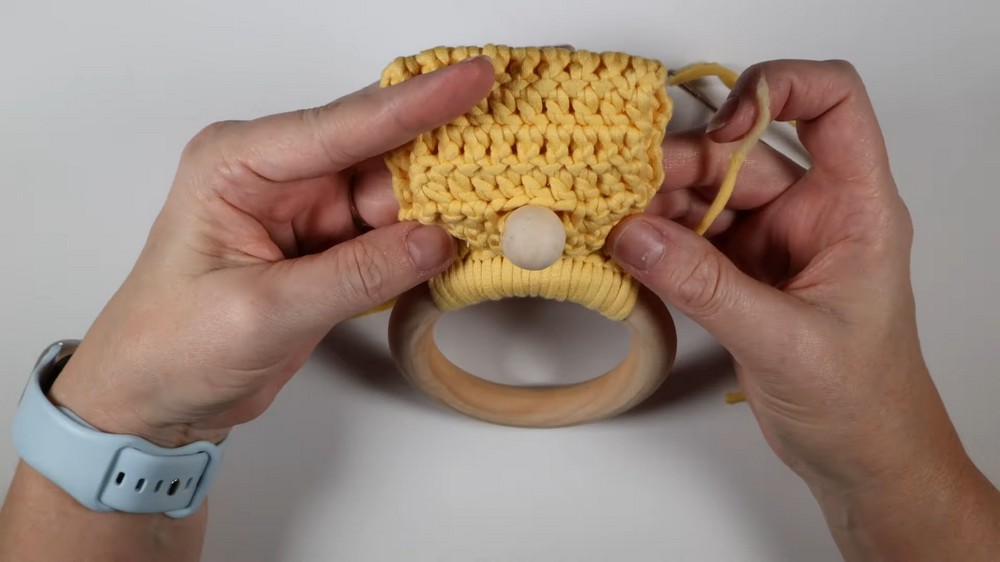
Step 10: Attach Button or Bead
- Cut yarn leaving a tail.
- Use a tapestry needle to weave in tails securely.
- Sew on your button or wooden bead at the opposite end of the buttonhole.
- Reinforce attachment with needle and thread for durability.
Step 11: Double Ring Holder (Optional Style)
- For the double ring style:
- Use fewer half double crochets around each ring.
- Join the last row with a slip stitch and leave a long tail.
- Use double strands of yarn to sew around the ring using tapestry needle, securing stitches tightly.
- Alternatively, you can crochet directly into the ring through each round for a tighter fit.
Tutor Suggestion
- Use a 6 mm hook with Bernat Maker Home Dec yarn for neat stitches without looseness.
- Crochet slower when working around rings as inserting the hook can be tricky.
- Stitch markers help keep consistent stitch count on each row.
- Personalize with different beads or buttons to match your kitchen decor.
- Experiment with different stitch patterns like single or half double crochet for varied texture.
Uses
- Keep kitchen towels neatly hung and within reach.
- Add a rustic and handmade touch to kitchen décor.
- Makes a quick, practical gift for friends and family.
Bonus Tip
If you paint or stain your wooden rings, ensure they are fully dry and sanded smooth before beginning your crochet work to avoid yarn snags or color transfer.
Conclusion
This easy-to-make tea towel holder adds convenience and style to your kitchen. With two versatile designs and simple crochet stitches, it’s perfect for beginners looking to create functional home accessories. Customize with your favorite yarn colors and fastenings to make it uniquely yours.