Simple Crochet Croptop Pattern with a Stylish Twist
Create your perfect summer style with this easy crochet croptop pattern, featuring adjustable straps and breathable stitches for a comfy, trendy look.
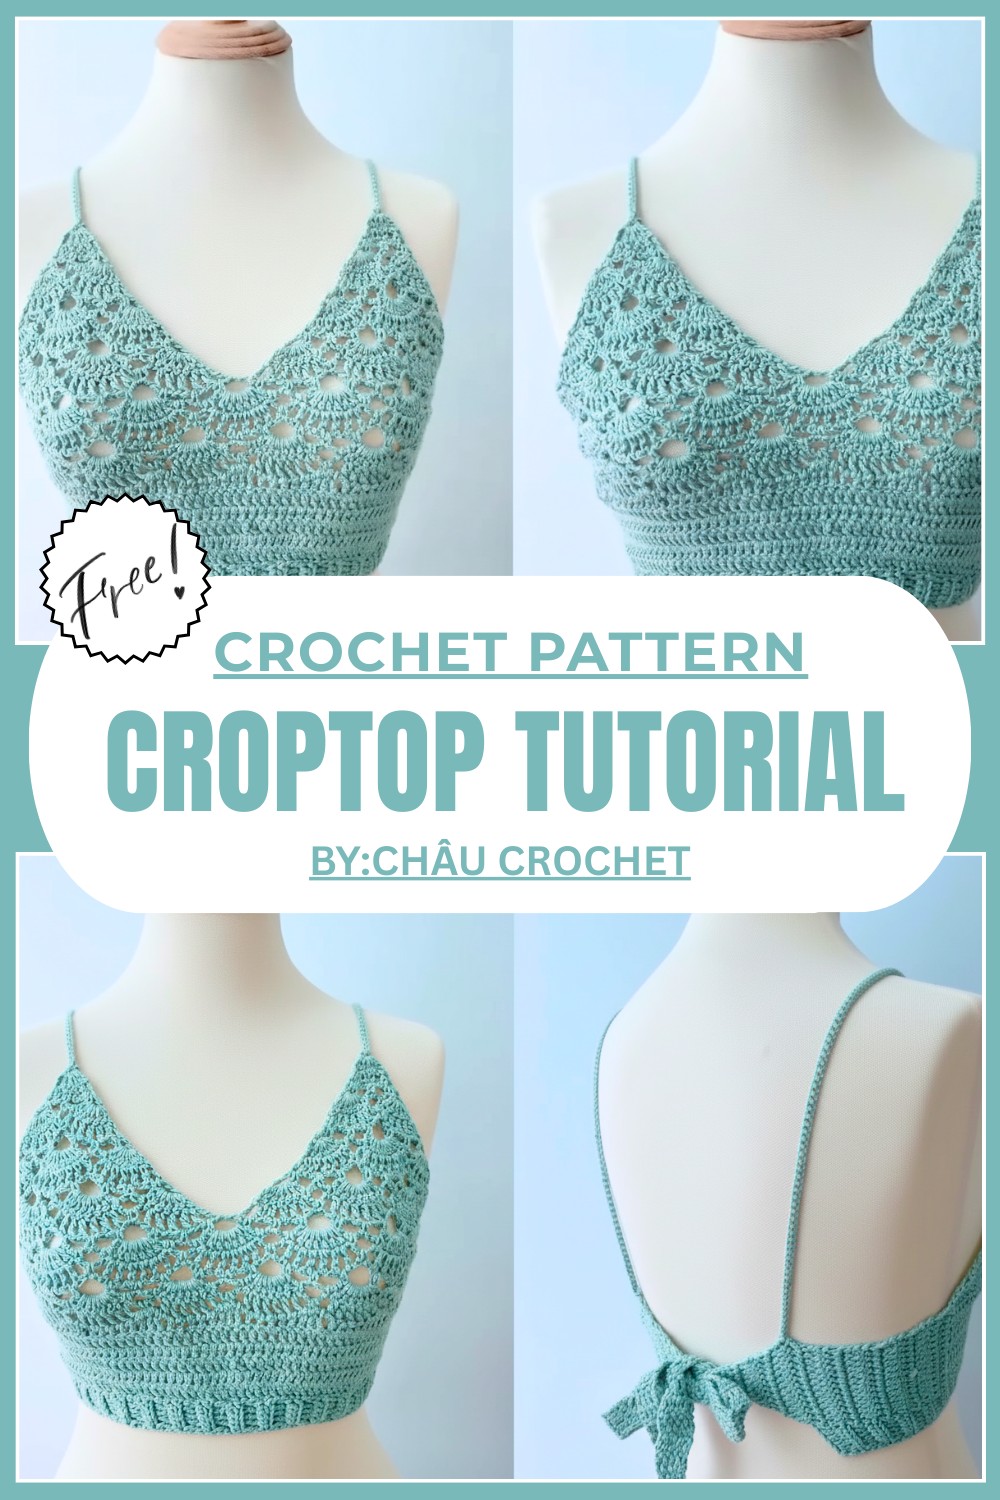
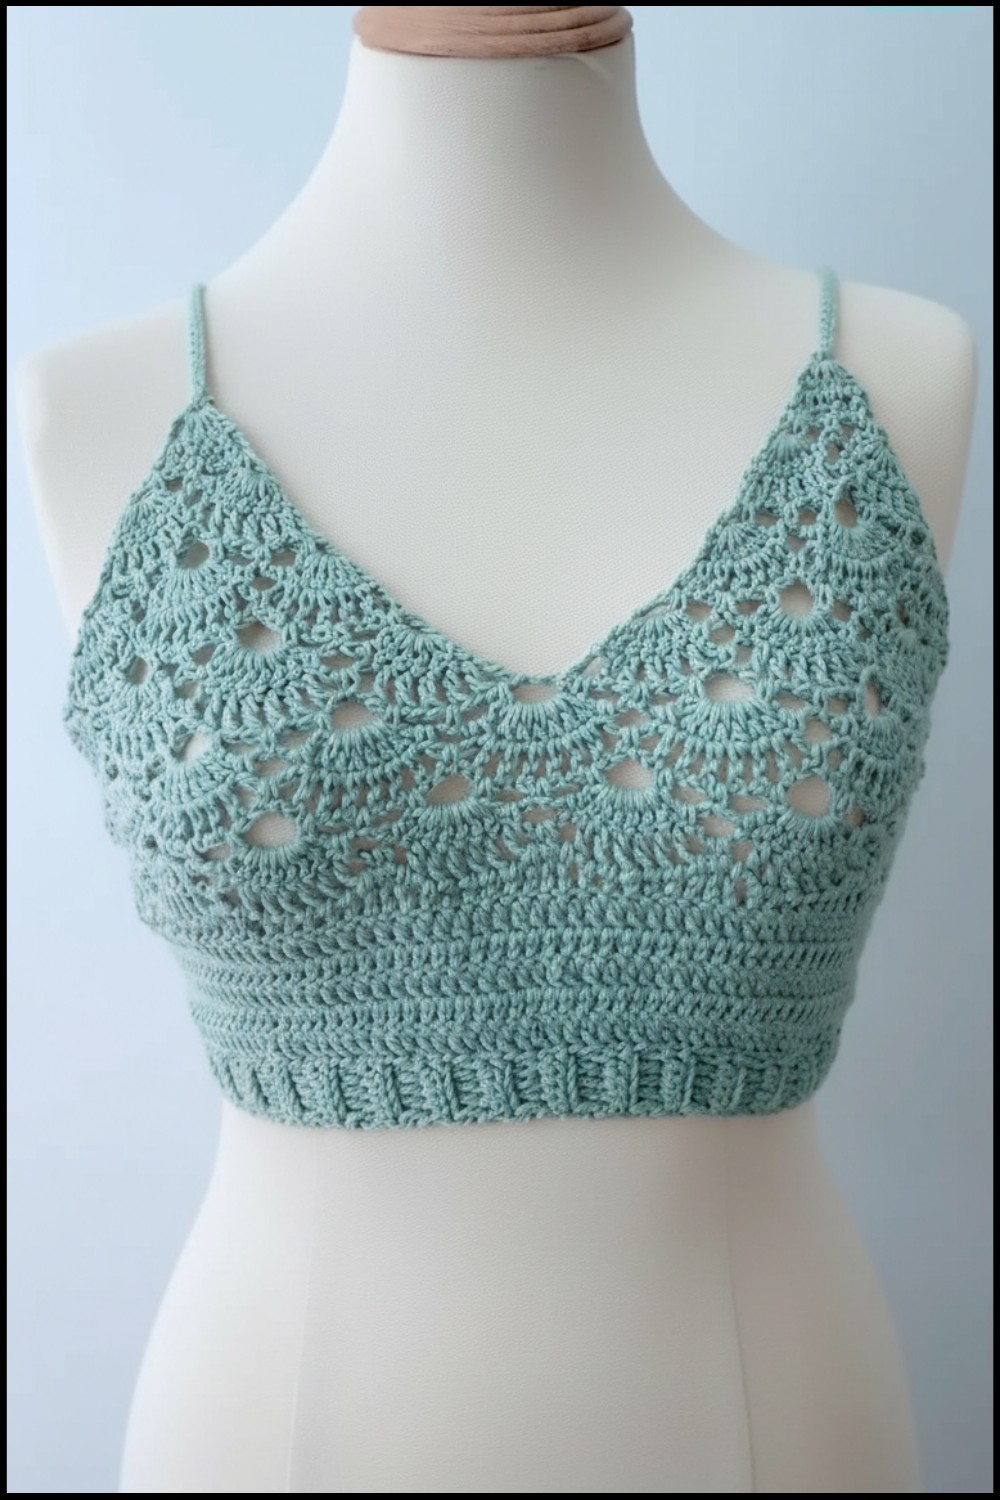
Quick Crochet Croptop Pattern for a Fresh Summer Look
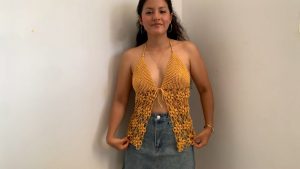
This trendy and comfortable crop top offers a fresh look ideal for warm weather. It works well with medium-weight cotton or cotton-blend yarn, providing softness and breathability. The construction is suitable for beginners to intermediate crocheters, allowing for an enjoyable and manageable process. Key features include a fitted bust area, adjustable straps, and charming open stitch details that combine style with airflow.

Crochet Cute Crop Top Pattern Its flexibility allows it to be worn alone during hot days or layered with other clothing items as temperatures drop, making it useful throughout different seasons. The fit can be adjusted to suit individual body shapes, ensuring comfort and a flattering appearance for many wearers.
Materials Needed
- Tools:
- Crochet Hook: 3.0 mm
- Stitch Markers
- Sewing Needle
- Scissors
- Yarn:
- 100% Cotton Amigo Yarn or similar lightweight cotton yarn.
- 100g of yarn for the project.
Key Techniques Used
- Magic Knot
- Slip Knot
- Chain Stitch (ch)
- Single Crochet (sc)
- Half Double Crochet (hdc)
- Double Crochet (dc)
- Cluster Stitch
- Slip Stitch (sl st)
Pattern Overview
- Create the Bra Cup A and B.
- Join the Bra Cups.
- Continue with the Pattern.
- Work on the Edging.
- Create the Bottom Pattern.
- Make the Final Row Edging.
- Add Straps and Finish.
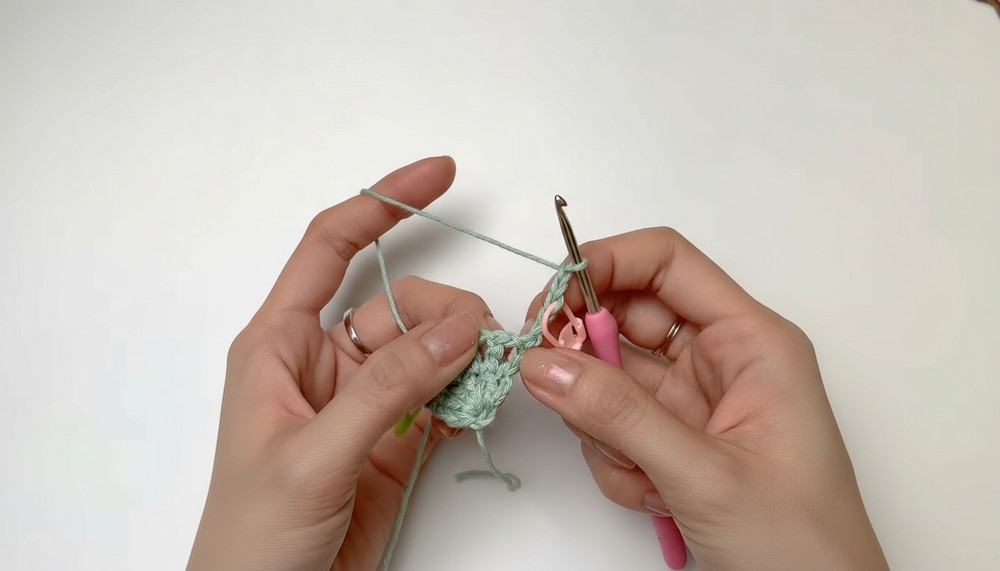
Pattern Instructions
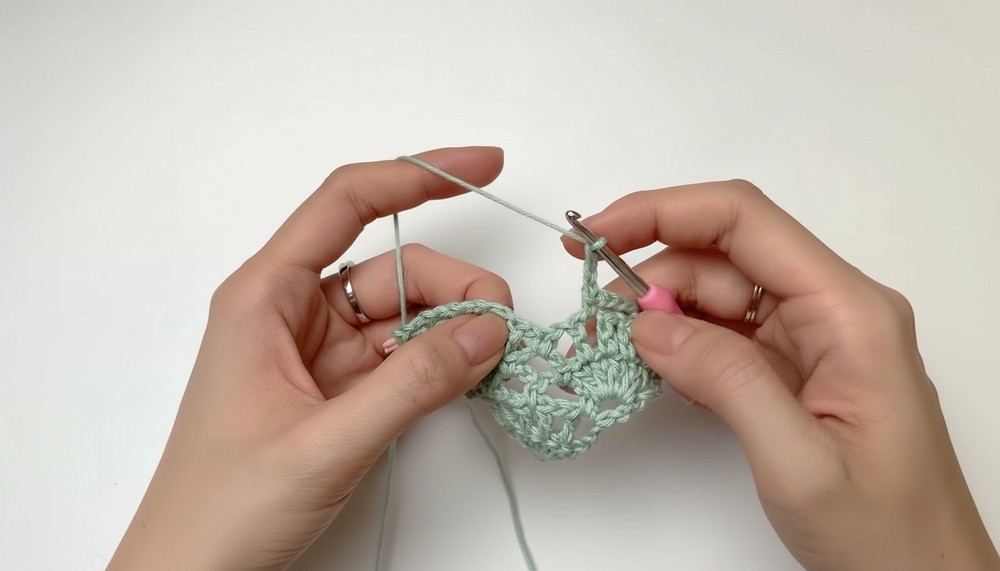
Step 1: Create the Bra Cups (A and B)
Bra Cup A:
- Start with a Magic Knot:
- Make a knot, leaving a 30-40 cm tail.
- Wind yarn, create a loop, and insert the hook.
- Create the Foundation Chain:
- Chain 4 and slip stitch into the first chain to form a circle.
- Row 1:
- Chain 3 (counts as dc), work 5 dc into the circle.
- Total: 6 dc (including the initial chain 3).
- Row 2:
- Chain 3 (counts as dc), dc into the same stitch.
- Work 1 dc in each of the next 5 stitches, and dc in top of last ch 3.
- Total: 7 dc.
- Row 3:
- Chain 4 (creating a chain space), skip the next stitch, sc in next stitch.
- Repeat across and finish with a dc in last ch 3.
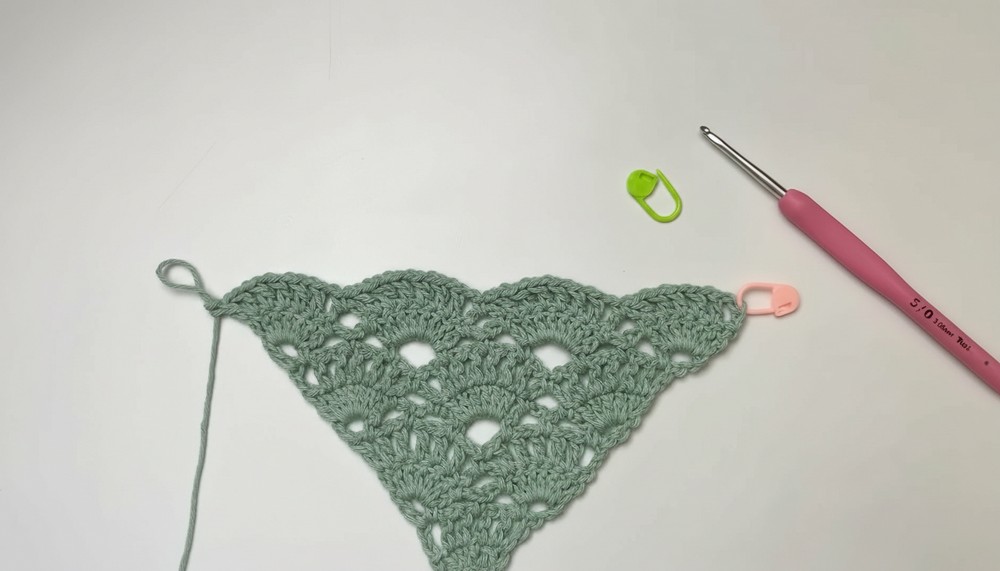
- Row 4:
- Chain 3, 2 dc in the same stitch, chain 1, 2 dc in the corner, and continue this:
- Fan Stitch pattern: 5 dc in dc from earlier row, sc in space, and repeat.
- Continue the fan pattern in every other row.
- Chain 3, 2 dc in the same stitch, chain 1, 2 dc in the corner, and continue this:
- Rows 5-11:
- Continue the repetitive fan stitch pattern, expanding the fans each row.
- In each new row, add fans and expand as needed for coverage.
Step 2: Create the Joining of Bra Cups
- Joining the Bra Cups:
- After finishing the cup pattern, join by slip stitching together at points.
- Attaching edges to form the basis of the top.
- Ensure symmetry:
- Align the bra points and ensure the fitted shape.
Step 3: Continue the Pattern
- Expand to Create the Crop Top:
- Join yarn to the end of the cup.
- Continue working on rows to extend the pattern:
- Add rows similar to earlier ones with fans and chains.
- Patterns and Edges:
- Continue adding equal fan patterns on both sides to maintain consistent depth.
- Each new row should mimic earlier rows.
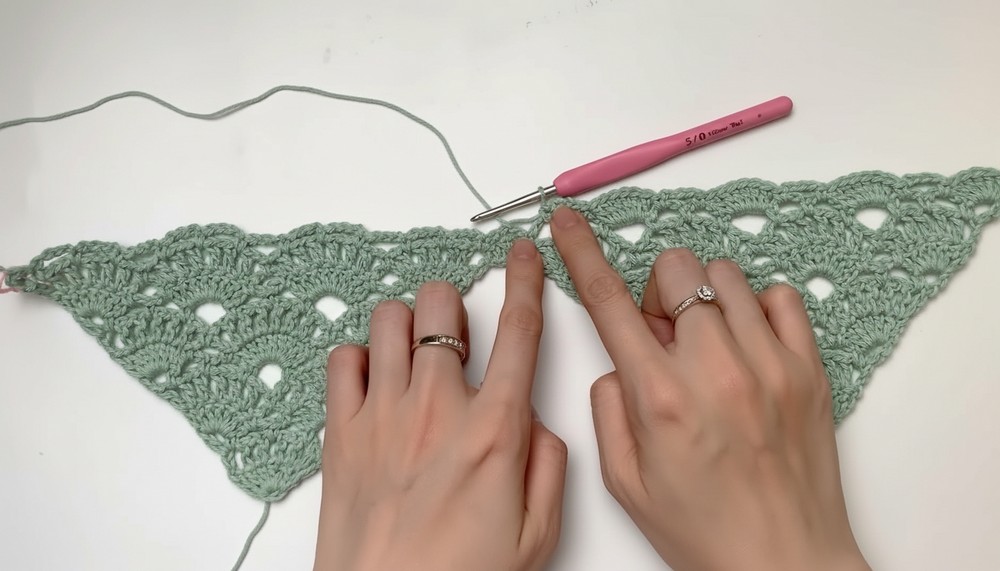
Step 4: Edging
- Add Additional Pattern Rows:
- After joining cups and expanding the pattern, add clean edges.
- Use single crochets and double crochets where necessary.
- Bottom and Side Edges:
- Work a neat border around the entire bottom edge.
- Use slip stitches and half-double crochets for stability.
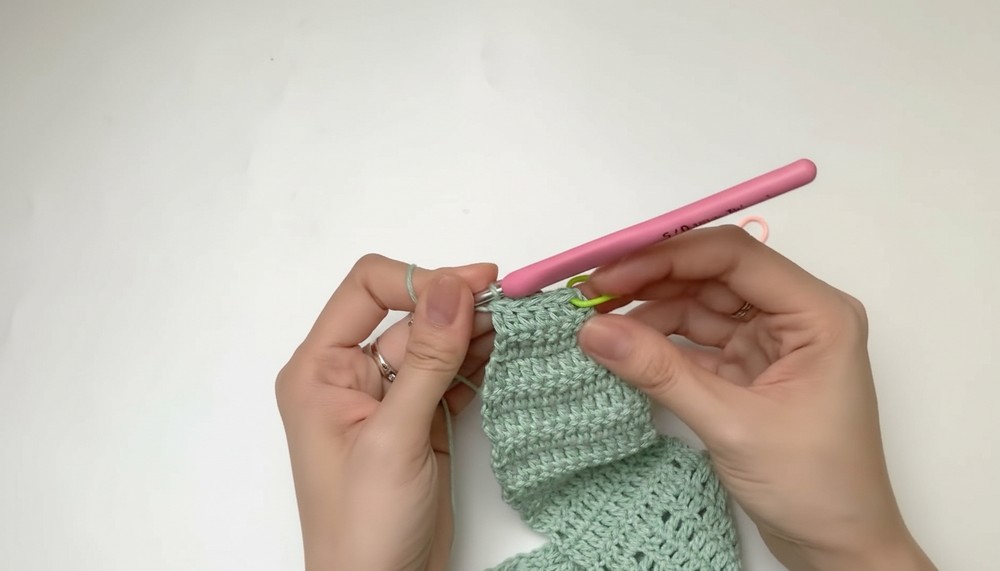
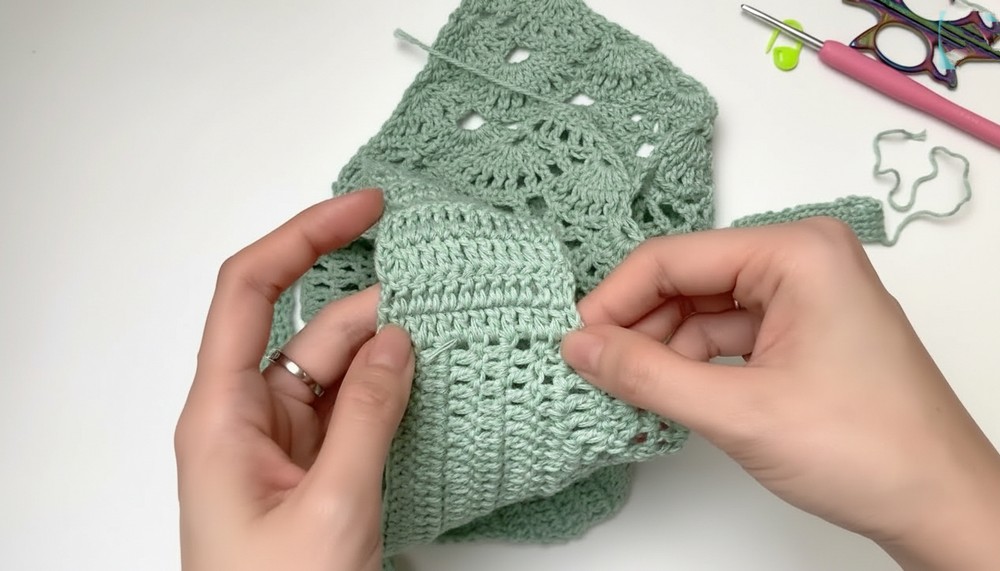
Step 5: Bottom Hem
- Attach Yarn:
- Start from designated row.
- Crochet border: Begin chain six and work sc, hdc and dc as required.
Step 6: Final Row Edging
- Add Stability:
- Use half-double crochets and ensuring solid border.
- Evenly space work to avoid puckering or pulling.
- Neckline and Armholes:
- Work neat finishes on neckline and armholes. Use slip stitches and finish clean corners.
- Work neat finishes on neckline and armholes. Use slip stitches and finish clean corners.
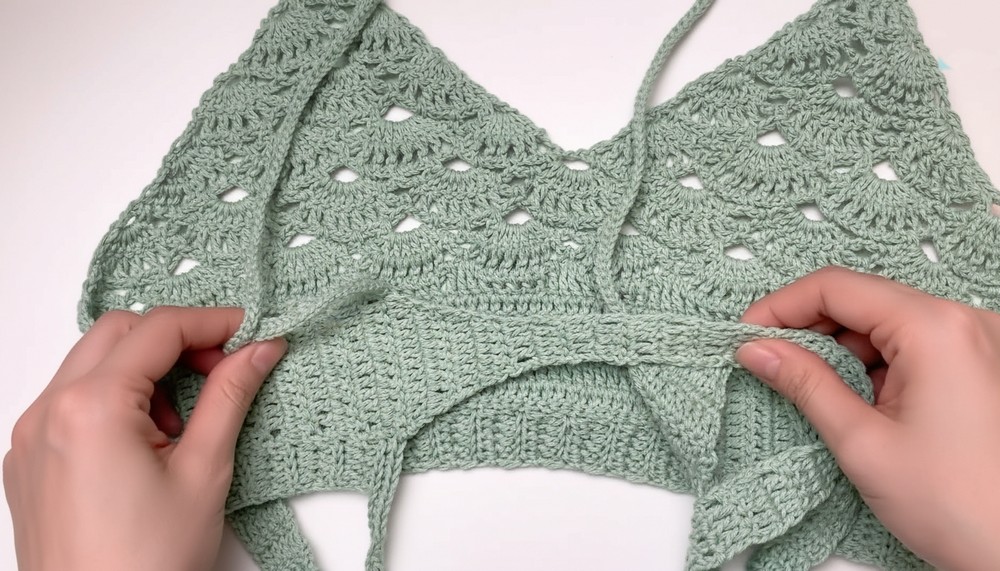
Step 7: Straps
- Create and Attach Straps:
- Make straps using chains and slip stitch joins.
- Each strap should be evenly [matching 34 cm] in length.
- Join at top points of cups with slip stitch for stability.
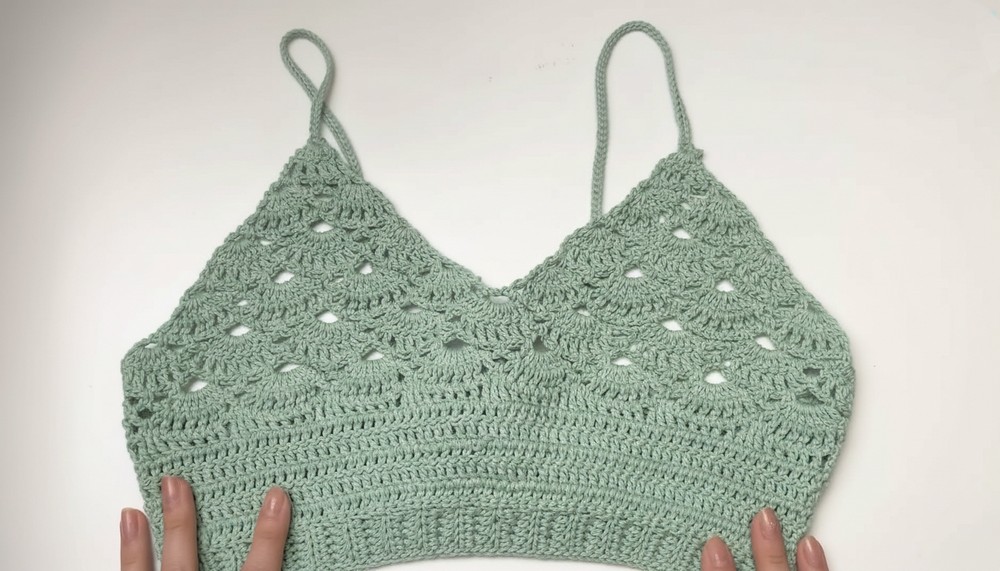
Final Words and Finishing Steps
- Weaving in Ends:
- Use a yarn needle to weave all loose ends into the back of the work.
- Trim excess yarn.
- Blocking:
- Lightly block to shape and set stitches if necessary.
- Lightly block to shape and set stitches if necessary.
Tips to Maintain the Crop Top
- Washing Instructions:
- Hand wash with cold water. Lay flat to dry.
- Lightly steam if needed to ensure neat fit.
- Storage:
- Fold neatly to maintain shape and prevent stretching.
- Fold neatly to maintain shape and prevent stretching.
Optional Add-Ons
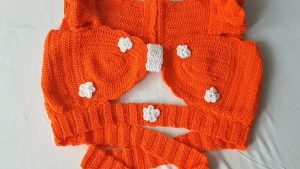
- Embroidery:
- Add embroidery to cups or bodice for a custom touch.
- Adjustable Straps:
- Make adjustable straps with buttons for versatile fitting.
- Decorative Border:
- Add scalloped or picot borders for more detail.