
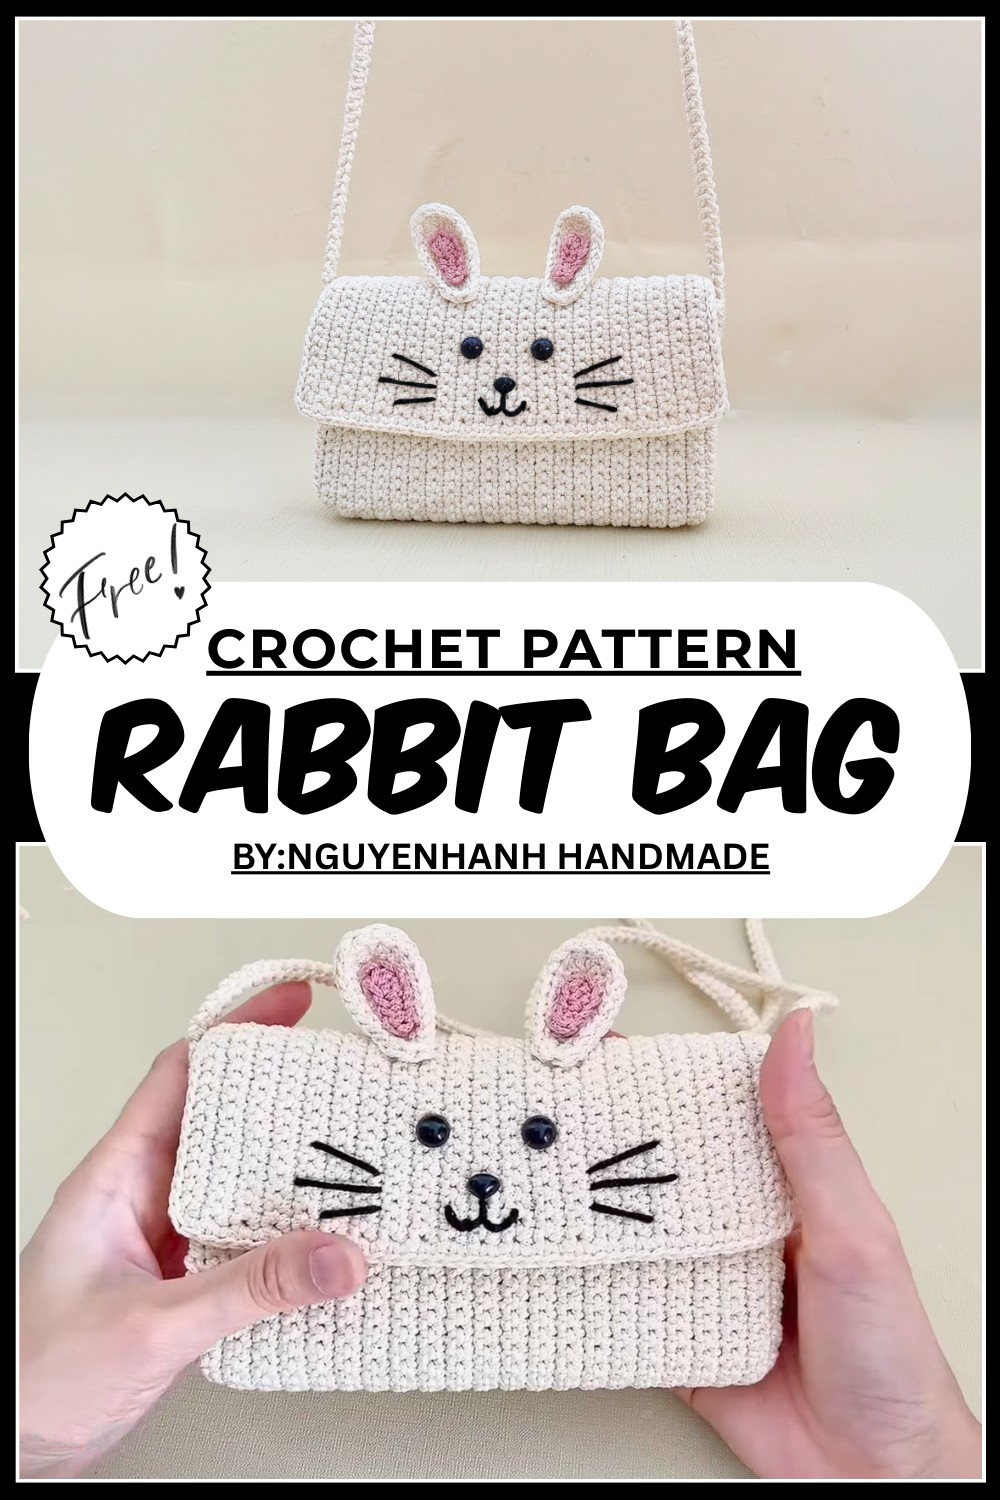
Adorable Crochet Rabbit Bag Pattern That Steal The Show
Hop into happiness with this charming crochet rabbit bag pattern that’s perfect for adding a playful touch to your everyday style.
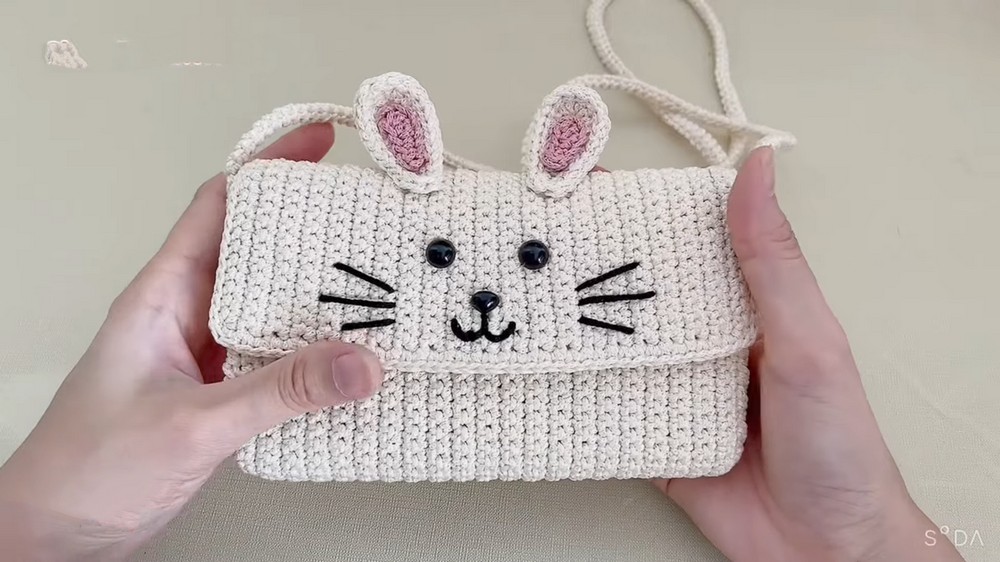
A bag that’s not just a bag, but a playful little rabbit ready to hop into your heart! This crochet rabbit bag pattern turns a simple idea into a fun and fluffy friend you can carry everywhere. With floppy ears that bounce, big bright eyes, and a cute little nose, this bag isn’t shy, it loves to show off its charm! It’s perfect for holding your tiny treasures, snacks, or phone, making everyday errands feel like a joyful adventure.
Playful Crochet Rabbit Bag Pattern for Creative Souls
Soft, cozy, and oh-so-adorable, this bunny-shaped bag adds a splash of fun to any outfit and sparks smiles wherever you go. Whether you’re treating yourself or making someone’s day, the crochet rabbit bag pattern is a delightful way to carry happiness around. Who knew a bag could be this playful and practical all at once? Hop on the fun and let your new favorite accessory brighten your day.
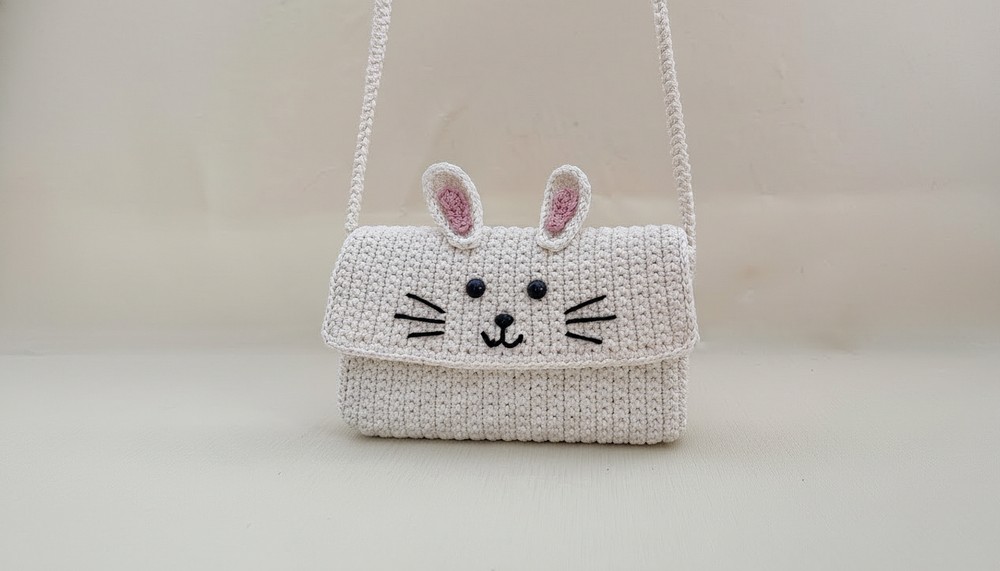
Crochet Rabbit Design Crossbody Bag Pattern
Materials Needed:
- Approx. 2 meters of cream-colored yarn
- Black yarn (for eyes and mouth details)
- Pink yarn (for ears detail)
- 3.0 mm crochet hook
- Fixed (safety) eyes
- Triangular nose embellishment
- Large “like” button (optional)
- Yarn needle for sewing
- Scissors
- Bag strap hardware (hook for strap – link in description)
- Glue (optional for attaching decor)
Special Features:
- Adorable crochet rabbit face design
- Compact crossbody size, ideal for casual use
- Textured ear details with half double crochets
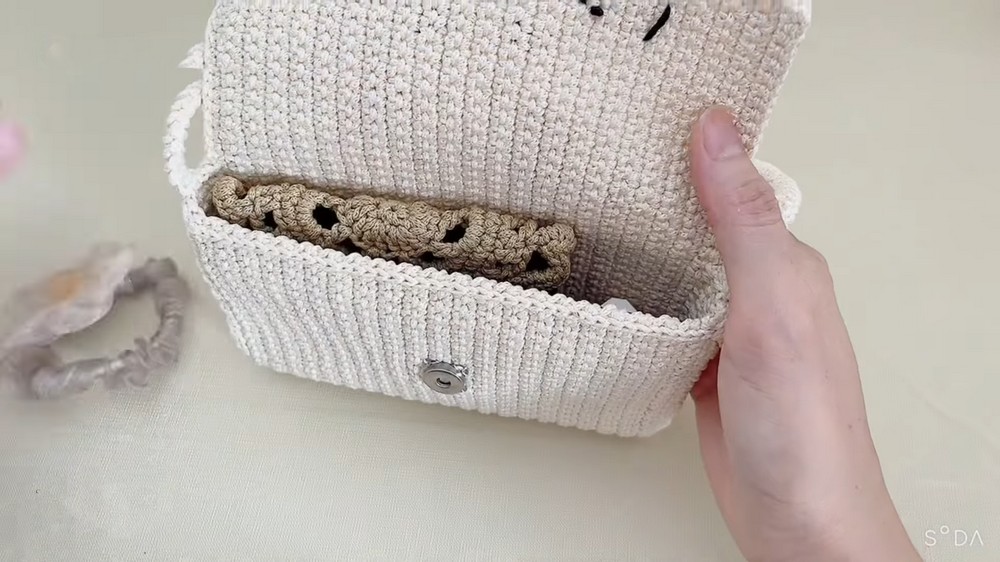
- Neat borders and flap for bag closure
- Integrated assembly steps for sturdy finishing
Step-By-Step Pattern
Step 1: Foundation Chain
- Chain 64 stitches to start the base cord of the bag.
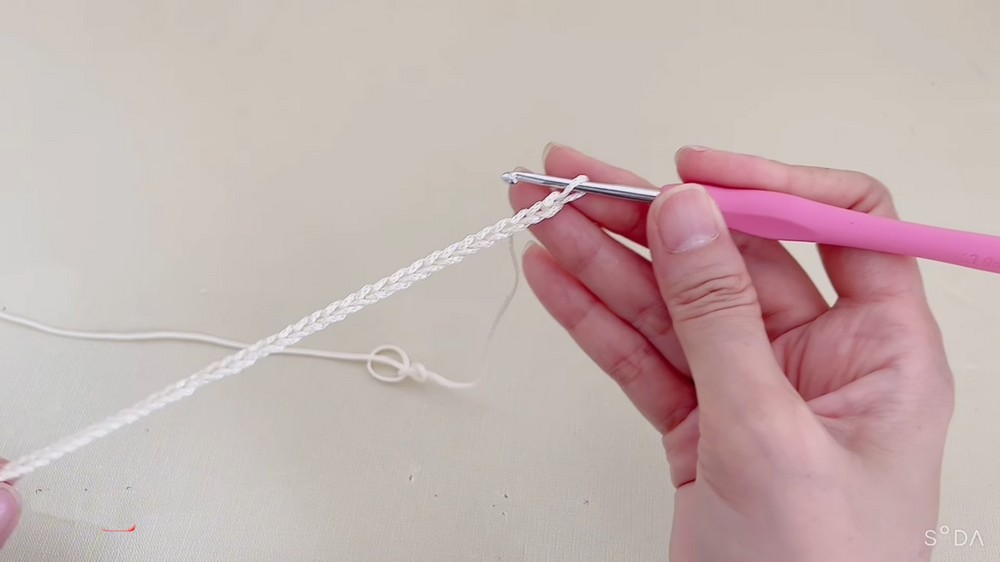
Step 2: First Row – Single Crochet Along Chain
- Insert hook into the 63rd chain stitch.
- Work single crochet (sc) stitches evenly along the entire length of the chain (total of 63 stitches).
- Crochet to the end of the row.
Step 3: Turning and Second Row
- Chain 1, turn your work.
- Work single crochet in each stitch across the row.

Step 4: Repeat Rows 2 & 3
- Continue the pattern of chaining 1, turning, and working single crochets across every row.
- Work from row 3 to row 42 maintaining this sequence until the base panel reaches desired length.

Step 5: Side Pieces (Make 2)
- Chain 6 (for side panel width).
- Row 1: Single crochet starting into the 5th chain from hook, then 4 more single crochets.
- Chain 1, turn work.
- Row 2: Single crochet in every stitch across.
- Repeat this until row 18, same as the main base length.
Step 6: Ear Hole Details
- Make a knot to start the ear holes.
- Crochet 10 single crochets.
- Then chain 7, 8, and 9 with single crochet stitches.
- Follow with half double crochets (hdc) as instructed (details for shaping).
- Follow with single crochets to complete ear shape.
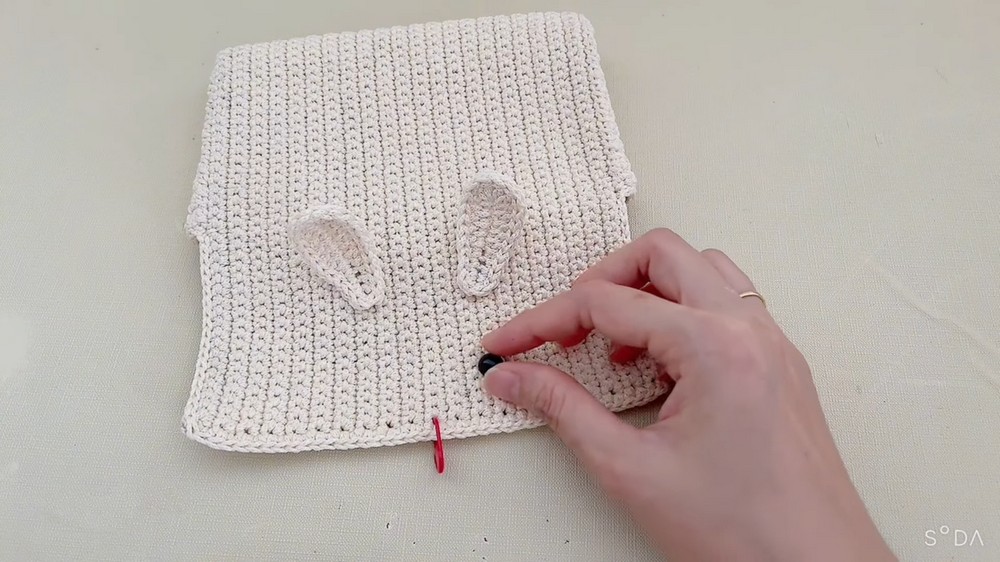
Step 7: Crochet Symmetrical Second Ear Hole
- Repeat the ear hole pattern on the opposite side for symmetry.
Step 8: Crochet Border Around Second Row
- Work slip stitches around the edge of the second row of the main panel for neat finishing.
Step 9: Pink Yarn Decorative Hooks for Ear Detail
- Using pink yarn, create a small strip by chaining 6 stitches.
- Work half double crochet into the 5th chain from hook.
- Finish with half double crochets and single crochets as described for ear decoration.
- End with a slip stitch and cut yarn.
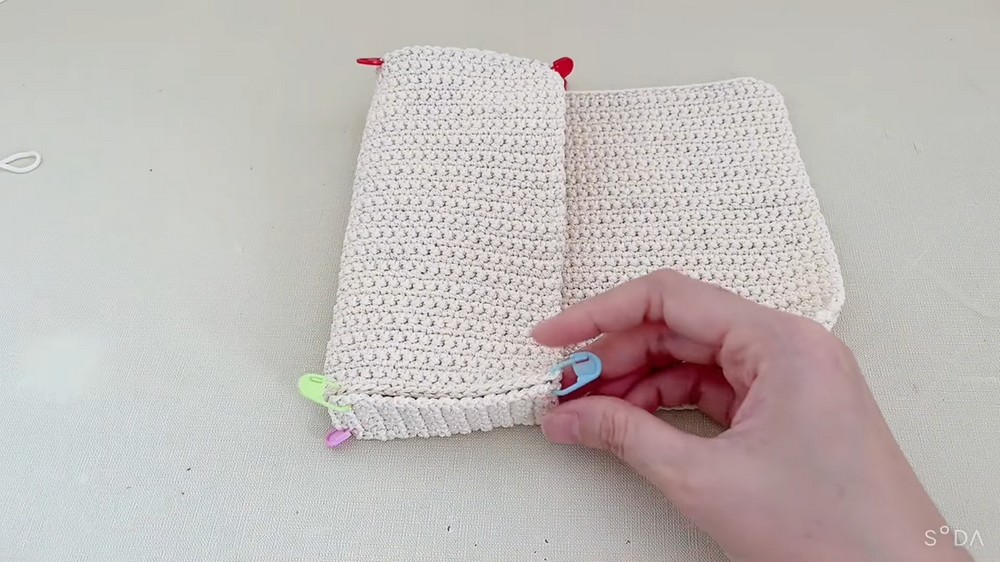
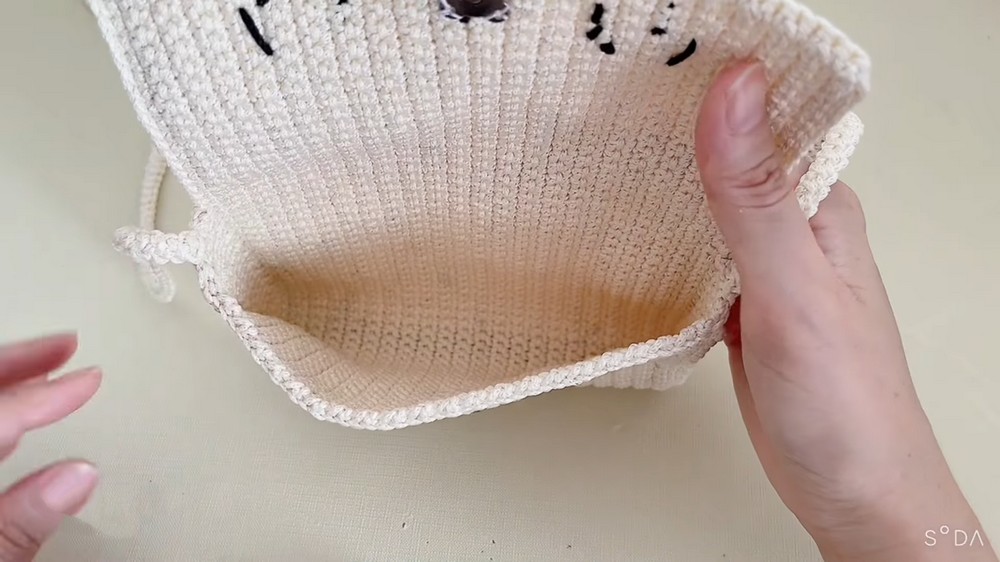
Step 10: Assembly – Front and Side Panels
- Using a yarn needle, mark matching points on the front panel and attach side pieces by sewing two rows of crochet stitches with decreases to fit and shape around the shoulder.
Step 11: Crochet Border for Bag Flap and Opening
- With cream yarn, crochet a neat border of single crochets around the flap and bag opening.
- Insert needle in hooks and pull yarn for a tidy edge.
Step 12: Attach Decorative Elements
- Use glue or sewing to attach triangular nose and "like" button on the rabbit face design.
- Secure fixed eyes in place.
Step 13: Attach Bag Strap
- According to the strap hook link provided previously, attach hooks to the bag sides.
- Sew or fix the crossbody strap securely.
Tutor’s Suggestions:
- Keep stitch tension consistent to maintain bag shape.
- Use stitch markers to ensure proper alignment when sewing panels together.
- Attach fixed eyes securely to avoid loosening, especially for children's use.
- Feel free to customize colors and decorations as per your style.
Level of Difficulty:
Beginner to Intermediate – Uses mainly single crochet stitches with shaping and assembly steps.
Uses:
- Trendy crossbody bag for casual outings
- Cute gift for kids and adults alike
- Fashion accessory with unique bunny design
Helpful Tip:
When sewing the panels together or attaching details, pull the yarn a bit tighter than usual to prevent gaps and maintain a clean, sturdy finish.
Conclusion:
Your charming crochet rabbit crossbody bag is ready to brighten your day with its cute design and practicality! Enjoy making this adorable accessory and don’t forget to like and subscribe for more joyful crochet tutorials.
