
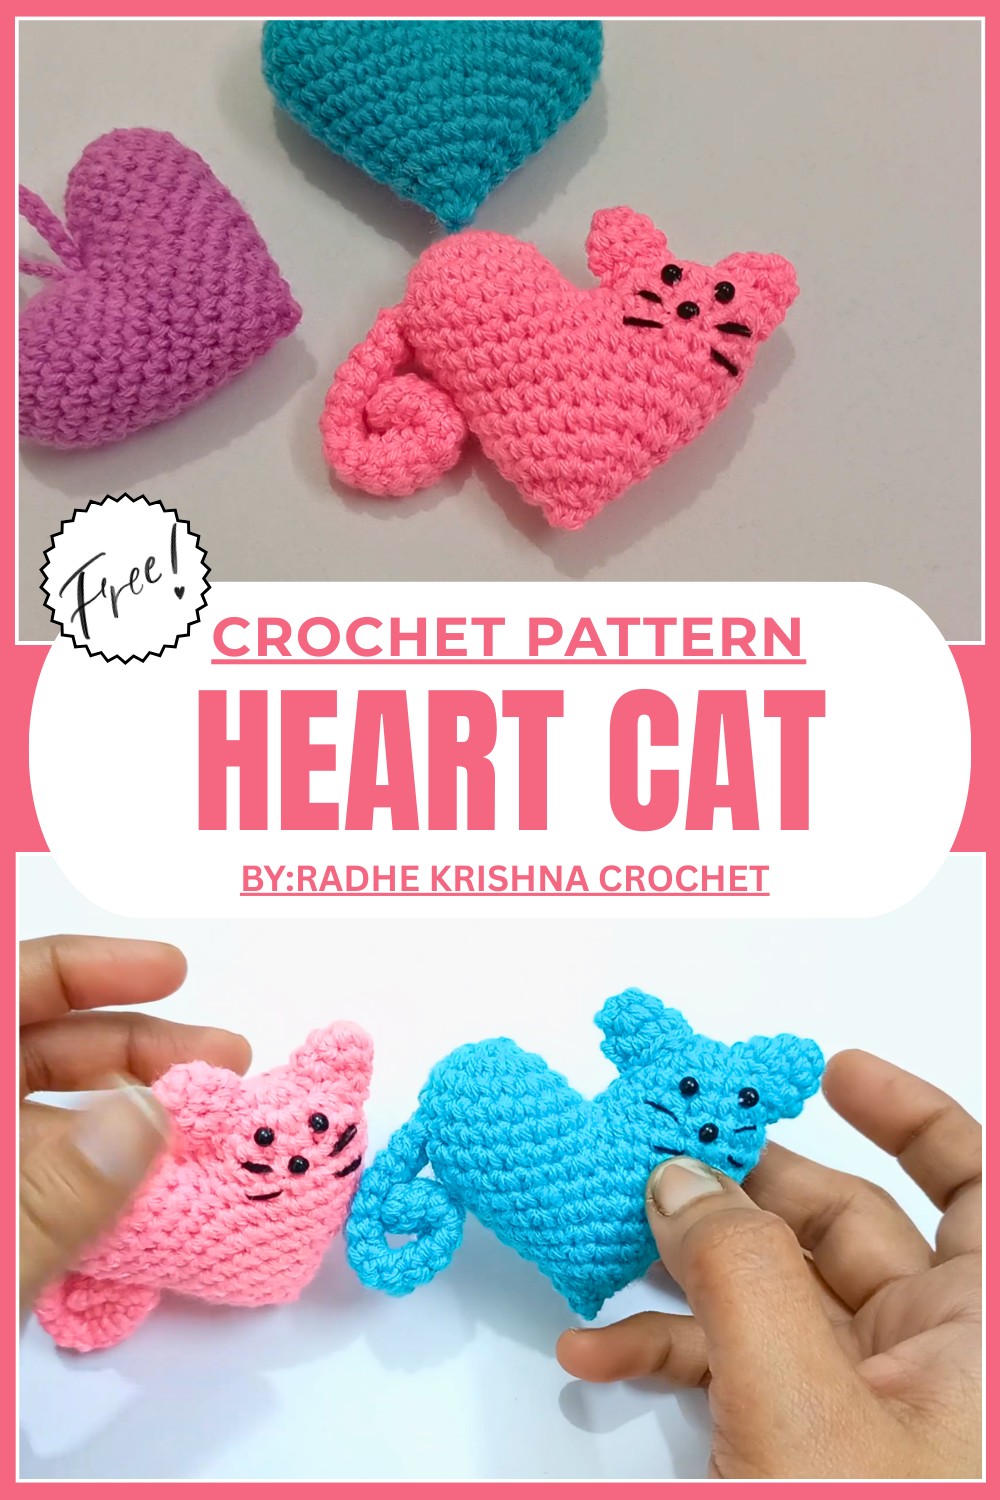
Gorgeous Crochet Heart Cat Pattern with Soft Colorful Details
Delight in fun with the Crochet Heart Cat Pattern and shape an adorable cat with a heart that’s perfect for gifts décor or adding a playful touch to any space.
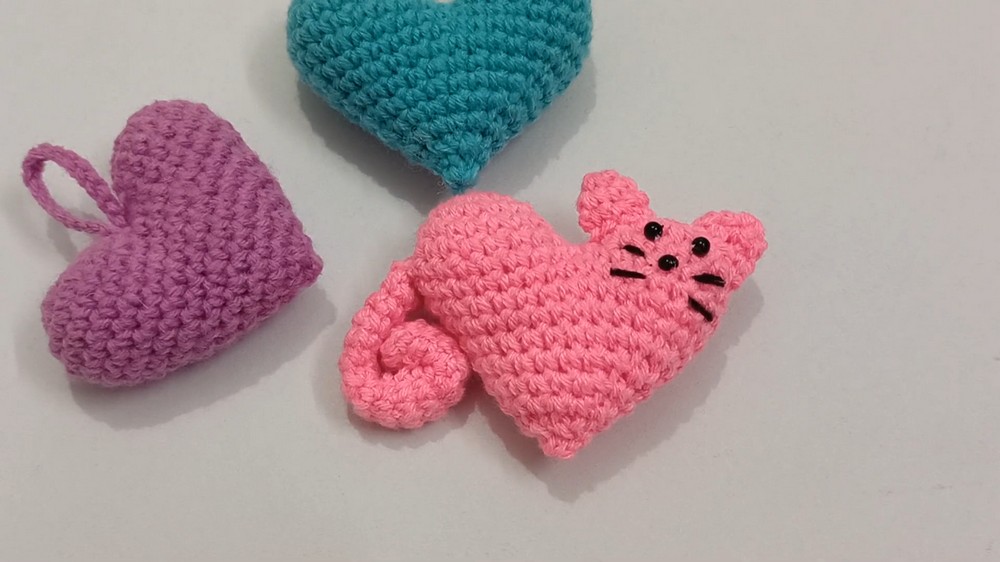
Combine your love for cats and heartfelt crochet with an adorable free crochet heart cat pattern. This charming design features a sweet, heart-shaped body paired with playful cat details, making it perfect as a unique gift, keychain, or decorative piece. Customize it with your favorite yarn colors to create a cute and cuddly keepsake that’s perfect for Valentine’s Day, a pet lover, or just because.
Trendy Crochet Heart Cat Pattern That Brings Smiles
Whether you’re a seasoned crocheter or a beginner, the easy-to-follow pattern ensures a quick, fun project. Bring joy to your crafting and brighten someone’s day with this irresistible mix of whimsy and handmade charm!
Materials Needed:
- Yarn:
- 4-ply wool yarn in your choice of colors (e.g., black, white, and accent colors).
- A small amount of additional yarn in black for facial detailing (optional).
- Hook: Crochet hook 3 mm. Adjust to your yarn for proper tension.
- Beads/Pearls:
- Two small black beads for the cat’s eyes.
- Optional: Pearl or round acrylic bead, cut in half for the mouth.
- Optional Wire: Thin, moldable craft wire to shape the tail.
- Needle: For stitching and weaving in ends.
- Scissors: For trimming yarn and wire.
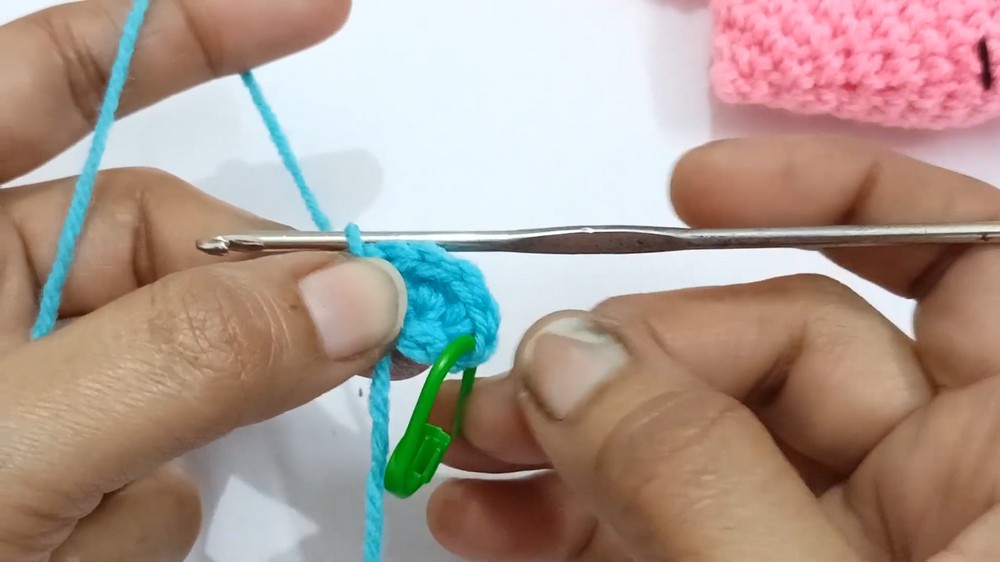
- Stitch Marker: Useful for tracking rows or the start of rounds.
Skill Level:
Intermediate – Familiarity with magic rings, single crochet, slip stitches, and working in a round required.
Key Abbreviations (US Terminology):
- MR: Magic Ring
- CH: Chain
- SC: Single Crochet
- SL ST: Slip Stitch
Special Notes:
- The base heart for the cat applique is not detailed here. If you need to make the heart base, refer to the creator's earlier video or any basic crochet heart pattern.
- This pattern involves assembling small parts (ears, tail, and facial features). Attention to detail and precise hand-stitching are crucial for a clean finish.
- Use soft yet sturdy wire for shaping the tail. If wire is unavailable, you can skip it by making a thicker crochet tail.
Pattern Instructions
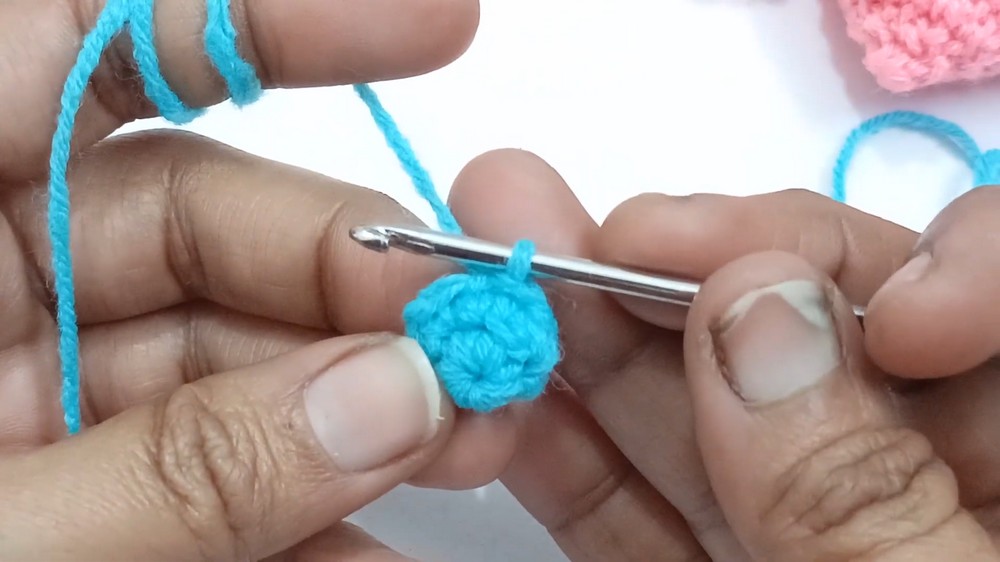
Ears (Make 2):
- Start with the MR:
- Form a Magic Ring (MR). Secure the tail for later stitching.
- Round 1:
- Work 4 SC into the MR.
- Pull the loop to close the ring tightly, but do not fasten off.
- Join the Round:
- Insert your hook into the first SC, then SL ST to join the round.
- CH 1 to start the next row.
- Round 2: (Increasing Round)
- Work 2 SC into the first stitch, place a stitch marker into the first SC.
- Work 1 SC into the second stitch, then work 2 SC into the third stitch.
- Repeat the pattern: Alternate between 1 SC and 2 SC into the next stitch until you reach the marker.
- Join:
- Once you’ve completed the increases in the last stitch, remove the stitch marker and SL ST to close the round.
- Round 3: (Final Shaping)
- CH 1, and work SC into the first stitch. Place the stitch marker.
- In the next stitch: Work 2 SC into the same stitch. Continue the following pattern: 1 SC in the next stitch, 2 SC in the following stitch until the round is complete. Remove the stitch marker. (You should now have 9 SC in the final round.)
- SL ST to join the round.
- Finish:
- Leave a 6-inch yarn tail for sewing the ears to the heart base.
- Weave in any short ends of the yarn that remain at the starting point.
- Repeat these steps to make the second ear.
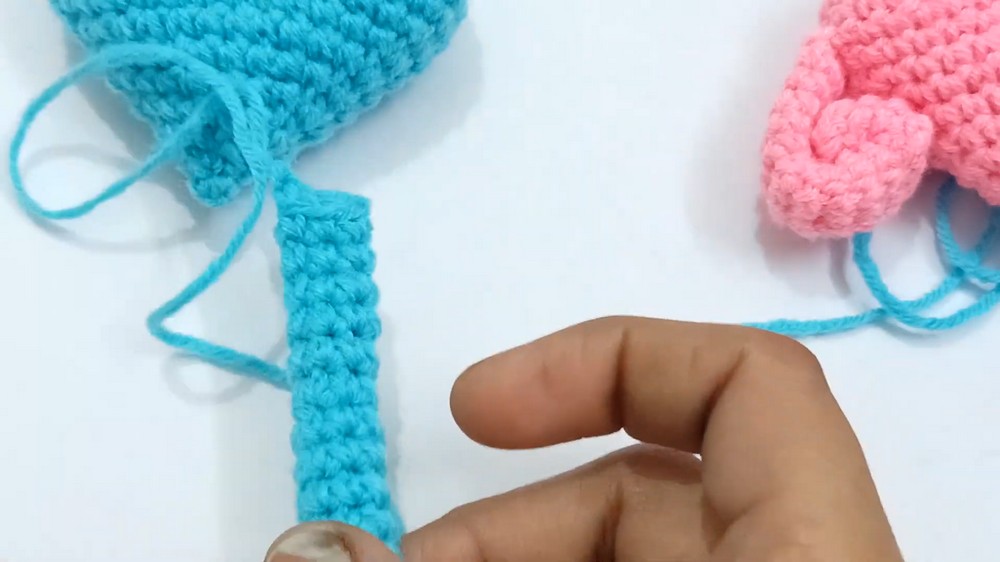
Tail:
- Start with MR:
- Form a Magic Ring (MR). Pull tight but do not fasten off.
- Round 1:
- Work 6 SC into the MR.
- Pull the loop tight and SL ST into the first SC to join the round.
- Round 2-15:
- Work 1 SC in each stitch around (6 SC). Always place the starting stitch marker for accuracy.
- Work in continuous rounds until the length of the tail reaches 15 rows.
- Optional Wire Insert (for Bendable Tail):
- Measure and cut a piece of craft wire slightly shorter than the tail.
- Bend the ends of the wire upward (this prevents it from poking through the yarn). Insert the wire into the tail piece.
- Finish:
- Leave a long yarn tail for sewing.
Assembly Instructions:
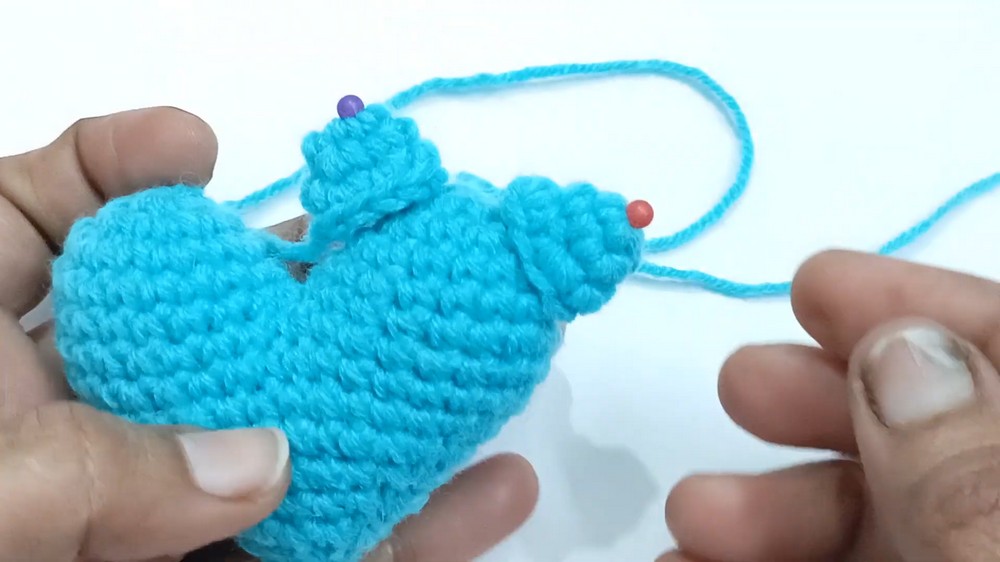
Attach Ears:
- Positioning:
- Place the two ears on top of the heart base to form the cat's face.
- Check the positioning for symmetry before attaching.
- Sewing:
- Thread the long yarn tail for each ear onto a needle.
- Use discreet, small stitches to sew the ears to the heart base. Ensure the stitches are neat and well-secured.
- Thread the long yarn tail for each ear onto a needle.
Attach Tail:
- Positioning:
- Mark the point at the end or side of the heart where the tail will attach.
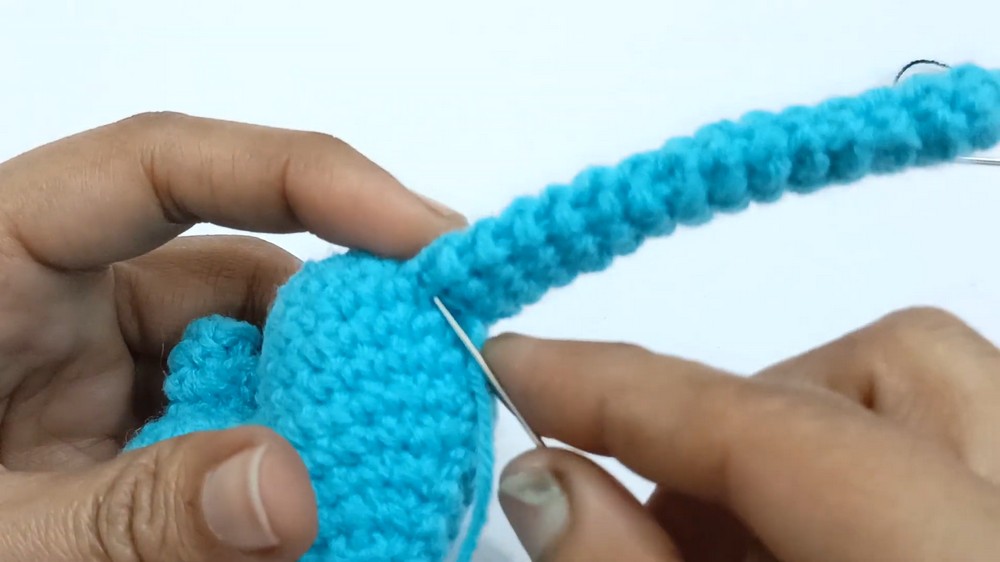
- Sewing:
- Using the long tail yarn from the tail piece, sew the tail securely to the heart with tight stitches.
- If using wire, ensure it is anchored firmly inside the tail and does not poke out.
Facial Features:
- Eyes (Using Beads or Thread):
- Position black beads (or use black thread to make French knots if beads are unavailable).
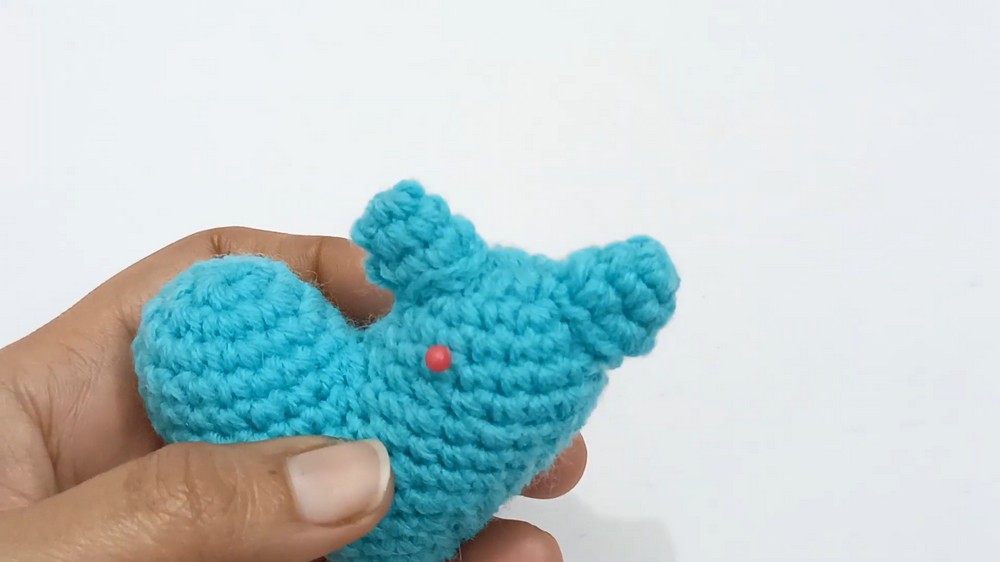
- Sew beads securely in place. If beads are not split, break them into halves using a needle, if possible.

- Position black beads (or use black thread to make French knots if beads are unavailable).
- Mouth (Optional):
- Sew on a half bead for the mouth. Alternatively, use black embroidery thread to stitch a simple "smile" at the desired location.
- Sew on a half bead for the mouth. Alternatively, use black embroidery thread to stitch a simple "smile" at the desired location.
Optional Finishing:
- Add a keychain loop at the top of the heart or along the tail’s base for portability (e.g., keychains, bag charms).
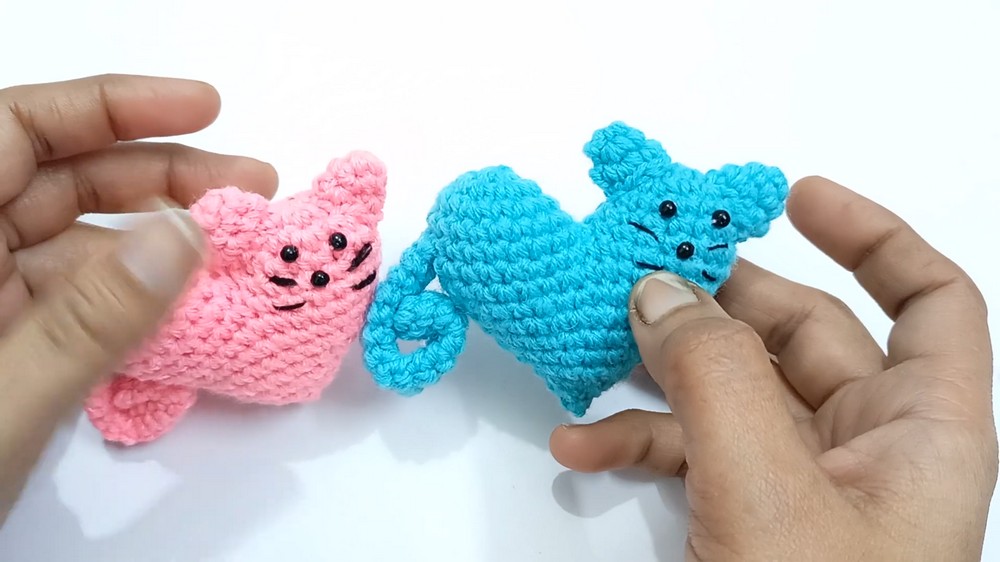
Pattern Variations:
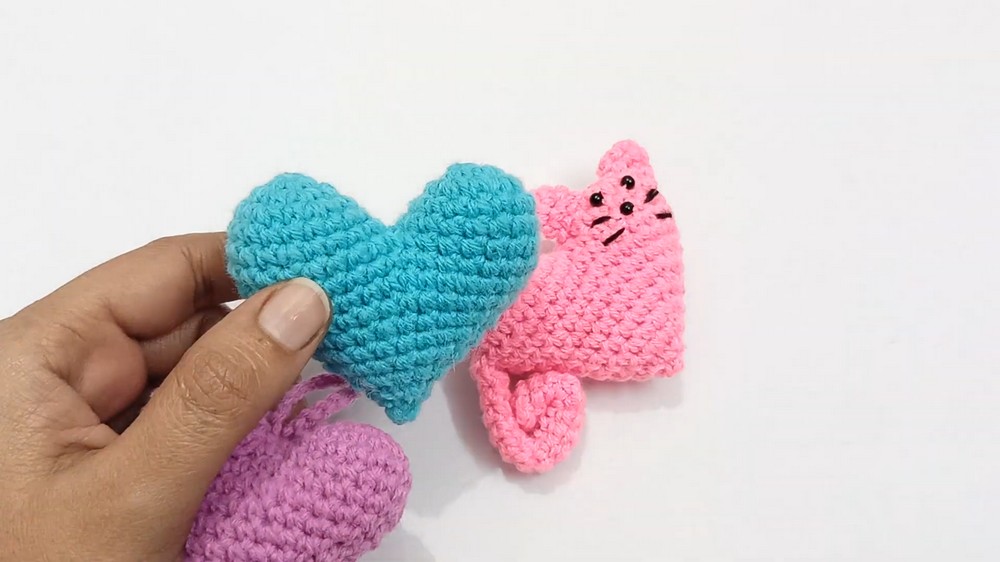
- Change the cat's colors or use variegated yarn for a whimsical look.
- Add whiskers using embroidery thread for extra detail.
- Adjust the size of the heart base to customize the project further.
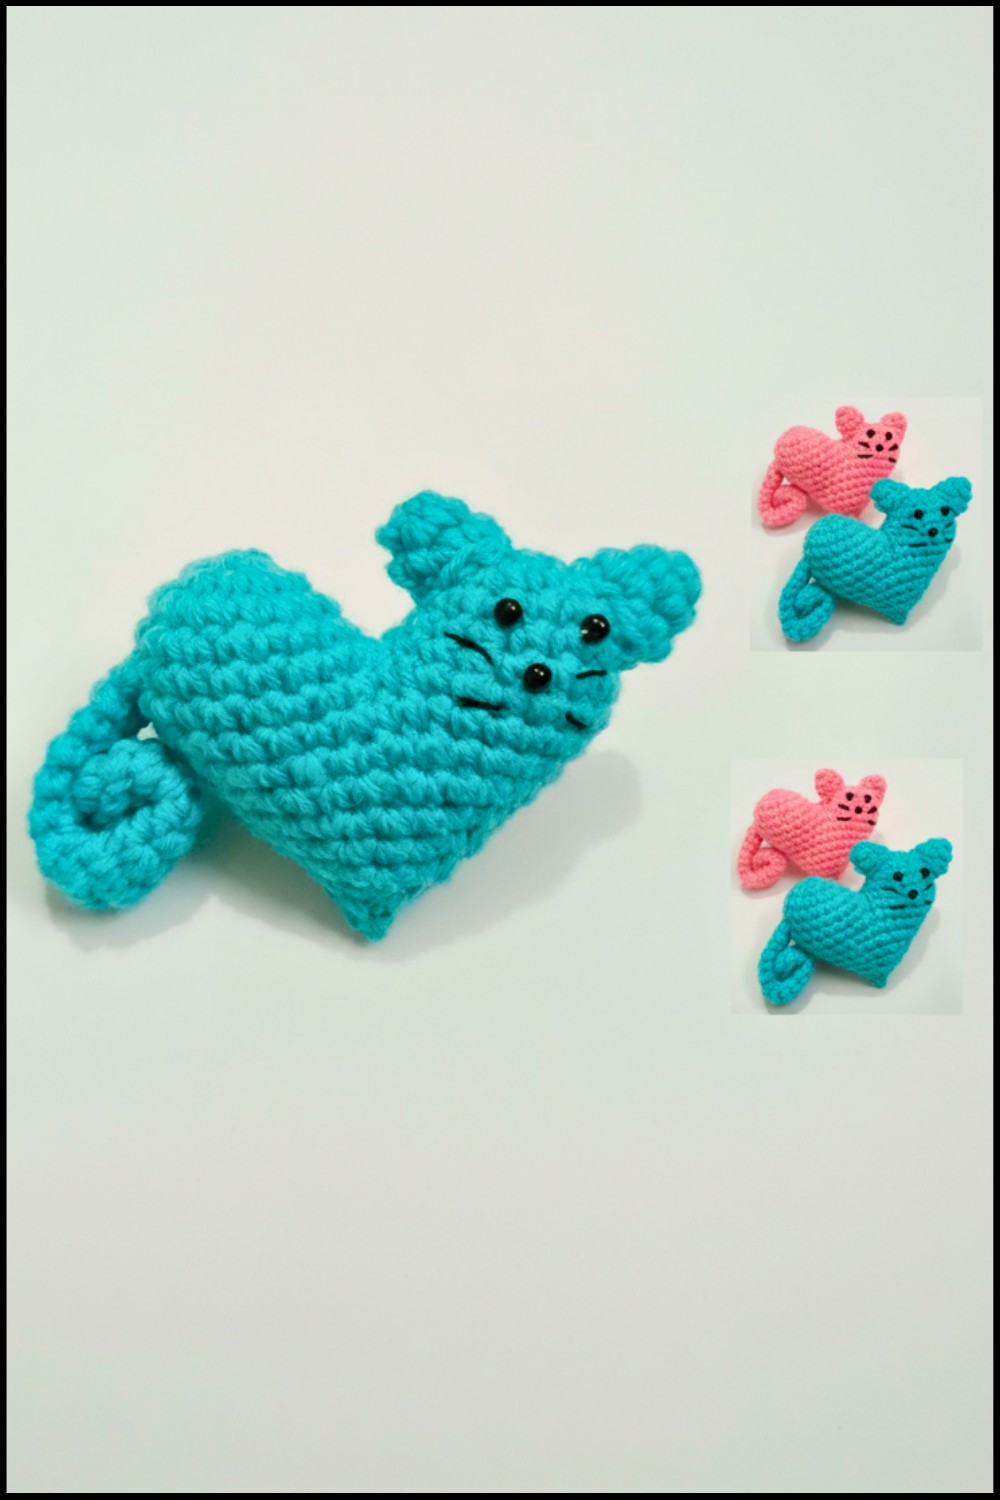
Conclusion:
With its neat design and customizable features, this crochet cat applique on a heart base is a charming project that can be used in many ways! Whether gifted or kept, this accessory is sure to add a personal touch to your creations.
Pattern Corrections:
Ensure stitch and row counts stay consistent (e.g., number of SC, HDC, or rows) to achieve uniform shapes for the ears, tail, and other components.
Tips:
- If using beads for eyes, ensure they are securely attached to prevent choking hazards when making gifts for young children.
- Use a stitch marker to track the beginning of rounds, especially for small circular designs like ears and tails.