
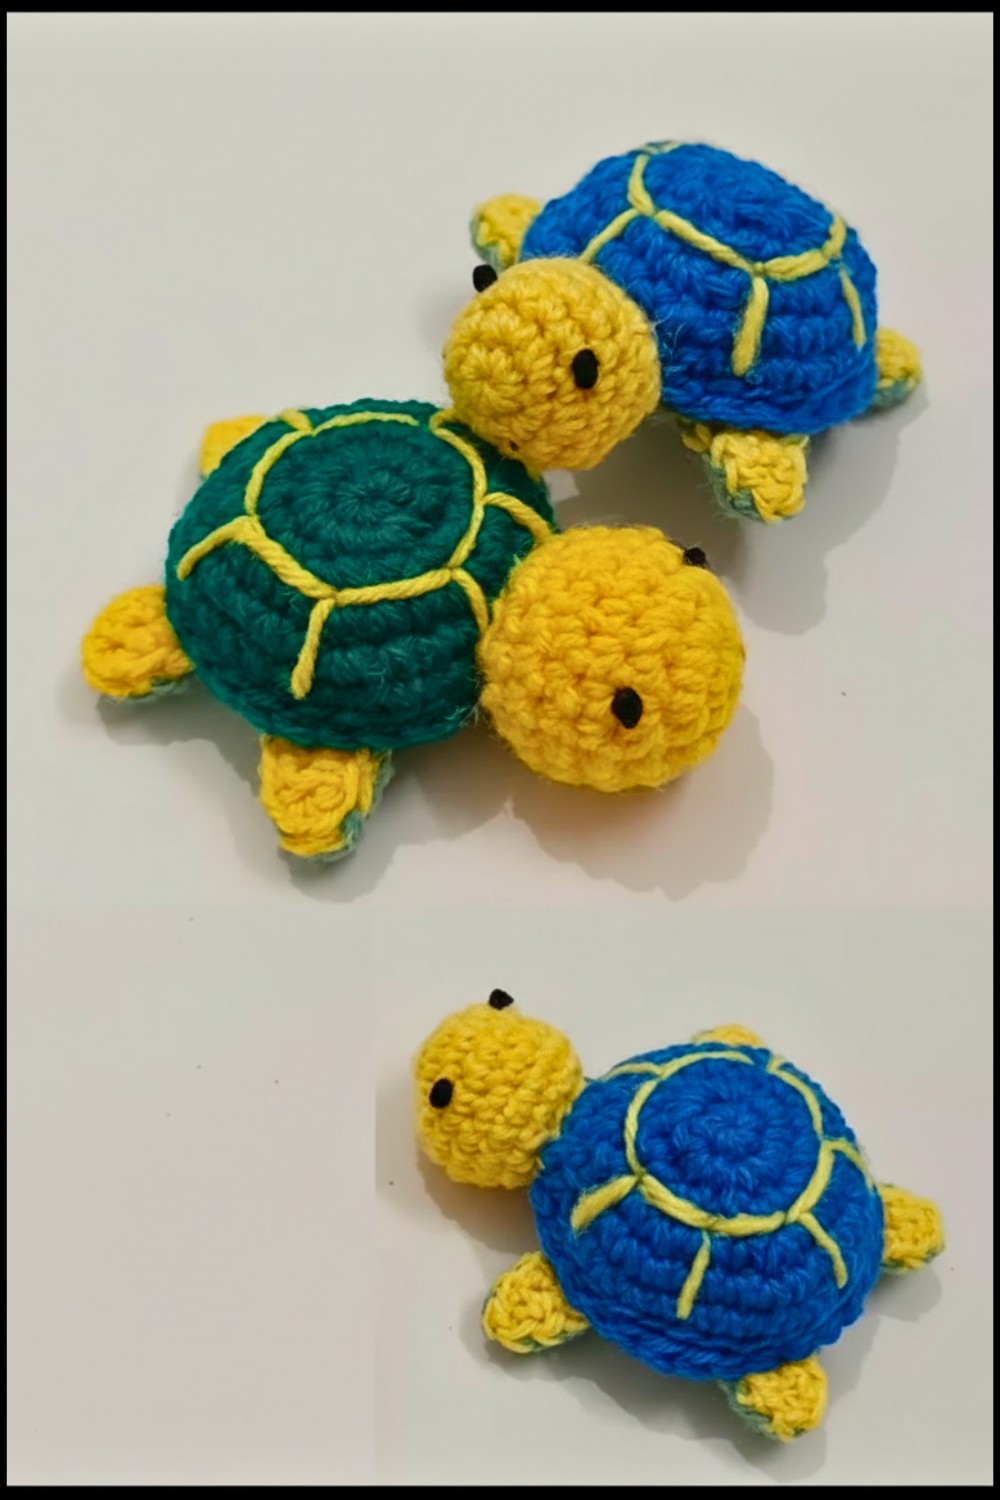
Sweet Crochet Turtle Pattern Perfect For A Shelf Accent
Shape a lovable friend with the Crochet Turtle Pattern and enjoy an adorable turtle that adds charm to your home or makes a thoughtful gift.
Bring a touch of whimsy to your crochet projects with this Free Crochet Turtle Pattern, a delightful design perfect for animal lovers of all ages. Its charming shell detailing and adorable flippers instantly make it a standout keepsake that’s both playful and full of character.
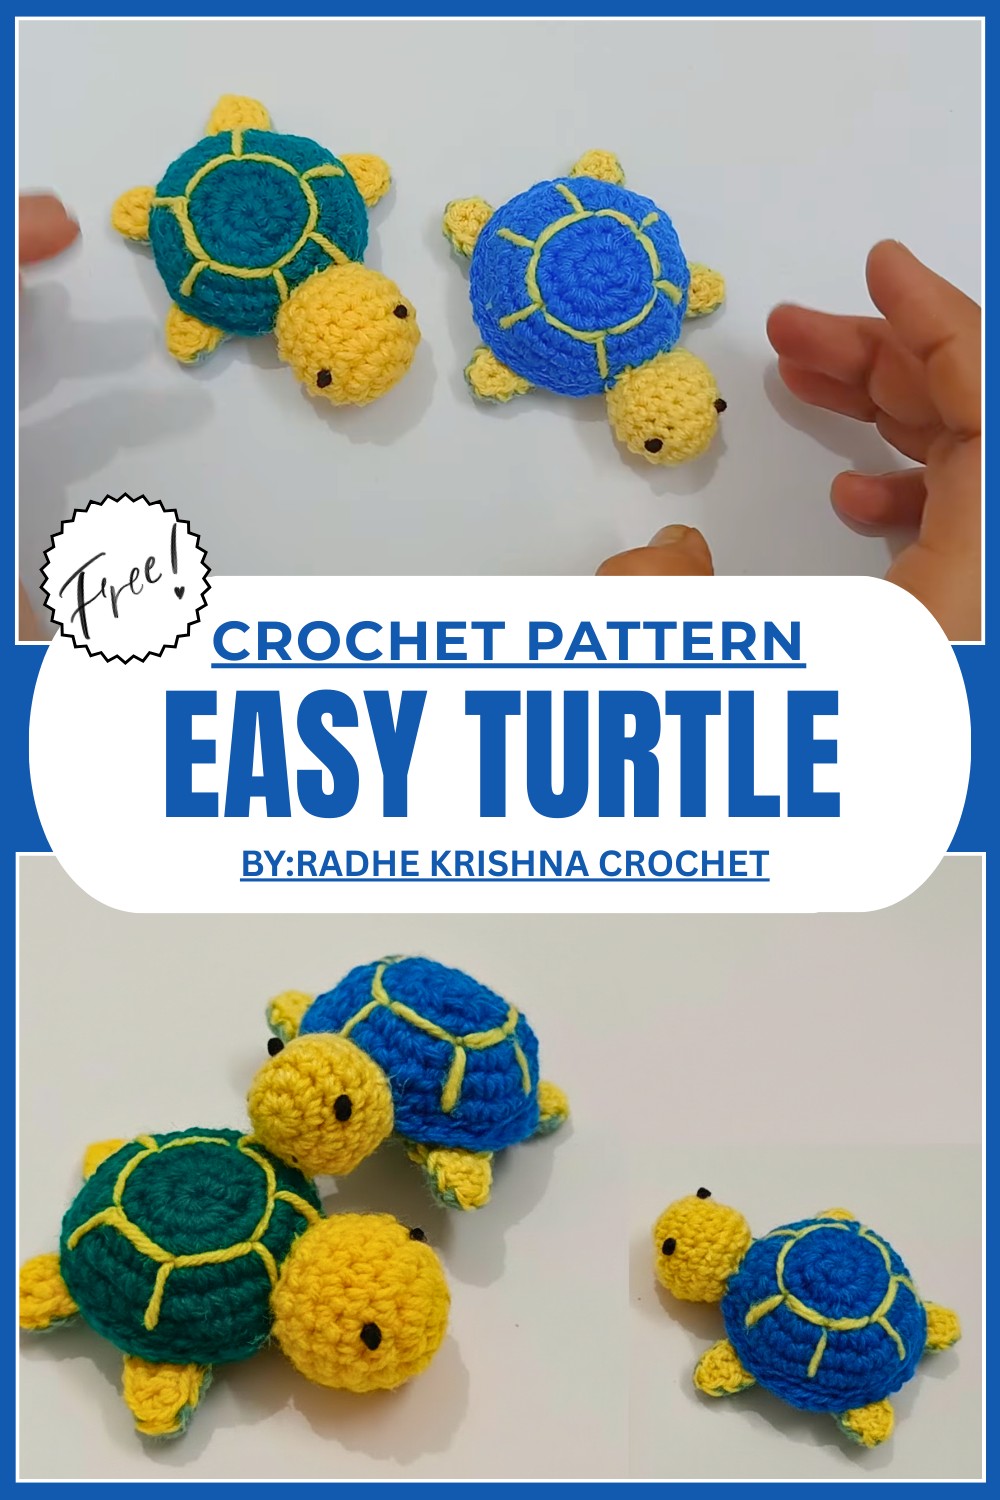
Cozy Crochet Turtle Pattern with Soft Handmade Texture
Ideal as a thoughtful gift, a cozy toy, or even a fun décor piece, this easy-to-follow pattern offers endless customization possibilities with colors and embellishments. Perfect for beginners and seasoned crocheters alike, this project invites creativity and joy with every stitch.
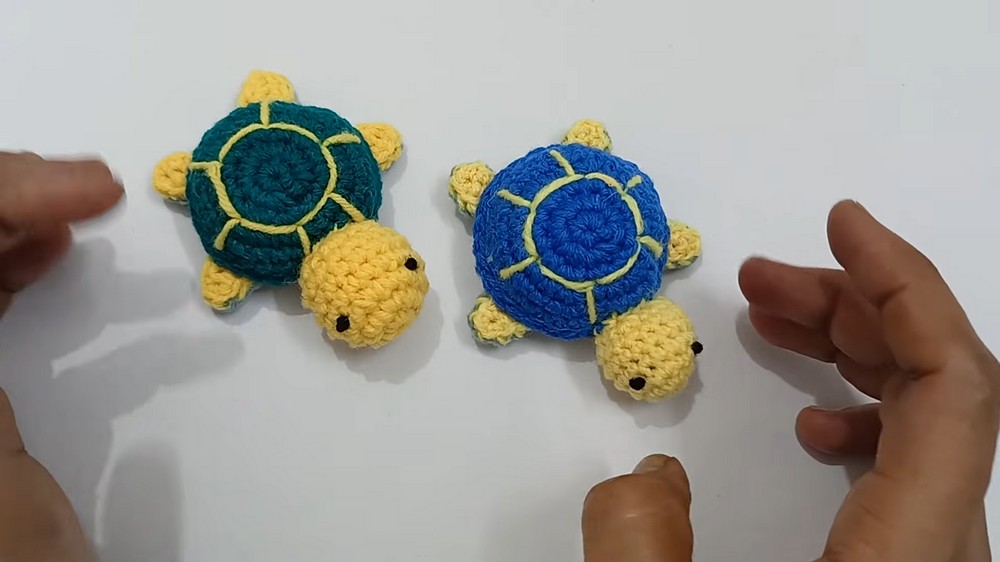
Crochet Tortoise Amigurumi - FREE Pattern
Materials
- Yarn:
- Main body color: Medium-weight (Category 4) yarn like cotton or acrylic.
- Shell color: Contrasting or complementary shade of yarn.
- Black yarn: For embroidered eyes (or black beads for eyes if desired).
- Optional: Pre-made safety eyes or black pearls.
- Hook:
- 3mm crochet hook or adjust the size based on the yarn used.
- Other Supplies:
- Fiberfill stuffing (cotton or polyester).
- Darning needle for sewing pieces together and weaving in ends.
- Scissors.
- Stitch markers (optional).
Skill Level
Beginner: The pattern uses magic rings, single crochet, slip stitches, and basic increases and decreases. It is an ideal project for someone new to amigurumi.
Key Abbreviations
- MR: Magic Ring
- sc: Single Crochet
- inc: Increase (work two sc in the same stitch)
- dec: Decrease (work two stitches together)
- sl st: Slip Stitch
- st(s): Stitch(es)
Special Notes
- Stitch Counting: Always count stitches at the end of each row to ensure consistent shaping.
- Customization: Adjust colors to reflect a natural tortoise or create a whimsical design.
- Eye Options: Embroider eyes with black yarn, or use black beads, pearls, or safety eyes for a polished result.
Step-by-Step Pattern
Part 1: Tortoise Body
Base
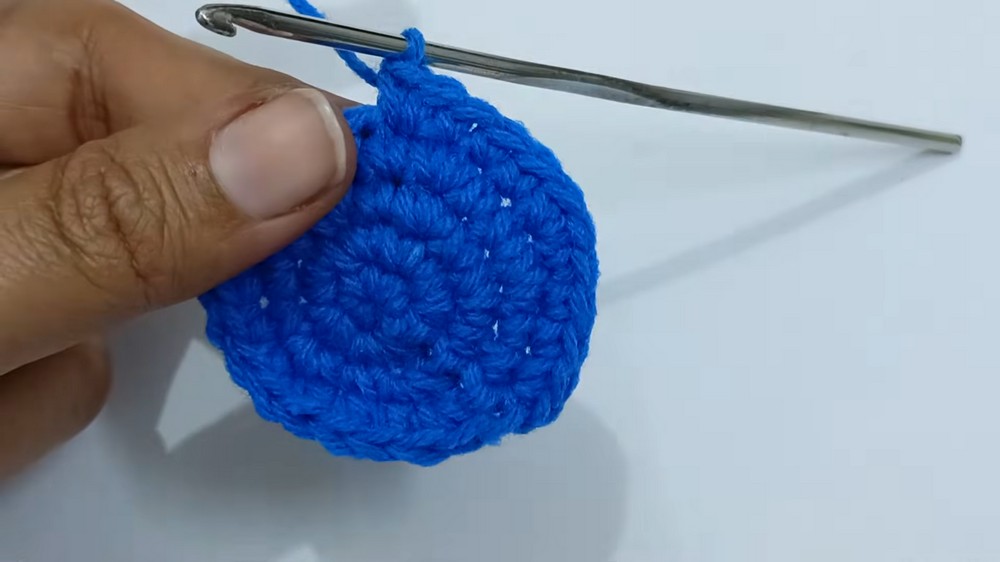
- Round 1:
- Start with a Magic Ring (MR).
- Work 6 sc into the MR.
- Pull the loop to close the ring tightly.
- Sl st into the first sc to join the round. (6 sts)
- Round 2:
- Ch 1, work 2 sc in each stitch around (increase).
- Count as you go; there should be 12 sc by the end of the row.
- Sl st into the first sc. (12 sts)
- Round 3:
- Ch 1, (1 sc into next st, 2 sc into the next st).
- Repeat the pattern all the way around.
- At the end of the round, you’ll have 18 sc.
- Sl st into the first sc. (18 sts)

- Rounds 4–6:
- Ch 1, work 1 sc in each stitch around (no increases).
- Sl st into the first sc at the end of each round.
- Repeat for three rounds of 18 stitches each.
Shaping the Bottom
- Round 7:
- Ch 1, (1 sc into next st, work "sc2tog" in the next two sts) to decrease.
- By the end of this round, there will be 12 sc.
- Sl st into the first sc. (12 sts)
- Round 8:
- Ch 1, work "sc2tog" across every stitch to close the body. You will end with 6 sc.
- Stuff the Body:
- Before closing, insert fiberfill stuffing into the tortoise body. Stuff firmly but leave room for shaping.
- Finish:
- Pull the thread tight after the last round and fasten off, leaving a long tail for sewing the body to the shell.
Part 2: Tortoise Shell
Base
- Round 1:
- Start with a Magic Ring (MR).
- Work 6 sc into the MR.
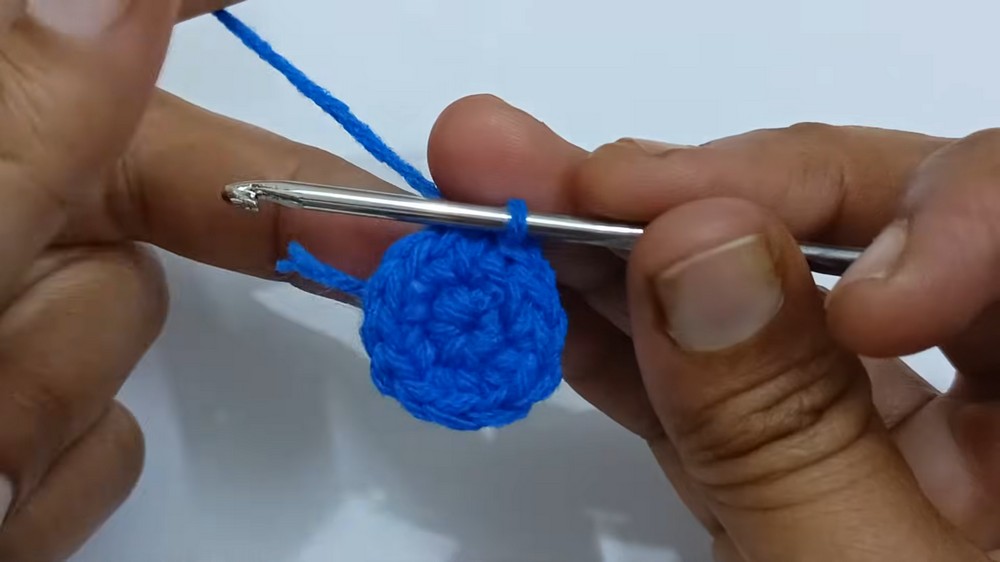
- Sl st into the first sc to join the round. (6 sts)
- Round 2:
- Ch 1, work 2 sc in each stitch around (increase).
- Count as you go; there should be 12 sc by the end of the row.
- Sl st into the first sc. (12 sts)
- Round 3:
- Ch 1, (1 sc into next st, 2 sc into the next st).
- Repeat the pattern all the way around.
- At the end of the round, you’ll have 18 sc.
- Sl st into the first sc. (18 sts)
- Round 4:
- Ch 1, work 1 sc in each stitch around to create a flat layer.
- Sl st into the first sc. Repeat this round for a total of 3 consecutive rounds.
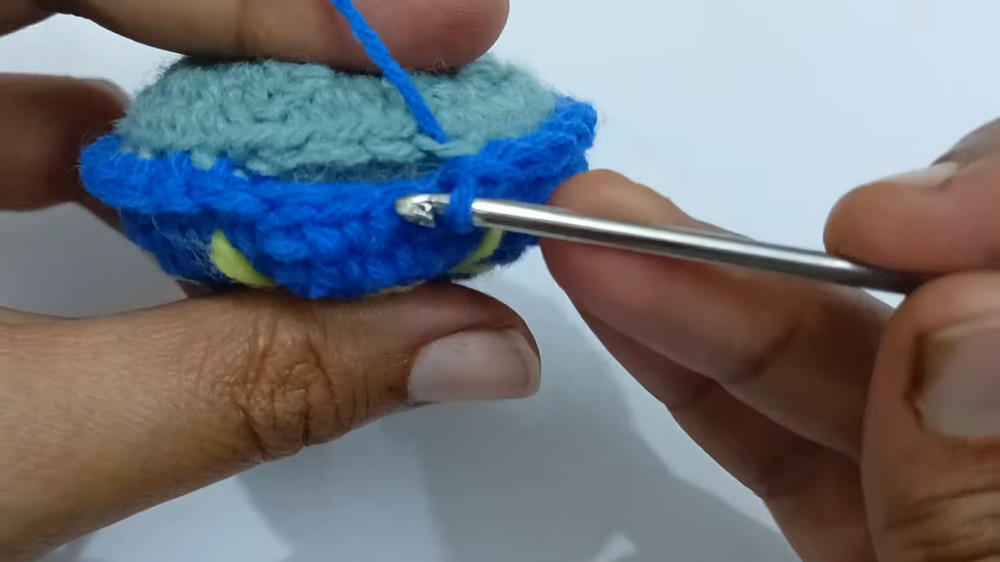
Assembling the Shell
- Stuff the Shell:
- Add fiberfill stuffing to the shell until it is firm but retains its shape.
- Attach Body to the Shell:
- Use the long remaining tail from the body to sew the shell’s edges to the tortoise body. Match stitches evenly as you work around the shell.
- Use the long remaining tail from the body to sew the shell’s edges to the tortoise body. Match stitches evenly as you work around the shell.
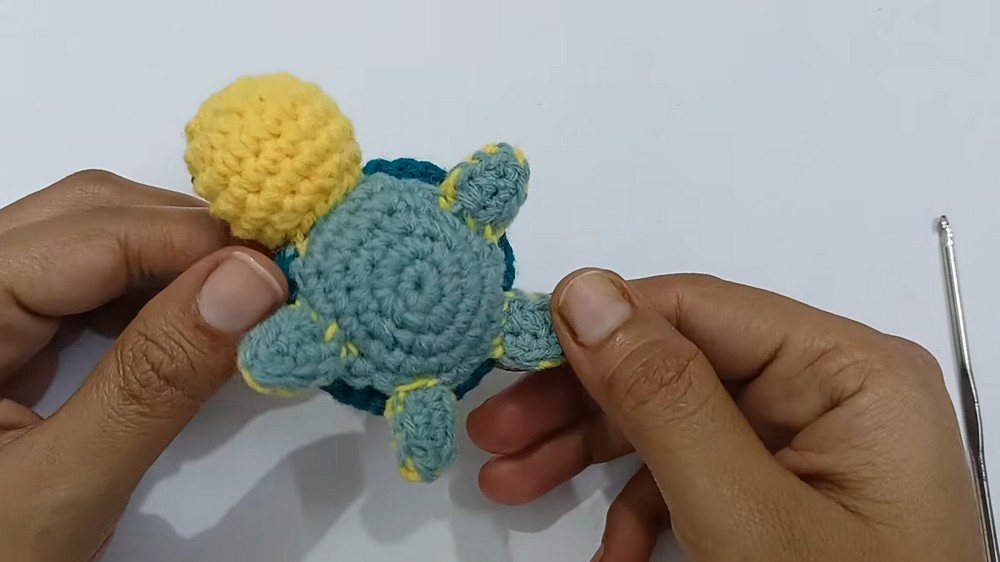
Part 3: Legs
- Leg Base:
- Ch 4, skip the first st and work 3 sc across the chain.
- In the last chain, work 2 sc to rotate to the back of the chain.
- Work 2 sc into each of the three chains on the other side to complete around the chain foundation.
- You will have a small oval shape.
- Stuff the Legs:
- Add a small amount of stuffing to the legs.
- Repeat:
- Make 4 legs in total.
Attach Legs to the Body
- Use pins or stitch markers to mark placement for the tortoise legs.
- Sew each leg securely to the bottom of the tortoise, maintaining equal spacing.
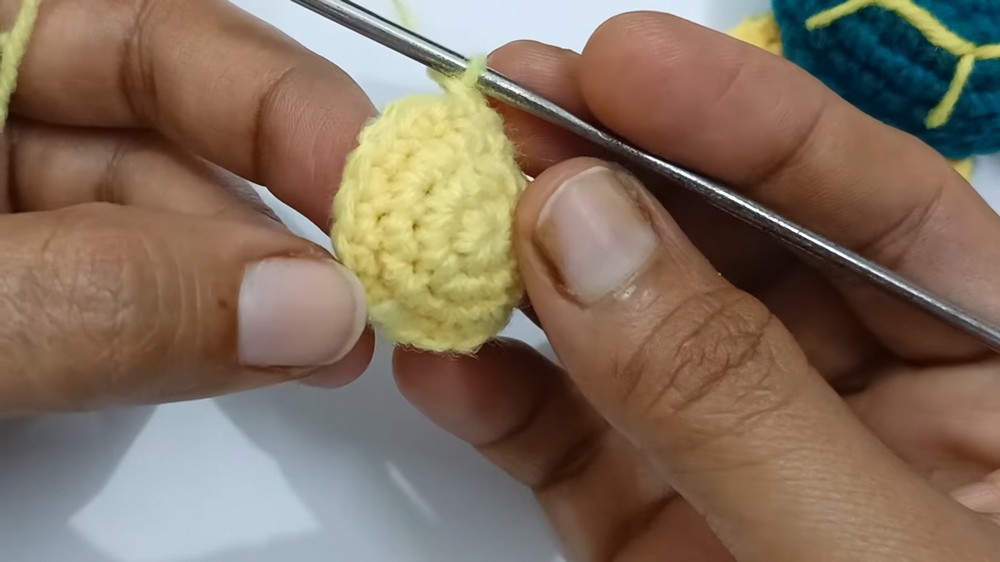
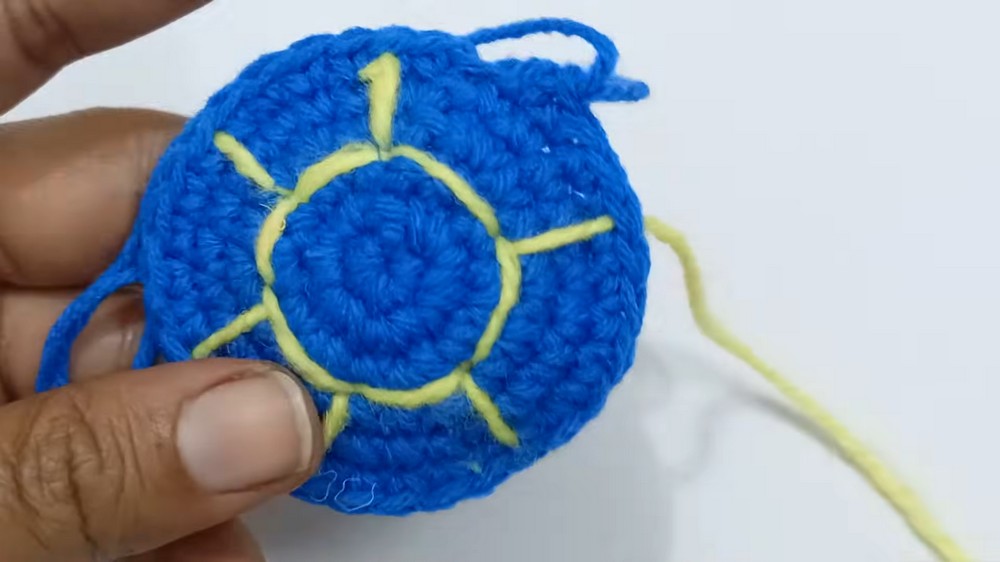
Part 4: Face
- Eyes:
- Option 1: Embroider eyes using black yarn.
- Option 2: Use black beads, pearls, or safety eyes.
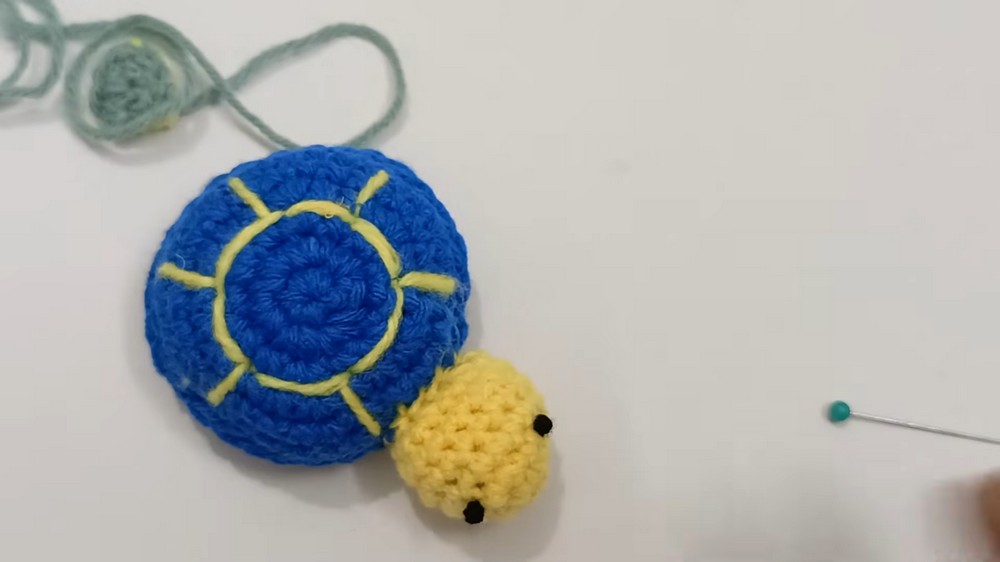
- Mouth:
- Embroider a small smile using contrasting yarn.
Tips for Success
- Thread Management: Leave long tails when fastening off pieces for easier sewing.
- Consistent Counting: Count stitches at the end of each round to ensure the correct shape.
- Stuff Firmly: Add enough fiberfill stuffing to maintain the shape but prevent deformities.
Customization Ideas
- Color Variations:
- Use natural tortoise shades like olive green, brown, and tan for a realistic look.
- Bright contrasting colors for the shell and body create whimsical designs.
- Size Adjustments:
- For a larger tortoise, use bulkier yarn and an appropriately sized hook. Adjust stitch counts proportionally.
- Scale down with finer yarn for smaller versions, making adorable keychains or ornaments.
- Accessories:
- Add a small crochet bow or flower to the shell for a decorative twist.
- Use metallic thread or beads for embellishments.
Conclusion
You’ve now crafted a charming crocheted tortoise! Whether used as a keychain or display piece, this little amigurumi will delight and impress with its neat stitching and playful design. Its straightforward nature makes it a fun and creative project for crocheters of all skill levels.